1. Setup
This section guides you through the initial setup of your Roku Select Series 24-Inch 720p HD Smart TV.
1.1 Tneħħija tal-kaxxa u l-kontenut tal-pakkett
Neħħi l-komponenti kollha mill-imballaġġ bir-reqqa. Kun żgur li l-oġġetti kollha elenkati hawn taħt huma preżenti:
- Roku Select Series 24-Inch 720p HD Smart TV
- Roku Voice Remote (with 2 AAA batteries included)
- Stand tat-TV (2 biċċiet) u Viti
- Kejbil tal-Enerġija
- Manwal għall-Utent (dan id-dokument)
1.2 Twaħħil tal-Istand tat-TV
Place the TV screen-down on a soft, clean surface to prevent scratches. Align the stand pieces with the designated slots on the bottom of the TV. Secure the stand using the provided screws. Ensure the stand is firmly attached for stability.

Image: Roku Select Series 24-Inch TV with its remote and stand components laid out for assembly.
1.3 Ixgħel u Setup Inizjali
Connect the power cable to the TV and a power outlet. Insert the AAA batteries into the Roku Voice Remote. Press the power button on the remote to turn on the TV. Follow the on-screen instructions to select your language, connect to your Wi-Fi network, and activate your Roku account. A Roku account is required to access streaming features.
1.4 Konnessjoni ta' Apparati Esterni
Your TV includes multiple HDMI ports for connecting external devices such as gaming consoles, Blu-ray players, or cable boxes. Refer to the image below for port locations.
Immaġni: Wara view of the Roku Select Series TV, highlighting the HDMI, USB, and optical audio ports for connecting various devices.
2. Joperaw
Learn how to navigate your Roku Smart TV and access its features.
2.1 Roku Home Screen Navigation
The Roku Home Screen provides easy access to all your streaming channels, inputs, and settings. Use the directional pad on your remote to navigate through the menu options on the left and the app tiles on the right.

Image: The Roku TV home screen, showing a selection of streaming applications and the main navigation menu.
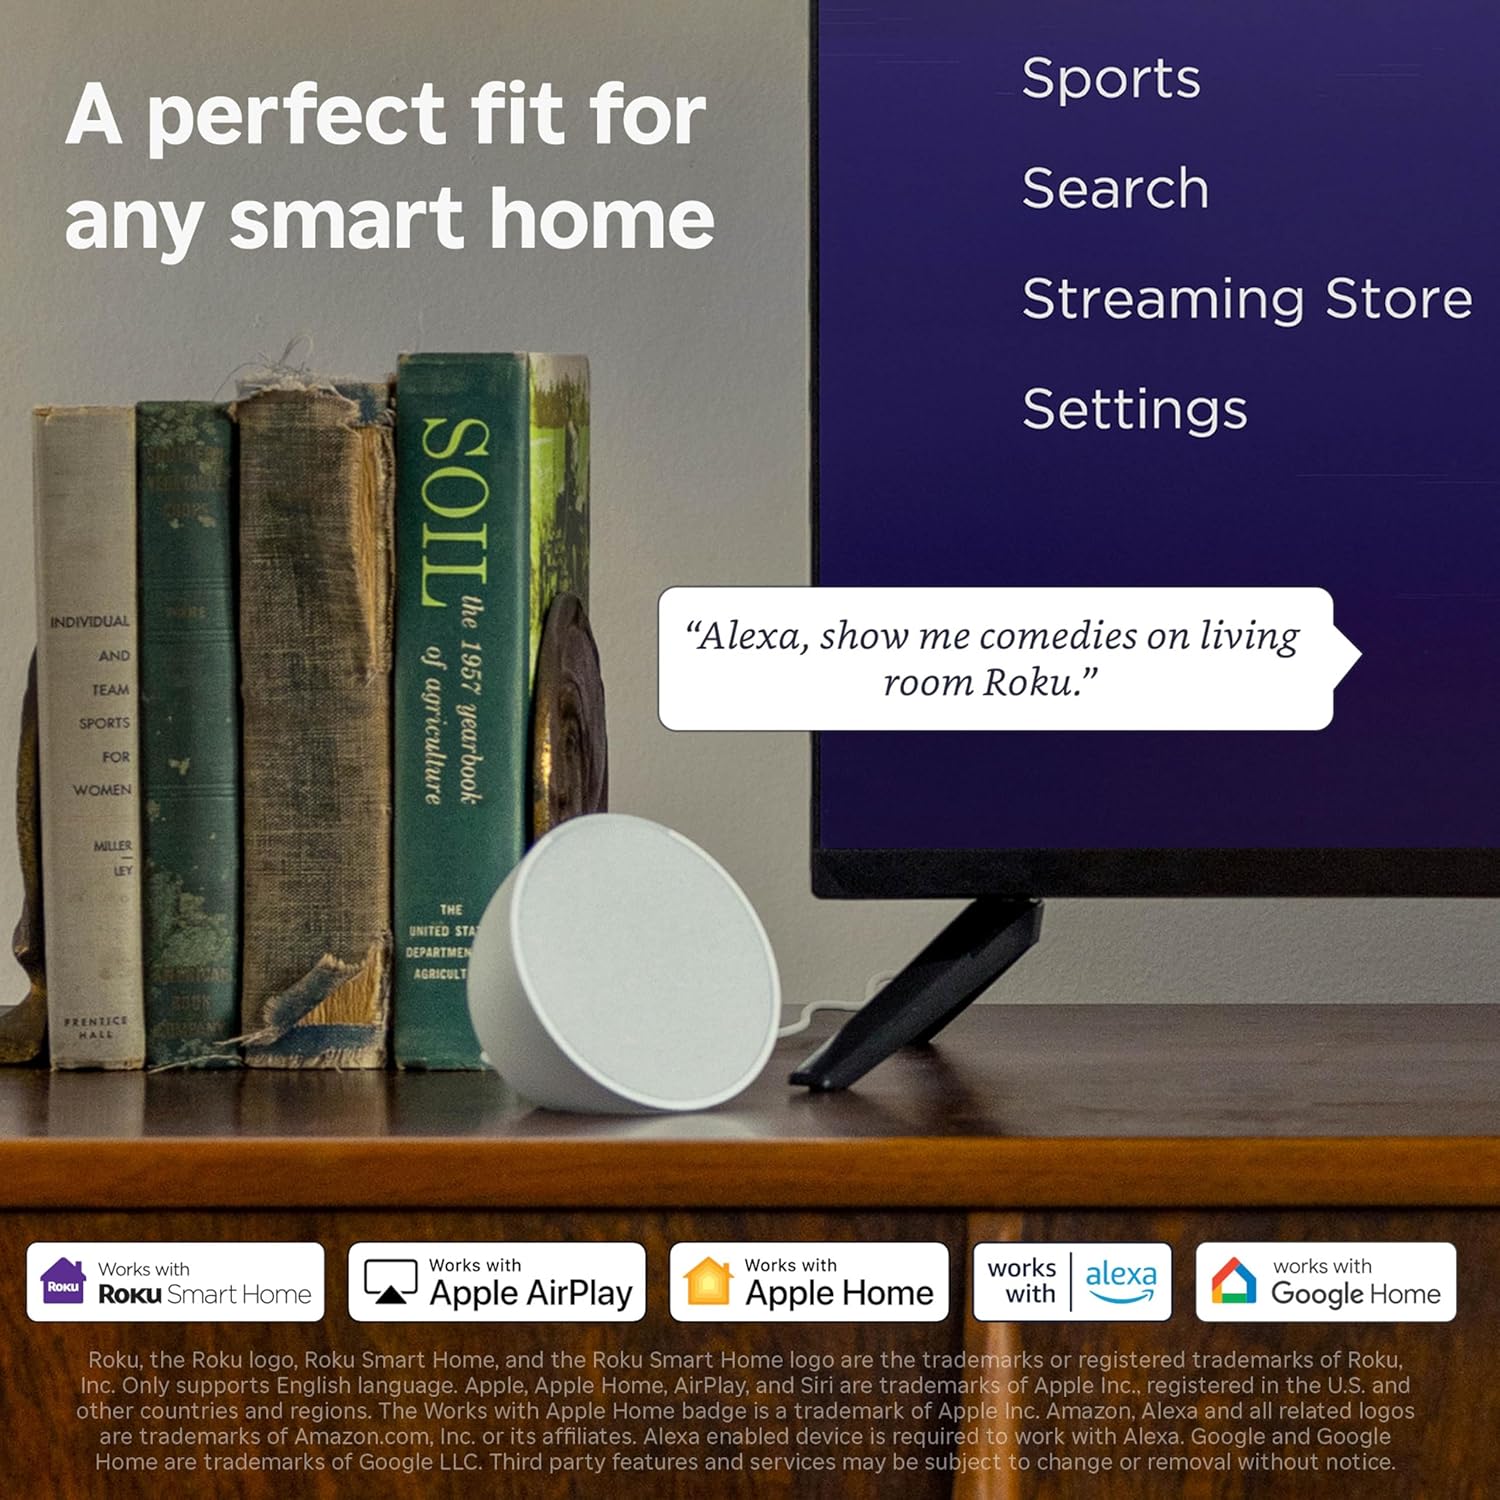
2.2 L-Użu tal-Kontroll mill-Bogħod bil-Vuċi
The Roku Voice Remote allows for convenient control of your TV. Press the voice button and speak commands to search for content, launch apps, or control playback. Dedicated shortcut buttons provide instant access to popular streaming services.

Image: The Roku Voice Remote, featuring a voice search button, standard TV controls, and quick access buttons for popular streaming apps.
2.3 Streaming Apps and Live TV
Access thousands of streaming apps, including Netflix, Hulu, Disney+, and more, directly from your home screen. The Roku TV also offers access to free live television channels through the Live TV menu option.
2.4 Modalità tal-Headphones Bluetooth
Connect your favorite wireless headphones via Bluetooth for private listening. This feature allows you to enjoy your entertainment without disturbing others.

Image: A child wearing wireless headphones, demonstrating the Bluetooth Headphone Mode feature of the Roku TV.
2.5 Prodott Uffiċjali Fuqview Video
Video: An official product video from Roku, Inc. providing an overview of the Roku Select Series TV features and user experience.
3. Manutenzjoni
Manutenzjoni xierqa tiżgura l-lonġevità u l-prestazzjoni ottimali tat-TV tiegħek.
3.1 Tindif tat-TV
Biex tnaddaf l-iskrin, imsaħ bil-mod b'ċarruta ratba, niexfa u mingħajr suf. Għal marki persistenti, imsaħ bil-modampen the cloth with water or a screen cleaner specifically designed for TVs. Avoid using harsh chemicals or abrasive materials. Clean the TV's exterior with a soft, dry cloth.
3.2 Aġġornamenti tas-Software
Your Roku TV receives automatic software updates to ensure you have the latest features and improvements. Ensure your TV is connected to the internet for these updates to download and install seamlessly.
4 Issolvi l-problemi
This section addresses common issues you might encounter with your Roku TV.
4.1 No Power or Display
- Kun żgur li l-kejbil tal-enerġija huwa konness sew kemm mat-TV kif ukoll ma' sokit tal-enerġija li jaħdem.
- Iċċekkja jekk is-sokit tal-enerġija hux qed jaħdem billi tqabbad apparat ieħor.
- Verify that the remote control batteries are fresh and correctly inserted.
4.2 Kwistjonijiet ta' Konnettività tal-Wi-Fi
- Erġa' ibda r-router u l-modem tal-Wi-Fi tiegħek.
- Mur fuq Settings > Netwerk > Issettja l-konnessjoni on your TV to re-establish the Wi-Fi connection.
- Kun żgur li t-TV jinsab fil-firxa tar-router Wi-Fi tiegħek.
4.3 Picture Quality Adjustments
The Roku Smart Picture feature automatically optimizes incoming TV signals. You can also manually adjust picture settings:
- Innaviga lejn Settings > Picture settings.
- Choose from preset picture modes like Standard, Vivid, Sports, or Movie.
- For advanced adjustments, select 'Customize picture' to modify backlight, brightness, contrast, sharpness, color, and tint.

Image: The Roku TV screen showing the Picture Mode settings menu, with options like Roku Smart Picture, Low power, Standard, Vivid, Sports, and Movie.
4.4 Sound Quality Adjustments
Your TV features Dolby Audio for clear speech and louder sound. Adjust sound settings via Settings> Audio. Options include:
- Modalità tal-Ħoss: Select from Standard, Dialogue, Movie, Music, or Night.
- Ċarezza tad-Diskors: Itejjeb id-djalogu għal smigħ aktar faċli.
- Modalità Volum: Options like Leveling to maintain consistent volume across content.
5. Speċifikazzjonijiet
| Karatteristika | Speċifikazzjoni |
|---|---|
| Dimensjonijiet tal-Prodott (P x W x H) | 7" x 21.1" x 14.3" |
| Piż tal-oġġett | 5.7 liri |
| Daqs tal-Iskrin | 24 Pulzier |
| Teknoloġija tal-Wiri | LED |
| Riżoluzzjoni | 720p |
| Riffriskar Rata | 60 Hz |
| Teknoloġija tal-Konnettività | Bluetooth, WiFi |
| Karatteristiċi Speċjali | Bluetooth Headphone Mode, Dolby Audio, Voice Remote |
| Komponenti Inklużi | Kejbil tal-Enerġija, Kontroll mill-Bogħod, Stand, Manwal tal-Utent |
| Numru tal-Mudell | 24R2D5 |

Image: The Roku Select Series TV with its key dimensions (width, height, depth) clearly indicated.
6. Garanzija u Appoġġ
Għal informazzjoni dwar il-garanzija u appoġġ tekniku, jekk jogħġbok irreferi għall-websajt uffiċjali ta' Roku. website or contact Roku customer service. Keep your purchase receipt for warranty claims.


