1. Introduzzjoni
This manual provides detailed instructions for the installation, operation, and maintenance of your GIGABYTE M27UP 27-inch UHD Gaming Monitor. To ensure optimal performance and safety, please read this manual thoroughly before using your monitor and retain it for future reference.
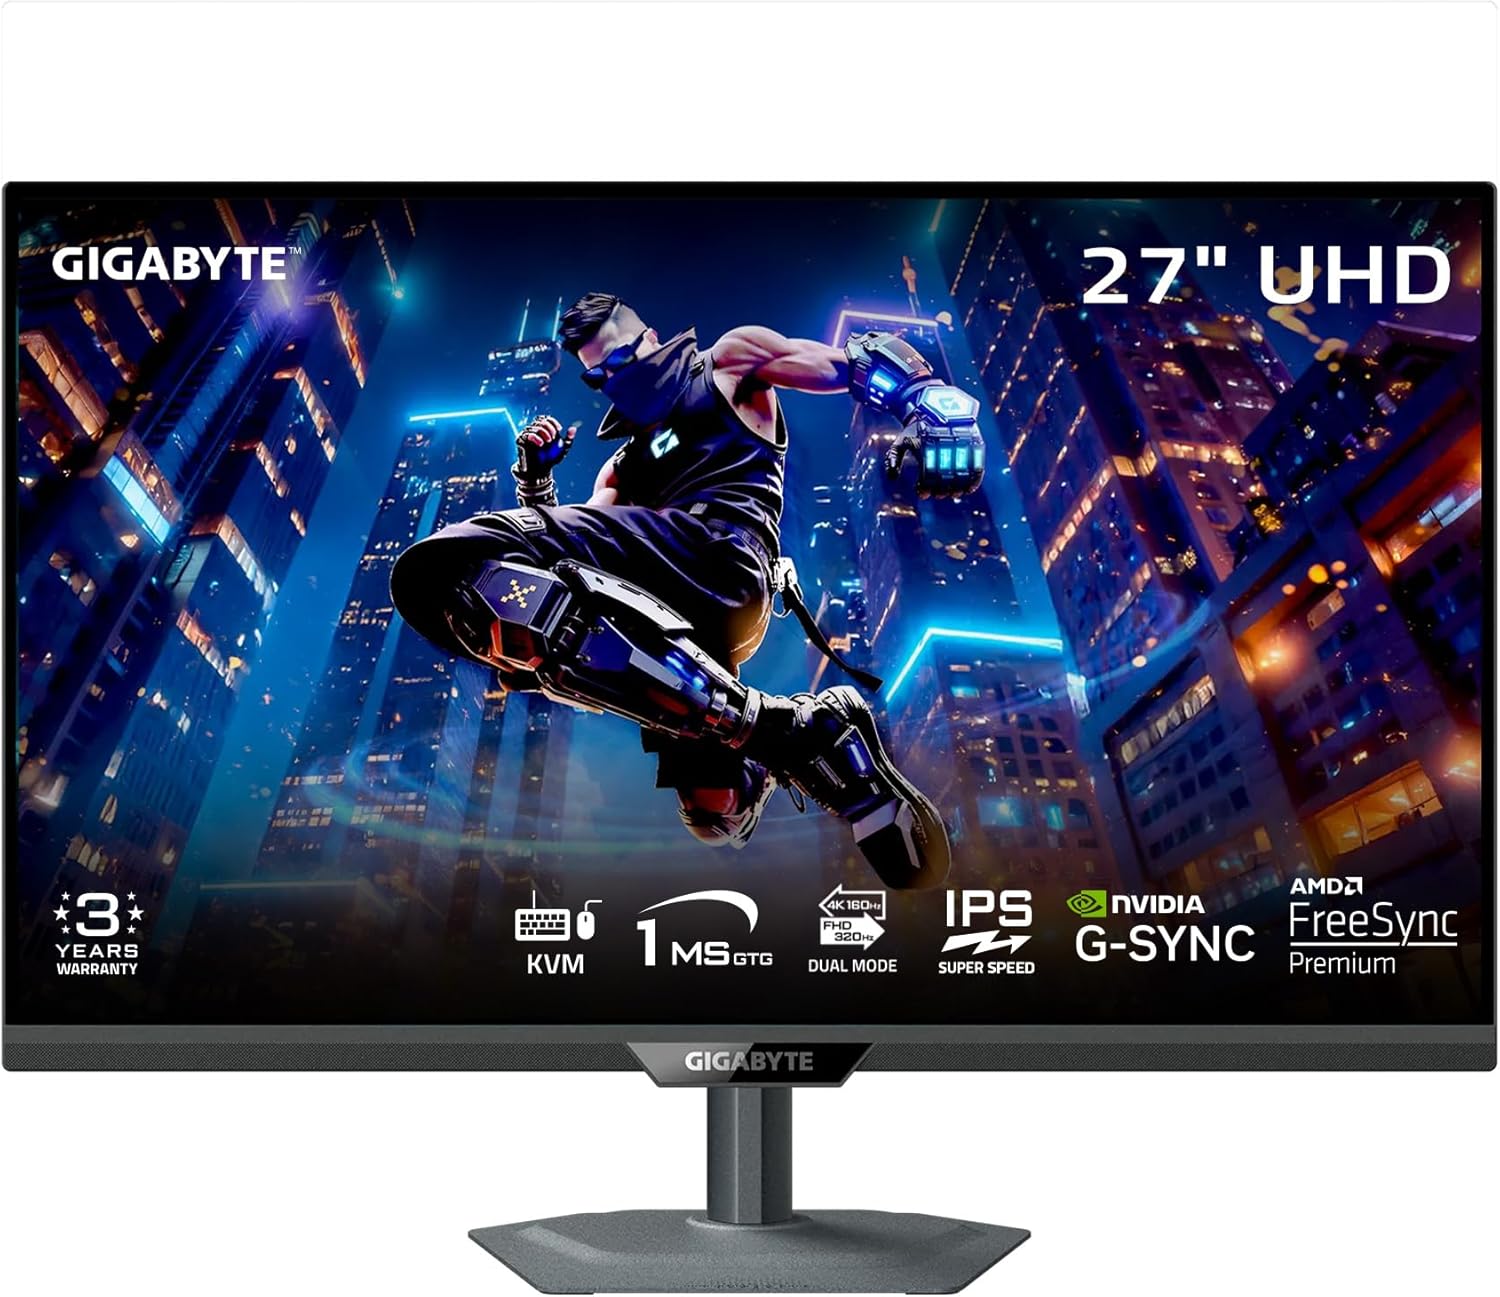
Figura 1: Quddiem view of the GIGABYTE M27UP monitor.
2. Informazzjoni dwar is-Sigurtà
Observe the following safety guidelines to prevent damage to the monitor and ensure user safety:
- Tesponix il-monitor għax-xita jew għall-umdità biex tevita perikli ta' nar jew xokk elettriku.
- Tiftaħx il-monitor casing. Ġewwa m'hemm l-ebda partijiet li jistgħu jiġu rranġati mill-utent. Irreferi għal kull manutenzjoni f'idejn persunal kwalifikat.
- Aċċerta ruħek li jkun hemm ventilazzjoni xierqa. Timblokkax il-fetħiet tal-ventilazzjoni.
- Use only the power adapter and cables provided by GIGABYTE.
- Poġġi l-monitor fuq wiċċ stabbli u ċatt biex tevita li jaqa'.
- Skonnettja l-plagg tal-enerġija mill-plagg tal-ħajt jekk il-monitor ma se jintużax għal perjodu estiż.
3. Kontenut tal-Pakkett
Iċċekkja li l-oġġetti kollha elenkati hawn taħt huma preżenti fil-pakkett tal-prodott tiegħek:
- GIGABYTE M27UP Monitor
- Kejbil tal-Enerġija
- Kejbil HDMI 2.1
- Kejbil tad-DisplayPort (DP)
- USB Cable (USB 3.2 Gen 1 Upstream)
- Gwida għall-Bidu Mgħaġġel (QSG)
- Karta ta' Garanzija

Figure 2: GIGABYTE M27UP monitor and its retail packaging.
4. Setup
4.1 L-Immuntar tal-Istand tal-Monitor
- Oħroġ il-monitor u l-komponenti tal-istand mill-imballaġġ bir-reqqa.
- Waħħal il-bażi tal-istand mal-għonq tal-istand, billi twaħħalha bil-vit provdut.
- Allinja l-istand immuntat mas-slott tal-immuntar fuq wara tal-monitor u imbotta bil-mod sakemm tikklikkja f'postu. Kun żgur li huwa mwaħħal sew.
Alternatively, the monitor supports VESA wall mount (100x100mm) for alternative mounting solutions. Refer to your VESA mount instructions for installation.

Figura 3: Wara view of the GIGABYTE M27UP monitor with stand attached.
4.2 Kejbils tal-Konnessjoni
Qabbad il-kejbils meħtieġa mal-portijiet korrispondenti fuq il-monitor u l-kompjuter tiegħek jew apparati oħra.
- Konnessjoni tal-Enerġija: Qabbad il-kejbil tal-enerġija mad-dħul tal-enerġija tal-monitor u mbagħad ma' sokit tal-enerġija.
- Video Input: Connect either an HDMI 2.1 cable or a DisplayPort 1.4 cable from your computer's graphics card to the monitor. For devices supporting USB Type-C video output, use a USB Type-C cable.
- USB Upstream: Connect the provided USB cable from your computer's USB port to the monitor's USB 3.2 Gen 1 Upstream port to enable the monitor's USB downstream ports and KVM functionality.
- USB Downstream: Connect USB peripherals (keyboard, mouse, USB drives) to the monitor's USB 3.2 Gen 1 Downstream ports.
- Jack tal-widna: Connect headphones or external speakers to the earphone jack for audio output.
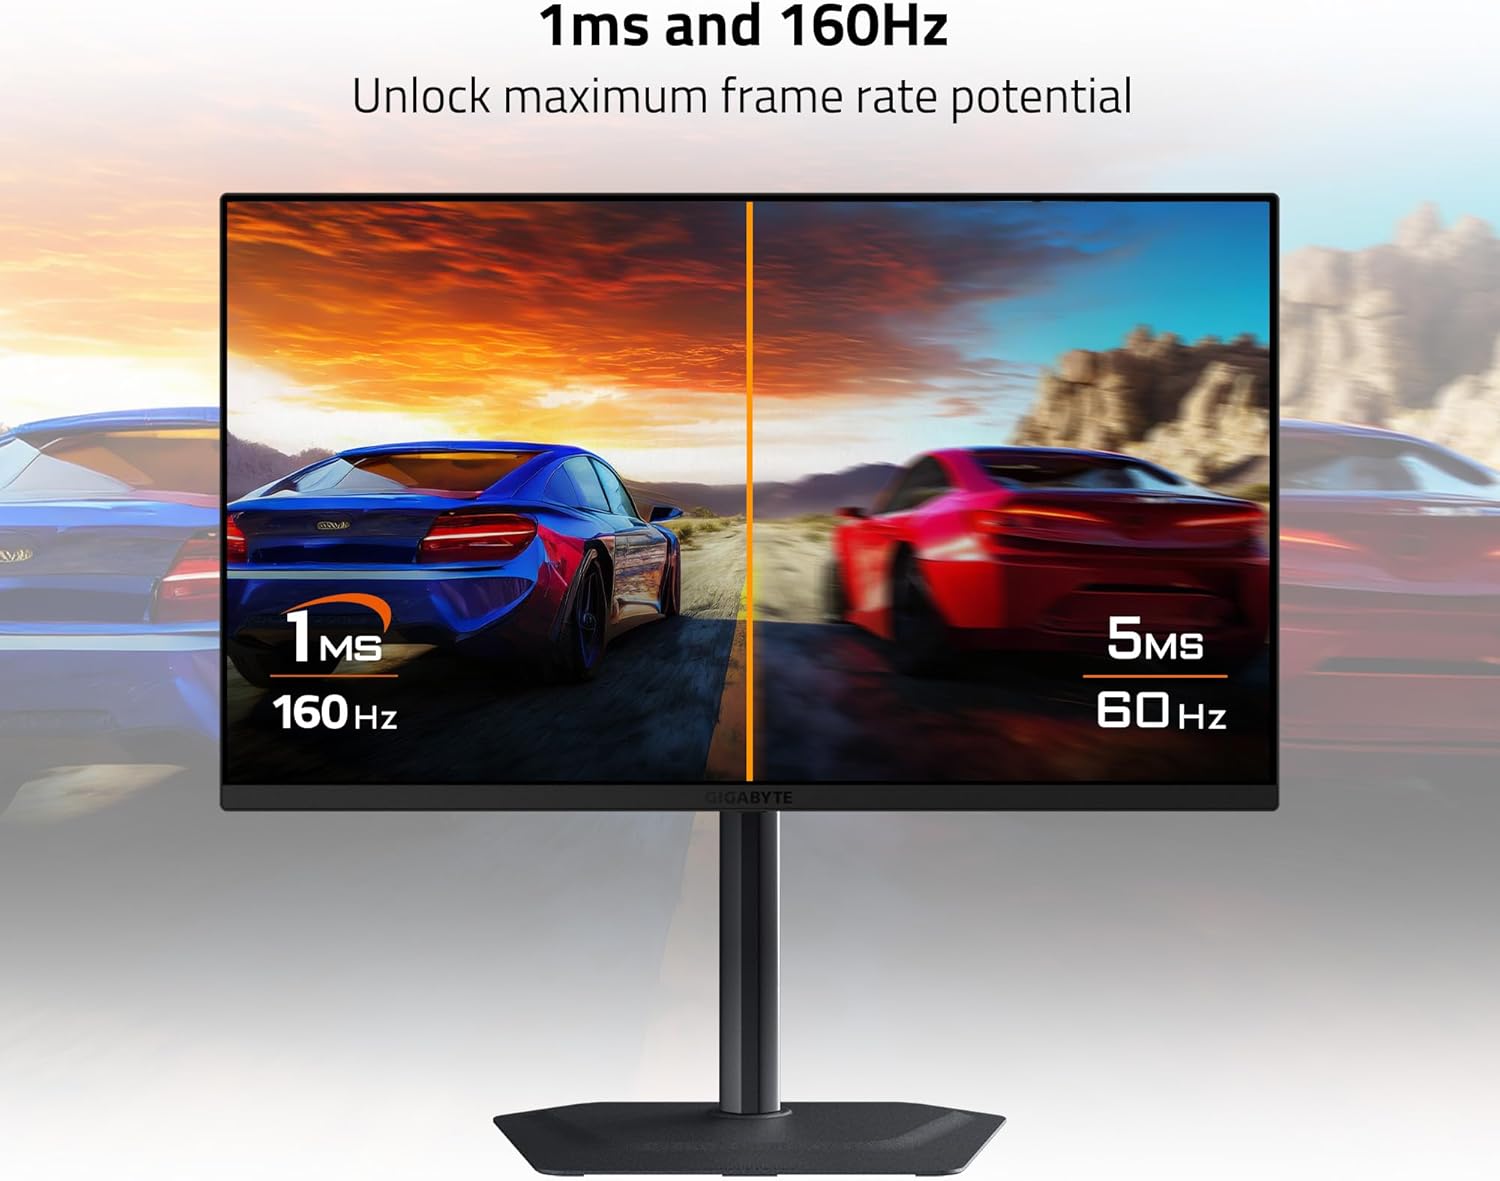
Figure 4: Diagram illustrating the input/output ports on the rear of the monitor, including HDMI 2.1, USB Type-C, DisplayPort 1.4, USB 3.2, and Earphone Jack.
5. Istruzzjonijiet Operattivi
5.1 Power On/Off
Press the power button, typically located on the back or bottom of the monitor, to turn the monitor on or off. The power indicator light will illuminate when the monitor is on.
5.2 Navigazzjoni fuq l-Iskrin (OSD)
The monitor features a joystick control, usually located on the back, to navigate the On-Screen Display (OSD) menu. Push the joystick in to access the main menu, then move it up/down/left/right to select and adjust settings.
5.3 Għażla tal-Input
From the OSD menu, navigate to the 'Input' section to manually select between HDMI 1, HDMI 2, DisplayPort, or USB Type-C inputs based on your connected device.
5.4 Funzjonalità tal-KVM
The GIGABYTE M27UP features a built-in KVM (Keyboard, Video, Mouse) switch. When devices are connected via USB Type-C and another video input (HDMI/DP) with the USB upstream cable, you can switch between controlling two different computers using a single keyboard and mouse connected to the monitor's USB downstream ports. This function is typically activated via a dedicated button or an OSD setting.

Figure 5: Diagram illustrating the KVM function, allowing control of two devices with one keyboard and mouse.
5.5 Settings tal-wiri
Adjust various display settings through the OSD menu:
- Stampa: Luminożità, Kuntrast, Nitidezza, Gamma, Temperatura tal-Kulur.
- Logħob: Overdrive, Aim Stabilizer, Black Equalizer, Refresh Rate.
- Riżoluzzjoni u Rata ta' Aġġornar: The monitor supports UHD 3840x2160 resolution at up to 160Hz refresh rate. Ensure your graphics card and cables support these specifications.
- Sinkronizzazzjoni Adattiva: Enable AMD FreeSync Premium or G-SYNC Compatible features for tear-free gaming, if supported by your graphics card.
- HDR: The monitor supports VESA DisplayHDR 400. Enable HDR in your operating system settings for compatible content.
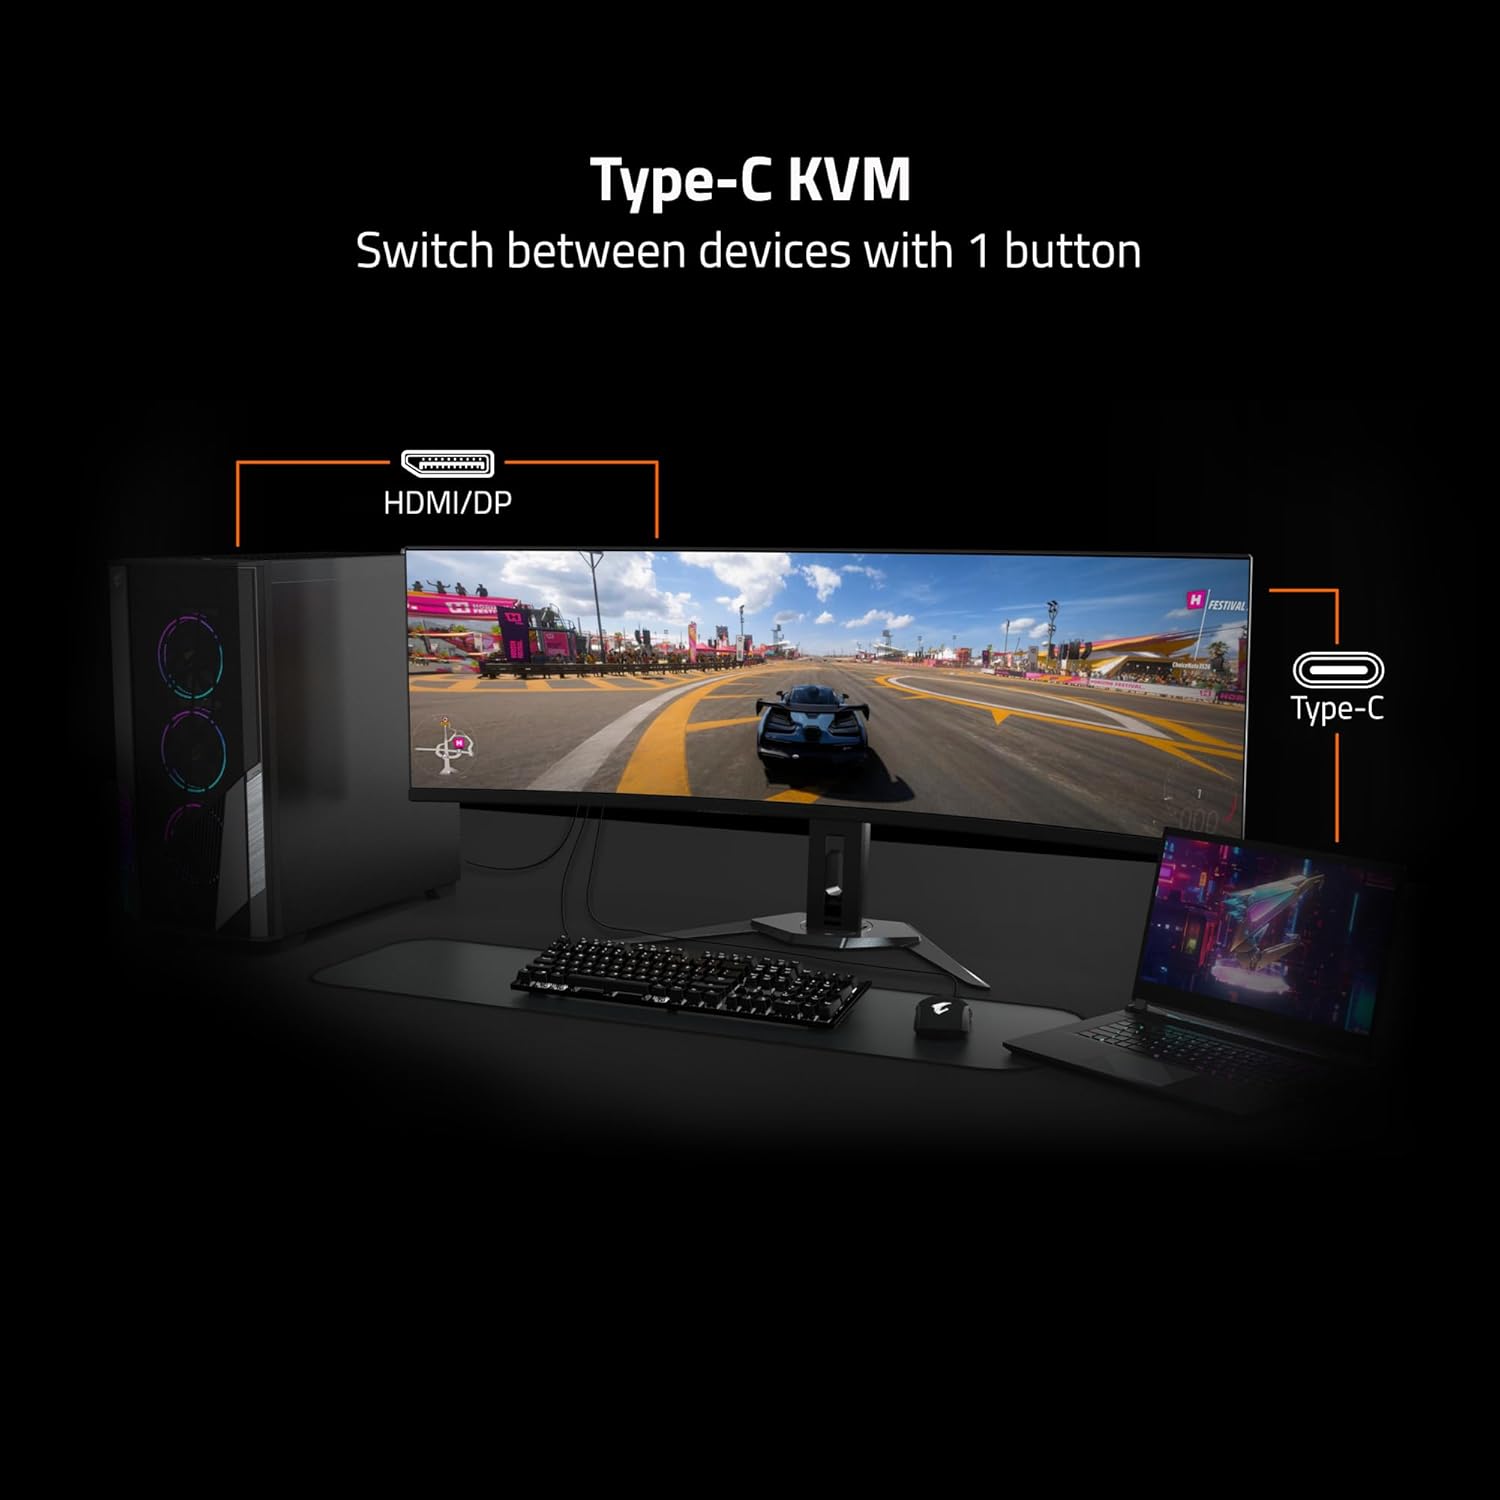
Figure 6: Visual comparison highlighting the smoother motion achieved with 1ms response time and 160Hz refresh rate.
5.6 Stand Adjustments
L-istand tal-monitor jippermetti aġġustamenti ergonomiċi:
- Aġġustament Għoli: Gently push or pull the monitor up or down to adjust its height.
- Aġġustament tal-inklinazzjoni: Tilt the monitor screen forward or backward to achieve your desired viewangolu tal-ing.
6. Manutenzjoni
6.1 Tindif tal-Monitor
Biex tnaddaf l-iskrin tal-monitor u ċasing:
- Itfi l-monitor u aqla l-korda tad-dawl.
- Uża ċarruta ratba u mingħajr ħelu dampMaħsul bl-ilma jew b'tindif tal-iskrin ħafif u mhux abrażiv.
- Tisprejjax it-tindif direttament fuq l-iskrin.
- Evita li tuża kimiċi ħarxa, alkoħol, jew materjali li joborxu, għax dawn jistgħu jagħmlu ħsara lill-iskrin jew lill-finitura.
6.2 Ħażna
If storing the monitor for an extended period, ensure it is powered off, unplugged, and stored in a cool, dry environment, preferably in its original packaging to protect it from dust and physical damage.
7 Issolvi l-problemi
Jekk tiltaqa' ma' problemi bil-monitor tiegħek, irreferi għall-passi komuni li ġejjin għas-soluzzjoni tal-problemi:
- Ebda Qawwa: Kun żgur li l-kejbil tal-enerġija huwa konness sew kemm mal-monitor kif ukoll ma' sokit tal-enerġija li jaħdem. Iċċekkja jekk id-dawl indikatur tal-enerġija hux mixgħul.
- Ebda Sinjal: Verify that the video cable (HDMI, DisplayPort, or USB-C) is correctly connected to both the monitor and your computer. Ensure the correct input source is selected in the OSD menu.
- Immaġni li Tteptep jew Distorta: Check the video cable for damage. Ensure your graphics card drivers are up to date. Try adjusting the refresh rate in your operating system display settings.
- Riżoluzzjoni Mhux Korretta: Adjust the display resolution in your operating system settings to 3840x2160.
- KVM Not Working: Ensure the USB upstream cable is connected from the monitor to the primary computer, and the USB Type-C cable is connected to the secondary device (if applicable). Verify KVM settings in the OSD.
If the problem persists after trying these steps, please contact GIGABYTE customer support.
8. Speċifikazzjonijiet
Key technical specifications for the GIGABYTE M27UP monitor:
| Karatteristika | Speċifikazzjoni |
|---|---|
| Daqs tal-Iskrin | 27 Pulzier |
| Tip ta' Panel | SS IPS |
| Riżoluzzjoni | UHD 3840x2160 |
| Riffriskar Rata | 160Hz |
| Ħin ta' Rispons | 1ms GTG |
| Eżattezza tal-Kulur | 125% sRGB, 8-bit color |
| Appoġġ HDR | VESA DisplayHDR 400 |
| Sinkronizzazzjoni Adattiva | AMD FreeSync Premium, G-SYNC Compatible |
| Konnettività | 2x HDMI 2.1, 1x DisplayPort 1.4, 1x USB Type-C, 1x USB 3.2 Gen 1 Upstream, 3x USB 3.2 Gen 1 Downstream, 1x Earphone Jack |
| Funzjoni KVM | Iva |
| Muntatura VESA | 100x100mm |
| Dimensjonijiet (LxWxH) | 2.3 x 24.1 x 14.6 pulzieri (mingħajr l-istand) |
| Piż | 20.4 liri (bl-istand) |
9. Garanzija u Appoġġ
The GIGABYTE M27UP monitor is covered by a garanzija ta 'sena mid-data tax-xiri. Din il-garanzija tkopri difetti fil-manifattura u tiżgura tħaddim affidabbli taħt kundizzjonijiet ta' użu normali.
For warranty claims, technical assistance, or further product information, please visit the official GIGABYTE website or contact their customer support department. Keep your purchase receipt as proof of purchase.
Appoġġ GIGABYTE: https://www.gigabyte.com/Support


