1. Introduzzjoni
Thank you for choosing the WECOOL 3-Channel 4K Ultra HD Dash Cam. This manual provides detailed instructions for the installation, operation, and maintenance of your device. Please read it thoroughly before use to ensure proper functionality and to save for future reference.

Image: The WECOOL 3-Channel 4K Ultra HD Dash Cam system, showing the main unit, interior camera, rear camera, and a 64GB SD card, along with a smartphone displaying live footage.
1.1 Kontenut tal-Pakkett
Iċċekkja li l-oġġetti kollha elenkati hawn taħt huma inklużi fil-pakkett tiegħek:
- 1 x 4K Dash Cam (Main Unit)
- 1 x Kamera ta' wara 1080P
- 1 x 11.5ft Kejbil tal-Provvista tal-Enerġija b'Ċarġer tal-Karozza
- 1 x 11.5ft Kejbil tal-Kamera ta 'wara
- 1 x 64GB Karta MicroSD
- 1 x Suction Cup Bracket
- 1 x 3M Adhesive Mount
- 1 x Installation Assistant Kit (includes tools and cable clips)
- 1 x Manwal għall-Utent

Image: Contents of the WECOOL 3-Channel Dash Cam package, showing the main dash cam, rear camera, power cable, rear camera cable, 64GB SD card, suction cup mount, 3M adhesive mount, and installation tools.
1.2 Prodott Fuqview
Familiarize yourself with the main components and controls of your dash cam:

Immaġni: Dettaljata view of the dash cam's buttons and ports, including the SD card slot, reset button, rearview camera interface, Type-C port, power button, navigation buttons, menu, and microphone.
- Slot tal-Kard SD: Insert the MicroSD card here.
- Buttuna Irrisettja: Used to reset the device if it becomes unresponsive.
- Waraview Interface tal-kamera: Connects the rear camera cable.
- Port tat-Tip-C: Għall-konnessjoni tal-enerġija.
- Buttuna mixgħul/mitfi: Agħfas u żomm biex tixgħel/itfi.
- Buttuni 'l fuq /' l isfel: Innaviga l-għażliet tal-menu.
- Buttuna tal-menu: Aċċessa s-settings u l-għażliet.
- Buttuna OK/Ikkonferma: Ikkonferma l-għażliet.
- MIC: Mikrofonu inkorporat għar-reġistrazzjoni tal-awdjo.
- Angolu tal-Kamera aġġustabbli: The interior camera can be adjusted.
2. Setup u Installazzjoni
Follow these steps for proper installation of your WECOOL Dash Cam.
2.1 Daħħal il-Kard tal-MicroSD
- Kun żgur li l-kamera tad-daxxbord tkun mitfija.
- Insert the provided 64GB MicroSD card into the SD card slot until it clicks into place.
- To remove, gently push the card until it pops out.
2.2 Mounting the Front Dash Cam
Choose between the suction cup bracket or the 3M adhesive mount.
- Naddaf sewwa ż-żona mixtieqa fuq il-windskrin tiegħek.
- Attach the chosen mount to the dash cam.
- For the suction cup, press firmly against the windshield and flip the lever to secure.
- For the 3M adhesive mount, peel off the protective film and firmly press the mount onto the windshield for at least 30 seconds. Allow 24 hours for the adhesive to fully bond before attaching the dash cam.
- Adjust the front camera angle to ensure a clear view tat-triq 'il quddiem.

Image: Visual guide for easy installation, demonstrating the placement of the main dash cam on the windshield and the routing of the rear camera cable along the vehicle's interior.
2.3 Installazzjoni tal-Kamera ta 'wara
- Connect the 11.5ft rear camera cable to the main dash cam's rearview interface tal-kamera.
- Route the cable neatly along the headliner, down the A-pillar, and along the door sills to the rear of the vehicle. Use the provided installation assistant kit and cable clips to secure the cable.
- Clean the desired area on your rear windshield.
- Peel off the adhesive film from the rear camera and firmly stick it to the rear windshield.
- Qabbad il-kejbil tal-kamera ta' wara mal-kamera ta' wara.
Video: An official WECOOL video demonstrating the installation process of the 3-channel dash cam, including cable routing and camera placement.
2.4 Konnessjoni tal-Enerġija
- Plug the 11.5ft power supply cable into the Type-C port on the dash cam.
- Insert the car charger end into your vehicle's 12V power outlet (cigarette lighter socket).
- Id-dash cam tixgħel awtomatikament u tibda tirrekordja meta tibda l-vettura tiegħek.
3. Istruzzjonijiet Operattivi
3.1 Reġistrazzjoni Bażika
The WECOOL Dash Cam features synchronized three-channel recording: a 4K Ultra HD front camera, a 1080P Full HD interior camera, and a 1080P Full HD rear camera. Once powered on, the device automatically begins continuous loop recording.

Image: Three simultaneous views from the dash cam: front (4K), interior (1080P), and rear (1080P), demonstrating comprehensive coverage.
3.2 G-Sensor Emergency Lock
Is-sensor G integrat jinduna awtomatikament b'impatti jew ħabtiet f'daqqa. Meta jiġi attivat, jissakkar il-filmat attwali.tage to a protected folder on the MicroSD card, preventing it from being overwritten by loop recording. This ensures critical evidence is preserved.

Image: Illustration of the G-Sensor activating during a collision, automatically locking the video footage biex jipprevjenu kitba fuq.
3.3 Loop Recording
The loop recording feature ensures continuous recording. When the MicroSD card is full, the dash cam automatically overwrites the oldest unlocked video files. Imsakkar files (from G-sensor events) are protected and will not be overwritten.

Image: The dash cam displaying the loop recording function, indicating that older files are replaced by new ones, while also showing the included 64GB SD card and a laptop connected for data transfer.
3.4 5GHz WiFi & App Control
The dash cam features built-in 5GHz WiFi for faster data transfer and seamless app control. Download the dedicated app to your smartphone to:
- Preview video live footage.
- Download recorded videos to your phone (up to 8MB/s transfer speed).
- Aġġusta s-settings tal-kamera.
- Share travel highlights directly to social media.
Note: The effective WiFi range is approximately 3-5 meters.

Image: A smartphone screen showing the dash cam app interface, with options for settings, playback, downloading, and sharing videos, highlighting the 5GHz WiFi for faster transfers.
3.5 24/7 Parking Surveillance
When your vehicle is parked, the dash cam can continuously monitor its surroundings for theft or vandalism, providing 24/7 security. This feature requires a separately purchased Type-C hardwiring kit for continuous power supply.

Image: Visual representation of 24-hour parking monitoring, showing a car under surveillance and icons for anti-theft and continuous recording. A note indicates that a hardwiring kit is required.
3.6 Superior Night Vision with WDR Technology
Equipped with an F1.6 aperture, 6 high-performance glass lenses, and Wide Dynamic Range (WDR) technology, this dash cam optimizes recording in low-light conditions. WDR balances bright and dark areas, resulting in clear, high-contrast footaganke bil-lejl.
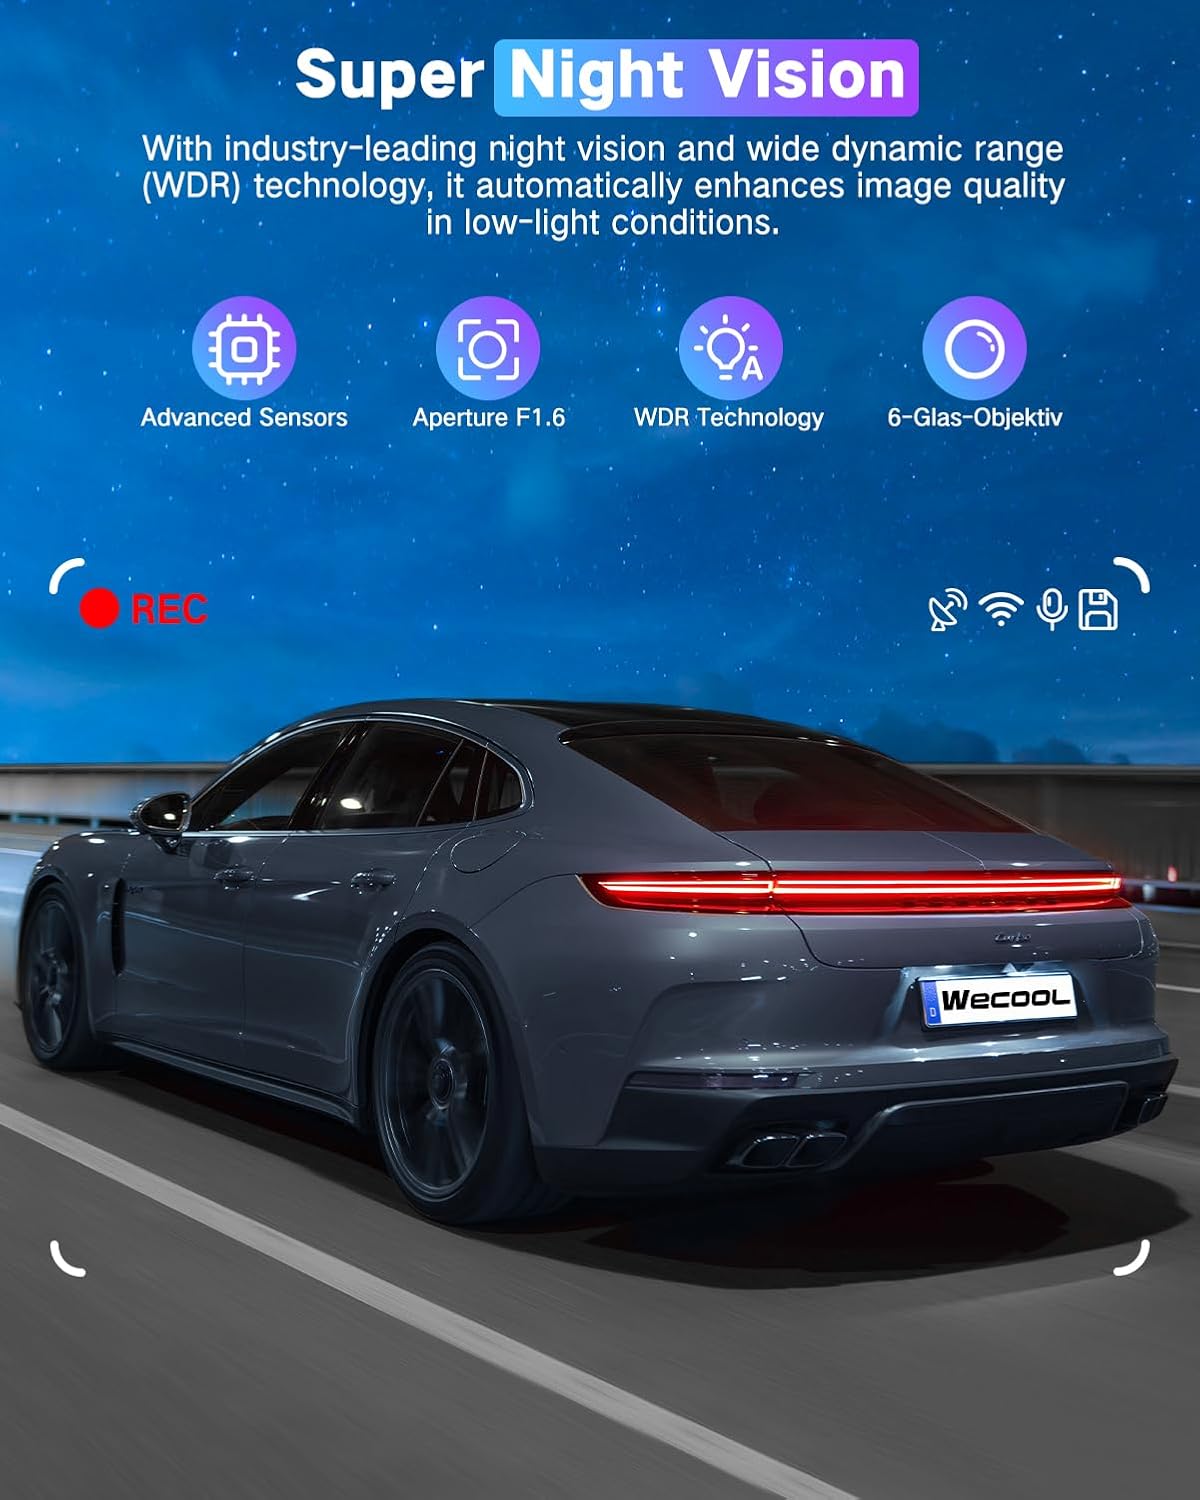
Image: A car driving at night, demonstrating the effectiveness of Super Night Vision with WDR Technology for clear footage f'ambjenti b'dawl baxx.
3.7 470° Ultra-Wide Angle All-Round Protection
The dash cam provides extensive coverage with a 170° ultra-wide front lens, a 150° wide-angle rear lens, and a 150° interior wide-angle lens. This combined 470° field of view minimizes blind spots and captures comprehensive details around and within your vehicle.

Image: A diagram illustrating the 470° panoramic wide-angle coverage, combining the 170° front, 150° interior, and 150° rear camera views.
4. Manutenzjoni
4.1 Ġestjoni tal-Kard SD
- Ifformattjar: It is recommended to format the MicroSD card regularly (e.g., once a month) to maintain optimal performance and prevent data corruption. This can usually be done through the dash cam's menu settings.
- Kapaċità: The included 64GB card is sufficient for many users, but the dash cam supports cards up to 256GB for extended recording time.
4.2 Tindif
- Imsaħ il-lentijiet tal-kamera bil-mod b'ċarruta ratba u mingħajr suf biex tiżgura kwalità ċara tal-vidjow. Evita materjali li joborxu jew kimiċi ħarxa.
- Naddaf il-korp tal-kamera tad-daxxbord b'ċarruta niexfa jew kemxejn imxarrbaamp drapp.
4.3 Tolleranza għat-Temperatura
The dash cam is designed to withstand extreme temperatures from -4°F (-20°C) to 158°F (70°C), ensuring reliable performance in various climates. Its high-strength aluminum alloy housing aids in heat dissipation.

Image: The dash cam operating reliably in both extreme heat (desert, 70°C) and extreme cold (snowy mountains, -15°C), demonstrating its robust temperature tolerance.
5 Issolvi l-problemi
If you encounter any issues with your dash cam, refer to the following common problems and solutions:
- Il-Dash Cam Mhux Tixgħel:
- Ensure the power cable is securely connected to both the dash cam and the car's 12V power outlet.
- Check if the car charger is working by testing it with another device.
- Verify your vehicle's 12V power outlet is active (some vehicles require the ignition to be on).
- Recording Issues (e.g., not recording, corrupted files):
- Format the MicroSD card through the dash cam's settings.
- Ensure the MicroSD card is a high-speed Class 10 or U3 card.
- Ipprova kard MicroSD differenti biex teskludi jekk il-kard għandhiex taħdem sew.
- Check if loop recording is enabled and set correctly.
- Problemi ta' Konnessjoni Wi-Fi:
- Ensure you are within the effective range (3-5 meters) of the dash cam.
- Erġa' ibda kemm id-dash cam kif ukoll l-ismartphone tiegħek.
- Reinstall the companion app on your smartphone.
- Kwalità Fqira tal-Vidjo:
- Naddaf il-lentijiet tal-kamera b'ċarruta ratba.
- Kun żgur li l-film protettiv tneħħa mil-lentijiet.
- Iċċekkja s-settings tar-riżoluzzjoni tal-vidjo fil-menù tad-dash cam.
- Adjust exposure settings if videos appear too dark or too bright.
- Il-Monitor tal-Parkeġġ Mhux Jaħdem:
- Confirm that a Type-C hardwiring kit is installed and correctly connected to provide continuous power.
- Iċċekkja s-settings tal-modalità tal-parkeġġ fil-menù tad-dash cam.
6. Speċifikazzjonijiet
| Karatteristika | Speċifikazzjoni |
|---|---|
| Isem tal-Mudell | Wecool Dash cam BS001 |
| Riżoluzzjoni tal-Qbid tal-Vidjo | Front: 4K, Interior: 1080P, Rear: 1080P |
| Qasam Ta ' View | Front: 170 Degrees, Interior: 150 Degrees, Rear: 150 Degrees (Total 470°) |
| Teknoloġija tal-Konnettività | USB, Wi-Fi (5GHz), Wireless |
| Karatteristiċi Speċjali | 470° Ultra-Wide Angle, 5GHz WiFi, G-Sensor, Loop Recording, Night Vision with WDR, 24H Parking Monitor (requires hardwiring kit) |
| Tip ta 'Immuntar | Windshield Mount (Suction Cup & 3M Adhesive) |
| Komponenti Inklużi | 4K Dash Cam, 1080P Rear Camera, Power Supply Cable with Car Charger, Rear Camera Cable, 64GB Card, Suction Cup Bracket, 3M Adhesive Mount, Installation Assistant Kit |
| Dimensjonijiet tal-Prodott | 3.94 x 2.76 x 1.38 pulzieri |
| Piż tal-oġġett | 1.15 liri |
| Kulur | Iswed Matte |
| Tolleranza tat-Temperatura | -4°F (-20°C) sa 158°F (70°C) |
7. Garanzija u Appoġġ
For warranty information, technical support, or any inquiries regarding your WECOOL Dash Cam, please refer to the contact information provided in your product packaging or visit the official WECOOL websit. Żomm l-irċevuta tax-xiri tiegħek għal pretensjonijiet ta' garanzija.


