1. Introduzzjoni
This manual provides detailed instructions for the installation, operation, and maintenance of your GAMEMAX N90 BG ATX PC Case. The N90 BG features a modular dual-chamber design, a 512-LED matrix display, and panoramic curved glass. It is designed for BTF motherboards, offering a cable-free interior, efficient 270° cooling, and includes six ARGB PWM fans. Please read this manual thoroughly before beginning assembly to ensure proper setup and optimal performance.

Figura 1: Naħa ta' quddiem view of the GAMEMAX N90 BG ATX PC Case, showcasing its panoramic curved glass, internal components, and the integrated LED display.
2. Kontenut tal-Pakkett
Verify that all components are present before proceeding with the installation:
- GAMEMAX N90 BG ATX PC Case
- Kaxxa tal-aċċessorji (viti, standoffs, rabtiet tal-kejbil)
- Six pre-installed ARGB PWM fans
- Manwal għall-Utent (dan id-dokument)
3. Setup u Installazzjoni
Follow these steps for proper assembly of your PC components within the GAMEMAX N90 BG case.
3.1. Tħejjija tal-Każ
- Spakkjar: Neħħi l-kaxxa mill-imballaġġ tagħha bir-reqqa.
- Tneħħija tal-Panew: The panoramic curved glass and side panels can be removed for easier access. Refer to Figure 2 for an interior view.

Figura 2: Intern view of the GAMEMAX N90 BG case, highlighting the spacious motherboard tray and fan mounting locations.

Figura 3: Ġenb view of the case with the panel removed, providing access to the internal structure for component installation.
3.2. Installazzjoni tal-Motherboard
The N90 BG supports ATX motherboards, including BTF (Back-To-the-Future) motherboards for a cable-free aesthetic. Install the necessary standoffs for your motherboard size, then carefully place the motherboard and secure it with screws.

Figura 4: Intern view demonstrating potential component placement and cable routing paths.
3.3. Installazzjoni ta 'Provvista ta' Enerġija
The case features a bottom mount for the power supply. Install your power supply unit (PSU) into the designated compartment at the bottom of the case and secure it with screws from the rear.

Figura 5: Wara view of the case, illustrating the power supply mounting area and expansion slots.
3.4. Installazzjoni tad-Drajv tal-Ħażna
Utilize the available drive bays for 2.5-inch SSDs or 3.5-inch HDDs. Refer to the accessory box for specific mounting hardware.
3.5. Installazzjoni tal-Fann u r-Radjatur
The case comes with six pre-installed ARGB PWM fans for efficient 270° cooling. Additional fans or radiators can be mounted in various positions (top, side, rear) as needed. Ensure proper airflow direction for optimal cooling.

Figure 6: Top-down interior view, showing available mounting points for additional fans or liquid cooling radiators.
3.6. Ġestjoni tal-Kejbil
The dual-chamber design and BTF motherboard compatibility facilitate excellent cable management, allowing for a clean, cable-free interior. Route all cables through the designated cutouts and secure them using the provided cable ties in the rear chamber.
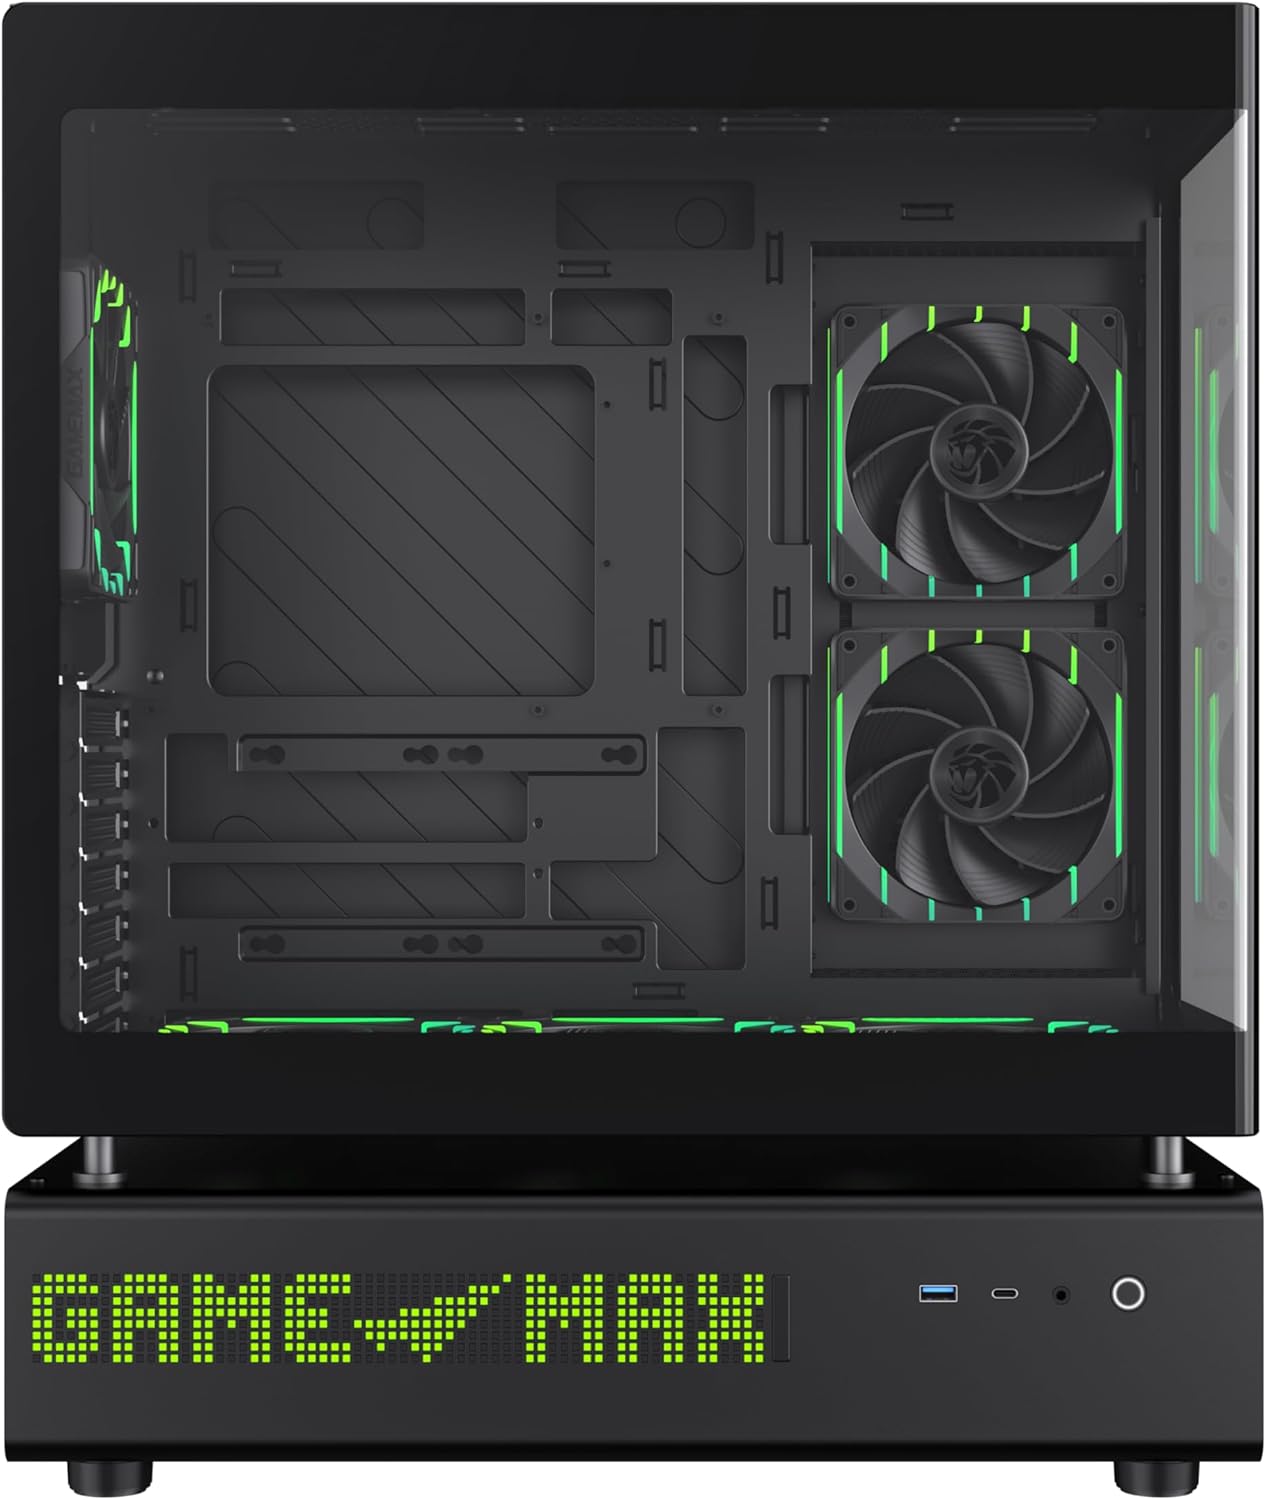
Figura 7: Ġenb view of the case, illustrating the solid panel that conceals the cable management area.
4. Istruzzjonijiet Operattivi
4.1. Tixgħel
After all components are installed and cables are connected, close all panels. Connect the power cable to your PSU and press the power button located on the front panel of the case.
4.2. 512-LED Matrix Display
The integrated 512-LED matrix display on the front panel can be customized to show various information or patterns. Refer to your motherboard's software or the GAMEMAX utility (if applicable) for configuration options.
4.3. ARGB PWM Fans
The six pre-installed ARGB PWM fans are connected to a controller or directly to your motherboard. Fan speed and RGB lighting can typically be controlled via motherboard software (e.g., ASUS Aura Sync, MSI Mystic Light, Gigabyte RGB Fusion) or a dedicated fan controller.
5. Manutenzjoni
Manutenzjoni regolari tiżgura l-lonġevità u l-prestazzjoni ottimali tal-kaxxa tal-PC tiegħek.
- Filtri tat-Trab: Periodically clean the dust filters located on the intake areas of the case. Gently remove them and clean with compressed air or water (ensure they are completely dry before reinstallation).
- Tindif ta' barra: Wipe the exterior surfaces, including the panoramic curved glass, with a soft, damp drapp. Evita cleaners li joborxu.
- Tindif ta 'ġewwa: Use compressed air to remove dust from internal components and fans. Ensure the system is powered off and unplugged before cleaning.
6 Issolvi l-problemi
Jekk tiltaqa' ma' problemi, irreferi għall-passi komuni li ġejjin għas-soluzzjoni tal-problemi:
- Ebda Qawwa:
- Kun żgur li l-PSU hija mixgħula u konnessa sew mas-sokit tal-ħajt.
- Verify all power cables (24-pin ATX, CPU, GPU) are securely connected to the motherboard and components.
- Iċċekkja l-konnessjoni tas-swiċċ tal-enerġija tal-pannell ta' quddiem mal-motherboard.
- Fans Not Spinning / LEDs Not Lighting Up:
- Confirm fan and ARGB cables are correctly connected to the motherboard headers or fan controller.
- Check motherboard BIOS/UEFI settings or software for fan and RGB control.
- Kwistjonijiet tal-Wiri:
- Ensure your monitor is connected to the graphics card, not the motherboard's integrated graphics (unless using integrated graphics).
- Iċċekkja li l-karta grafika hija mdaħħla sew fl-islott PCIe tagħha u li għandha biżżejjed enerġija.
For further assistance, consult your motherboard manual or the GAMEMAX support resources.
7. Speċifikazzjonijiet
| Karatteristika | Speċifikazzjoni |
|---|---|
| Brand | GAMEMAX |
| Isem tal-Mudell | GAMEMAX N90 BG |
| Numru tal-Mudell tal-Oġġett | N90 BG |
| Kompatibbiltà tal-motherboard | ATX |
| Tip ta' Każ | Torri tan-Nofs |
| Kulur | Iswed |
| Materjal | Ħġieġ, Plastik ABS |
| Dimensjonijiet tal-Prodott (LxWxH) | 17.28 x 9.65 x 20.87 pulzieri |
| Piż tal-oġġett | 28.5 libbra (12.95 Kilogrammi) |
| Numru ta 'USB 3.0 Ports | 1 |
| Tip ta' Immuntar tal-Provvista tal-Enerġija | Mount tal-qiegħ |
| Metodu tat-tkessiħ | Air (with 6 pre-installed ARGB PWM fans) |
| Użi Rakkomandati | Logħob |
8. Garanzija u Appoġġ
GAMEMAX stands behind the quality of its products. While specific warranty details may vary by region, GAMEMAX products are designed for reliability and performance.
For technical support, warranty claims, or further inquiries, please visit the official GAMEMAX store or contact their customer service. You can find more information and support resources at the GAMEMAX Store on Amazon.


