1. Introduzzjoni
This manual provides essential information for the proper setup, operation, and maintenance of your INFIYA Z1 2K Outdoor Camera. Please read it thoroughly before using the product to ensure optimal performance and longevity.
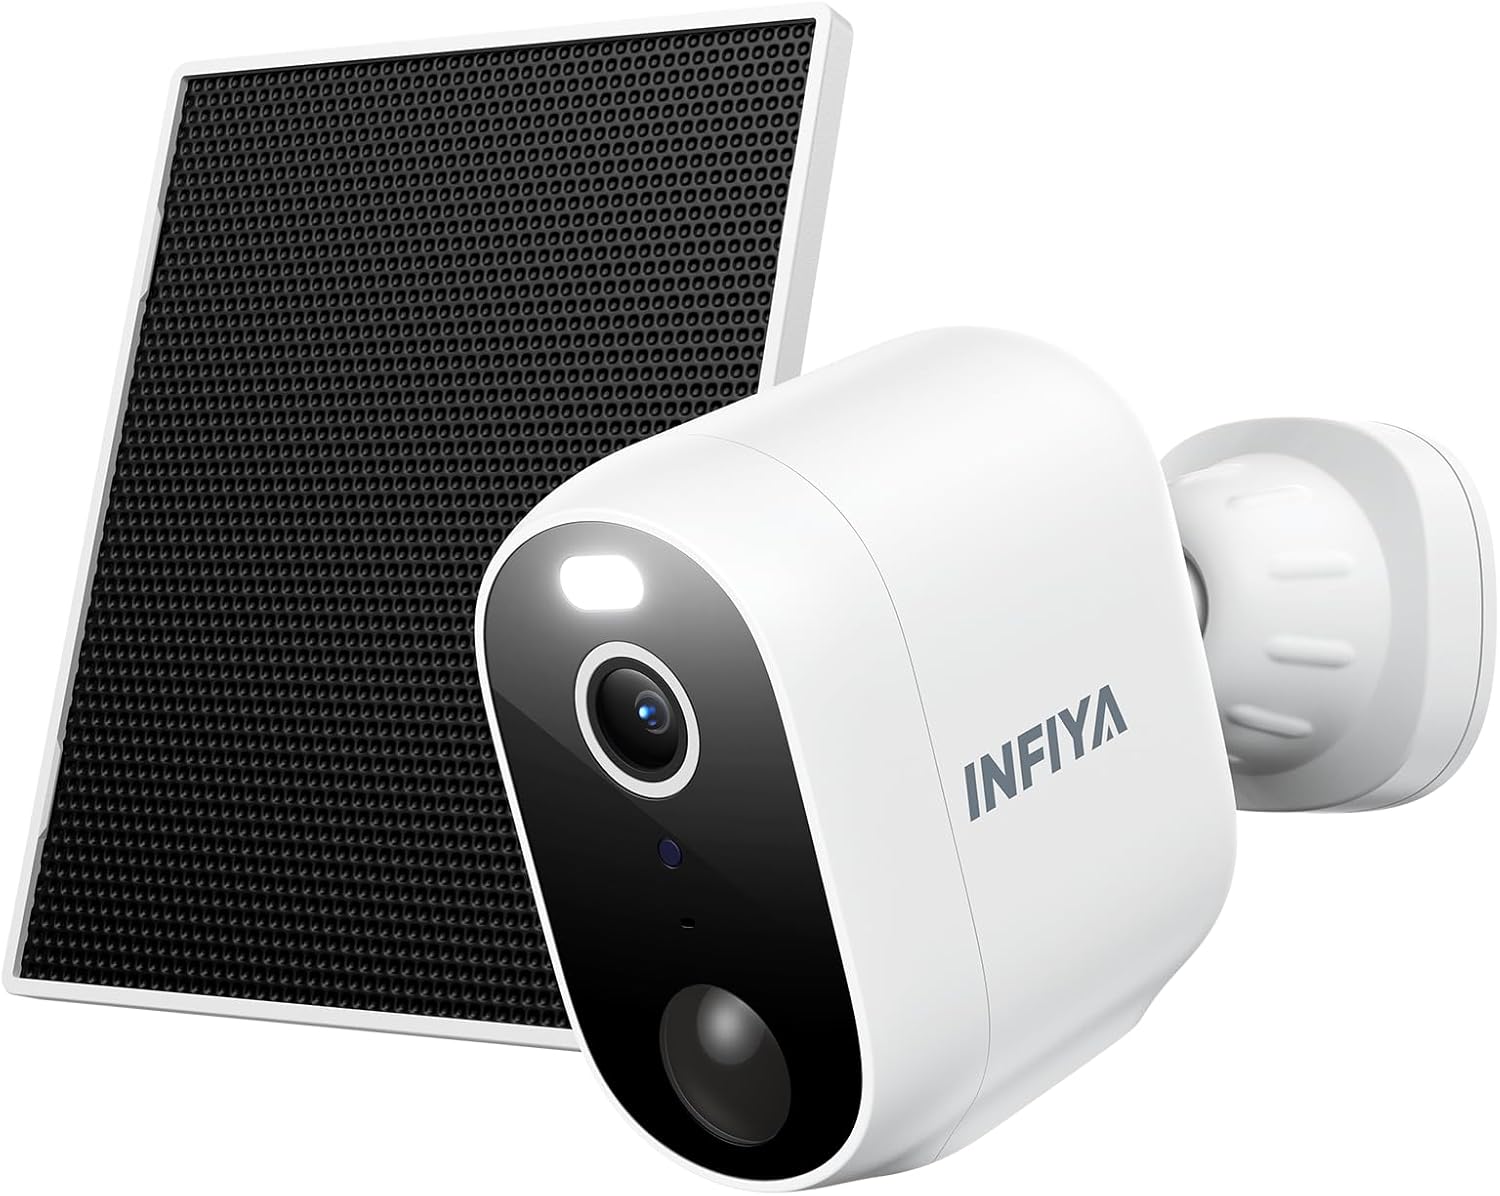
Figure 1: INFIYA Z1 2K Outdoor Camera with Solar Panel. This image displays the main components of the INFIYA Z1 camera system, including the camera unit and its accompanying solar panel, designed for outdoor surveillance.
2. X'hemm fil-Kaxxa
Iċċekkja li l-komponenti kollha elenkati hawn taħt huma inklużi fil-pakkett tiegħek:
- Kamera Solari
- Parentesi
- Gwida għall-Installazzjoni
- Viti tal-Immuntar
- Stiker tal-Mudell tal-Immuntar
- Kurdun tal-Enerġija tat-Tip-Ċ
- Panel Solari
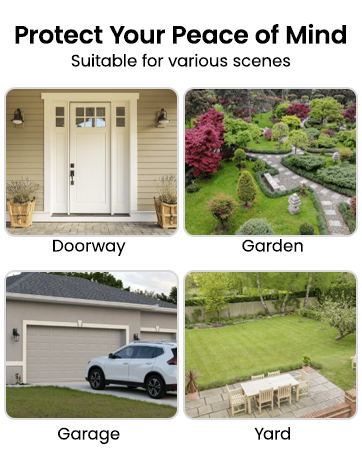
Figure 2: Package Contents. This image illustrates all items included in the INFIYA Z1 camera package, such as the camera, solar panel, mounting hardware, and documentation.
3. Setup
3.1 Initial Charging & Power On
Before initial use, fully charge the camera's built-in 5200 mAh battery using the provided Type-C power cord. Press and hold the power button for 5 seconds to turn it on.
3.2 App Download & Registration
- Niżżel il-'Wans'view Cloud' app from your device's app store (Google Play or Apple App Store).
- Irreġistra kont ġdid jew idħol jekk diġà għandek wieħed.

Figure 3: App Download and Setup. This image shows the steps to download the Wansview Cloud app and begin the setup process for the INFIYA Z1 camera.
3.3 Konnessjoni Wi-Fi
Place the camera near your 2.4GHz Wi-Fi router (within 3 feet). The INFIYA Z1 camera supports 2.4GHz Wi-Fi only (5GHz is not supported). Follow the in-app instructions to connect the camera to your Wi-Fi network.
Video 1: How to connect INFIYA Z1 camera. This video provides a step-by-step guide on connecting your INFIYA Z1 camera to your Wi-Fi network using the mobile application.
Video 2: Use soft-ap to connect your INFIYA Z1 camera. This video demonstrates an alternative method for connecting your INFIYA Z1 camera using soft-AP mode.
4. Installazzjoni
The INFIYA Z1 camera is IP65 weather-resistant, suitable for both indoor and outdoor use. Choose a location with good Wi-Fi signal and adequate sunlight for the solar panel.
4.1 Immuntar tal-Kamera
- Use the mounting template sticker to mark drill holes on your desired surface (wall or ceiling).
- Drill it-toqob u daħħal l-ankri tal-ħajt.
- Attach the camera bracket to the surface using the mounting screws.
- Slide the camera onto the bracket until it clicks securely into place.
4.2 Immuntar tal-Pannell Solari
Mount the solar panel in a location that receives direct sunlight for at least a few hours a day. Connect the solar panel's Type-C cable to the camera's charging port.
Video 3: How to Install Your INFIYA Z1 Camera & Solar Panel. This video demonstrates the physical installation process for both the INFIYA Z1 camera and its solar panel.

Figure 4: IP65 Weather Resistance. The image shows the INFIYA Z1 camera with its solar panel installed outdoors during rain, highlighting its IP65 waterproof rating.
5. It-tħaddim tal-Kamera
5.1 Ħaj View & Kontroll tal-Pan/Tilt
Access the live 2K FHD video feed through the Wansview Cloud app. The camera offers 345° pan and 60° tilt functionality, allowing you to remotely adjust the viewAngolu ta' ing għal kopertura komprensiva.

Figure 5: 2K Clarity. This image compares the video quality of 2K 3MP resolution with 1080p, demonstrating the superior detail captured by the INFIYA Z1 camera.
5.2 Sejbien tal-Mozzjoni u Twissijiet
The camera features AI Human Detection (up to 32ft) to reduce false alarms. When motion is detected, you will receive push notifications on your phone. You can customize detection settings and sensitivity within the app.
Video 4: How do I enable motion alert? This video guides users through the process of enabling and configuring motion alerts within the camera's mobile application.

Figure 6: AI Human Detection. This image illustrates the camera's AI human detection feature, showing how it identifies people and sends motion alerts.
5.3 Siren & Light Alarm
Configure the camera to automatically activate its siren and intelligent white light upon motion detection to deter potential intruders. These features can be controlled via the app.

Figure 7: Deter Potential Intruders. This image depicts the camera's siren and intelligent white light activating to deter an individual at night.
5.4 Viżjoni bil-lejl
The camera offers both color night vision (with built-in white light) and classical infrared night vision (black & white). You can switch between modes or set preferences in the app.

Figure 8: Color Night Vision. This image demonstrates the camera's ability to display color details even at night, contrasting it with traditional infrared night vision.
5.5 Awdjo b'żewġ direzzjonijiet
Utilize the built-in microphone and speaker for two-way communication. Speak to visitors or deter unwanted guests directly through the app.

Figure 9: Real-time Two-Way Talk. This image shows a user communicating with a delivery person via the camera's two-way audio feature.
5.6 Għażliet ta' Ħażna
The camera supports local storage via a TF card (8GB~128GB, FAT32 format). Optional cloud storage with high-security encryption is also available via subscription for extended video history.
5.7 Integrazzjoni ta' Alexa
The INFIYA Z1 camera is compatible with Alexa for live streaming. Use voice commands to view the camera feed on compatible Alexa-enabled devices.
Video 5: How to setup and navigate your INFIYA Z1 Surveillance Kit. This comprehensive video covers the setup process and navigation of the INFIYA Z1 surveillance kit, including app features and settings.
6. Manutenzjoni
6.1 Battery & Solar Charging
The built-in 5200 mAh battery is continuously charged by the solar panel, ensuring long standby times. Ensure the solar panel is clean and receives adequate sunlight for optimal charging.
6.2 Tindif
Naddaf il-lenti tal-kamera u l-wiċċ tal-pannell solari perjodikament b'ċarruta ratba u damp cloth to maintain clear image quality and efficient solar charging.
7 Issolvi l-problemi
- Kamera Offline: Check Wi-Fi connection and signal strength. Ensure the camera battery is charged.
- Ebda Twissijiet ta' Mozzjoni: Verify motion detection is enabled in the app and sensitivity settings are appropriate. Check the detection distance.
- Kwalità Fqira tal-Immaġni: Clean the camera lens. Ensure adequate lighting for night vision.
- Il-Pannell Solari Mhux Qed Jiċċarġja: Ensure the solar panel is clean and positioned to receive maximum direct sunlight. Check the connection cable.
8. Speċifikazzjonijiet
| Riżoluzzjoni | 2K (1296p), Riżoluzzjoni Effettiva ta' Ritratti ta' 3 MP |
| Konnettività | 2.4GHz Wi-Fi (5GHz mhux appoġġjat) |
| Sors tal-Enerġija | Battery Powered (5200 mAh), Solar Powered |
| Reżistenza għat-temp | IP65 |
| Viżjoni bil-lejl | Color Night Vision, Infrared Night Vision (26 Feet Range) |
| Sejbien tal-Moviment | AI Human Detection (up to 32ft) |
| Awdjo | Awdjo Two-Way |
| Ħażna | TF Card (8GB~128GB, FAT32), Optional Cloud Service |
| Pan/Mejjel | 345° Pan, 60° Mejjel |
| Apparati Kompatibbli | Alexa Assistant (Live Streaming Only) |
9. Garanzija u Appoġġ
For warranty information and technical support, please refer to the documentation included in your product packaging or visit the INFIYA official website. Contact details for customer service can typically be found in the installation guide.


