Introduzzjoni
This user manual provides comprehensive instructions for the Victoper LED Torch, a high-performance tactical flashlight designed for various outdoor activities and emergency situations. Please read this manual carefully before using the product to ensure proper operation and maintenance.
Informazzjoni dwar is-Sigurtà
- Do not look directly into the LED light beam to avoid eye injury.
- Żomm fejn ma jintlaħaqx mit-tfal.
- Tħallatx batteriji qodma u ġodda, jew tipi differenti ta 'batteriji.
- Kun żgur li l-batteriji jiddaħħlu bil-polarità korretta (+/-).
- Do not attempt to disassemble or modify the flashlight, as this may void the warranty and cause damage.
- Armi l-batteriji kif suppost skont ir-regolamenti lokali.
Kontenut tal-Pakkett
The Victoper LED Torch package includes the following items:
- 2 x Victoper LED Flashlights
- 6 x AAA Batteries (3 per flashlight)
- 2 x AAA Battery Holders (pre-installed)
- 2 x Plastic Tubes for 18650 Battery (1 per flashlight, 18650 battery not included)
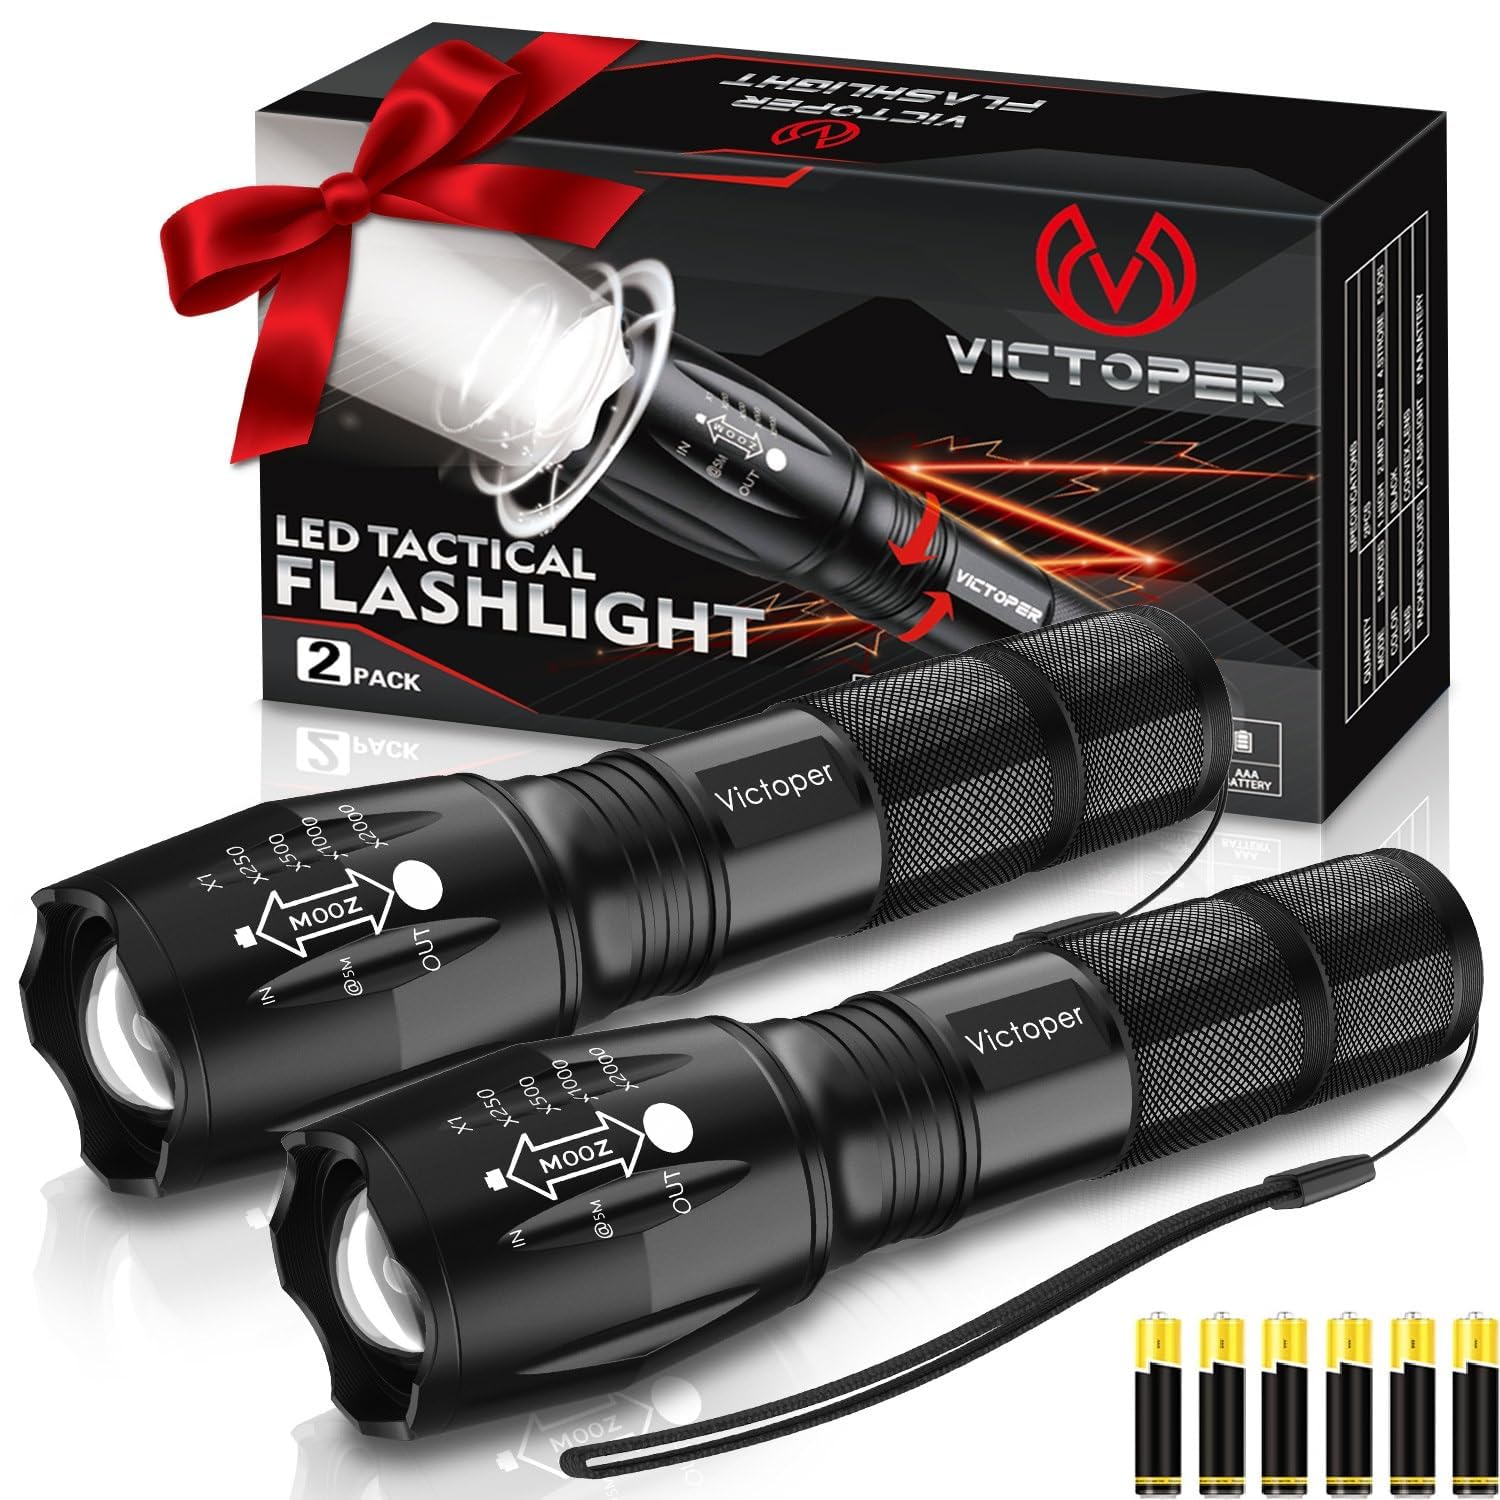
Image: Victoper LED Torch 2 Pack, showing both flashlights, the product box, and the included AAA batteries.
Prodott Overview
Familiarize yourself with the components of your Victoper LED Torch:

Image: Detailed diagram illustrating the components of the Victoper LED Torch, including the Light Head, Convex Lens, Zoomable Design, Aluminum Alloy body, Waterproof O-ring, Anti-skid Design, AAA Battery Holder, Plastic Tube for 18650 Battery, Tail Cover, and Power Switch.
- Ras tad-Dawl: Contains the LED and convex lens.
- Convex Lens: Used for focusing the light beam.
- Disinn Zoomable: Allows adjustment between floodlight and spotlight.
- Korp tal-Liga tal-Aluminju: Kostruzzjoni durabbli u ħafifa.
- Waterproof O-ring: Ensures water resistance.
- Anti-skid Design: Provides a secure grip.
- Detentur tal-batterija AAA: For holding three AAA batteries.
- Plastic Tube: Used when inserting an 18650 battery (not included).
- Tail Cover: Jiżgura l-kompartiment tal-batterija.
- Swiċċ tal-Enerġija: Located on the tail cover, used for turning the flashlight on/off and cycling through modes.
Setup
Installazzjoni tal-batterija
Your Victoper LED Torch comes with AAA batteries included. To install or replace batteries:
- Unscrew the tail cover of the flashlight by turning it counter-clockwise.
- Insert three AAA batteries into the provided AAA battery holder, ensuring correct polarity (+/-).
- Place the battery holder with batteries into the flashlight body.
- Alternatively, if using an 18650 battery (not included), insert the 18650 battery into the plastic tube, then insert the tube into the flashlight body, ensuring correct polarity.
- Screw the tail cover back on clockwise until it is securely tightened.

Image: Illustration of multiple battery options, showing the AAA battery holder with three AAA batteries and a single 18650 battery, highlighting the flashlight's versatility.
Istruzzjonijiet Operattivi
Power On/Off u Għażla tal-Modalità
The Victoper LED Torch features five lighting modes. To operate:
- Biex Tixgħel/Tfi: Press the power switch located on the tail cover firmly until it clicks.
- Biex Tiċċikla l-Modalitajiet: Once the flashlight is on, lightly press the power switch (without clicking) to cycle through the five modes:
- Għoli: Maximum brightness for powerful illumination.
- Medju: Luminożità bbilanċjata għal użu ġenerali.
- Baxx: Reduced brightness for extended battery life or close-range tasks.
- Strobe Rapid flashing light for signaling or disorienting.
- SOS: International Morse code signal for emergencies.
- To select a mode, simply stop pressing the switch when the desired mode is active.

Image: Visual representation of the five distinct light modes: High, Middle (Medium), Low, Strobe, and SOS, demonstrating the different light outputs.
Zoom Function (Telescopic Focusing)
The flashlight features a zoomable head that allows you to adjust the beam from a wide floodlight to a focused spotlight:
- Zoom Out (Floodlight): Pull the head of the flashlight outwards to widen the beam. This is ideal for illuminating a large area at close to medium distances.
- Zoom In (Spotlight): Push the head of the flashlight inwards to narrow the beam. This creates a concentrated spotlight for long-distance illumination.

Image: Comparison showing the flashlight's zoom capabilities, with "Zoom Out" illustrating a wide floodlight beam for near distances and "Zoom In" demonstrating a focused spotlight beam for long distances.
Manutenzjoni
Tindif
To maintain the performance and appearance of your flashlight:
- Imsaħ il-barra tal-flashlight b'ċarruta ratba u damp drapp.
- Tużax tindif jew solventi li joborxu.
- Keep the lens clean for optimal light output. Use a lens cleaning cloth if necessary.
Kura u Ħażna tal-batterija
- Neħħi l-batteriji jekk it-torċa ma tkunx se tintuża għal perjodu estiż biex tevita t-tnixxija.
- Aħżen il-flashlight f'post frisk u niexef 'il bogħod mid-dawl tax-xemx dirett u temperaturi estremi.
- Ensure the O-rings are clean and lightly lubricated with silicone grease periodically to maintain water resistance.

Image: The Victoper LED Torch partially submerged in water, illustrating its IP65 waterproof rating and suitability for extreme weather conditions.
Issolvi l-problemi
| Problema | Kawża Possibbli | Soluzzjoni |
|---|---|---|
| Il-flashlight ma tixgħel. |
|
|
| Id-dawl huwa baxx jew jitteptep. |
|
|
| Ma tistax tbiddel il-modi. |
|
|
Speċifikazzjonijiet
| Karatteristika | Dettall |
|---|---|
| Brand | Victorper |
| Numru tal-Mudell | fl02 |
| Karatteristika Speċjali | Adjustable Focus, Durable, Dustproof, High Power, Long Range, Weatherproof |
| Kulur | iswed |
| Sors tal-Enerġija | Mħaddma bil-batterija |
| Tip ta' Sors tad-Dawl | LED |
| Materjal | Metal (Aircraft-grade alloy) |
| Luminożità abjad | 2000 Lumens |
| Dimensjonijiet tal-Prodott | 31D x 31W x 128H Millimeters (12.8 x 3.1 x 3.1 cm) |
| Kompożizzjoni taċ-Ċellola tal-Batterija | Alkaline (AAA) / Compatible with 18650 |
| Numru ta' Batteriji | 6 batteriji AAA meħtieġa (inklużi) |
| Livell ta 'Reżistenza għall-Ilma | Li ma jgħaddix ilma minnu (IP65) |
| Runtime | 50000 hours (LED lifespan) |
| Piż tal-oġġett | 0.3 Kilogrammi (300 g) |
| Komponenti Inklużi | 2 * flashlight, Battery, battery case |
Informazzjoni dwar Garanzija
Victoper products are manufactured to high-quality standards. For specific warranty details and terms, please refer to the product packaging or contact Victoper customer support. Keep your purchase receipt as proof of purchase for any warranty claims.
Appoġġ għall-Klijent
If you have any questions, concerns, or require assistance with your Victoper LED Torch, please contact our customer support team. Refer to the contact information provided on the product packaging or the official Victoper websit għall-aktar kanali ta' appoġġ aġġornati.
Għal mistoqsijiet ġenerali, tista' żżur ukoll il- paġna tal-prodott fuq Amazon.in.


