Introduzzjoni
This manual provides detailed instructions for the installation, operation, and maintenance of your Defiant Vancouver Matte Black Entrance Door Handleset with Interior Knob, model HPX9G3. Please read these instructions carefully before beginning installation to ensure proper function and longevity of your product. Keep this manual for future reference.
Informazzjoni dwar is-Sigurtà
- Dejjem ilbes tagħmir tas-sigurtà xieraq, bħal nuċċalijiet tas-sigurtà, waqt l-installazzjoni.
- Ensure all components are present and undamaged before installation. Do not install damaged parts.
- Use only the tools specified in this manual.
- Żomm partijiet żgħar 'il bogħod mit-tfal.
- Jekk m'intix ċert dwar xi pass, ikkonsulta professjonist kwalifikat.
Kontenut tal-Pakkett
Ivverifika li l-komponenti kollha li ġejjin huma inklużi fil-pakkett tiegħek:
- Exterior Handleset Assembly (Pull Handle and Deadbolt)
- Interior Knob Assembly
- Latch Mechanism (EZ fit latch)
- Strike Plate
- Ħardwer tal-Immuntar (Viti, Spindles)
- Ċwievet
- Istruzzjonijiet għall-Installazzjoni (dan il-manwal)
Għodod Meħtieġa
L-għodda li ġejjin huma tipikament meħtieġa għall-installazzjoni:
- Tornavit tar-ras Phillips
- Tejp tal-Kejl
- Lapes
Setup u Installazzjoni
The Defiant Vancouver Handleset is designed for easy installation on most standard doors. A Phillips screwdriver is the primary tool needed.
Pass 1: Ipprepara l-Bieb
Ensure your door has standard bore holes. The latch features an EZ fit design to accommodate both 2-3/8 inch (60mm) or 2-3/4 inch (70mm) backsets. Adjust the latch as needed by twisting the housing.
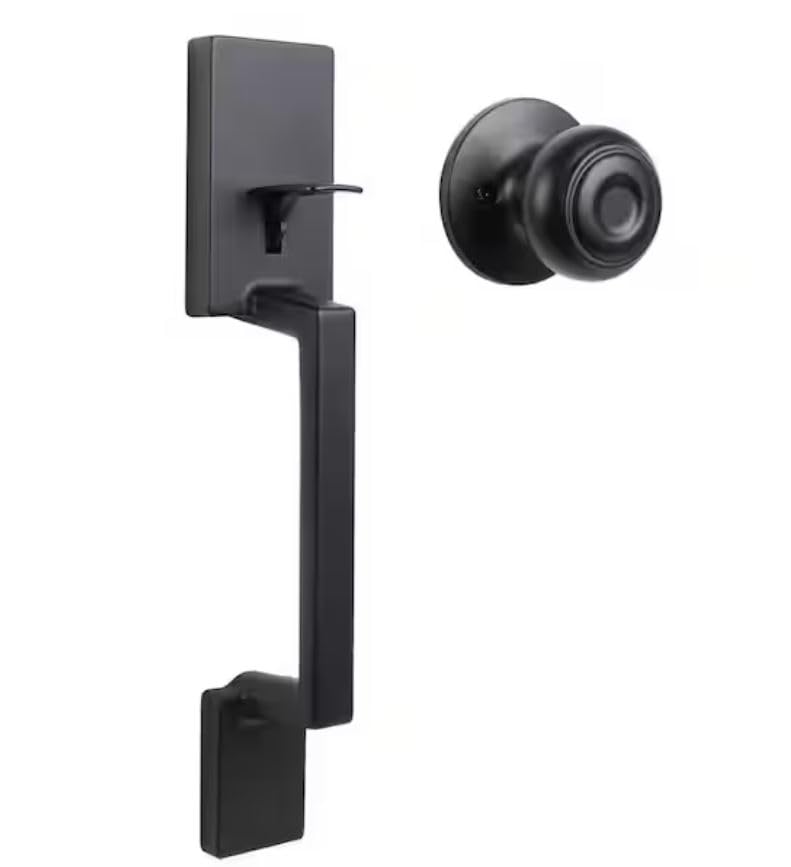
Stampa 1: View of the Defiant Vancouver handleset components, showing the interior knob, the latch mechanism installed in a door edge, and a portion of the exterior pull handle. This illustrates how the latch fits into the door and connects to the interior knob and exterior handle.
Pass 2: Installa l-lukkett
Insert the latch mechanism into the edge bore hole of the door. Ensure the bevel of the latch bolt faces the door frame. Secure the latch with the provided screws. The latch faceplate can be used as a radius faceplate or converted to a drive-in style if required.
Step 3: Install the Exterior Handleset
Position the exterior handleset assembly on the outside of the door, aligning the spindle through the latch mechanism. Ensure the deadbolt mechanism aligns with the upper bore hole.
Step 4: Install the Interior Knob
Place the interior knob assembly on the inside of the door, aligning it with the exterior handleset and the latch spindle. Secure the interior and exterior components using the long mounting screws provided. Tighten screws evenly to prevent binding.
Pass 5: Installa l-Istrike Plate
Close the door and mark the position of the latch bolt and deadbolt on the door frame. Chisel out a shallow recess for the strike plate and secure it with the provided screws. Ensure the door closes smoothly and latches securely.
Step 6: Test Operation
Test the handleset by opening and closing the door, and locking/unlocking the deadbolt and latch from both the interior and exterior. Ensure smooth operation without excessive force.
Operazzjoni
Issakkar il-Bieb
- Minn barra: Insert the key into the deadbolt cylinder and turn to extend the deadbolt. Turn the key back to the vertical position and remove. The lower handle may also have a locking mechanism depending on the specific model.
- Minn ġewwa: Rotate the thumb turn on the interior deadbolt to extend the deadbolt. For the knob, ensure it is in the locked position (if applicable, usually by pressing a button or turning a small knob on the interior knob).
Niftaħ il-Bieb
- Minn barra: Insert the key into the deadbolt cylinder and turn to retract the deadbolt. Turn the key back to the vertical position and remove. To open the door, depress the exterior thumb-piece.
- Minn ġewwa: Rotate the thumb turn on the interior deadbolt to retract the deadbolt. Turn the interior knob to open the door.
Manutenzjoni
- Tindif: Naddaf il-manku b'ċarruta ratba u damp cloth. Avoid abrasive cleaners, solvents, or harsh chemicals, as these can damage the matte black finish.
- Lubrikazzjoni: Periodically apply a small amount of graphite lubricant or a silicone-based spray lubricant to the keyway and latch mechanism to ensure smooth operation. Do not use oil-based lubricants as they can attract dirt.
- Spezzjoni: Regularly check all screws and mounting hardware for tightness. Tighten any loose screws to prevent wobbling or misalignment.
Issolvi l-problemi
| Problema | Kawża Possibbli | Soluzzjoni |
|---|---|---|
| Door does not latch or lock smoothly. | Misalignment of latch/deadbolt with strike plate; loose screws; debris in mechanism. | Check strike plate alignment and adjust if necessary. Tighten all mounting screws. Clean the latch mechanism. |
| Iċ-ċavetta hija diffiċli biex iddawwarha jew tneħħiha. | Lack of lubrication; bent key; debris in keyway. | Apply graphite lubricant to the keyway. Ensure the key is not bent. Clean the keyway. |
| Handleset feels loose or wobbly. | Viti tal-immuntar maħlula. | Tighten all mounting screws on both the interior and exterior assemblies. |
Speċifikazzjonijiet
- Mudell: HPX9G3
- Temm: Iswed Matte
- Materjal: Metal (Stainless Steel Handle)
- Dimensjonijiet tal-Prodott: 12"T x 6"W
- Piż tal-oġġett: 2.6 Liri
- Dahar lura: Adjustable 2-3/8 in. (60mm) or 2-3/4 in. (70mm)
- Tip ta' serratura: Key Lock (Deadbolt)
- Applikazzjoni: Exterior/Entry Doors
Garanzija u Appoġġ
This Defiant handleset comes with a Garanzija Limitata tul il-Ħajja, ensuring durability and performance under normal use. For warranty claims or technical support, please refer to the contact information provided with your purchase documentation or visit the official Defiant websit.
Jekk jogħġbok żomm il-prova tax-xiri tiegħek għal skopijiet ta' garanzija.


