1. Introduzzjoni
This manual provides detailed instructions for the installation, operation, and maintenance of your GIGABYTE B860M AORUS Elite WIFI6E ICE Motherboard. Designed to support Intel Core Ultra Processors (Series 2), this motherboard features advanced power delivery, high-speed storage options, and robust connectivity for optimal performance.
2. Prodott Aktarview
The GIGABYTE B860M AORUS Elite WIFI6E ICE motherboard is a micro-ATX form factor board designed for high-performance computing. It features a white aesthetic and is equipped with various components to enhance system stability and speed.
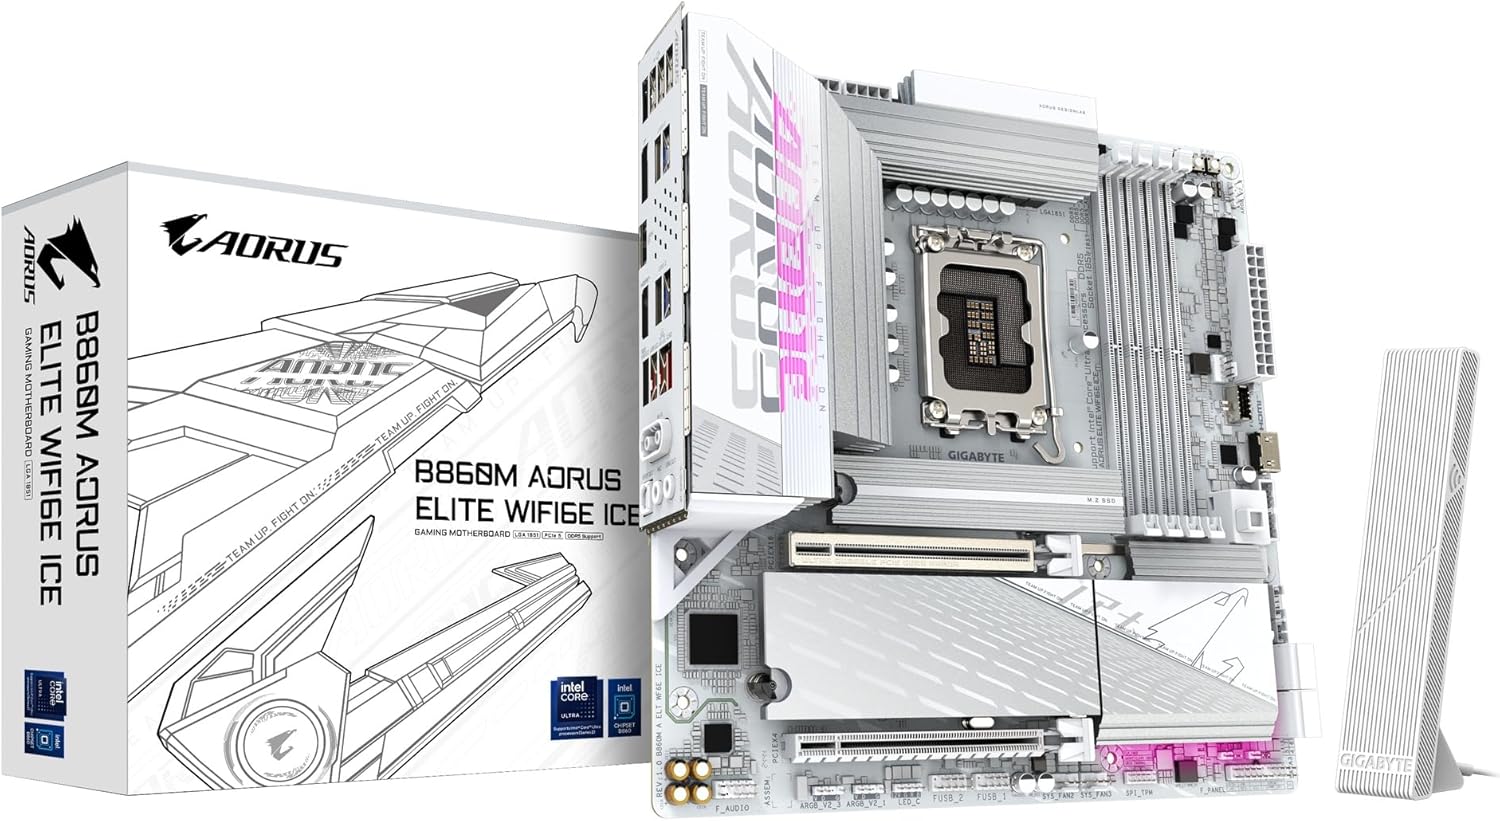
Image 2.1: The GIGABYTE B860M AORUS Elite WIFI6E ICE Motherboard shown with its retail packaging and Wi-Fi antenna.
Karatteristiċi ewlenin:
- Supports Intel Core Ultra Processors (Series 2) for advanced computing power.
- DDR5 Compatible: Features 4 DIMM slots for high-speed DDR5 memory.
- Robust Power Design: Equipped with a 12+1+2+1 phase, 60A DrMOS VRM for stable power delivery.
- Enhanced Thermals: Includes MOSFET Heatsinks and M.2 Thermal Guards to maintain optimal operating temperatures.
- Advanced Connectivity: Offers PCIe 5.0, three M.2 slots, USB-C, WIFI6E, and 2.5GbE LAN for versatile and high-speed connections.
3. Setup u Installazzjoni
Proper installation is crucial for the stable operation of your motherboard. Follow these steps carefully.
3.1 Preparing the Motherboard
Before installing any components, ensure you are working on a static-free surface. Unpack the motherboard and place it on an anti-static mat.

Immaġni 3.1: Minn fuq għal isfel view of the motherboard, highlighting the CPU socket, DIMM slots, and M.2 slots.
3.2 Installazzjoni tas-CPU
- Sib is-sokit tas-CPU LGA 1851 fuq il-motherboard.
- Erfa' bil-mod il-lieva tat-tagħbija u iftaħ l-għatu tas-sokit tas-CPU.
- Align the notches on your Intel Core Ultra (Series 2) processor with the socket. Carefully place the CPU into the socket without forcing it.
- Agħlaq l-għatu tas-sokit u imbotta l-lieva tat-tagħbija 'l isfel sakemm tissakkar f'postha.
Vidjo 3.2.1: Prodott Fuqview Video. This video demonstrates the physical features and installation process of a GIGABYTE motherboard, including CPU installation.
3.3 Installazzjoni tal-Memorja (RAM)
- Iftaħ il-klipps fiż-żewġt itruf tas-slots tad-DDR5 DIMM.
- Allinja l-islott fuq il-modulu tal-memorja DDR5 maċ-ċavetta fl-islott tad-DIMM.
- Daħħal il-modulu tal-memorja sew fl-islott sakemm il-klipps jidħlu f'posthom. Kun żgur li ż-żewġ klipps huma magħluqa.
3.4 Storage (M.2 SSD) Installation
- Locate the M.2 slots on the motherboard. This board features three M.2 slots.
- Neħħi l-M.2 Thermal Guard jekk preżenti.
- Daħħal l-M.2 SSD fl-islott f'angolu ta' 30 grad.
- Push the SSD down and secure it with the EZ-Latch mechanism or a screw.
- Reattach the M.2 Thermal Guard for optimal cooling.

Immaġni 3.4.1: Angolata view of the motherboard, highlighting the M.2 slots and their thermal guards.
3.5 Konnessjoni tal-Periferali u l-Enerġija
- Qabbad il-konnettur ewlieni tal-enerġija ATX ta' 24 pin u l-konnettur tal-enerġija tas-CPU ta' 8 pin mill-provvista tal-enerġija tiegħek mal-motherboard.
- Connect your graphics card to the PCIe 5.0 x16 slot.
- Attach front panel connectors (power button, reset button, USB ports, audio jacks) to their respective headers on the motherboard.
- Connect the Wi-Fi antenna to the rear I/O panel for wireless connectivity.
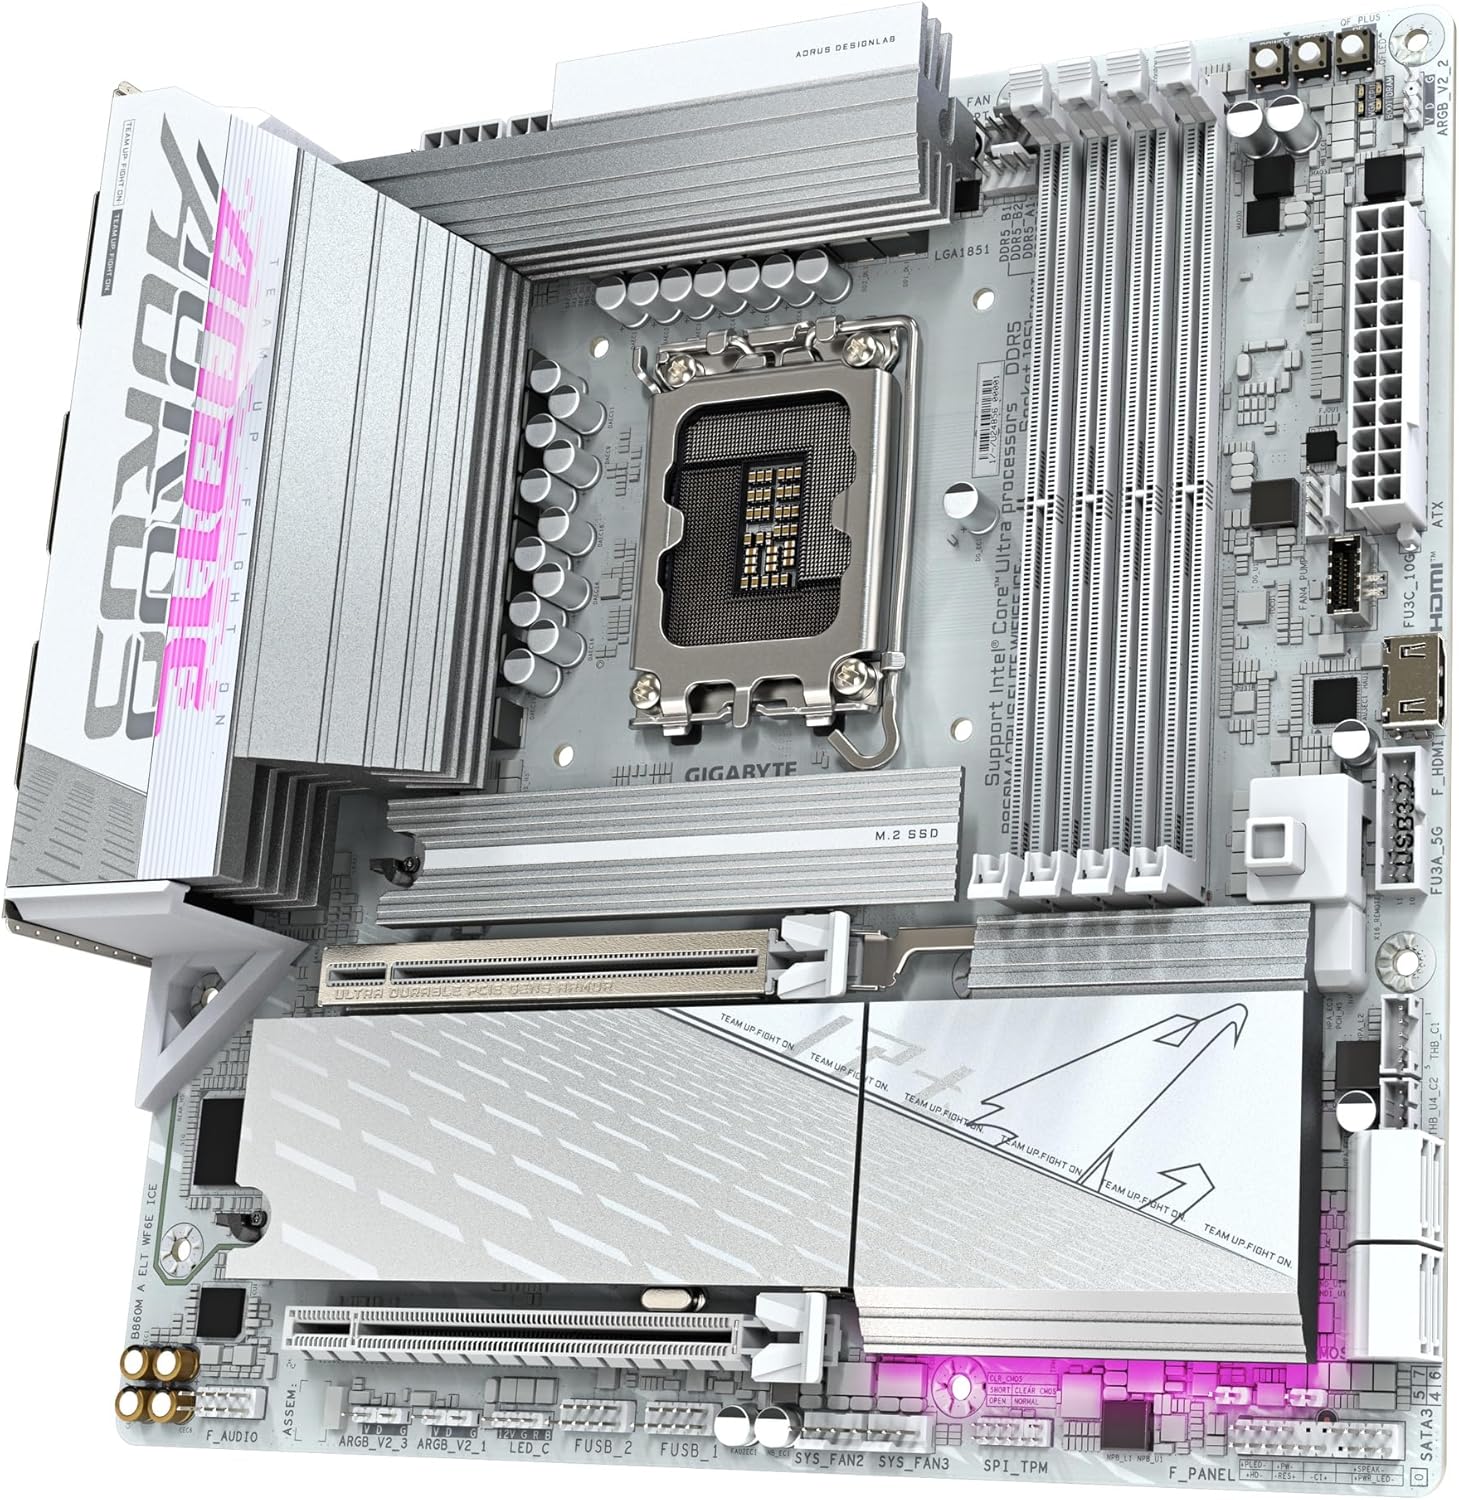
Image 3.5.1: Close-up of the rear I/O panel, showing various USB ports, Ethernet, Wi-Fi antenna connectors, and audio jacks.

Image 3.5.2: The included GIGABYTE Wi-Fi antenna, designed for enhanced wireless signal reception.
4. Istruzzjonijiet Operattivi
4.1 L-Ewwel Boot u s-Setup tal-BIOS
- Wara li tgħaqqad is-sistema tiegħek, qabbad monitor, tastiera, u maws.
- Ixgħel is-sistema tiegħek. Agħfas il-buttuna DEL key repeatedly during startup to enter the BIOS/UEFI setup.
- In the BIOS, verify that all installed components (CPU, RAM, storage) are detected correctly.
- Ikkonfigura l-ordni tal-ibbutjar biex tinstalla s-sistema operattiva tiegħek minn USB drive jew midja ottika.
- Issejvja l-bidliet u oħroġ mill-BIOS.
4.2 Installazzjoni tas-sewwieq
After installing your operating system, install the necessary drivers for the motherboard components. These can typically be found on the GIGABYTE support website for your specific model or on an included driver CD/USB drive.
- Sewwieqa taċ-Ċipset
- LAN Drivers (for 2.5GbE Ethernet)
- Wi-Fi Drivers (for WIFI6E)
- Sewwieqa tal-Awdjo
- Sewwieqa USB
5. Manutenzjoni
Manutenzjoni regolari tgħin biex tiżgura l-lonġevità u l-prestazzjoni ottimali tal-motherboard tiegħek.
- Żommha Nadif: Naddaf it-trab mill-motherboard u l-komponenti perjodikament bl-użu ta' arja kkompressata. Kun żgur li s-sistema tkun mitfija u skonnettjata qabel ma tnaddafha.
- Aġġornamenti tal-BIOS: Iċċekkja l-GIGABYTE website for BIOS/UEFI updates. Updates can improve compatibility, stability, and performance. Follow the instructions provided by GIGABYTE carefully when updating the BIOS.
- Aġġornamenti tas-sewwieq: Keep all drivers updated to ensure compatibility and optimal performance with your operating system and hardware.
- Ġestjoni Termali: Ensure proper airflow within your PC case. Regularly check that fans are functioning correctly and heatsinks are free of dust.
6 Issolvi l-problemi
Din it-taqsima tindirizza kwistjonijiet komuni li tista’ tiltaqa’ magħhom.
- Ebda Qawwa/Ebda Boot:
- Check all power connections (24-pin ATX, 8-pin CPU, graphics card).
- Kun żgur li l-provvista tal-enerġija tkun mixgħula.
- Erġa' poġġi l-moduli tar-RAM. Ipprova boot b'RAM stick wieħed biss.
- Clear CMOS (refer to motherboard manual for specific jumper/button location).
- Ebda Display:
- Ensure monitor cables are securely connected to the graphics card (or motherboard if using integrated graphics).
- Erġa' poġġi l-karta grafika f'postha.
- Ittestja b'monitor jew kejbil differenti jekk possibbli.
- Sistema Operattiva Mhux Qed Tiċċarġja:
- Iċċekkja l-ordni tal-ibbutjar fil-BIOS/UEFI.
- Verify that the storage drive containing the OS is properly connected and detected.
- Run a diagnostic check on the storage drive.
- Wi-Fi/LAN Connectivity Issues:
- Ensure Wi-Fi antenna is securely attached.
- Install or update Wi-Fi and LAN drivers.
- Check network cable connections for LAN.
- Ivverifika s-settings tan-netwerk fis-sistema operattiva tiegħek.
7. Speċifikazzjonijiet
| Karatteristika | Speċifikazzjoni |
|---|---|
| Brand | GIGABYTE |
| Isem tal-Mudell | B860M AORUS ELITE WIFI6E ICE |
| Socket tas-CPU | Intel LGA 1851 |
| Proċessuri Kompatibbli | Intel Ultra Core Series 2 |
| Tip ta' Ċipset | Intel B860 |
| Teknoloġija tal-Memorja RAM | DDR5 |
| Veloċità tal-Memorja | 5600 MHz |
| Slots DIMM | 4 |
| Disinn tal-Qawwa | 12+1+2+1, 60A DrMOS VRM |
| PCIe Slots | PCIe 5.0 x16 (1), PCIe 3.0 x1 (2) |
| M.2 Slots | 3 |
| Portijiet USB | USB-C, USB 3.2, USB 2.0 |
| LAN | 2.5GbE LAN |
| Wireless | WIFI6E |
| Fattur tal-Formola | mATX |
| Dimensjonijiet tal-Prodott | 9.6 x 9.6 x 1 pulzieri |
| Piż tal-oġġett | 3.65 liri |
8. Garanzija u Appoġġ
GIGABYTE provides comprehensive support for its products. For detailed warranty information and technical assistance, please refer to the official GIGABYTE websit jew ikkuntattja lill-appoġġ tal-klijenti tagħhom.
- Reġistrazzjoni tal-Prodott: Irreġistra l-prodott tiegħek fuq il-GIGABYTE websit biex tattiva l-garanzija tiegħek u tirċievi aġġornamenti tal-prodott.
- Appoġġ Tekniku: Visit the GIGABYTE support page for FAQs, driver downloads, and contact information for technical assistance.
- Pjanijiet ta' Protezzjoni: Extended protection plans may be available for purchase. Check with your retailer or GIGABYTE for details.


