1. Introduzzjoni
This manual provides essential instructions for the safe and efficient operation of your RadioShack Home Projector. Please read this manual thoroughly before using the device and retain it for future reference.
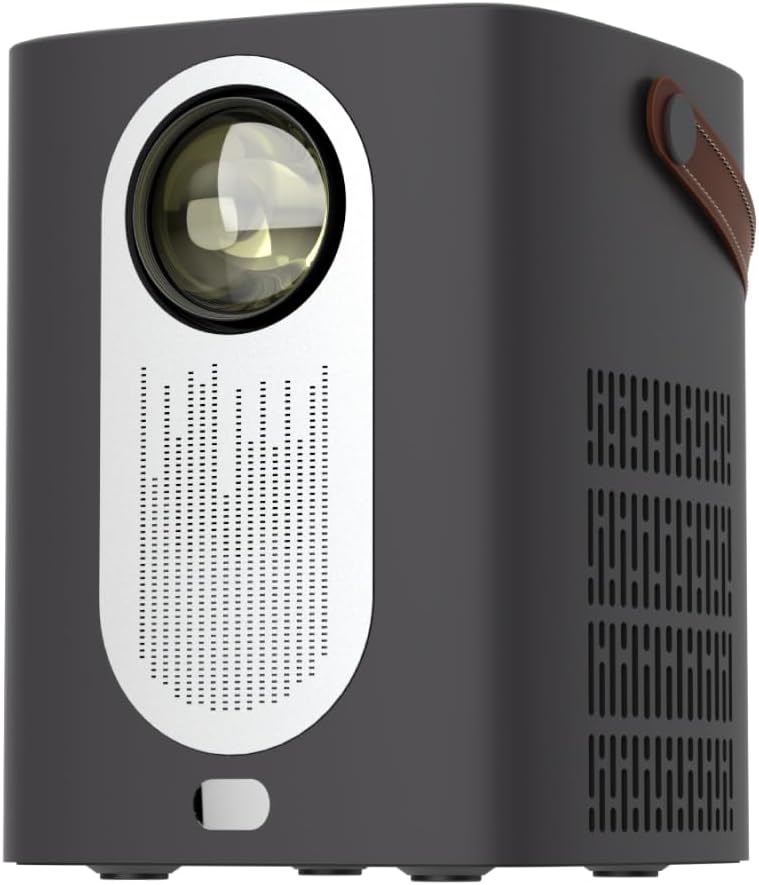
Stampa 1.1: Quddiem view of the RadioShack Home Projector, showcasing its lens and speaker grille.
2. Kontenut tal-Pakkett
Ivverifika li l-oġġetti kollha huma preżenti fil-pakkett:
- 1 x RadioShack Home Projector
- 1 x Kontroll mill-bogħod
- 1 x Kejbil tal-Enerġija
- 1 x Manwal tal-Utent (dan id-dokument)

Image 2.1: Illustration of the package contents, including the projector, remote control, power cable, and user manual.
3. Prodott Aktarview
3.1. Karatteristiċi ewlenin
- Wiri b'Riżoluzzjoni Għolja: Supports full HD resolution for clear and detailed images.
- Bright and Long-Lasting: Features impressive brightness and a durable light source.
- Konnettività versatili: Includes Bluetooth, WiFi, Android Miracast, and iOS Cast for streaming.
- Mtejba Viewing: Digital focus and keystone correction for optimal image alignment.
- Kompatt u portabbli: Lightweight design with a handle for easy transport.
3.2. Portijiet u Kontrolli
Familiarize yourself with the projector's input/output ports and controls.

Stampa 3.1: Wara view of the projector showing USB input for media playback, AV input for DVD players, and HDMI input for various devices like video game consoles, streaming sticks, cell phones, tablets, and laptops.

Immaġni 3.2: Ġenb view illustrating the compact dimensions (approximately 7 inches tall, 5.3 inches wide) and the integrated leather handle for portability.
4. Gwida ta' Setup
4.1. L-Ewwel Tixgħil
- Connect the power cable to the projector and a suitable power outlet.
- Press the power button located on the top of the projector or on the remote control to turn on the device. The indicator light will illuminate.
- The RadioShack logo will appear on the projection surface, indicating successful power-on.
Video 4.1: A short demonstration showing the unboxing, connecting the power cable, powering on the projector, and the initial display of the RadioShack logo.
4.2. Placement and Focus
- Place the projector on a stable, flat surface, ensuring the lens is unobstructed.
- Adjust the distance from the projection surface (wall or screen) to achieve the desired image size.
- Use the digital focus adjustment (refer to the remote control or on-screen menu) to sharpen the image.
- Utilize keystone correction if the image appears trapezoidal, to achieve a rectangular projection.
5. Istruzzjonijiet Operattivi
5.1. Mezzi ta 'Konnessjoni
Il-proġekter jappoġġja sorsi ta' input multipli:
- HDMI: Connect devices such as laptops, gaming consoles, streaming boxes, or Blu-ray players using an HDMI cable. Select HDMI as the input source from the projector's menu.
- USB: Insert a USB drive to play compatible video or audio files. Select USB as the input source.
- TA’: Connect older devices like DVD players using an AV cable. Select AV as the input source.
- Bluetooth: Pair with Bluetooth audio devices for wireless sound output.
- WiFi / Casting: Connect to a Wi-Fi network to enable Android Miracast or iOS Cast for screen mirroring from compatible smartphones and tablets.

Image 5.1: A couple enjoying content projected by the RadioShack Home Projector, demonstrating its use in a home cinema setting.
5.2. Funzjonijiet ta 'Kontroll mill-bogħod
Il-kontroll remot inkluż jippermetti tħaddim konvenjenti:
- Qawwa: Ixgħel/itfi l-proġekter.
- Sors: Select input sources (HDMI, USB, AV, etc.).
- Navigazzjoni: Arrow keys to navigate menus, OK button to confirm.
- Volum: Aġġusta l-livell tal-ħruġ tal-awdjo.
- Focus/Keystone: Access digital focus and keystone correction settings.

Image 5.2: The RadioShack Home Projector placed on a table next to its remote control, ready for use.
6. Manutenzjoni
- Tindif tal-Lenti: Uża drapp artab u mingħajr suf iddisinjat speċifikament għal lentijiet ottiċi biex timsaħ bil-mod il-lenti tal-proġettazzjoni. Evita materjali li joborxu jew kimiċi ħarxa.
- Tindif ta' barra: Imsaħ il-barra tal-proġettazzjoni b'ċarruta ratba u niexfa. Tużax prodotti tat-tindif likwidi direttament fuq l-apparat.
- Ventilazzjoni: Ensure the projector's ventilation openings are clear of dust and obstructions to prevent overheating.
- Ħażna: Meta ma tkunx qed tużah għal perjodi twal, aħżen il-proġettur f'post frisk u niexef, 'il bogħod mix-xemx diretta u minn temperaturi estremi.
7 Issolvi l-problemi
| Problema | Kawża Possibbli | Soluzzjoni |
|---|---|---|
| Ebda immaġini murija | Power cable disconnected; incorrect input source selected; lens cap on. | Check power connection; select correct input source (HDMI, USB, AV); remove lens cap. |
| L-immaġni hija mċajpra | Il-fokus mhux aġġustat; il-proġettazzjoni hija qrib/bogħod wisq mill-iskrin. | Adjust digital focus; reposition projector for optimal distance. |
| L-ebda ħoss | Volume too low; external audio device not connected/paired; incorrect audio output selected. | Increase volume; ensure Bluetooth device is paired or wired audio is connected; check audio output settings. |
| Il-kontroll mill-bogħod ma jaħdimx | Batteries depleted; obstruction between remote and projector. | Replace remote control batteries; ensure clear line of sight to the projector's IR receiver. |
8. Speċifikazzjonijiet
- Ditta: RadioShack
- Mudell: Home Projector (ASIN: B0DP1GFG9L)
- Riżoluzzjoni tal-wiri: 1280 x 720 (Supports Full HD)
- Teknoloġija tal-Konnettività: AV, HDMI, USB, Bluetooth, WiFi (Android Miracast, iOS Cast)
- Karatteristiċi Speċjali: Portable, Digital Focus, Keystone Correction
- Użu Rakkomandat: Home Cinema
- Dimensjonijiet tal-Prodott: 5.31 x 5.31 x 7.09 pulzieri
- Piż tal-oġġett: 3.91 liri

Image 8.1: The projector displaying content, highlighting its support for full HD resolution and high-quality sound.
9. Garanzija u Appoġġ
For warranty information and technical support, please refer to the official RadioShack webis-sit jew ikkuntattja s-servizz tal-konsumatur tagħhom. Żomm l-irċevuta tax-xiri tiegħek bħala prova tax-xiri.
Appoġġ onlajn: www.radioshack.com


