1. Introduzzjoni
The GEOID CC600 is an advanced color screen bike computer designed to enhance your cycling experience with comprehensive data tracking, precise navigation, and versatile connectivity options. This manual provides detailed instructions for setting up, operating, and maintaining your device.

Figure 1: GEOID CC600 Bike Computer displaying GPS acquired status and navigation data.
Vidjo 1: Fuqview of the GEOID CC600 Color Screen Bike Computer, highlighting its key features and design.
2. X'hemm fil-Kaxxa
- Kompjuter tar-rota
- Rubber bands installation base
- Ċinga tas-sigurtà
- Cable tal-iċċarġjar
- Replaceable mount for bike computer rack

Figure 2: All standard accessories included with the GEOID CC600 Bike Computer.
3. Setup
3.1 Immuntar tal-Kompjuter tar-Rota
The CC600 offers two primary mounting options for secure attachment to your bicycle's handlebars or stem.
- Rubber Band Mount: For quick and easy installation, use the provided rubber bands to secure the base mount to your handlebar or stem. This method is versatile and fits various handlebar sizes.
- Replacement Base Mount: If your bike already has a compatible bracket, you can screw the provided replacement base directly into it for a more integrated setup. Hardware for this option is included.

Figure 3: The GEOID CC600 mounted on a bicycle, ready for use.
Video 2: Detailed product operation video, including mounting instructions and initial setup.
3.2 Initial Setup and App Pairing (Onelapfit)
To unlock the full potential of your CC600, pair it with the Onelapfit app on your smartphone. This allows for data synchronization, route management, and device configuration.
- Download and install the Onelapfit app from your smartphone's app store.
- Open the app and complete the registration and login process.
- On the app's homepage, tap the bike computer icon in the top right corner, then select "My Bike Computer" and "Add my device".
- On the CC600, navigate to the pairing screen (usually by long-pressing a button or accessing settings). A QR code will be displayed.
- Use the Onelapfit app to scan the QR code on your CC600. Follow the on-screen prompts to complete the pairing and activation.
Video 3: Instructions on how to connect your GEOID CC600 with the Onelapfit app for seamless data transfer and device management.
3.3 GPS Positioning and AGNSS Synchronization
The CC600 supports multiple satellite systems (GPS, BEIDOU, GLONASS, QZSS, and GALILEO) for fast and accurate positioning.
- For optimal performance, ensure the device is powered on in an open outdoor area, free from tall buildings, trees, or viaducts.
- Connect to Wi-Fi via the Onelapfit app to synchronize AGNSS (Assisted Global Navigation Satellite System) data. This allows for 5-second location acquisition. AGNSS data is valid for 14 days.
- The positioning icon on the screen will flash during acquisition and remain solid once a GPS signal is acquired.

Figure 4: The CC600 utilizes 5 satellite systems and AGNSS for rapid 5-second positioning.
Video 4: Guide on how to connect your GEOID CC600 to Wi-Fi for AGNSS synchronization and faster data transfers.
4. It-tħaddim tal-Apparat
4.1 Funzjonijiet Bażiċi tal-Buttuni
The CC600 features an intuitive three-button design for easy operation:
- Top Button (A): Long press to turn the device on/off, or to turn the screen black/return during cycling.
- Left Button (B): During cycling, click to count laps. Long press to access the operation menu for settings like sensor management, brightness, and navigation routes.
- Right Button (C): Click to start or pause a ride. Long press to end the ride.
Video 5: Comprehensive product operation video, demonstrating button functions and navigation through menus.
4.2 Data Fields and Display Options
Customize your cycling data display with up to 10 pages, 10 displayed data items per page, and 29 display layouts. The CC600 supports 108 data items and various display formats including numerical charts, circular dials, line graphs, and bar charts.

Figura 5: Eżamples of graphic data fields and extensive data options available on the CC600.
4.3 Route Navigation with Re-Routing
The CC600 offers colorful navigation with turn reminders and automatic re-routing if you deviate from your path.
- Create a Route: In the Onelapfit app, go to the "Me" page, click "My Routes", then "Create new route". You can create a route with a map by selecting points or import GPX files direttament.
- Import to Device: Once a route is created or imported in the app, transmit it to your CC600.
- Ibda n-Navigazzjoni: On the CC600, navigate to "Settings" > "Navigation" and select your desired route. Click the B button to start riding.
- Re-routing: If you go off track, the CC600 will automatically re-plan the route as long as it's connected to the phone app.

Figure 6: Colorful route navigation on the CC600, providing turn reminders and keeping you on track.
Video 6: Instructions on how to create navigation routes using the Onelapfit app and import them to your CC600.
4.4 Taħriġ fuq ġewwa
The CC600 supports indoor training with a smart trainer, allowing you to customize power targets, resistance levels, and gradients.
- In the Onelapfit app, go to "Device Settings" and select "Indoor Training".
- Choose your desired training mode (e.g., Target Power, Resistance, Grade) and set the parameters.
- On the CC600, navigate to "Settings" > "Training" and select the corresponding training mode.
- Click the B button to start your indoor training session.

Figure 7: The CC600's indoor training interface, allowing customization of power, resistance, and grade.
Video 7: Demonstrates how to use the indoor training features on your GEOID CC600.
4.5 Switching Units (Metric/Imperial)
You can easily switch between metric and imperial units for various data fields.
- Open the Onelapfit app and navigate to the "Device Settings" page.
- Click "Function Settings".
- Select "Measurement Units" to switch between Metric and Imperial. You can also change time or temperature units here.
Video 8: Quick guide on how to switch between Metric and Imperial units on your GEOID CC600 via the Onelapfit app.
4.6 Brightness and Volume Settings
Adjust the display brightness and sound settings to your preference.
- From the main screen, long press the B button to enter the operation menu.
- Select "Brightness" to adjust the display intensity manually or enable/disable auto-brightness.
- You can also turn on or turn off key tones and prompt tones from this menu.
5. Connectivity and Data Management
5.1 Sensor Connection (Bluetooth & ANT+)
The GEOID CC600 supports both Bluetooth and ANT+ protocols, allowing seamless connection with up to 9 types of devices for enhanced cycling data and performance tracking.
- Supported sensors include: speed sensor, cadence sensor, speed & cadence sensor, heart rate monitor, power meter, smart trainer, radar tail light, smart tail light, and electronic shifting.
- To connect sensors, long press the B button on the CC600 to enter settings, then select "Sensors" and "Add Sensor". The device will automatically search for nearby sensors.
- The CC600 can memorize multiple sensors of the same type and will automatically try to connect to all memorized sensors after turning on.

Figure 8: The CC600's compatibility with various Bluetooth and ANT+ sensors for comprehensive data collection.
5.2 Data Export and Auto-Sync
Easily export and share FIT files via the Onelapfit app. The CC600 is compatible with third-party platforms such as STRAVA and TrainingPeaks for auto-sync of cycling data after account binding.
- After finishing a ride, the bike computer will automatically synchronize the riding record and save it when connected to the Onelapfit app.
- In the app, go to "Activities" to view your ride records. You can then click the share button in the upper right corner to share or upload data to connected platforms.
- The app also supports data retransmission, ensuring no data duplication even if parts of the data were previously uploaded.

Figure 9: The CC600's portable data export feature, allowing seamless integration with popular cycling platforms.
6. Speċifikazzjonijiet
| Karatteristika | Dettall |
|---|---|
| Isem tal-Mudell | CC600 |
| Piż tal-oġġett | 2.61 uqija |
| Dimensjonijiet tal-Prodott | 30.7 x 18.9 x 3.89 pulzieri |
| Daqs tal-Wiri | 2.4 Pulzier |
| Ħajja tal-batterija | 24 Sigħat |
| Teknoloġija tal-Konnettività | Bluetooth, Wi-Fi, USB, ANT+ |
| Tip ta' Mappa | GPX File, Satellite |
| Karatteristika Speċjali | 8 Sensors Connection, Bluetooth, Waterproof, Route Navigation, Indoor Training |
| Lingwi Appoġġjati | English, Italian, Japanese, Spanish, Korean, Portuguese, German, French, Polish, Traditional Chinese, Russian |
7 Issolvi l-problemi
- L-Apparat Mhux Konness mal-App: Ensure Bluetooth and Wi-Fi are enabled on both the CC600 and your smartphone. Restart both devices and try pairing again. Verify the Onelapfit app is up to date.
- Inaccurate GPS Data: Kun żgur li l-apparat għandu ċar view of the sky and is not obstructed by tall structures. Synchronize AGNSS data via Wi-Fi regularly. If using a speed sensor, ensure the wheel circumference is correctly set in the app, as the device prioritizes sensor data over GPS for speed.
- Kwistjonijiet ta' Navigazzjoni: Confirm that GPX files are correctly imported and selected. Ensure the device is connected to the Onelapfit app for re-routing functionality.
- Leġibbiltà tal-Wiri: Adjust the brightness settings manually if auto-brightness is not sufficient in certain lighting conditions.
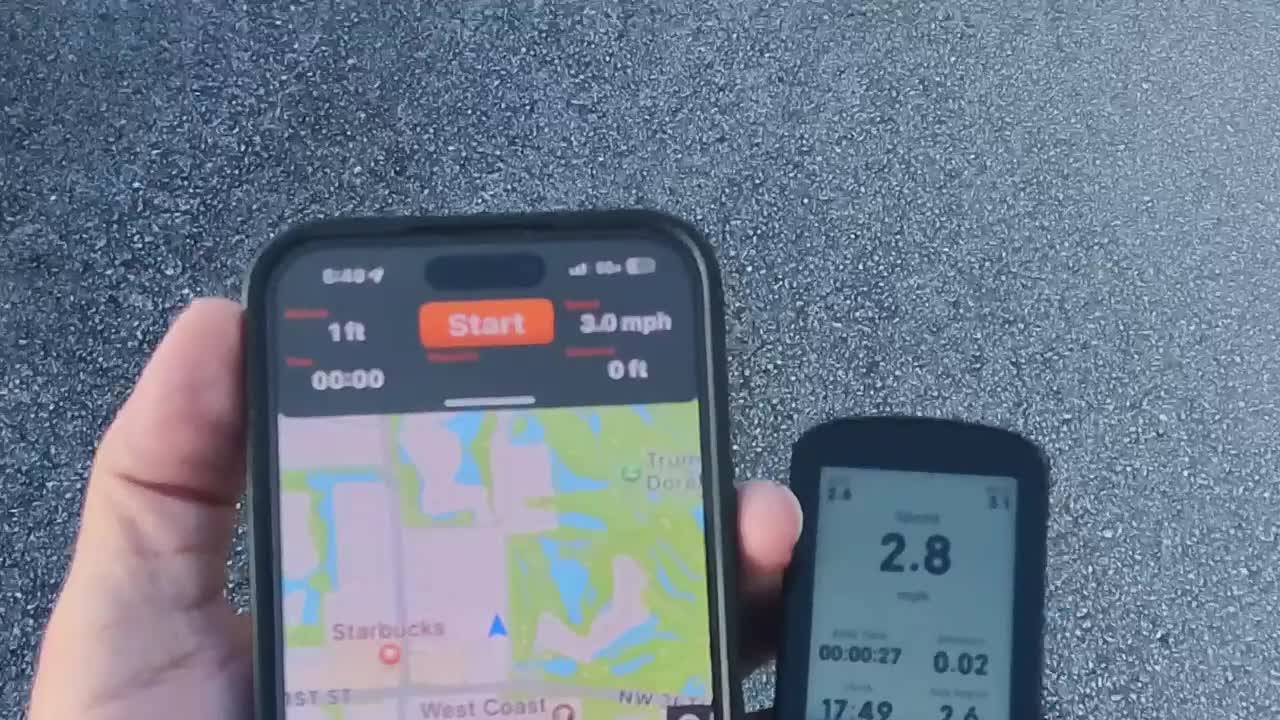
Figure 10: Common questions and answers regarding the GEOID CC600's features and usage.
8. Manutenzjoni
- Tindif: Imsaħ l-apparat b'artab, damp drapp. Evita li tuża kimiċi ħarxa jew materjali li joborxu.
- Reżistenza għall-Ilma: The CC600 is waterproof. However, avoid prolonged submersion or high-pressure water jets. Ensure the charging port cover is securely closed.
- Ħażna: Aħżen l-apparat f'post frisk u niexef meta ma jkunx qed jintuża. Evita temperaturi estremi.
9. Garanzija u Appoġġ
The GEOID CC600 comes with a 1-Year Warranty. Protection plans are also available for extended coverage.
- Garanzija: 1 Snin Garanzija
- Pjanijiet ta' Protezzjoni: Pjanijiet ta' protezzjoni ta' 2 snin u 3 snin huma disponibbli.
- Appoġġ għall-Klijent: For any inquiries or technical assistance, please contact Geoid Fitness directly through the Amazon platform or refer to the detailed operation videos.

Figure 11: GEOID's commitment to customer service, including warranty and support options.


