Introduzzjoni
This manual provides comprehensive instructions for the installation, operation, and maintenance of your Bisofice A2 Biometric Time Clock Attendance Machine. Please read this manual thoroughly before using the device to ensure proper functionality and to maximize its benefits for accurate employee time tracking.
Karatteristiċi Ewlenin
- Impressive Storage Capability: Supports up to 1000 fingerprint entries, 1000 password entries, and 1000 ID card inputs.
- Multilingual and User-friendly Interface: Features a 2.4-inch high-definition LCD color screen with 5 language options (English, Spanish, German, Italian, French).
- Fast Recognition: Utilizes superior biometric technology for fingerprint recognition in under 1.5 seconds.
- Trasferiment tad-Dejta b'Veloċità Għolja: Enables quick download of attendance reports via USB drive without network connection, generating automatic reports.
- Applikazzjoni versatili: Suitable for various environments including offices, factories, hotels, schools, and retail stores.
Kontenut tal-Pakkett
Iċċekkja li l-oġġetti kollha elenkati hawn taħt huma preżenti fil-pakkett tiegħek:
- Bisofice A2 Biometric Time Clock Attendance Machine
- Adapter tal-Enerġija
- USB Disk (U Disk)
- ID Card (1 piece)
- Viti tal-Immuntar u Plugs tal-Ħajt
- Manwal għall-Utent (dan id-dokument)

Image: All components included in the Bisofice A2 package, including the time clock, power adapter, USB disk, ID card, mounting hardware, and user manual.
Prodott Overview
Familiarize yourself with the main components of the Bisofice A2 device.

Immaġni: Quddiem view of the Bisofice A2 time clock, displaying the LCD screen, keypad, fingerprint scanner, and RFID card reader area. A USB drive and an ID card are shown alongside the device.

Image: Close-up of the Bisofice A2 highlighting the 2.4-inch high-definition color LCD screen and the T9 input keypad with large, clear buttons.

Immaġni: Ġenb view of the Bisofice A2 showing its dimensions: approximately 12cm (4.7 inches) in height, 3cm (1.2 inches) in depth, and 17cm (6.7 inches) in width.
Setup
1. Żpakkjar u Tqegħid
Carefully remove all components from the packaging. Choose a suitable location for the time clock, ensuring it is easily accessible for all users and away from direct sunlight or extreme temperatures.
2. Konnessjoni tal-Enerġija
- Connect the power adapter to the DC IN port on the side of the device.
- Ipplaggja l-adapter tal-enerġija fi żbokk elettriku standard.
- L-apparat jinxtegħel awtomatikament u juri l-iskrin ta' merħba.
3. Immuntar (Mhux obbligatorju)
If wall mounting is desired, use the provided screws and wall plugs. Mark the desired mounting points on the wall, drill pilot holes, insert wall plugs, and secure the device using the screws.
4. Konfigurazzjoni Inizjali
Upon first power-on, you may need to set the date, time, and system language. Navigate through the menu using the keypad and follow the on-screen prompts. The device supports 5 languages: English, Spanish, German, Italian, and French.

Image: The Bisofice A2 display indicating support for 5 system languages: English, Spanish, German, Italian, and French.
Operazzjoni
1. Reġistrazzjoni tal-Utent
Before employees can use the time clock, their data must be registered. Access the 'User Management' section in the device menu (usually by pressing 'MENU' and entering an administrator password).
Reġistrazzjoni tal-marki tas-swaba'
- Select 'Add User' and choose 'Fingerprint'.
- Follow the on-screen instructions to place the employee's finger on the scanner multiple times until the fingerprint is successfully registered.
- Assign a unique User ID to the employee.
Reġistrazzjoni tal-Password
- Select 'Add User' and choose 'Password'.
- Enter a numerical password for the employee and confirm it.
- Assign a unique User ID.
Reġistrazzjoni tal-Karta tal-Identità
- Select 'Add User' and choose 'ID Card'.
- Present the ID card to the RFID reader area on the device until it is recognized and registered.
- Assign a unique User ID.

Image: The Bisofice A2 device illustrating its multiple attendance methods: fingerprint, password, and ID card, each with a capacity of 1000 entries.
2. Clocking In/Out
L-impjegati jistgħu jirreġistraw id-dħul jew il-ħruġ tagħhom billi jużaw il-metodu rreġistrat tagħhom:
- Marka tas-swaba ': Place the registered finger on the scanner.
- Password: Enter the User ID, then the password using the keypad.
- ID Card: Present the registered ID card to the RFID reader.
A successful recognition will be indicated on the screen, usually with a confirmation message or sound.
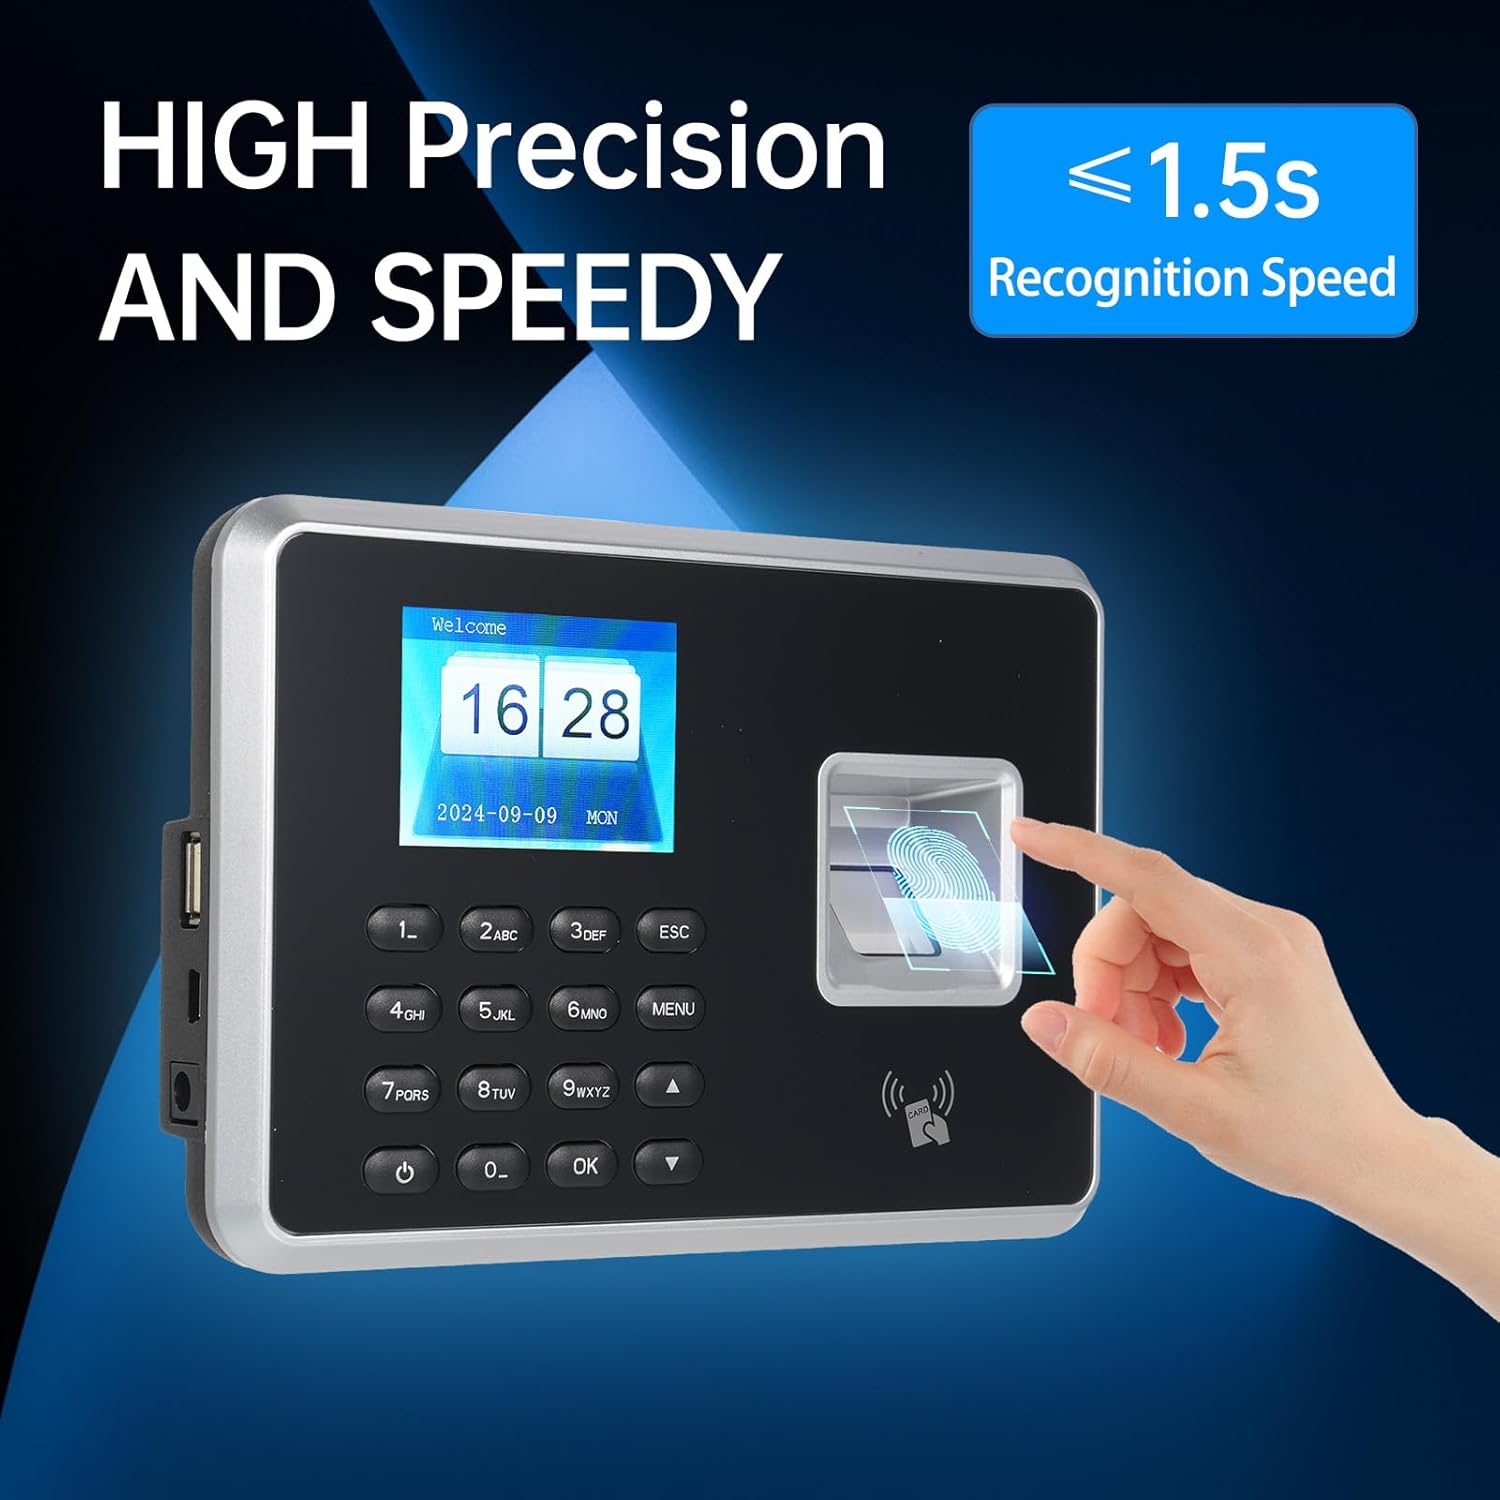
Image: A hand demonstrating fingerprint recognition on the Bisofice A2, highlighting its high precision and recognition speed of less than 1.5 seconds.
3. Data Management and Report Generation
The device automatically generates attendance reports. To access these reports:
- Insert the provided USB Disk into the USB port on the side of the time clock.
- Navigate to the 'Report' or 'Data Download' section in the device menu.
- Select the desired date range or report type.
- Initiate the download. The device will save the attendance data as an Excel (.xls) file onto the USB disk.
- Safely remove the USB Disk and transfer the report to a computer for analysis.

Image: The Bisofice A2 connected to a USB flash disk, with a laptop in the background displaying an Excel spreadsheet, illustrating the process of downloading attendance reports.
Manutenzjoni
1. Tindif
Regularly clean the device, especially the fingerprint scanner and screen, with a soft, dry cloth. Avoid using abrasive cleaners or solvents that could damage the surface.
2. Backup tad-Data
It is recommended to regularly download and back up attendance data to an external storage device or computer to prevent data loss.
Issolvi l-problemi
| Problema | Kawża Possibbli | Soluzzjoni |
|---|---|---|
| L-apparat ma jixgħelx. | L-ebda provvista tal-enerġija jew adapter difettuż. | Iċċekkja l-konnessjoni tal-enerġija u l-adapter. Kun żgur li s-sokit jaħdem sew. |
| Ir-rikonoxximent tal-marki tas-swaba' ma jaħdimx sew. | Finger is wet, dirty, or improperly placed. Fingerprint not registered correctly. | Ensure finger is clean and dry. Place finger firmly and completely on the scanner. Re-register fingerprint if issues persist. |
| ID card not recognized. | Card not registered or faulty card. | Ensure the ID card is registered. Try another registered card. |
| Ma nistax niżżel id-dejta għal USB. | USB disk is full, corrupted, or incompatible format. | Ensure USB disk has sufficient space and is formatted correctly (FAT32 recommended). Try a different USB disk. |
| Data/ħin murija ħażin. | Date/time settings are incorrect. | Access the system settings via the menu to adjust the date and time. |
Speċifikazzjonijiet
| Numru tal-Mudell | A2 |
| Brand | Bisofice |
| Kapaċità tal-marki tas-swaba' | 1000 |
| Kapaċità tal-Password | 1000 |
| ID Card Capacity | 1000 |
| Veloċità tar-Rikonoxximent | < 1.5 sekonda |
| Wiri | 2.4-inch High-Definition LCD Color Screen |
| Lingwi tas-Sistema | English, Spanish, German, Italian, French |
| Trasferiment tad-Data | USB Disk (Automatic Excel Report Generation) |
| Dimensjonijiet tal-Prodott | 9.25 x 3.15 x 7.09 pulzieri (madwar 23.5 x 8 x 18 ċm) |
| Piż tal-oġġett | 1.08 liri (madwar 0.49 kg) |
| Komponenti Inklużi | U Disk |
Garanzija u Appoġġ
For warranty information and technical support, please refer to the documentation included with your purchase or visit the official Bisofice websit. Żomm l-irċevuta tax-xiri tiegħek bħala prova tax-xiri għal talbiet ta' garanzija.
You can find more information about Bisofice products and support at the Bisofice Store on Amazon.


