1. Introduzzjoni
This manual provides essential instructions for the safe and effective use of your TIDRADIO TD-H8 Desktop Charger. This charger is specifically designed for use with TIDRADIO TD-H8 HAM and GMRS radios, ensuring optimal charging performance and compatibility. Please read this manual thoroughly before operating the device.
2. Kontenut tal-Pakkett
Iċċekkja li l-oġġetti kollha elenkati hawn taħt huma inklużi fil-pakkett tiegħek:
- TIDRADIO TD-H8 Charger Base
- Cable tal-Ċarġer tal-USB

Image 2.1: TIDRADIO TD-H8 Charger Base and USB Cable. This image displays the main components included in the package: the black desktop charger base with its charging contacts and a separate black USB charging cable.
3. Istruzzjonijiet ta' Setup
Follow these steps to set up your TIDRADIO TD-H8 Desktop Charger:
- Ħoll il-komponenti kollha mill-imballaġġ.
- Connect the USB Charger Cable to the designated port on the rear of the TIDRADIO TD-H8 Charger Base.
- Connect the other end of the USB Charger Cable to a compatible 5V USB power source (e.g., a USB wall adapter, computer USB port, or power bank). Ensure the power source provides stable 5V output.
4. Istruzzjonijiet Operattivi
To charge your TIDRADIO TD-H8 radio:
- Ensure the TIDRADIO TD-H8 Desktop Charger is properly connected to a power source as described in the Setup Instructions.
- Carefully place your TIDRADIO TD-H8 radio (with its battery attached) into the charger base. Ensure the radio is seated firmly and the battery terminals make good contact with the charging terminals on the base.
- Observe the LED indicator on the charger base:
- Dawl aħmar: Indicates that the radio's battery is currently charging.
- Dawl aħdar: Jindika li l-batterija hija kompletament iċċarġjata.
- Once the LED indicator turns green, the radio is fully charged and can be removed from the charger base.
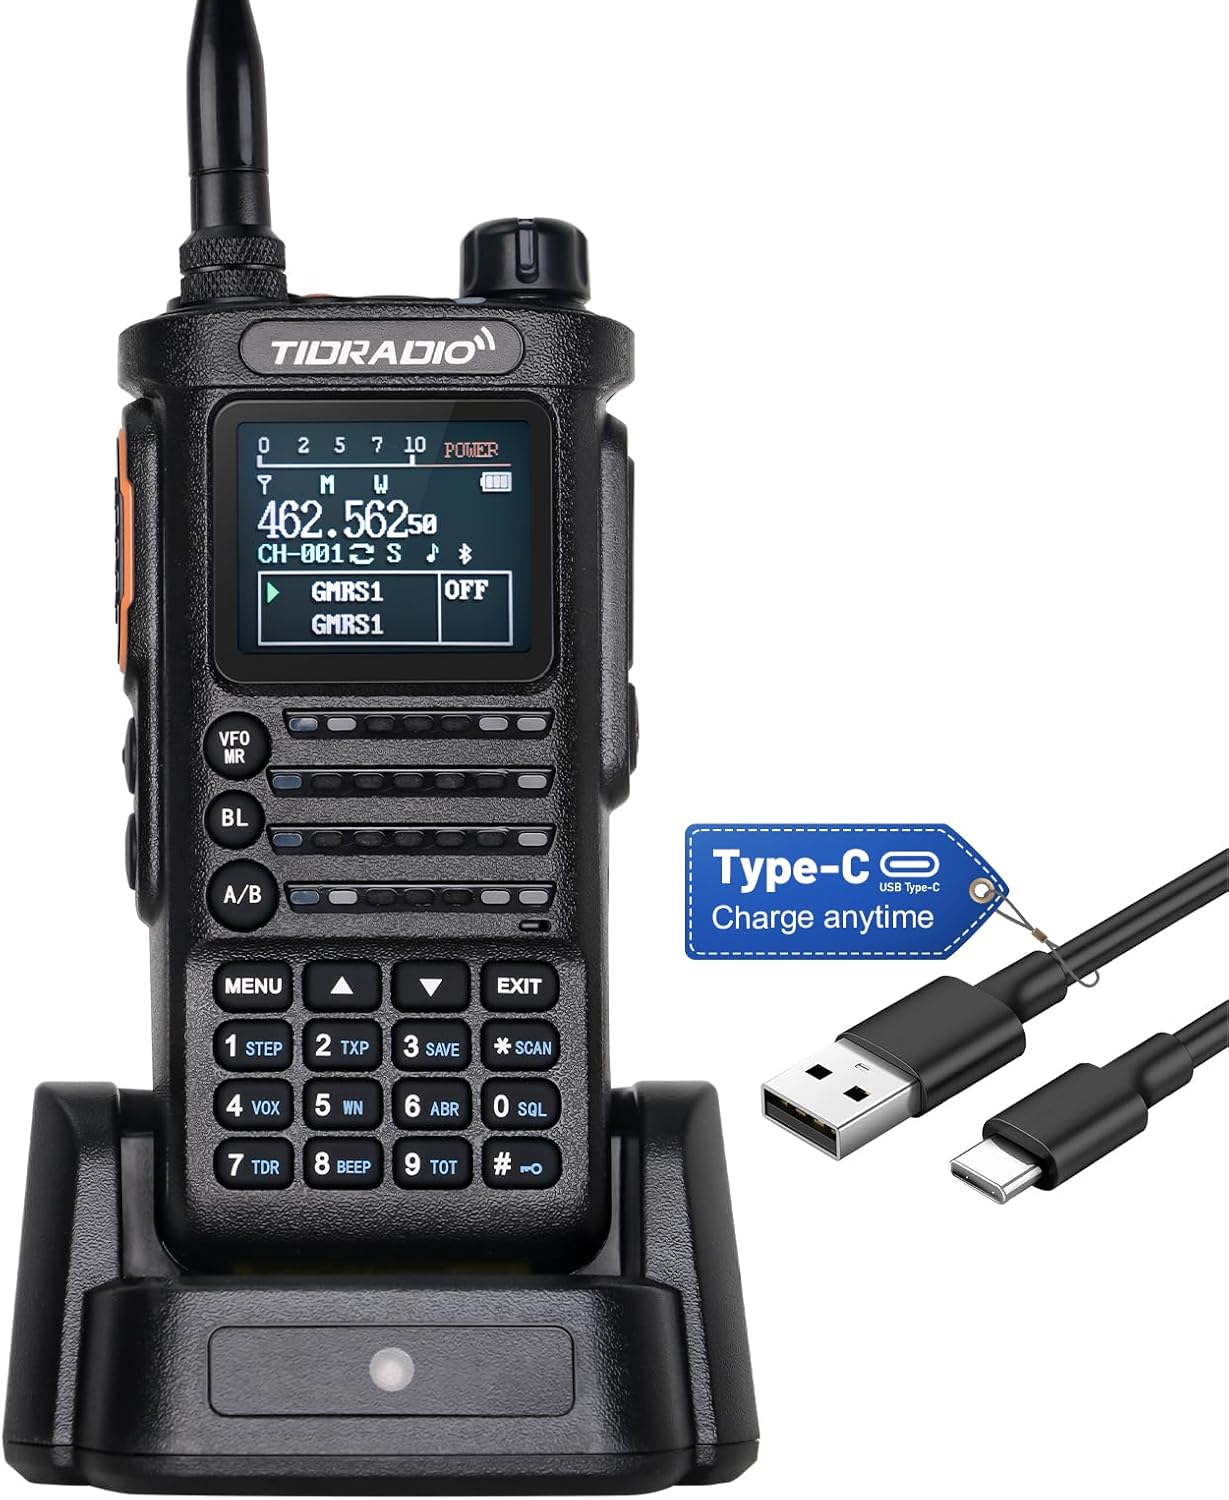
Image 4.1: TIDRADIO TD-H8 Radio placed in the Desktop Charger. This image shows a TIDRADIO TD-H8 radio securely docked in the charger base, illustrating the correct placement for charging.
5. Manutenzjoni
To ensure the longevity and proper function of your charger:
- Keep the charger base and USB cable clean and dry. Use a soft, dry cloth to wipe away dust or debris.
- Avoid exposing the charger to extreme temperatures, direct sunlight, or high humidity.
- Do not attempt to disassemble or modify the charger. This can void any potential warranty and may cause damage or injury.
- Store the charger in a safe place when not in use.
6 Issolvi l-problemi
Jekk tiltaqa' ma' problemi bil-ċarġer tiegħek, irreferi għall-problemi u s-soluzzjonijiet komuni li ġejjin:
Problem: Radio is not charging (LED indicator does not light up or remains off).
- Soluzzjoni 1: Ensure the USB Charger Cable is securely connected to both the charger base and the power source.
- Soluzzjoni 2: Verify that the power source (e.g., wall adapter, computer port) is functional and providing power. Try a different USB port or adapter.
- Soluzzjoni 3: Re-seat the TIDRADIO TD-H8 radio in the charger base. Ensure the battery terminals on the radio make proper contact with the charging pins on the base.
- Soluzzjoni 4: Check the radio's battery for any visible damage or corrosion on its terminals.
If the problem persists after trying these solutions, please contact TIDRADIO customer support for further assistance.
7. Speċifikazzjonijiet
| Karatteristika | Speċifikazzjoni |
|---|---|
| Numru tal-Mudell | TD-H8 Charger |
| Input Voltage | 5 Volts |
| Dimensjonijiet tal-Prodott | 12 x 5 x 5 pulzieri |
| Piż tal-oġġett | 4.2 uqija |
| Manifattur | TIDRADJU |
8. Garanzija u Appoġġ
Specific warranty information for the TIDRADIO TD-H8 Desktop Charger is not provided within this manual. For details regarding warranty coverage, terms, and conditions, please refer to the documentation included with your original product purchase or visit the official TIDRADIO website. For technical support or further inquiries, please contact TIDRADIO customer service through their official channels.


