1. Informazzjoni Importanti dwar is-Sigurtà
- Tesponix l-apparat għal temperaturi estremi, dawl tax-xemx dirett, jew umdità għolja.
- Żomm l-apparat 'il bogħod mill-ilma jew likwidi oħra.
- Tippruvax tiżżarma jew timmodifika l-apparat. Dan jannulla l-garanzija.
- Use only the provided USB power adapter and cable.
- Ensure proper ventilation around the clock.
2. Kontenut tal-Pakkett
- Cadmos G10 Loud Alarm Clock
- Adapter tal-Enerġija USB
- USB Power Cord (Type-C, 59 inches)
- CR2032 Battery (pre-installed for backup)
- Manwal għall-Utent
3. Prodott Aktarview
The Cadmos G10 Alarm Clock features a large LED display, dual alarms, adjustable brightness, dynamic RGB lighting, and a USB charging port. It is designed for clear visibility and ease of use.
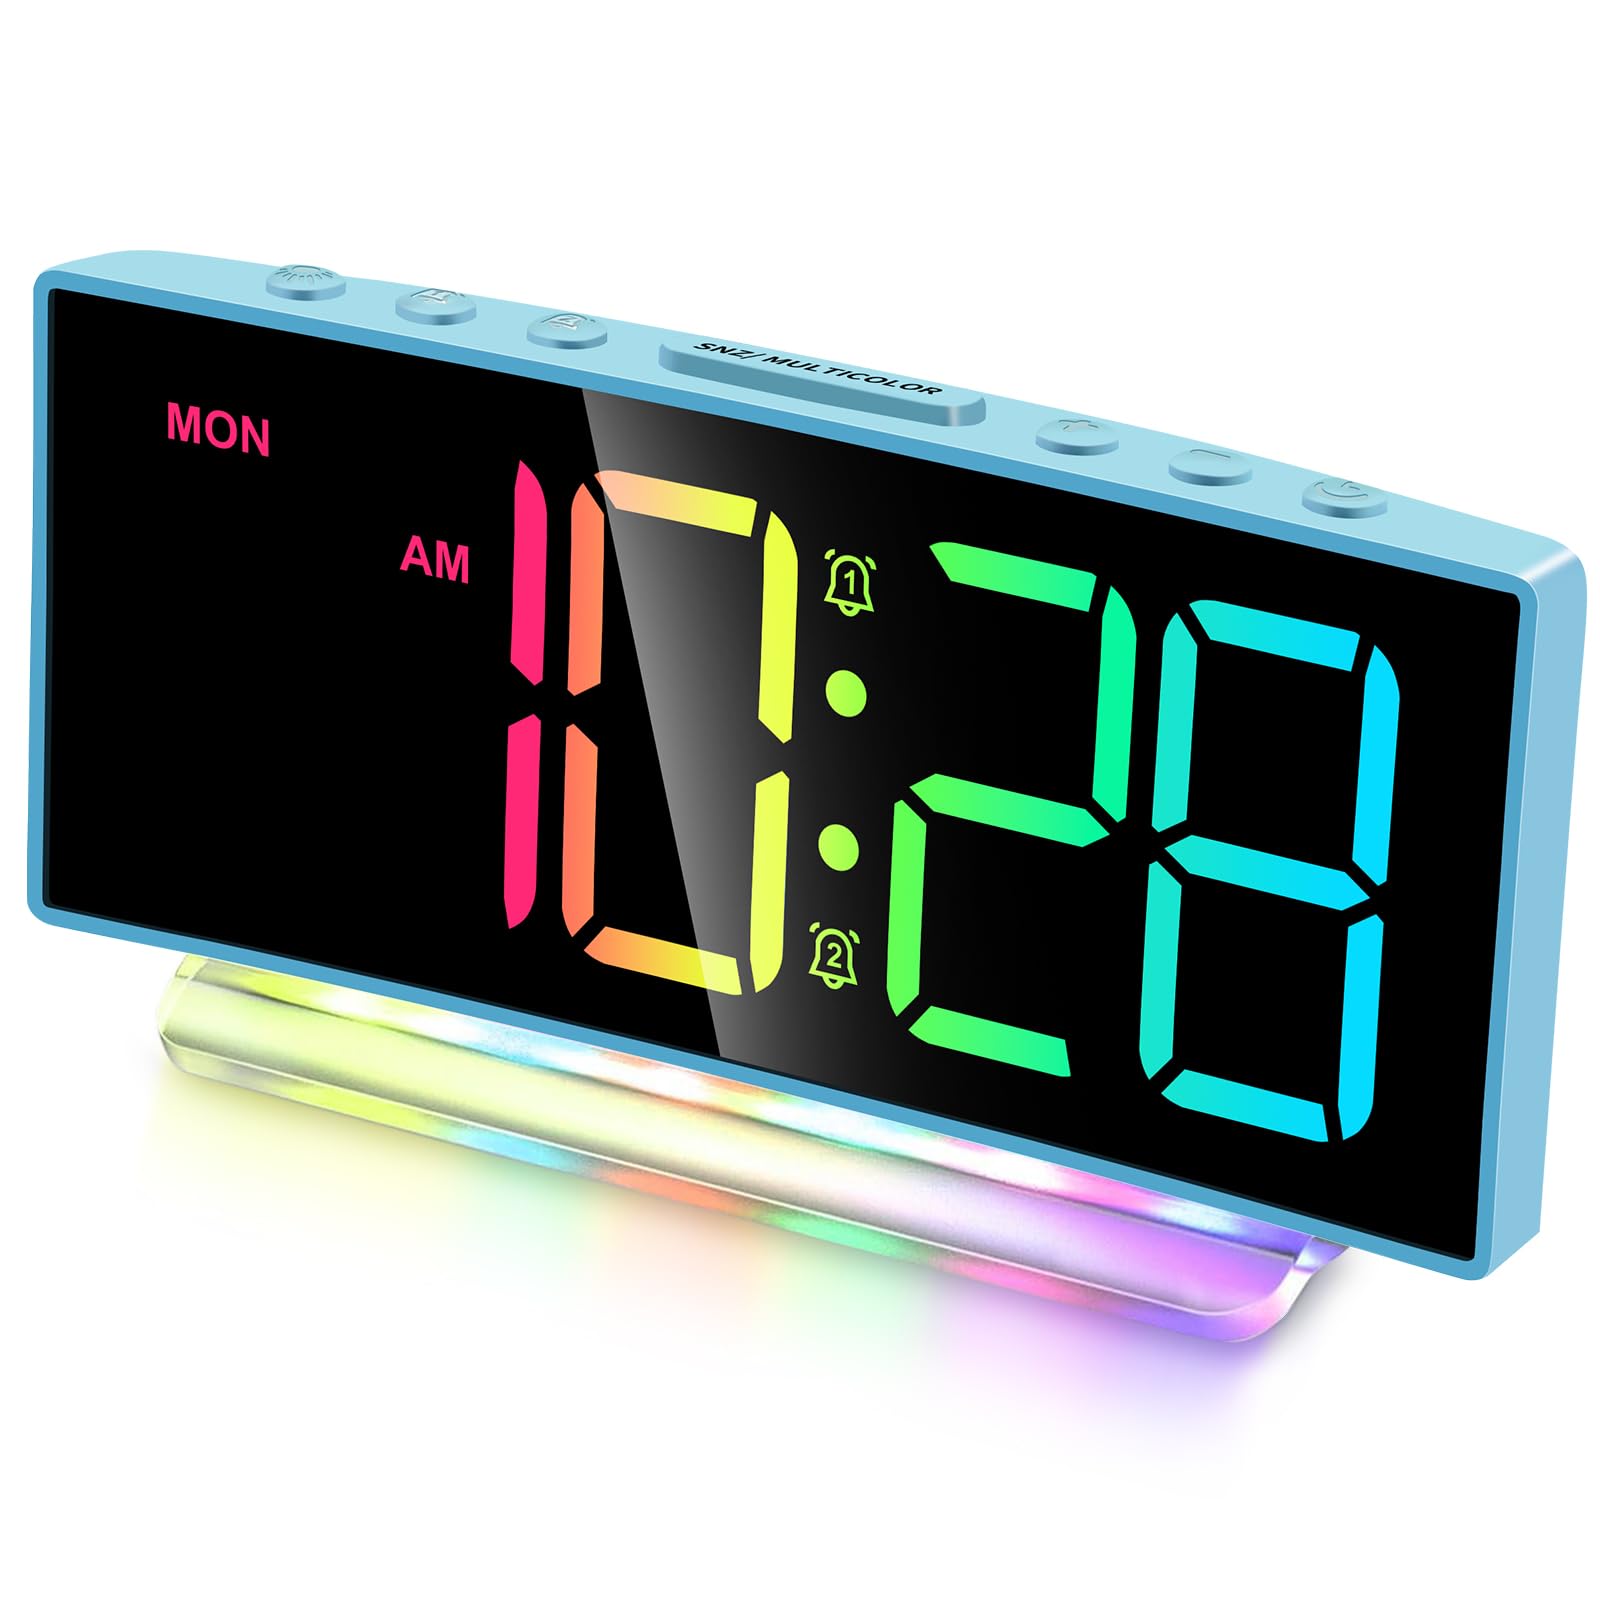
Immaġni: Quddiem view of the Cadmos G10 Alarm Clock displaying time with dynamic RGB numbers and a colorful base night light.
Kontrolli u Portijiet

Immaġni: Dettaljata fuqview of the Cadmos G10 Alarm Clock, highlighting the top control buttons, rear USB charging port, power input, and battery backup compartment.
- Buttuni ta' Fuq: Used for setting time, alarms, brightness, snooze, and color modes.
- USB Charger (DC 5V/1A-2A): Located on the back for charging external devices.
- Power Input (DC 5V/1A): For connecting the main power adapter.
- Backup-Battery Compartment: Holds 1 x CR2032 battery to maintain settings during power outages.
- Loud Buzzer: Integrated speakers for alarm sound, adjustable from 65dB to 95dB.
4. Setup
4.1 Konnessjoni tal-Enerġija
Connect the provided USB power cord to the 'Power Input' port on the back of the clock and plug the USB power adapter into a standard wall outlet. The clock will power on and display the time.
Image: The Cadmos G10 Alarm Clock connected to a wall outlet via its USB power adapter, with a smartphone charging from the clock's USB port.
4.2 Installazzjoni ta' Backup tal-Batterija
The clock comes with a pre-installed CR2032 battery for backup. This battery ensures that time and alarm settings are retained during a power outage. If the battery needs replacement, open the backup-battery compartment on the back of the clock and insert a new CR2032 battery, observing polarity.
Image: Illustration of the Cadmos G10 Alarm Clock's battery backup feature, showing the CR2032 battery compartment and how the clock retains time after a power interruption.
4.3 Issettjar tal-Ħin Inizjali
Upon first power-up or after a full reset, the time may need to be set. Refer to the 'Operating Instructions' section for detailed steps on setting the time and 12/24-hour format.
5. Istruzzjonijiet Operattivi
5.1 Setting Time and 12/24-Hour Format
Press the 'TIME SET' button to enter time setting mode. Use the '+' and '-' buttons to adjust hours and minutes. Press 'TIME SET' again to confirm. To switch between 12-hour and 24-hour format, press the '12/24H' button.

Image: The Cadmos G10 Alarm Clock displaying time in both 12-hour (AM/PM) and 24-hour formats, illustrating the flexibility of the time display.
5.2 Aġġustament tal-Luminożità tad-Displej
The display has 4 levels of adjustable brightness. Press the 'BRIGHTNESS' button repeatedly to cycle through the brightness levels (100%, 75%, 50%, 25%).
Image: Visual representation of the Cadmos G10 Alarm Clock's 4-level brightness adjustment, showing the display at different intensity levels from 10% to 100%.
5.3 Issettjar tal-Allarmi (Allarm 1 & Allarm 2)
The clock features dual alarms. Press 'ALARM 1' or 'ALARM 2' button to enter alarm setting mode. Use '+' and '-' buttons to set the desired alarm time. Press the alarm button again to confirm. You can also set the alarm volume (3 levels: 65dB, 85dB, 95dB) and choose between weekday (MON-FRI), weekend (SAT-SUN), or all 7 days (MON-SUN) alarm modes.

Image: Illustration of the Cadmos G10 Alarm Clock's dual alarm functionality, showing options for weekday, weekend, or 7-day alarms, and three levels of alarm volume adjustment (65dB, 85dB, 95dB).
5.4 L-Użu tal-Funzjoni Snooze
When an alarm sounds, press the 'SNOOZE' button to temporarily silence the alarm for 9 minutes. The alarm will sound again after the snooze period. To turn off the alarm completely, press any other button.
Image: A hand reaching to press the snooze button on the Cadmos G10 Alarm Clock, indicating the 9-minute snooze feature for easy temporary silencing of the alarm.
5.5 Customizing Dynamic RGB Display
The clock offers 8 different colorful display screens, including 4 regular colors (White, Red, Green, Blue) and 4 dynamic RGB color-changing modes. Press the 'RGB' button to cycle through these display options.

Image: Grid showing 8 different dynamic RGB display modes for the Cadmos G10 Alarm Clock, including static colors (White, Red, Green, Blue) and various color-changing patterns.
5.6 Activating Night Light
The clock features a 7-color rainbow atmosphere night light at its base, with 5 monocolor modes and 2 dynamic RGB modes. Press the 'LIGHT' button to activate and cycle through the night light options.

Image: The Cadmos G10 Alarm Clock demonstrating its 7-color night light feature, showing the clock with different colored illumination from its base.
5.7 L-Użu tal-Port tal-Iċċarġjar tal-USB
The USB port on the back of the clock (DC 5V/1A-2A) can be used to charge compatible electronic devices such as smartphones or tablets. Connect your device's charging cable to this port.
6. Manutenzjoni
6.1 Cleaning the Clock
To clean the clock, gently wipe the surface with a soft, dry cloth. Do not use abrasive cleaners, solvents, or chemical sprays, as these may damage the finish or internal components.
6.2 Replacing the Backup Battery
If the clock consistently loses time or settings during power outages, the CR2032 backup battery may need replacement. Open the battery compartment on the back, remove the old battery, and insert a new CR2032 battery with the correct polarity (+ side up). Dispose of old batteries responsibly.
7 Issolvi l-problemi
- L-arloġġ mhux qed jixgħel: Ensure the USB power adapter is securely plugged into both the clock and a working wall outlet. Try a different outlet or USB adapter.
- L-allarm ma ħossx: Verify that the alarm is enabled (alarm icon displayed) and the volume is set to an audible level. Check if the alarm mode (weekday/weekend/7 days) is correctly configured.
- Il-wiri huwa dgħajjef jew itteptip: Adjust the brightness settings using the 'BRIGHTNESS' button. If the issue persists, ensure the power connection is stable.
- Il-ħin mhux korrett wara li tintefa' l-enerġijatage: The CR2032 backup battery may be depleted. Replace the battery as described in the 'Maintenance' section.
- USB charging port not working: Ensure the clock is powered on. Check the charging cable and the device being charged. The port provides 5V/1A-2A output; some devices may require higher power.
8. Speċifikazzjonijiet
Image: The Cadmos G10 Alarm Clock displaying its dimensions: 6.7 inches width and 3.11 inches height.
| Karatteristika | Speċifikazzjoni |
|---|---|
| Brand | Cadmos |
| Numru tal-Mudell | G10 |
| Tip ta 'Wiri | LED |
| Dimensjonijiet tal-Prodott | 6.7"W x 3.11"Għ |
| Piż tal-oġġett | 8.2 uqija |
| Sors tal-Enerġija | Corded Elettriku |
| Batterija tal-Backup | 1 x CR2032 (inkluż) |
| Output tal-Iċċarġjar tal-USB | DC 5V/1A-2A |
| Volum ta' Allarm | Adjustable (up to 105dB) |
| Il-luminożità tal-wiri | 4 Livelli |
| RGB Display Modes | 8 (4 statiċi, 4 dinamiċi) |
| Kuluri Dawl bil-lejl | 7 (5 monocolor, 2 dynamic RGB) |
9. Informazzjoni dwar Garanzija
This Cadmos G10 Alarm Clock comes with a limited warranty. For detailed information regarding warranty coverage, terms, and conditions, please refer to the warranty card included in your product packaging or visit the official Cadmos websit.
10. Appoġġ għall-Klijent
If you encounter any issues or have questions about your Cadmos G10 Alarm Clock, please contact Cadmos customer support. You can typically find contact information (email, phone, or website) on the product packaging or on the official Cadmos brand store page.
Għal aktar għajnuna, jekk jogħġbok żur il- Cadmos Store on Amazon.


