1. Prodott Aktarview
This OEM LCD Screen with Digitizer Full Assembly is specifically designed as a replacement part for the Infinix Smart 7 HD X6516 mobile phone. It integrates both the LCD display and the touch screen digitizer into a single unit, providing a complete solution to replace a damaged, cracked, or non-functional screen.
The assembly is engineered to ensure full compatibility and proper function, restoring the visual clarity and touch responsiveness of your device.
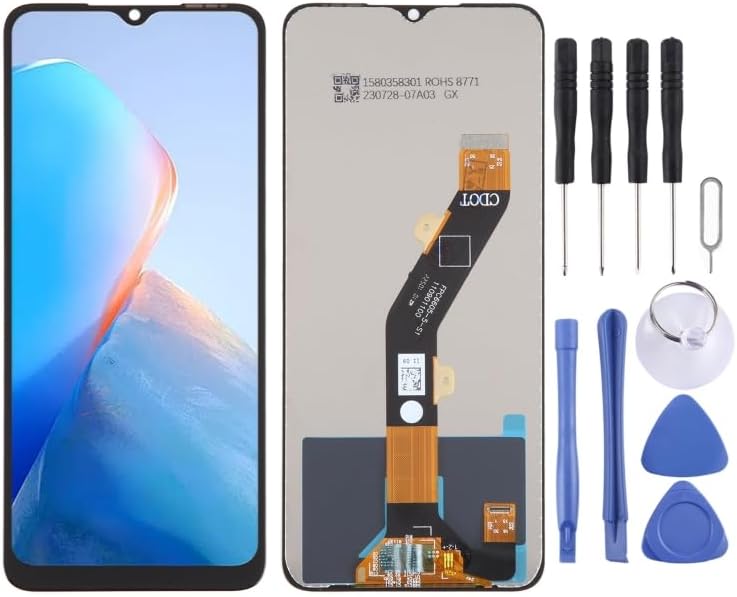
Image: The OEM LCD Screen assembly for Infinix Smart 7 HD X6516, displayed alongside a set of common repair tools including screwdrivers, pry tools, and a suction cup, indicating a complete replacement kit.
2. Noti Importanti Qabel l-Installazzjoni
Adhering to these critical notes is essential for a successful installation and to prevent potential damage to the new screen or your device.
2.1. Test Before Installation
Prior to full installation, it is mandatory to test the new screen. Do not remove any protective films or tags from the screen during this testing phase.
- Static Electricity Precaution: Static electricity can cause irreparable damage to electronic components. Before beginning any repair, ensure you ground yourself using an ESD (Electrostatic Discharge) strap.
- Protezzjoni tal-għajnejn: Always wear appropriate eye protection to shield against potential glass splinters. Exercise extreme caution to avoid cutting your fingers.
- Simulated Testing: Connect the new LCD screen's flex cables to the phone's motherboard (without fully adhering the screen). Power on the device and verify that the display functions correctly and the touch screen responds accurately. If the screen does not display or function properly during this test, contact customer support immediately. Do not proceed with full installation if any issues are present.

Image: A detailed close-up of the flexible ribbon cable and its connectors on the reverse side of the LCD screen assembly, emphasizing the delicate nature of these components.
2.2. Cable Handling
The LCD flex cable is highly delicate. Ensure it is not bent excessively, particularly beyond a 90-degree angle. Over-bending the cable can lead to a black display or other display malfunctions.
3. Gwida għall-Installazzjoni
This section provides a general outline for replacing your phone's screen. Due to the intricate nature of mobile phone components, professional installation is strongly recommended.
- Preparazzjoni: Ensure your device is completely powered off. Gather all necessary tools, which may include specialized screwdrivers, pry tools, and a heat source (e.g., heat gun or hair dryer) to soften adhesive.
- Neħħi l-Iskrin il-Qadim: Carefully detach the damaged screen. This typically involves heating the edges to loosen adhesive and using pry tools to gently separate the screen from the phone frame. Disconnect all flex cables connecting the old screen to the motherboard.
- Qafas Nadif: Thoroughly clean any residual adhesive or debris from the phone's frame to ensure a smooth and flat surface for the new screen.
- Test New Screen: As detailed in Section 2.1, connect the new screen's flex cables to the motherboard without fully adhering it. Power on the phone to verify display and touch functionality. Power off the phone after successful testing.
- Apply Adhesive (if necessary): Apply new adhesive around the phone frame where the screen will be seated.
- Installa Skrin Ġdid: Carefully align the new screen with the phone frame. Gently press it into place, ensuring all edges are flush. Reconnect any internal components that were detached during the removal process.
- Assigura u Erġa' Arma: Secure the screen with any screws or clamps if applicable. Reassemble the phone's back cover and any other removed parts.
- Kontroll Finali: Power on the phone and perform a comprehensive final check of all functions, including display, touch, and any other relevant features.
Image: A visual representation of the product preparation process, illustrating steps such as image printing, film coating, quality control inspections, and various stages of packaging to ensure product integrity during shipping.
4. Manutenzjoni u Kura
To ensure the longevity and optimal performance of your new LCD screen, adhere to these maintenance guidelines:
- Protezzjoni tal-iskrin: Consider applying a screen protector (e.g., tempered glass or protective film) to minimize scratches and protect against minor impacts.
- Tindif: Clean the screen using a soft, lint-free cloth. For stubborn smudges, lightly dampen the cloth with water or a specialized screen cleaner. Avoid using harsh chemicals, abrasive materials, or excessive moisture.
- Evita Pressjoni: Do not apply excessive or concentrated pressure to the screen, as this can damage the LCD panel or the touch digitizer.
- Temperatura Estremi: Avoid exposing your device to extreme temperatures (both very hot and very cold), as this can negatively affect screen performance and overall lifespan.
5 Issolvi l-problemi
If you encounter issues after installing the new screen, review the following common problems and their potential solutions:
| Problema | Kawża Possibbli | Soluzzjoni |
|---|---|---|
| Screen remains black after installation. |
|
|
| Touch screen unresponsive or erratic. |
|
|
| Display shows lines or discoloration. |
|
|
For issues not addressed in this section, or if the suggested troubleshooting steps do not resolve the problem, please contact customer support for further assistance.
6. Speċifikazzjonijiet tal-Prodott
- Tip ta' Prodott: OEM LCD Screen with Digitizer Full Assembly
- Kompatibilità: Infinix Smart 7 HD X6516
- Ditta: Daguys
- Piż tal-oġġett: 13.4 uqija
- ASIN: B0CKH7G485
- Manifattur: Spare Parts
- Data L-Ewwel Disponibbli: 5 ta’ Ottubru, 2023
7. Appoġġ u Garanzija
Each product undergoes thorough inspection and is confirmed to be in good condition prior to shipment. We are dedicated to providing quality assurance and friendly after-sales service to our customers.
Should you have any questions, require assistance with your product, or encounter any concerns regarding its quality, please do not hesitate to contact us. Our support team is available to assist with installation queries, troubleshooting, and any other product-related inquiries.
For specific warranty terms and detailed contact information, please refer to your original purchase documentation.


