1. Introduzzjoni
This manual provides detailed instructions for the installation, setup, operation, and maintenance of your RUILON Welock PCB01 Electronic Door Lock. Please read this manual thoroughly before installation and use to ensure proper function and safety.
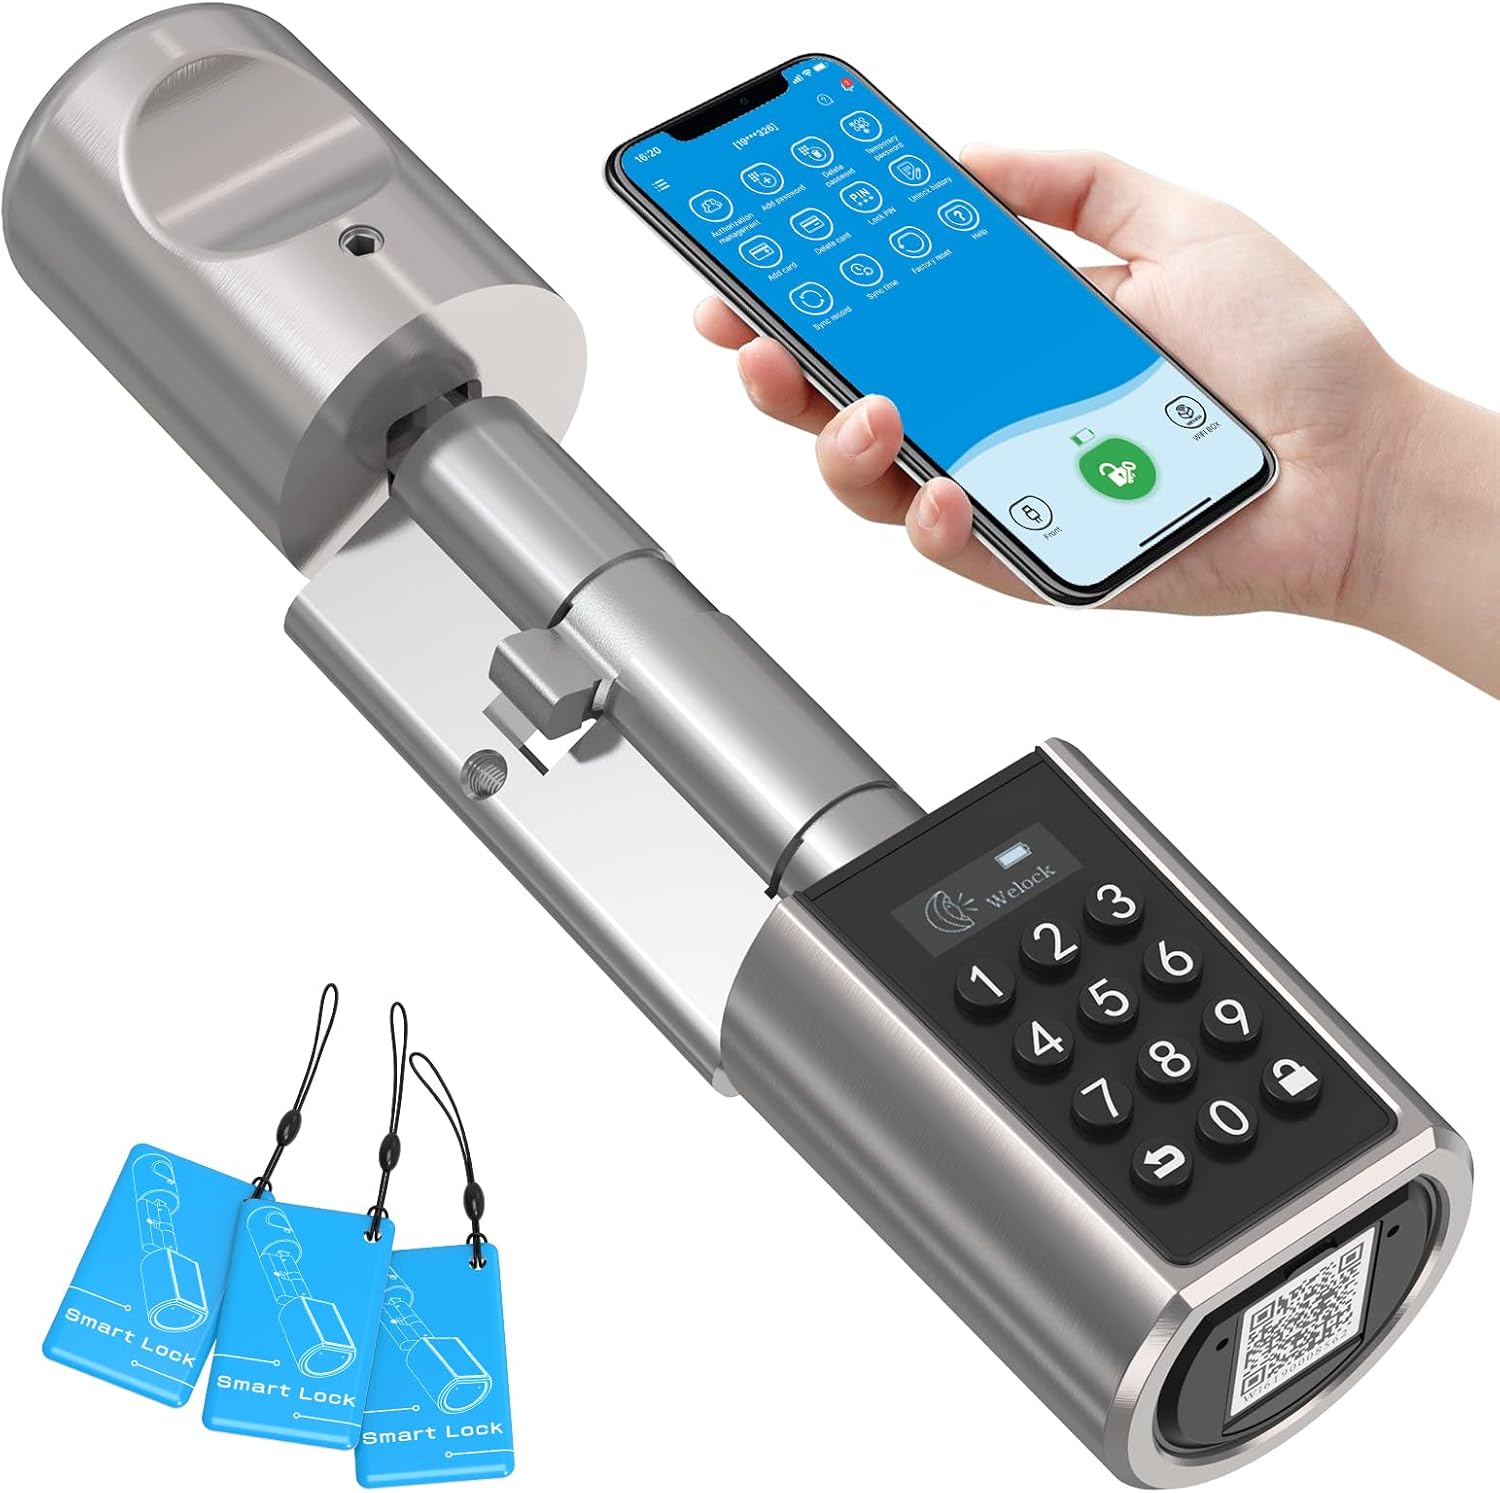
Image 1.1: The Welock PCB01 Electronic Door Lock, showing the cylinder, keypad, and RFID cards, alongside a smartphone displaying the control app.
2. Informazzjoni dwar is-Sigurtà
- Tesponix is-serratura għal temperaturi estremi jew sprej dirett tal-ilma.
- Use only specified AAA batteries. Do not mix old and new batteries.
- Keep RFID cards and access codes secure.
- Ensure proper installation to prevent damage or malfunction.
- Do not attempt to disassemble or repair the lock yourself. Contact support if issues arise.
3. Kontenut tal-Pakkett
Ivverifika li l-oġġetti kollha huma preżenti fil-pakkett:
- 1 x Welock Electronic Door Lock Cylinder
- 1 x Kaxxa tal-Aċċessorji
- 3 x Karti RFID
- 1 x Waterproof Silicone Case
- 2 x Hexagonal Screwdrivers
- 1 x Manwal tal-Istruzzjonijiet (dan id-dokument)
- 1 x Replacement Screw Pack
4. Speċifikazzjonijiet
| Karatteristika | Dettall |
|---|---|
| Numru tal-Mudell | PCB10EBL01 |
| Materjal | Stainless Steel and Zinc Alloy |
| Temperatura operattiva | -30°C sa 60°C (-40°F sa 140°F) |
| Provvista tal-Enerġija | 3 x Batteriji AAA (mhux inklużi) |
| Cylinder Net Weight | 480g (16.9oz) |
| Kompatibilità tal-Ħxuna tal-Bieb | 50 mm to 100 mm (adjustable cylinder length) |
| Outer Knob Diameter | 46 mm |
| Inner Knob Diameter | 38 mm |
| Outer Knob Length | 56 mm |
| Inner Knob Length | 57 mm |
| Electronic Lock Length (Adjustable) | Outer 40-55 mm / Inner 30-60 mm |
| Nisfruttaw Metodi | Keypad, RFID Card, Smartphone App (Bluetooth/Wi-Fi with gateway) |
| Emerġenza Unlock | Input tal-Enerġija USB |
5. Installazzjoni
The Welock PCB01 is designed for easy installation, replacing your existing mechanical cylinder without drilling or complex wiring. Ensure your door meets the compatibility requirements before proceeding.
5.1 Verifika tal-Kompatibbiltà
Before installation, confirm your door's specifications:
- Ħxuna tal-Bieb: Compatible with doors from 50 mm to 100 mm.
- Tip taċ-ċilindru: Must be a European standard cylinder. Not compatible with Swiss round cylinders or vintage door locks.
- Keyhole Position: The center of the keyhole must be at least 40 mm from the door frame.
- The keyhole of the outdoor side should only be installed from the outside.

Image 5.1: Visual guide for door compatibility, illustrating required door thickness and cylinder type.
5.2 Passi ta' Installazzjoni
- Neħħi ċ-Ċilindru Eżistenti: Unscrew the retaining screw on the side of your door that holds the current cylinder in place. Insert your key and turn it slightly (about 15-20 degrees) while pulling the cylinder out.
- Adjust Welock Cylinder Length: The Welock cylinder is adjustable. Refer to the included accessory box for instructions on how to adjust the inner and outer lengths to match your door's thickness.
- Insert Welock Cylinder: Insert the Welock electronic door lock into the cylinder hole. Ensure the outdoor keypad side is facing outwards.
- Waħħal iċ-Ċilindru: Re-insert and tighten the retaining screw on the side of the door to secure the Welock cylinder.
- Installa Batteriji: Open the battery compartment on the inner knob and insert 3 AAA batteries (not included), ensuring correct polarity. Close the compartment.
- Funzjonalità tat-Test: After installation, manually test the lock by turning the inner knob. Then, proceed to initial setup.
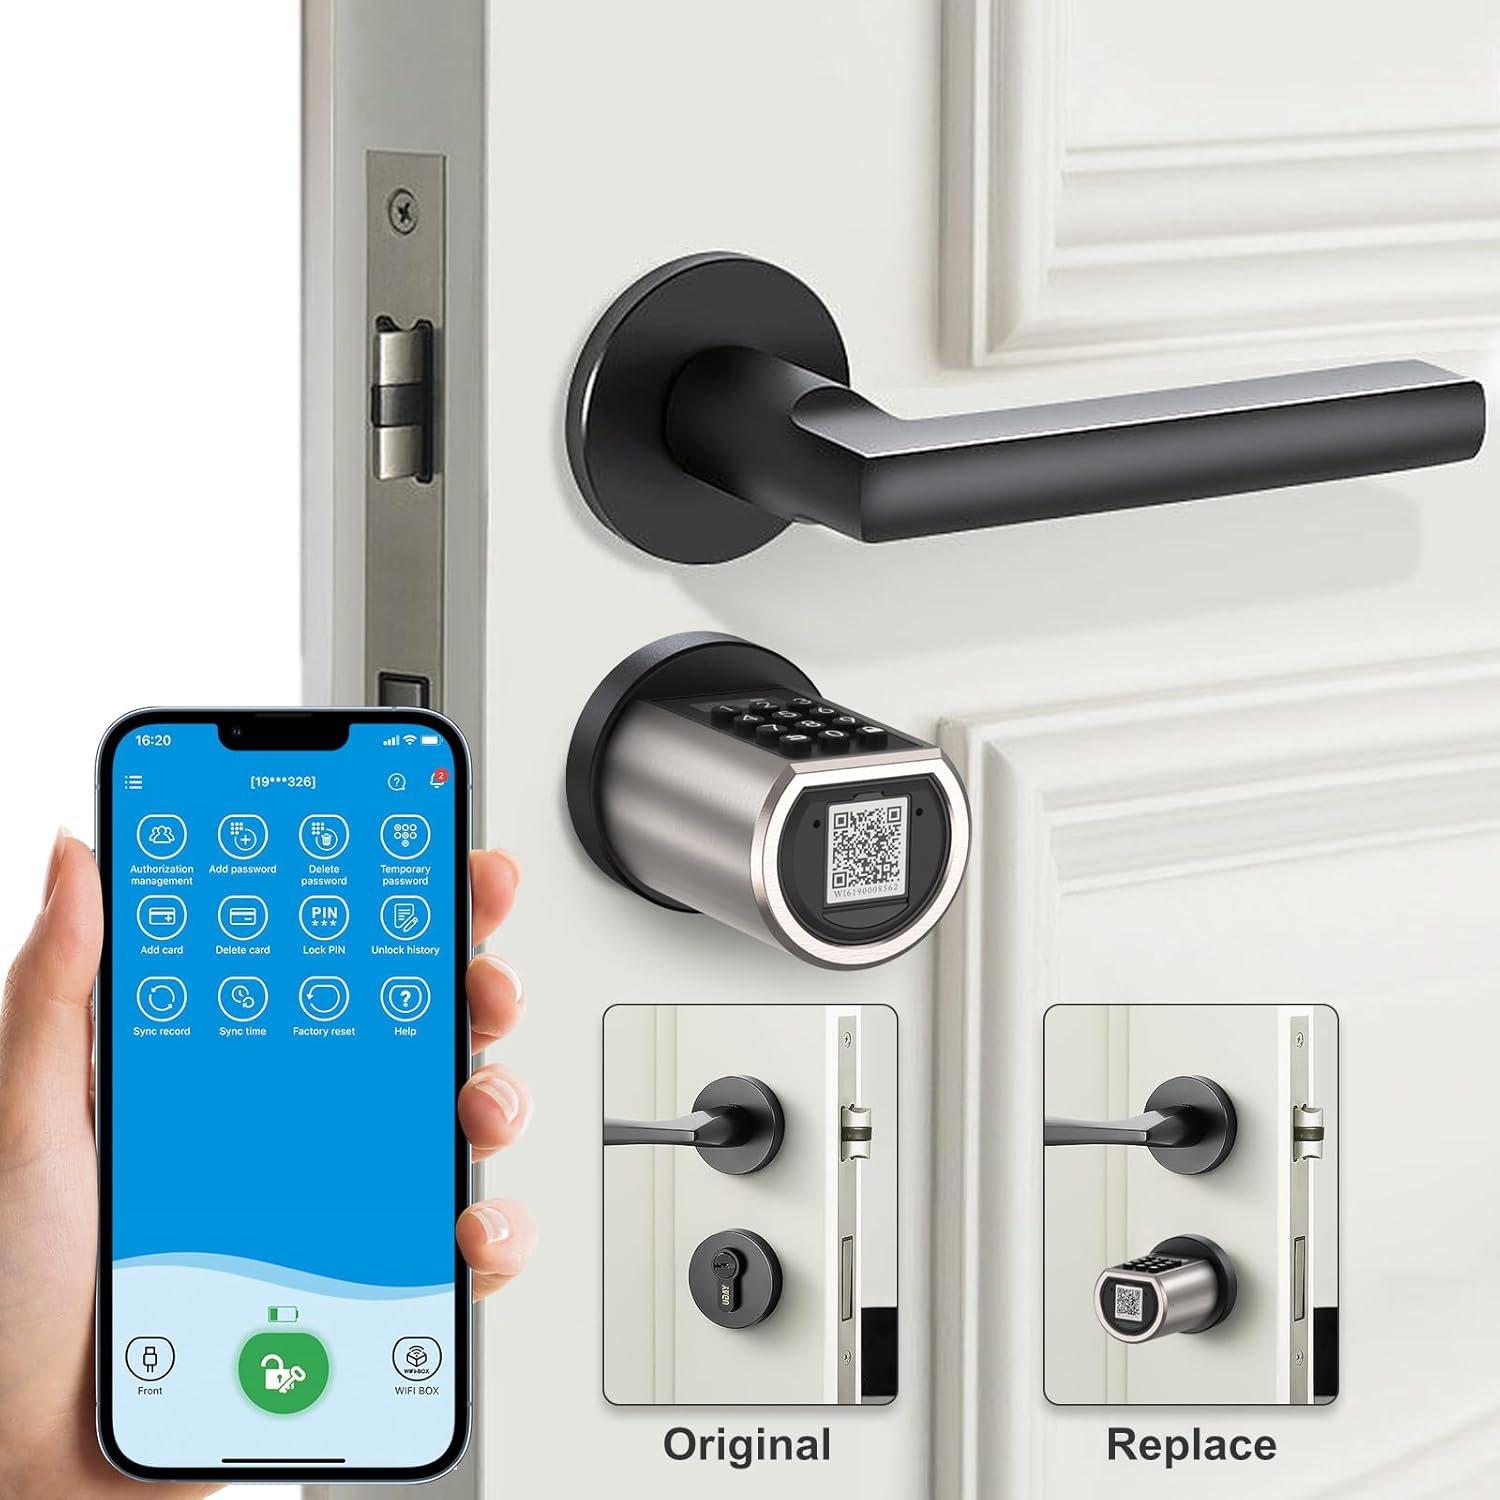
Image 5.2: Illustration of replacing a standard door cylinder with the Welock PCB01 smart lock.
6. Initial Setup and App Configuration
6.1 Download the WeLock App
The WeLock app is essential for managing your smart lock. Download it from your smartphone's app store (iOS and Android compatible) or scan the QR code below:
Download WeLock App (iOS/Android)
Image 6.1: QR code for direct download of the WeLock mobile application.
6.2 Pairing the Lock with the App
- Ippermetti Bluetooth fuq l-ismartphone tiegħek.
- Open the WeLock app and create an account or log in.
- Follow the in-app instructions to add a new device. The app will search for nearby Welock devices.
- Select your lock from the list and complete the pairing process.
- You will be prompted to set an administrator password for the lock.

Image 6.2: The WeLock application interface, demonstrating features such as keyless entry, code creation, and unlock history.
6.3 Wi-Fi Connectivity (Gateway Required)
For remote control and Wi-Fi features, a separate Wi-Fi gateway is required (sold separately). Follow the gateway's instructions to connect it to your home network and link it with your Welock PCB01 via the WeLock app.
7. It-Tħaddim tas-Serratura
The Welock PCB01 offers multiple ways to unlock your door:

Immaġni 7.1: Fuqview of the multiple keyless unlocking methods available for the Welock PCB01.
7.1 Unlocking with Keypad (Code)
- Wake up the keypad by touching it.
- Enter your 6-8 digit access code.
- Agħfas il-buttuna '#' biex tikkonferma.
- The lock will unlock, allowing you to turn the outer knob to open the door.
Funzjoni Kontra t-Tqaxxir: You can enter random digits before or after your actual code (up to 30 digits total) to prevent others from guessing your code. As long as the correct code sequence is embedded within the longer string, the lock will open.
7.2 Il-ftuħ bil-Karta RFID
- Hold a registered RFID card near the RFID reader area on the outer knob.
- The lock will beep and unlock.
- Turn the outer knob to open the door.
Adding RFID Cards: Up to 20 RFID cards can be paired via the WeLock app.
7.3 Unlocking with Smartphone App (Bluetooth/Wi-Fi)
- Open the WeLock app on your smartphone.
- Ensure Bluetooth is enabled (for close-range unlock) or Wi-Fi gateway is connected (for remote unlock).
- Tap the unlock icon within the app.
- The lock will unlock, allowing you to turn the outer knob to open the door.
Passwords Temporanji: The app allows you to generate temporary passwords for visitors, which can be time-limited or single-use. These can be shared remotely if a Wi-Fi gateway is connected.

Immaġni 7.2: Eż.ample of sharing temporary access passwords with visitors via smartphone.
7.4 Emergency USB Power
If the batteries are completely depleted, you can temporarily power the lock using a standard USB power bank connected to the micro-USB port on the outer knob. This will allow you to unlock the door using a registered code or RFID card.
8. Manutenzjoni
8.1 Sostituzzjoni tal-batterija
The lock will issue an alarm when the battery level drops below 20%. You can also check the battery status in the WeLock app.
- Open the battery compartment on the inner knob.
- Neħħi l-batteriji AAA qodma.
- Insert 3 new AAA 1.5V batteries, ensuring correct polarity.
- Agħlaq il-kompartiment tal-batterija sew.
8.2 Tindif
Wipe the lock's surface with a soft, dry cloth. Do not use abrasive cleaners or solvents, as these can damage the finish or electronic components.
9 Issolvi l-problemi
| Problema | Kawża Possibbli | Soluzzjoni |
|---|---|---|
| Lock does not respond to keypad/RFID. | Low batteries, incorrect code/card, lock malfunction. | Replace batteries. Re-enter code carefully. Ensure RFID card is registered. Use USB emergency power. |
| Cannot pair with WeLock app. | Bluetooth off, lock not in pairing mode, app issue. | Ensure Bluetooth is on. Restart lock (remove/reinsert batteries). Restart app. Try pairing closer to the lock. |
| Il-ftuħ mill-bogħod mhux qed jaħdem. | No Wi-Fi gateway, gateway offline, poor Wi-Fi signal. | Ensure Wi-Fi gateway is installed and connected. Check gateway's internet connection. Move gateway closer to the lock. |
| Is-serratura hija iebsa jew diffiċli biex iddawwar. | Improper installation, door misalignment, debris in lock mechanism. | Recheck installation steps, especially cylinder length. Ensure door frame is aligned. Clean around the lock. |
10. Garanzija u Appoġġ
For warranty information, technical support, or service inquiries, please contact RUILON customer support through your purchase platform or refer to the contact details provided with your product packaging.
Manifattur: WELOCK
Ditta: RUILON

