1. Introduzzjoni
This manual provides detailed instructions for the setup, operation, maintenance, and troubleshooting of your Steelplay Adventure Controller for Nintendo Switch. Please read this manual thoroughly before using the product to ensure optimal performance and longevity.
2. Kontenut tal-Pakkett
- Steelplay Adventure Controller
- Cable tal-Iċċarġjar tal-USB
- Manwal għall-Utent (dan id-dokument)
3. It-Tqassim tal-Kontrollur
Familiarize yourself with the buttons and features of your Steelplay Adventure Controller.

Figura 1: Quddiem view of the Steelplay Adventure Controller. This image displays the controller's ergonomic design, featuring a teal main body, brown grips, and yellow accents on the analog sticks, D-pad, and face buttons. The layout includes two clickable analog sticks, a directional pad, A/B/X/Y action buttons, Home, Capture, Plus, Minus, and Turbo buttons.
- Stick Analogu tax-Xellug: Għall-moviment u l-kontroll tal-kamera.
- Stick Analogu tal-Lemin: Għall-kontroll tal-kamera jew azzjonijiet speċifiċi fil-logħba.
- D-Pad: Input direzzjonali.
- Buttuni A/B/X/Y: Buttuni ta' azzjoni.
- Buttuni tax-Xellug/Lemin: Buttuni fuq l-ispalla.
- Buttuni ZL/ZR: Buttuni tal-attivazzjoni.
- Buttuna HOME: Returns to the Nintendo Switch HOME Menu.
- CAPTURE Button: Takes screenshots or video clips.
- Buttuna + (Plus): Buttuna Start/Pause.
- - Buttuna (Minus): Agħżel buttuna.
- Buttuna TURBO: For setting rapid-fire functionality (refer to operating section).
- Indikaturi LED: Display connection status, player number, and charging status.
4. Setup u Konnessjoni
4.1 Iċċarġjar inizjali
Before first use, fully charge the controller. Connect the USB charging cable to the controller's charging port and the other end to a USB power source (e.g., Nintendo Switch dock, USB wall adapter, computer USB port). The LED indicators will show charging status and turn off or change color when fully charged.
4.2 Tqabbil man-Nintendo Switch
- On your Nintendo Switch HOME Menu, select "Controllers".
- Agħżel "Ibdel il-Qabda/Ordni".
- On the Steelplay Adventure Controller, press and hold the buttuna HOME u l- Buttuna Y simultaneously for a few seconds until the LED indicators start flashing rapidly. This indicates the controller is in pairing mode.
- The Nintendo Switch will detect the controller. Once detected, the LED indicators on the controller will stop flashing and remain solid, indicating a successful connection.
- Press the L+R buttons on the controller as prompted by the Switch screen to finalize the connection.
Once paired, the controller will automatically connect to your Nintendo Switch when powered on and within range.
5. It-Tħaddim tal-Kontrollur
5.1 Kontrolli Bażiċi
The Steelplay Adventure Controller functions similarly to official Nintendo Switch Pro Controllers. Use the analog sticks for movement, D-pad for directional input, and A/B/X/Y buttons for in-game actions. The L/R and ZL/ZR buttons provide additional input options.
5.2 Kontroll tal-Mozzjoni
The controller supports motion control functionality, allowing for immersive gameplay in compatible titles. Ensure your Nintendo Switch system software is up to date for optimal motion control performance.
5.3 Funzjoni TURBO
The TURBO function allows a button to be pressed repeatedly as long as it is held down, providing a rapid-fire effect.
- Biex tattiva t-TURBO: Agħfas u żomm il- Buttuna TURBO, then press the desired action button (e.g., A, B, X, Y, L, R, ZL, ZR). The button will now have TURBO functionality.
- Biex tiddiżattiva t-TURBO: Agħfas u żomm il- Buttuna TURBO again, then press the same action button. The TURBO function for that button will be turned off.
6. Manutenzjoni
6.1 Tindif
Biex tnaddaf il-kontrollur tiegħek, uża drapp artab u niexef. Għal ħmieġ iebes, nixxef ftit.ampen the cloth with water and gently wipe the surface. Do not use harsh chemicals, solvents, or abrasive cleaners, as these can damage the controller's finish and internal components.
6.2 Ħażna
Store the controller in a cool, dry place away from direct sunlight, extreme temperatures, and high humidity. Avoid placing heavy objects on the controller to prevent damage to the buttons or casing.
6.3 Kura tal-Batterija
The controller contains a built-in Lithium-ion battery. To prolong battery life, avoid fully discharging the battery frequently. If storing the controller for an extended period, charge it to approximately 50% capacity every few months.
7 Issolvi l-problemi
| Problema | Kawża Possibbli | Soluzzjoni |
|---|---|---|
| Il-kontrollur ma jikkonnettjax mas-Swiċċ. |
|
|
| Dewmien fl-input jew buttuni li ma jirrispondux. |
|
|
| Controller does not charge. |
|
|
8. Speċifikazzjonijiet
| Karatteristika | Dettall |
|---|---|
| Brand | Steelplay |
| Numru tal-Mudell | 3760352735322 |
| Konnettività | Bluetooth (Wireless) |
| Apparati Kompatibbli | Nintendo Switch |
| Kulur | Multicolore (Teal, Brown, Yellow) |
| Karatteristiċi Speċjali | Wireless, Motion Control, TURBO Function |
| Piż | 185 Gramm |
| Dimensjonijiet (L x W x H) | 16 x 11.5 x 6.3 ċentimetru |
| Tip ta 'batterija | 1 Lithium-ion (built-in) |
9. Garanzija u Appoġġ
The product packaging indicates a 5-year warranty. For specific warranty terms, conditions, and support inquiries, please refer to the official Steelplay webis-sit jew ikkuntattja lis-servizz tal-konsumatur tagħhom direttament. Żomm il-prova tax-xiri tiegħek għal talbiet ta' garanzija.
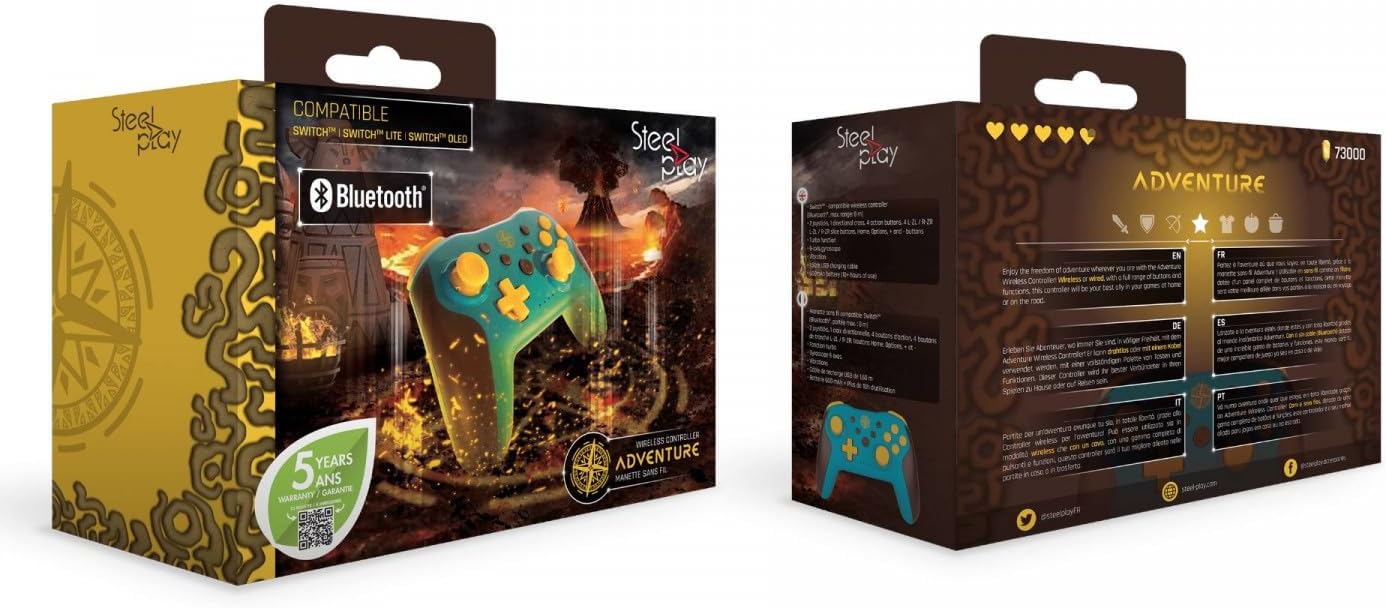
Figura 2: Packaging of the Steelplay Adventure Controller. The box prominently features the controller's design, compatibility with various Nintendo Switch models, Bluetooth logo, and a "5 years warranty" seal. The reverse side provides product information in multiple languages.


