Introduzzjoni
The DEPSTECH Dual Lens Borescope is a versatile inspection tool designed for examining hard-to-reach areas. Featuring a dual-lens system, a high-resolution display, and adjustable LED lighting, it provides clear visuals for various applications, from automotive maintenance to home inspections.
X'hemm fil-Kaxxa
- 1x Dual Lens Handheld Endoscope
- 1x 16.5ft Semi-Rigid Cable
- 1x 32GB TF Card (pre-installed)
- 1x Handheld Case
- 1x USB Iċċarġjar Cable
- 1x Hook Attachment
- 1x Magnet Attachment
- 1x Manwal għall-Utent

Figure 1: DEPSTECH Dual Lens Borescope with its included carrying case and coiled inspection cable.
Setup
1. Iċċarġjar Inizjali
Before first use, fully charge the borescope's built-in rechargeable battery using the provided USB charging cable. Connect the USB charging cable to the device's charging port and a compatible USB power source. A full charge typically provides up to 4 hours of operation.

Figure 2: The borescope connected to a power source for charging. The device can be used while charging.
2. Connecting the Inspection Cable
Ensure the inspection cable is securely connected to the main unit. Push the cable connector firmly into the designated port on the borescope until it clicks into place. A loose connection may result in a "No Signal" message or intermittent light functionality.
Video 1: Demonstration of how to properly connect the detachable inspection cable to ensure the LED light functions correctly. Ensure the cable is fully inserted until it clicks.
3. TF Card Installation (Pre-installed)
The 32GB TF (Micro SD) card is typically pre-installed. If you need to access or replace it, locate the card slot under the silicone cover on the side of the unit. Gently push the card to eject it, or insert a new card until it clicks into place.
Istruzzjonijiet Operattivi
1. Tixgħil / Mitfi
Agħfas u żomm il- QAWWA button located on the front panel to turn the device on or off. The 4.3-inch LCD screen will display the DEPSTECH logo upon startup.

Figure 3: The borescope's 4.3-inch LCD screen and control buttons, including the power button.
2. Display Modes and Dual Lens Functionality
The borescope features a dual-lens system, allowing for both front and side views. Use the dedicated button on the control panel to cycle through three observation modes:
- Quddiem View: Juri l-immaġni mill-kamera li tħares 'il quddiem.
- Ġenb View: Juri l-immaġni mill-kamera li tħares lejn il-ġenb.
- Skrin maqsum: Displays both front and side views simultaneously for a comprehensive perspective.

Figure 4: The dual lens system provides both forward and side views, enhancing inspection capabilities.
Vidjo 2: Fuqview of the DEPSTECH DS380 borescope, highlighting its compact size, dual lens, and various viewing modes including split screen.

Figure 5: The ultra-small 5.5mm camera head allows access to extremely tight spaces.
3. Aġġustament tal-Luminożità tal-LED
The borescope is equipped with 7 adjustable LED lights to illuminate dark inspection areas. Use the arrow buttons on the control panel to increase or decrease the brightness level as needed.
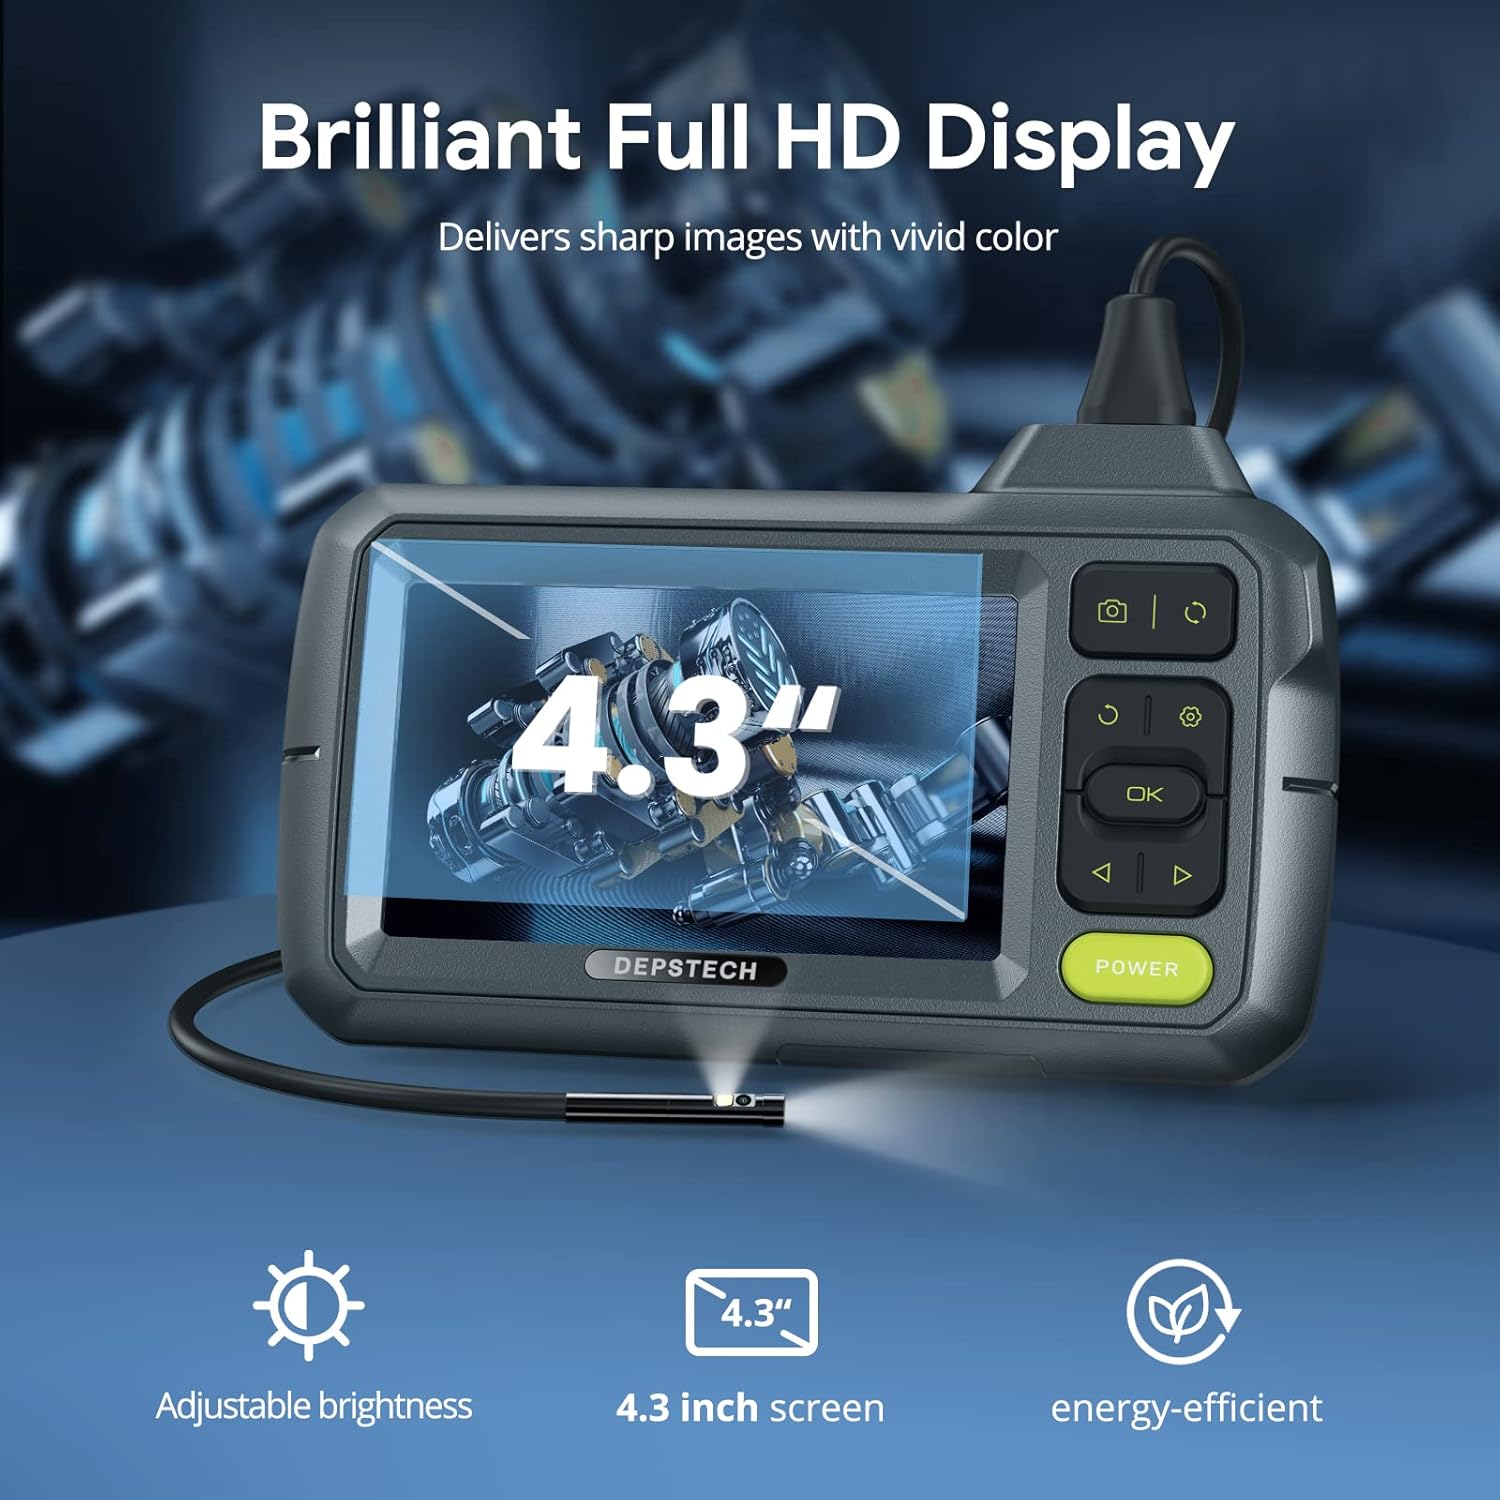
Figure 6: The 4.3-inch display offers clear visuals, with icons indicating adjustable brightness and energy efficiency.
4. Qbid ta 'Ritratti u Vidjows
To capture an image, press the Ritratt button. To record a video, press and hold the Video button to start recording, and press it again to stop. All captured media is saved to the installed TF card.
Manutenzjoni
1. Cleaning the Lens and Cable
After each use, especially in dirty or wet environments, gently wipe the camera lens and the inspection cable with a soft, damp cloth. Avoid using abrasive cleaners or solvents that could damage the lens or cable material.
2. Klassifikazzjoni tal-Ilma
The inspection cable and camera head are IP67 waterproof, meaning they can withstand immersion in water up to 1 meter for 30 minutes. However, the main unit (display and controls) is NOT waterproof. Ensure the main unit remains dry at all times.

Figure 7: The IP67 waterproof rating ensures durability of the camera probe in wet conditions.
3. Ħażna
Store the borescope and its accessories in the provided handheld case when not in use. This protects the device from dust, impacts, and ensures all components are organized and readily available.
Issolvi l-problemi
"No Signal" on Screen
- Ensure the inspection cable is fully and securely inserted into the main unit's port. Push until you hear a distinct click.
- Check if the device is powered on and the battery has sufficient charge.
Dwal LED Ma Jaħdmux
- Verify the inspection cable is fully connected (refer to "Connecting the Inspection Cable" in Setup).
- Adjust the LED brightness using the arrow buttons on the control panel.
Blurry or Unclear Images
- Clean the camera lens carefully with a soft, lint-free cloth.
- Ensure the object being inspected is within the optimal focal length (typically 2-10 cm for most borescopes).
Speċifikazzjonijiet
| Karatteristika | Dettall |
|---|---|
| Numru tal-Mudell | US DS380DL |
| Dijametru tal-Kamera | 0.21 pulzieri (5.5mm) |
| Tul tal-Cable | 16.5 pied |
| Riżoluzzjoni tal-Qbid tal-Vidjo | 1080p |
| Display Screen | 4.3 pulzier LCD |
| Dwal LED | 7 LEDs aġġustabbli |
| Waterproof Rating (Probe) | IP67 |
| Tip ta 'batterija | 1 Lithium Ion (inkluż) |
| Ħażna tal-Midja | 32GB SD Card (inkluża) |
| Kulur | Griż |
| Manifattur | DEPSTECH |
Garanzija u Appoġġ
For detailed warranty information, technical support, or further assistance, please refer to the official DEPSTECH User Manual PDF or visit the DEPSTECH official websit.
Manwal Uffiċjali għall-Utent (PDF): Ikklikkja Hawnhekk
DEPSTECH Store: Żur il-Ħanut


