1. Introduzzjoni
This manual provides detailed instructions for the installation, operation, and maintenance of your Newgoal 1 Channel Smart WiFi Relay Switching Module. This wireless switch allows you to remotely control connected home appliances or electrical devices via the eWeLink app, Bluetooth, or voice commands through Amazon Alexa and Google Home. It supports various working modes to suit different applications.
2. Informazzjoni dwar is-Sigurtà
Please read and understand all safety warnings and instructions before installing or operating this device. Failure to follow these instructions may result in electric shock, fire, or serious injury.
- Kun żgur li l-enerġija hija skonnettjata mis-circuit breaker qabel ma tagħmel xi wajers.
- All wiring should be performed by a qualified electrician or in accordance with local electrical codes.
- Do not exceed the maximum current and wattage ratings of the device (10A/2000W per channel, 16A/3500W total).
- Dan l-apparat huwa ddisinjat għal użu fuq ġewwa biss. Evita l-espożizzjoni għall-umdità jew temperaturi estremi.
- The relay is a switch with no output; the power input (AC/DC) is only for the PCBA.
3. Prodott Aktarview
The Newgoal Smart WiFi Relay Switching Module is a compact device designed for smart home integration. It features a single channel relay for controlling electrical loads.

Figure 3.1: Newgoal 1 Channel Smart WiFi Relay Switching Module. This image shows the compact design of the smart relay module, highlighting its small form factor suitable for various installations.
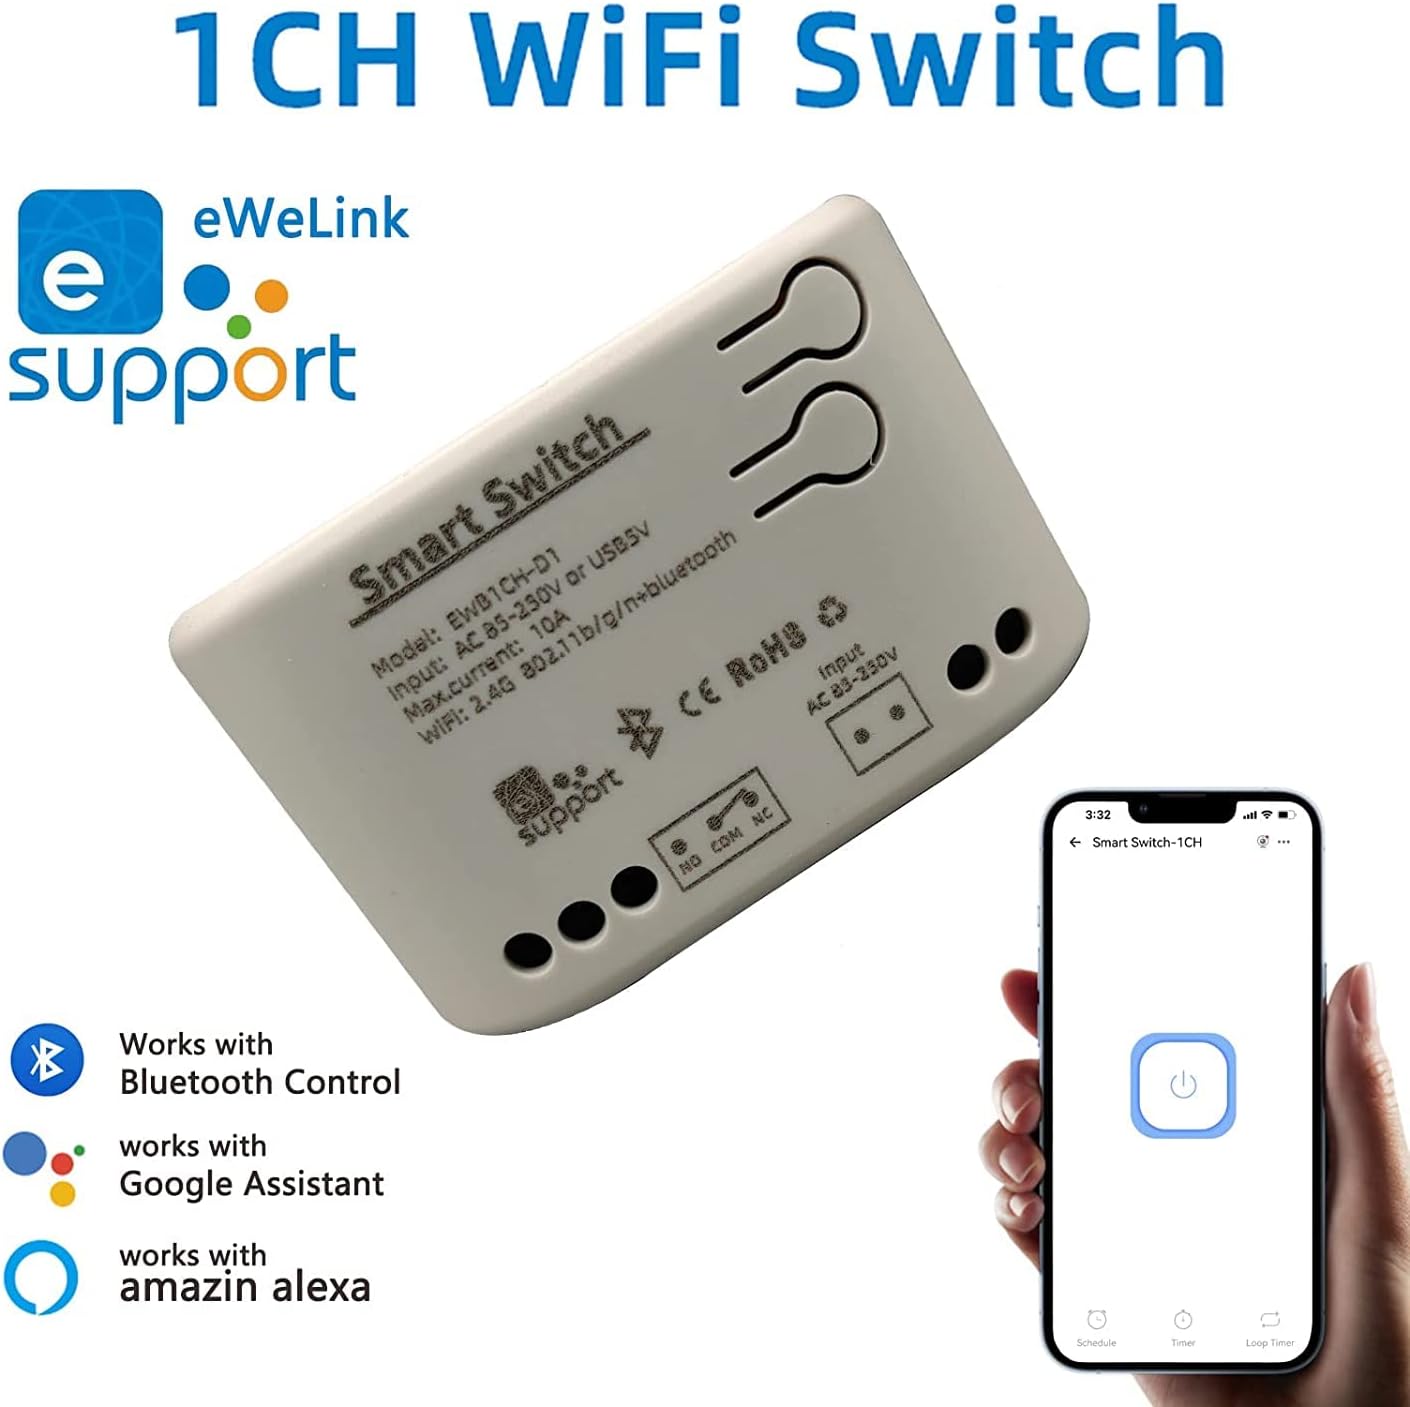
Figure 3.2: Module with eWeLink and Voice Assistant Compatibility. This image illustrates the module's compatibility with eWeLink, Bluetooth, Amazon Alexa, and Google Assistant, emphasizing its versatile control options.
Komponenti Ewlenin:
- Relay: Controls the connected electrical load.
- Input Terminals (AC85V-250V or USB 5V): For powering the module.
- Output Terminals (NO, COM, NC): For connecting to the device to be controlled.
- Reset/Manual Switch Button: For pairing and manual control.
- Network Indicator/Power Indicator LED: Jipprovdi feedback dwar l-istatus.

Figure 3.3: Internal Board and Wiring Diagram. This image displays the internal circuit board of the module, clearly labeling the input terminals (AC 85-250V, USB 5V), output terminals (NO, COM, NC), reset/manual switch, network indicator, and the relay component.
4. Speċifikazzjonijiet
| Parametru | Valur |
|---|---|
| Input Voltage | AC85V-250V or USB 5V |
| Maximum Current (Single Channel) | 10A |
| Wat Massimutage (Single Channel) | 2000W |
| Qawwa Totali | 3500W/16A (for 4-channel models, not applicable to this 1-channel model's total) |
| Standard Wireless | Wi-Fi 2.4GHz b/g/n + Bluetooth |
| Frekwenza tal-Kontroll mill-bogħod | 2.4G (for optional wireless remote control) |
| Temperatura tax-Xogħol | -20 ~ 70 ℃ |
| Materjal tal-Korp | ABS ritardant tan-nar |
| Dimensjonijiet | 73 x 46 x 30mm (2.76 x 1.77 x 1.18 pulzieri) |
| Piż tal-oġġett | 2.04 uqija |
| Tip ta' Kuntatt | Normalment Miftuħ |
| Numru ta' Terminals | 2 (for relay output) |
| Numru tal-Mudell | NG8000006ew-RF |
| UPC | 735372698226 |
5. Setup
5.1 Wajers
Before wiring, ensure the power supply to the circuit is completely disconnected. Connect the module according to your application's requirements. The module can be powered by AC85V-250V or USB 5V. The relay output has Normally Open (NO), Common (COM), and Normally Closed (NC) terminals. Connect your device to be controlled to the COM and NO terminals for typical switching applications.
Refer to Figure 3.3 for a visual representation of the wiring terminals.
5.2 Installazzjoni u Tqabbil tal-App
To control the module via your smartphone, you need to install the eWeLink app and pair the device.
- Niżżel l-App eWeLink: Fittex għal "eWeLink" in your mobile device's app store (available for Android and iOS) and install it.
- Irreġistra/Idħol: Iftaħ l-app tal-eWeLink u rreġistra kont ġdid jew idħol b'wieħed eżistenti.
- Power On the Module: Connect the module to a power source (AC85V-250V or USB 5V). The network indicator LED should start blinking.
- Daħħal il-Mod tat-Tqabbil: Press and hold the reset/manual switch button on the module for approximately 5-7 seconds until the network indicator LED blinks rapidly.
- Żid Apparat fl-App: In the eWeLink app, tap the "+" icon to add a new device. Select "Quick Pairing Mode" or follow the on-screen instructions for Bluetooth pairing.
- Qabbad mal-Wi-Fi: Enter your 2.4GHz Wi-Fi network name and password when prompted. (Note: The device only supports 2.4G WiFi networks, not 5.0G WiFi).
- Tqabbil Komplet: L-app se tfittex u tikkonnettja mal-modulu. Ladarba tkun konness, tista' tbiddel l-isem tal-apparat u tassenjah ma' kamra.
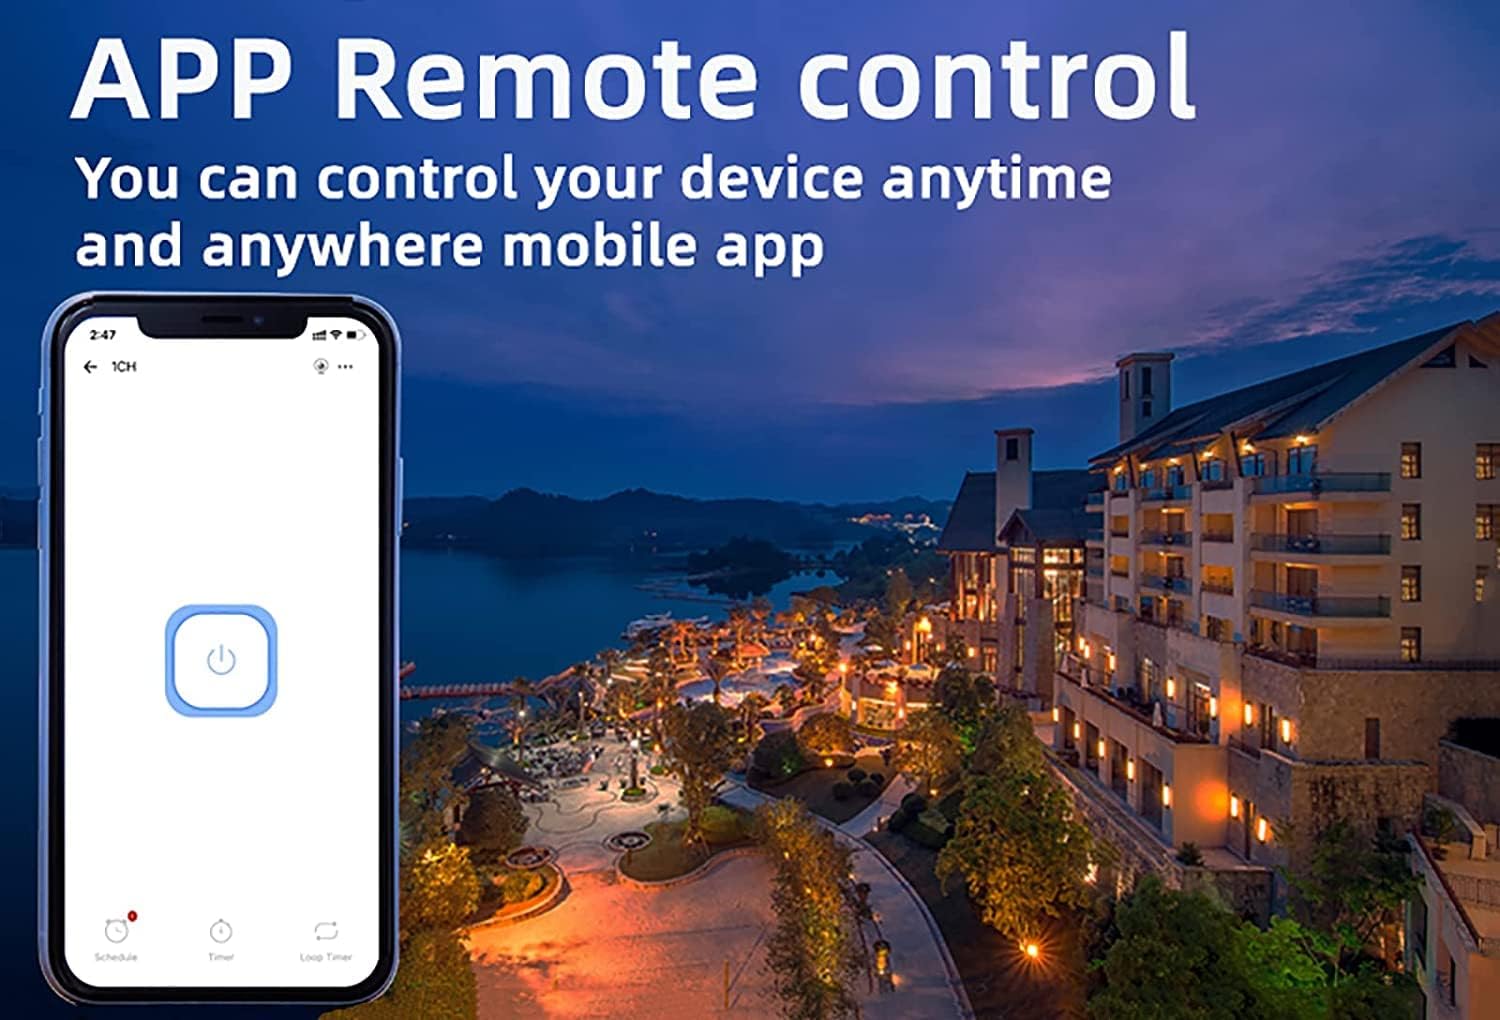
Figure 5.1: eWeLink App Remote Control. This image shows the eWeLink mobile application interface, demonstrating how users can remotely control their devices from anywhere.
6. Istruzzjonijiet Operattivi
6.1 Modi ta' Ħidma
The 1-channel relay module supports two primary working modes: Self-locking and Jog (Inching) mode. These modes can be configured within the eWeLink app.
- Self-locking Mode: In this mode, the relay acts like a traditional on/off switch. One tap turns the device on, and another tap turns it off. The state remains until manually changed.
- Jog (Inching) Mode: In this mode, the relay will automatically turn off after a set period (0.5 to 3600 seconds) once it's turned on, or automatically turn on after a set period once it's turned off. This is useful for momentary actions like garage door openers or pulse switches. The duration can be customized in the app.

Figure 6.1: Dual Mode Options: Self-locking and Inching. This diagram visually explains the difference between self-locking mode, where channels operate independently, and inching mode, which allows for customizable timed operations.
6.2 Remote Control & Voice Control
Once paired, you can control your device using the following methods:
- Applikazzjoni eWeLink: Remotely turn devices on/off, set schedules, and manage groups from anywhere with an internet connection.
- Kontroll Bluetooth: Control the device at close range even when your Wi-Fi network is disconnected.
- Amazon Alexa / Google Home: Integrate the module with your smart home ecosystem for convenient voice control. Follow the instructions within the Alexa or Google Home app to link your eWeLink account.
- Kontroll mill-bogħod mingħajr fili 2.4G: (Sold separately) For local control without needing a smartphone or internet connection.

Figure 6.2: Multiple Control Modes. This image illustrates the various ways to control the smart switch, including mobile app control, remote control, and manual control.
6.3 Device Sharing & Group Management
The eWeLink app allows for enhanced control and collaboration:
- Kondiviżjoni tal-Apparat: Share control of your smart relay with family members or other authorized users through the eWeLink app. This enables multiple mobile phones to control the same smart device.
- Ġestjoni tal-Grupp: Organize multiple eWeLink devices into groups for simultaneous control.
- Schedules/Timers: Set up schedules or countdown timers for automated on/off operations.

Figure 6.3: Sharing Function in eWeLink App. This image demonstrates the device sharing feature within the eWeLink app, allowing multiple users to control smart breakers from their mobile phones.
7. Manutenzjoni
The Newgoal Smart WiFi Relay Switching Module requires minimal maintenance. Follow these guidelines to ensure optimal performance:
- Żomm l-apparat nadif u ħieles mit-trab. Uża drapp artab u niexef għat-tindif.
- Tużax prodotti tat-tindif likwidi jew aerosols.
- Ensure the module is installed in a well-ventilated area to prevent overheating.
- Iċċekkja l-konnessjonijiet tal-wajers regolarment biex tiżgura li huma sikuri.
8 Issolvi l-problemi
If you encounter issues with your Newgoal Smart WiFi Relay Switching Module, refer to the following common problems and solutions:
| Problema | Kawża Possibbli u Soluzzjoni |
|---|---|
| Device cannot connect to Wi-Fi / Flaky connectivity |
|
| Device is offline in eWeLink app |
|
| Voice control (Alexa/Google Home) not working |
|
| Inching mode time is not as expected |
|
| Manual switch button not responding |
|
9. Garanzija u Appoġġ
Newgoal products are designed for reliability and performance. For specific warranty information and technical support, please refer to the documentation included with your purchase or contact Newgoal customer service directly. You can typically find contact information on the manufacturer's webis-sit jew permezz tal-punt tax-xiri tiegħek.


