1. Introduzzjoni u Fuqview
Thank you for choosing the PEXMOR Electric Bike. This manual provides essential information for the safe assembly, operation, and maintenance of your new electric bicycle. Please read this manual thoroughly before your first ride to ensure optimal performance and safety.
The PEXMOR Electric Bike is designed for adults, featuring a powerful 500W (Peak 750W) high-speed brushless motor, a 48V 13AH removable lithium battery, and 26-inch fat tires. It offers a maximum speed of 20 MPH and a range of up to 50 miles in electric mode or 62 miles in pedal-assist mode. Equipped with front suspension and dual disc brakes, it provides a comfortable and safe riding experience across various terrains, including mountain, urban, and commuter environments.

Figure 1: PEXMOR Electric Bike (26"*4.0 blue model)
2. Setup u Assemblea
Your PEXMOR Electric Bike arrives 85% assembled. The following steps and video guide will assist you in completing the assembly process. Ensure all components are present and undamaged before beginning.
2.1. Għodda Meħtieġa
- Tornavit
- Spanelli (daqsijiet varji)
- Allen Keys (various sizes)
2.2. Passi tal-Assemblea
- Spakkjar: Neħħi l-komponenti kollha mill-imballaġġ bir-reqqa. Spezzjona għal kwalunkwe ħsara waqt it-tbaħħir.
- Installazzjoni tal-manubriju: Attach the handlebar to the stem, ensuring it is centered and tightened securely with the provided Allen keys.
- Installazzjoni tar-rota ta' quddiem: Remove the protective caps from the front fork. Align the front wheel with the fork dropouts, ensuring the disc brake rotor slides correctly into the brake caliper. Secure the wheel nuts with a wrench.
- Aġġustament tal-Kalliper tal-Brejk: Ensure the front brake caliper is properly aligned with the rotor and secured. Adjust if necessary to prevent rubbing.
- Front Fender/Light Installation: Attach the front fender and headlight to the front fork using the appropriate screws and Allen keys.
- Post tas-Seat u Installazzjoni tas-Sarġ: Insert the seat post with the saddle into the frame's seat tube. Adjust the height for comfortable riding and secure it with the quick-release lever.
- Installazzjoni tal-pedali: Identify the left (L) and right (R) pedals. The left pedal tightens counter-clockwise, and the right pedal tightens clockwise. Securely attach them to the crank arms using a wrench.
- Installazzjoni tal-batterija: Slide the removable battery into its housing on the frame until it clicks into place. Use the key to lock it securely.
- L-Ewwel Tixgħil: Turn on the LCD display and verify all functions are operational.
Video 1: PEXMOR Ebike Assembly Guide. This video demonstrates the step-by-step process for assembling your electric bike, including handlebar, front wheel, brake, fender, seat, pedal, and battery installation.

Figure 2: Frame Size Diagram. Refer to this diagram for recommended rider height and frame dimensions to ensure proper fit and comfort.
3. Istruzzjonijiet Operattivi
Understanding the various operating modes and controls will enhance your riding experience.
3.1. Modi ta 'Rkib
- Modalità Ordinarja tar-Roti: Ride the bike like a traditional bicycle without electric assistance.
- Modalità PAS (Sistema ta' Assistenza bil-Pedali): The motor provides assistance as you pedal. This mode offers a range of up to 90-100 KM (55-62 Miles) depending on the assist level and terrain.
- Modalità Elettrika: Use the throttle for full electric power without pedaling. This mode provides a range of up to 80 KM (49 Miles).
3.2. Funzjonijiet tal-Wiri LCD
The smart LCD display provides real-time information about your ride:
- Qawwa tal-batterija: Jindika l-ammont ta' ċarġ li fadal fil-batterija.
- Veloċità: Juri l-veloċità attwali tas-sewqan.
- Mili: Traċċi tad-distanza vvjaġġata.
- Livell ta' Assistenza: Shows the current pedal-assist level (1-5). Adjust using the '+' and '-' buttons.

Figure 3: Smart LCD Display and Controls. Monitor your ride data and adjust settings easily.
3.3. Sistema tal-Ibbrejkjar
The bike is equipped with front and rear dual disc brakes, providing reliable and strong stopping power. Regularly check brake pads and cables for wear and proper function.
3.4. Tibdil tal-Gears
The professional 7-speed gear system allows for smooth transitions across different terrains. Use the finger shifters to select the appropriate gear for uphill, downhill, or flat riding conditions.
4. Manutenzjoni
Manutenzjoni regolari hija kruċjali għall-lonġevità u t-tħaddim sikur tar-rota elettrika tiegħek.
4.1. Kura tal-batterija
- Iċċarġjar: Use only the provided charger. Connect the charger to the battery port, then plug it into a power outlet. The indicator light on the charger will show charging status (red for charging, green for fully charged).
- Ħażna: Store the battery in a cool, dry place. If storing for extended periods, charge the battery to 50-70% every 2-3 months.
- Tneħħija: The battery is removable for convenient charging or storage. Use the key to unlock and slide it out.
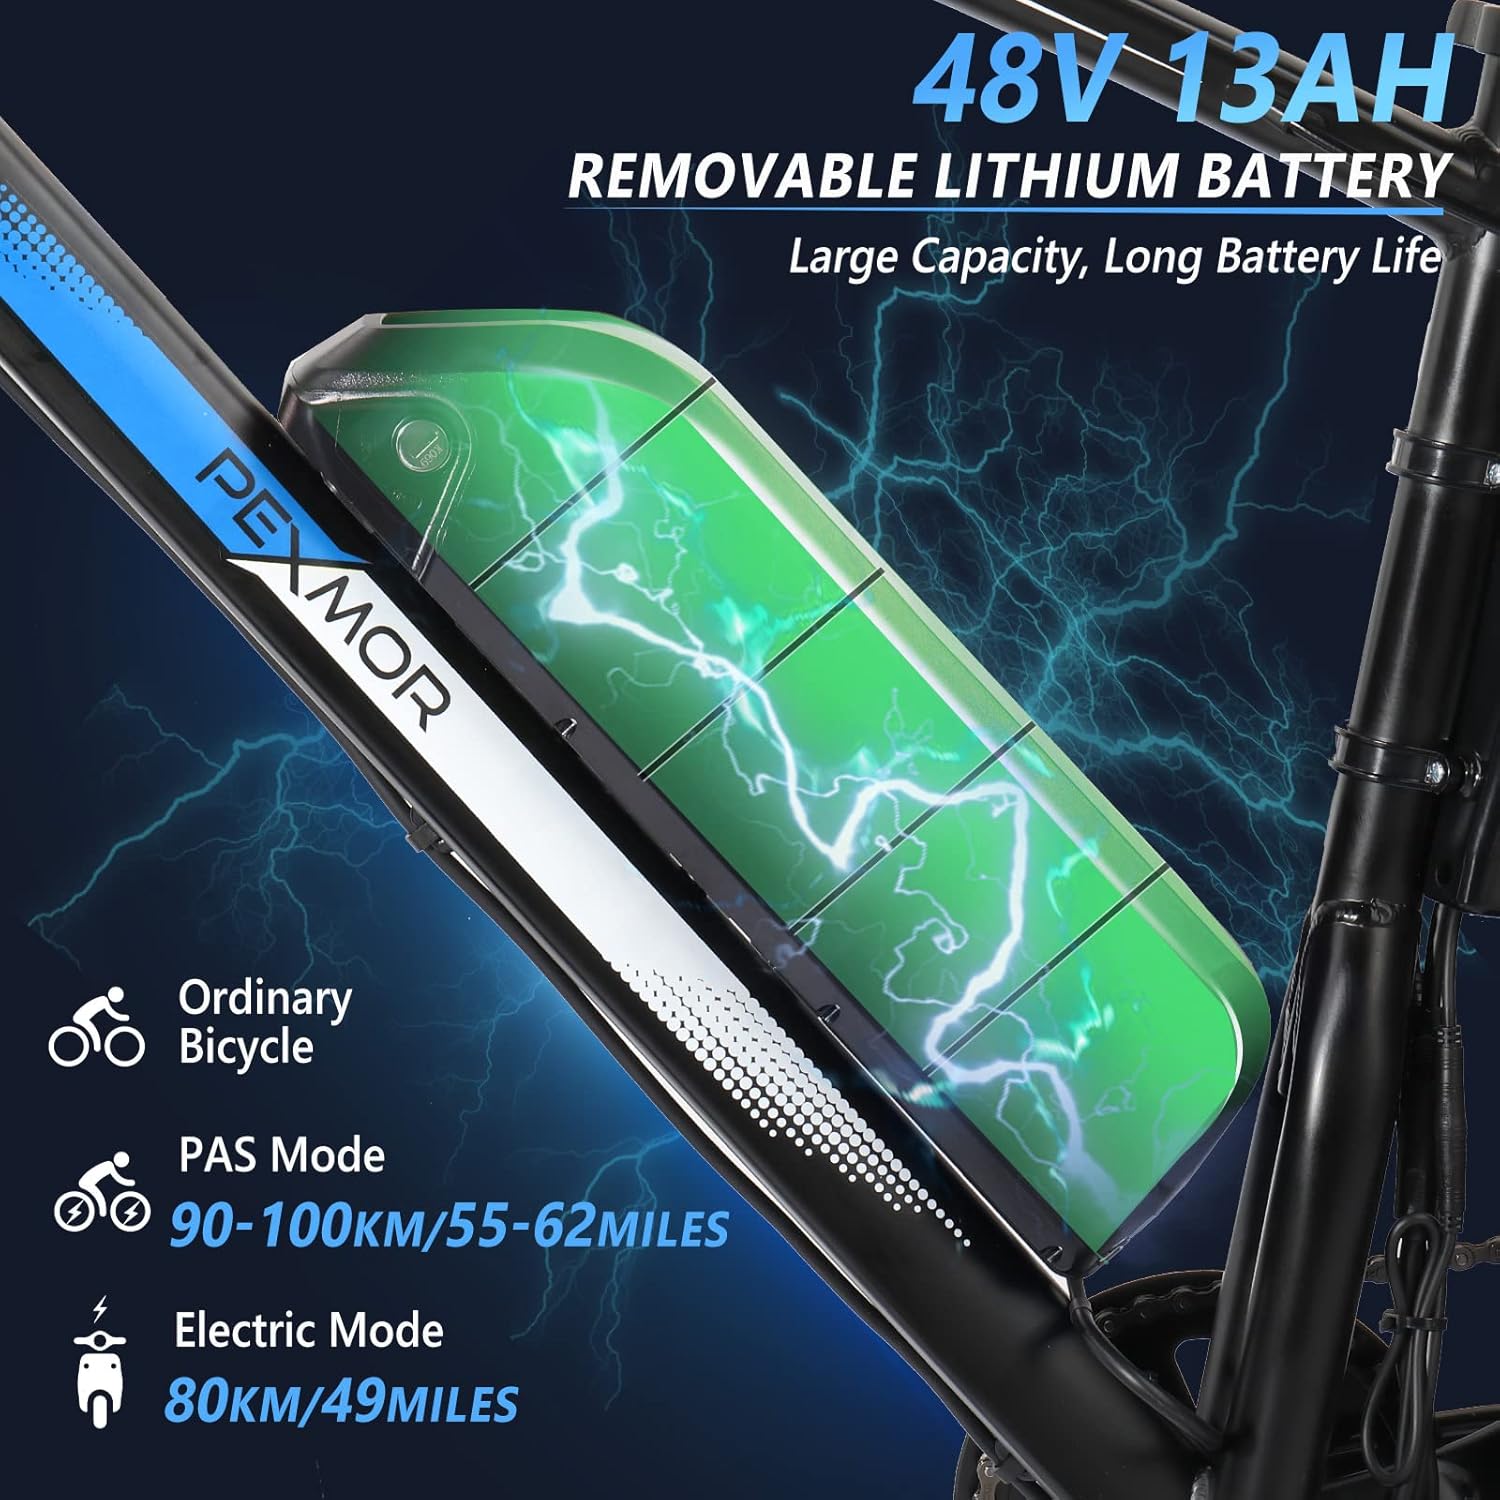
Figure 4: Removable Lithium Battery. The 48V 13AH battery provides long-lasting power and can be easily removed for charging.
4.2. Kura tat-Tajers
The 26"*4.0" fat tires offer strong grip and puncture resistance. Regularly check tire pressure and inspect for any signs of wear or damage. Maintain recommended tire pressure for optimal performance and safety.

Figure 5: Durable Fat Tire. Designed to adapt to various terrains including snow, sand, mountain, and city roads.
4.3. Brake and Gear System
Inspect brake pads for wear and replace them when necessary. Ensure brake levers are responsive and cables are free from fraying. Keep the chain clean and lubricated for smooth gear changes and to prevent rust.
4.4. Furketta tas-Sospensjoni
The lockable front suspension fork provides shock absorption for a more comfortable ride. Ensure the lock mechanism functions correctly and the fork operates smoothly.

Figure 6: Lockable Front Fork Suspension. Provides shock absorption for enhanced riding comfort and safety.
5 Issolvi l-problemi
Din it-taqsima tindirizza kwistjonijiet komuni li tista' tiltaqa' magħhom bir-rota elettrika tiegħek.
- Bike Not Powering On: Check if the battery is fully charged and properly seated. Ensure the key is in the 'ON' position and the display is connected.
- Motor Not Assisting: Verify the PAS level on the LCD display is not set to '0'. Check for any loose connections to the motor or controller.
- Brakes Squealing or Not Effective: Inspect brake pads for wear and replace if needed. Check for proper alignment of the brake caliper with the rotor. Ensure brake cables are taut.
- Gears Not Shifting Smoothly: Check the derailleur alignment and tension of the gear cable. Clean and lubricate the chain.
- Ħsejjes mhux tas-soltu: Investigate the source of the noise. It could be loose components, rubbing parts, or issues with the motor or drivetrain.
If you encounter persistent issues or significant damage, please refer to the 'Warranty and Support' section for assistance.
6. Speċifikazzjonijiet
| Karatteristika | Speċifikazzjoni |
|---|---|
| Tip ta' Bike | Bike elettrika |
| Isem tal-Mudell | 26BLU-EMB-210 |
| Brand | PEXMOR |
| Qawwa tal-Mutur | Mutur bla brushes ta' 500W (Massimu ta' 750W) b'veloċità għolja |
| Batterija | 48V 13Ah Removable Lithium Battery (620 Watt Hours) |
| Veloċità Massima | 20 MPH (32 KM/H) |
| Firxa tal-Modalità Elettrika | Up to 80 KM (49 Miles) |
| Firxa tal-Modalità PAS | Up to 90-100 KM (55-62 Miles) |
| Daqs tar-rota | 26 Inches (26"*4.0" Fat Tire) |
| Materjal tal-qafas | Azzar tal-Karbonju |
| Tip ta' Sospensjoni | Quddiem (Jista' jissakkar) |
| Stil tal-Brejk | Dual Disc Brakes (Front and Rear) |
| Numru ta' Veloċitajiet | 7-Speed Gear |
| Kapaċità massima tat-Tagħbija | 330 LBS (150 KG) |
| Assemblea Meħtieġa | Iva (85% immuntat) |
| UPC | 810158426375 |
7. Garanzija u Appoġġ
PEXMOR provides a warranty for this electric bike. For specific details regarding your warranty coverage (Limited or Full Warranty), please refer to the documentation included with your purchase or contact PEXMOR customer service directly.
If you experience any damage or failure with your bike, please contact the seller through your order details. Provide relevant photos and videos of the issue to facilitate a quicker resolution.
You can also visit the official PEXMOR Store for more information and support: Ħanut PEXMOR fuq Amazon


