1. Introduzzjoni
Thank you for choosing the Prechen 19.5-inch 1600x900 LED Monitor. This monitor is designed to provide a high-quality visual experience for various applications, including office work, multimedia, and gaming. Featuring a 1600x900 resolution TN panel, 60Hz refresh rate, and built-in speakers, it offers a versatile display solution. This manual provides detailed instructions for setup, operation, maintenance, and troubleshooting to ensure optimal performance and longevity of your device.

Figura 1: Quddiem view of the Prechen 19.5-inch LED Monitor.
2. Informazzjoni Importanti dwar is-Sigurtà
Please read all safety warnings and instructions carefully before using this monitor to prevent damage or injury.
- Do not expose the monitor to rain or moisture to avoid fire or electric shock.
- Tiftaħx il-monitor casing. Ġewwa m'hemm l-ebda partijiet li jistgħu jiġu rranġati mill-utent. Irreferi għal kull manutenzjoni għand persunal tas-servizz kwalifikat.
- Poġġi l-monitor fuq wiċċ stabbli u ċatt biex tevita li jaqa'.
- Aċċerta ruħek li jkun hemm ventilazzjoni xierqa madwar il-monitor. Timblokkax il-fetħiet tal-ventilazzjoni.
- Uża biss l-adapter tal-enerġija li jiġi mal-monitor.
- Skonnettja l-plagg tal-enerġija mis-sokit jekk il-monitor ma se jintużax għal perjodu estiż.
- Avoid placing the monitor near heat sources such as radiators, heat registers, stoves, or other products (including amplifiers) li jipproduċu sħana.
3. Kontenut tal-Pakkett
Jekk jogħġbok iċċekkja l-kontenut tal-pakkett biex tiżgura li l-oġġetti kollha huma preżenti u bla ħsara:
- Prechen 19.5-inch LED Monitor
- Adapter tal-Enerġija
- Cable HDMI
- Manwal għall-Utent

Figure 2: Included accessories: Monitor, Power Adapter, HDMI Cable, and User Manual.
4. Gwida ta' Setup
4.1 Armar tal-Istand
- Oħroġ il-monitor u l-komponenti tal-istand mill-imballaġġ bir-reqqa.
- Attach the stand base to the stand neck, securing it with the provided screw (if applicable).
- Align the assembled stand with the mounting slot on the back of the monitor and gently push until it clicks into place or secure with screws as per the stand design.
4.2 Konnessjoni tal-Monitor
The monitor supports both HDMI and VGA connections.
- Konnessjoni tal-Enerġija: Connect the power adapter to the monitor's DC IN port, then plug the adapter into a power outlet.
- Konnessjoni tal-Vidjo (HDMI): Connect one end of the HDMI cable to the HDMI port on your computer or device, and the other end to the HDMI port on the monitor.
- Video Connection (VGA): Connect one end of the VGA cable to the VGA port on your computer or device, and the other end to the VGA port on the monitor.
- Konnessjoni tal-Awdjo: If using a VGA connection and external speakers, connect an audio cable from your computer's audio output to the monitor's audio input port. The built-in speakers will function automatically with HDMI.

Figure 3: Monitor back panel with input ports and control buttons.

Figure 4: Multiple connection options for the monitor.
5. Istruzzjonijiet Operattivi
5.1 Tixgħel/Jitfi
Agħfas il-buttuna tal-qawwa li tinsab fuq wara tal-monitor biex tixgħelu jew titfih. Id-dawl indikatur tal-qawwa jixgħel meta l-monitor ikun mixgħul.
5.2 L-użu tal-Menu OSD
The On-Screen Display (OSD) menu allows you to adjust various monitor settings. The control buttons are located on the back of the monitor (refer to Figure 3).
- MENU: Agħfas biex tiftaħ il-menù tal-OSD.
- UP/DOWN (Volume Up/Down): Uża biex tinnaviga fl-għażliet tal-menù jew taġġusta l-valuri.
- ENTER (Switch): Agħfas biex tikkonferma għażla jew tidħol f'submenu.
- EXIT (Return): Agħfas biex toħroġ mill-menù kurrenti jew terġa' lura għal-livell ta' qabel.
5.3 Aġġustament tas-Settings tad-Displej
Navigate the OSD menu to adjust settings such as:
- Luminożità/Kuntrast: Aġġusta l-luminanza u l-kuntrast ġenerali tad-displej.
- Settings tal-Kulur: Immodifika t-temperatura tal-kulur, il-livelli RGB, jew agħżel modi ta' kulur issettjati minn qabel.
- Agħżel l-Input: Ibdel manwalment bejn sorsi ta' input HDMI u VGA.
- Proporzjon tal-aspett: Choose between 16:9 (widescreen) or 4:3 (standard) display modes.
- Sharpness: Adjust the clarity of the image.
5.4 Settings tal-awdjo
The monitor features two built-in speakers. You can adjust the volume using the OSD menu or the dedicated volume buttons on the back of the monitor.
6. Manutenzjoni u Kura
Kura u manutenzjoni xierqa se jestendu l-ħajja tal-monitor tiegħek.
- Tindif tal-Iskrin: Imsaħ l-iskrin bil-mod b'ċarruta ratba u mingħajr suf. Għal marki persistenti, dampen the cloth slightly with water or a non-ammonia, non-alcohol based screen cleaner. Never spray cleaner directly onto the screen.
- Tindif tas-Casing: Uża drapp artab u niexef biex timsaħ il-monitor casing. Evita li tuża prodotti tat-tindif jew solventi li joborxu.
- Ħażna: Jekk se taħżen il-monitor għal perjodu estiż, skonnettjah mill-provvista tal-elettriku u aħżnu f'post frisk u niexef, preferibbilment fl-imballaġġ oriġinali tiegħu.
7 Issolvi l-problemi
If you encounter problems with your monitor, please refer to the following table for common issues and solutions.
| Problema | Kawża Possibbli | Soluzzjoni |
|---|---|---|
| Ebda qawwa | Kejbil tal-enerġija mhux imqabbad; Sokit tal-enerġija difettuż; Monitor mitfi. | Ensure power cable is securely connected. Try a different power outlet. Press the power button on the monitor. |
| L-ebda sinjal | Kejbil tal-vidjo mhux imqabbad; Sors ta' input mhux korrett magħżul; Il-kompjuter mhux qed joħroġ sinjal. | Check HDMI/VGA cable connection. Select the correct input source via the OSD menu. Ensure your computer is on and outputting video. |
| L-ebda ħoss minn kelliema integrati | Volume too low/muted; Incorrect audio output selected on PC; Audio cable not connected (for VGA). | Increase monitor volume. Check PC audio settings to ensure monitor is selected as output. For VGA, ensure audio cable is connected. |
| L-immaġni hija mċajpra jew distorta | Riżoluzzjoni mhux korretta; Problema bil-kejbil. | Set your computer's display resolution to 1600x900. Try a different video cable. |
8. Speċifikazzjonijiet tal-Prodott
| Karatteristika | Speċifikazzjoni |
|---|---|
| Brand | Prechen |
| Daqs tal-Iskrin | 19.5 Pulzier |
| Tip ta 'Wiri | LED |
| Riżoluzzjoni Massima tal-Wiri | 1600 x 900 |
| Riffriskar Rata | 60 Hz |
| Ħin ta' Rispons | 5 Millisekondi |
| Proporzjon ta' l-aspett | 16:9 |
| Teknoloġija tal-Konnettività | hdmi, vga |
| Karatteristiċi Speċjali | Kelliema Inkorporati |
| Kompatibilità tal-Immonta VESA | 100 x 100 mm |
9. Immuntar VESA
The Prechen monitor supports VESA standard mounting (100 x 100 mm), allowing you to mount it on a wall or an articulating arm for flexible viewing options. This feature makes the monitor lightweight and easy to install in various setups.
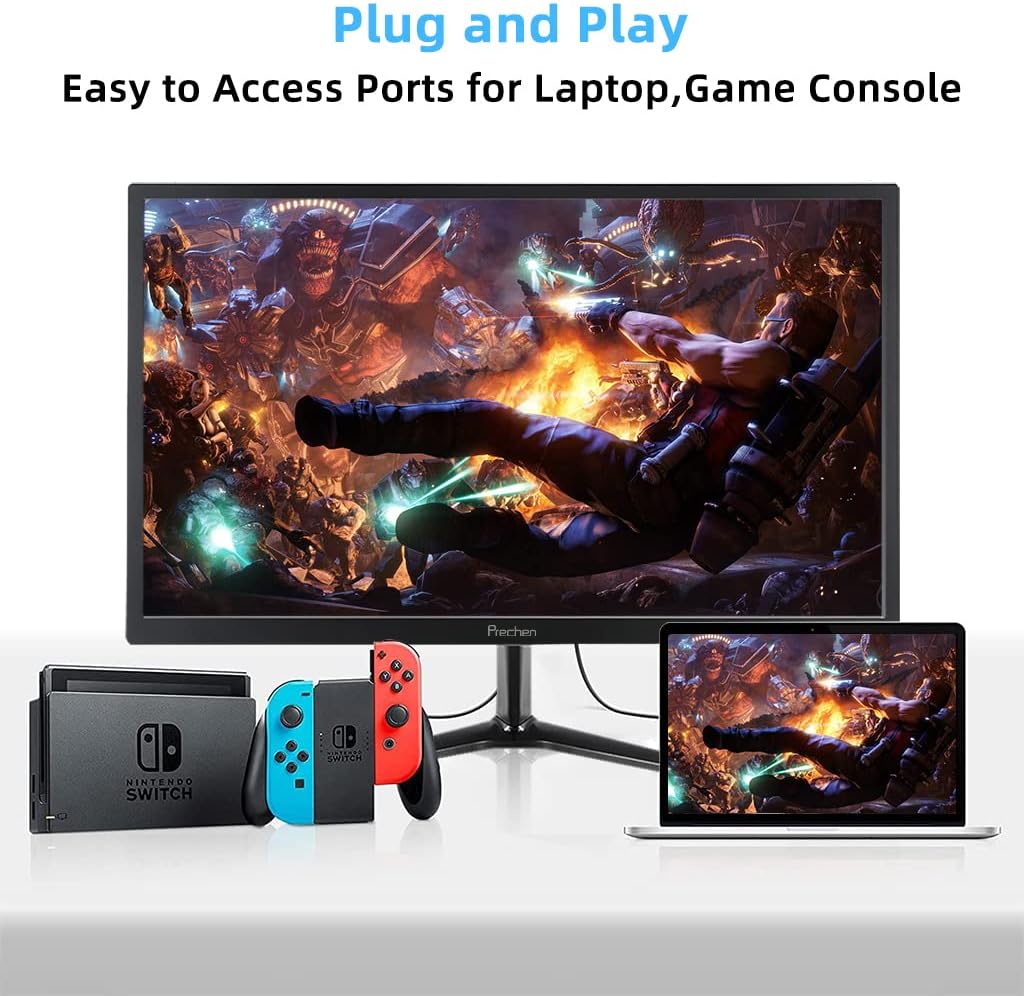
Figure 5: VESA mount dimensions on the monitor back.

Figura 6: Eżample of VESA mounting with an articulating arm.
10. Garanzija u Appoġġ
Each Prechen product is covered by a one-year warranty from the date of purchase, which includes a one-month refund and exchange policy. This warranty covers manufacturing defects and issues arising from normal use.
For any questions, technical support, or warranty claims, please contact Prechen customer service. Please have your product model and purchase information ready when contacting support.
Contact information for customer service can typically be found on the product packaging or the official Prechen websit.


