1. Introduzzjoni
Grazzi tax-xiriasing the DOOMAY Digital Alarm Clock. This compact and versatile alarm clock is designed for convenience and readability, featuring an adjustable LCD display, snooze function, weekend mode, and temperature display. This manual will guide you through the setup, operation, and maintenance of your new alarm clock to ensure optimal performance.
2. Informazzjoni dwar is-Sigurtà
- Żomm l-apparat 'il bogħod mill-ilma u minn ambjenti b'umdità għolja.
- Evita li tesponi l-arloġġ għax-xemx diretta jew għal temperaturi estremi.
- Tippruvax tiżżarma jew issewwi l-apparat int stess. Irreferi għal persunal kwalifikat għas-servizz.
- Use only the specified battery type (2 x AAA batteries).
- Neħħi l-batteriji jekk l-apparat ma jkunx se jintuża għal perjodu estiż biex tevita t-tnixxija.
- Żomm il-batteriji fejn ma jintlaħaqx mit-tfal.
3. Kontenut tal-Pakkett
- DOOMAY Digital Alarm Clock (1 unit)
- Batteriji AAA (2 unitajiet)
- Manwal għall-Utent (dan id-dokument)
4. Prodott Aktarview
Familiarize yourself with the components and controls of your DOOMAY Digital Alarm Clock.
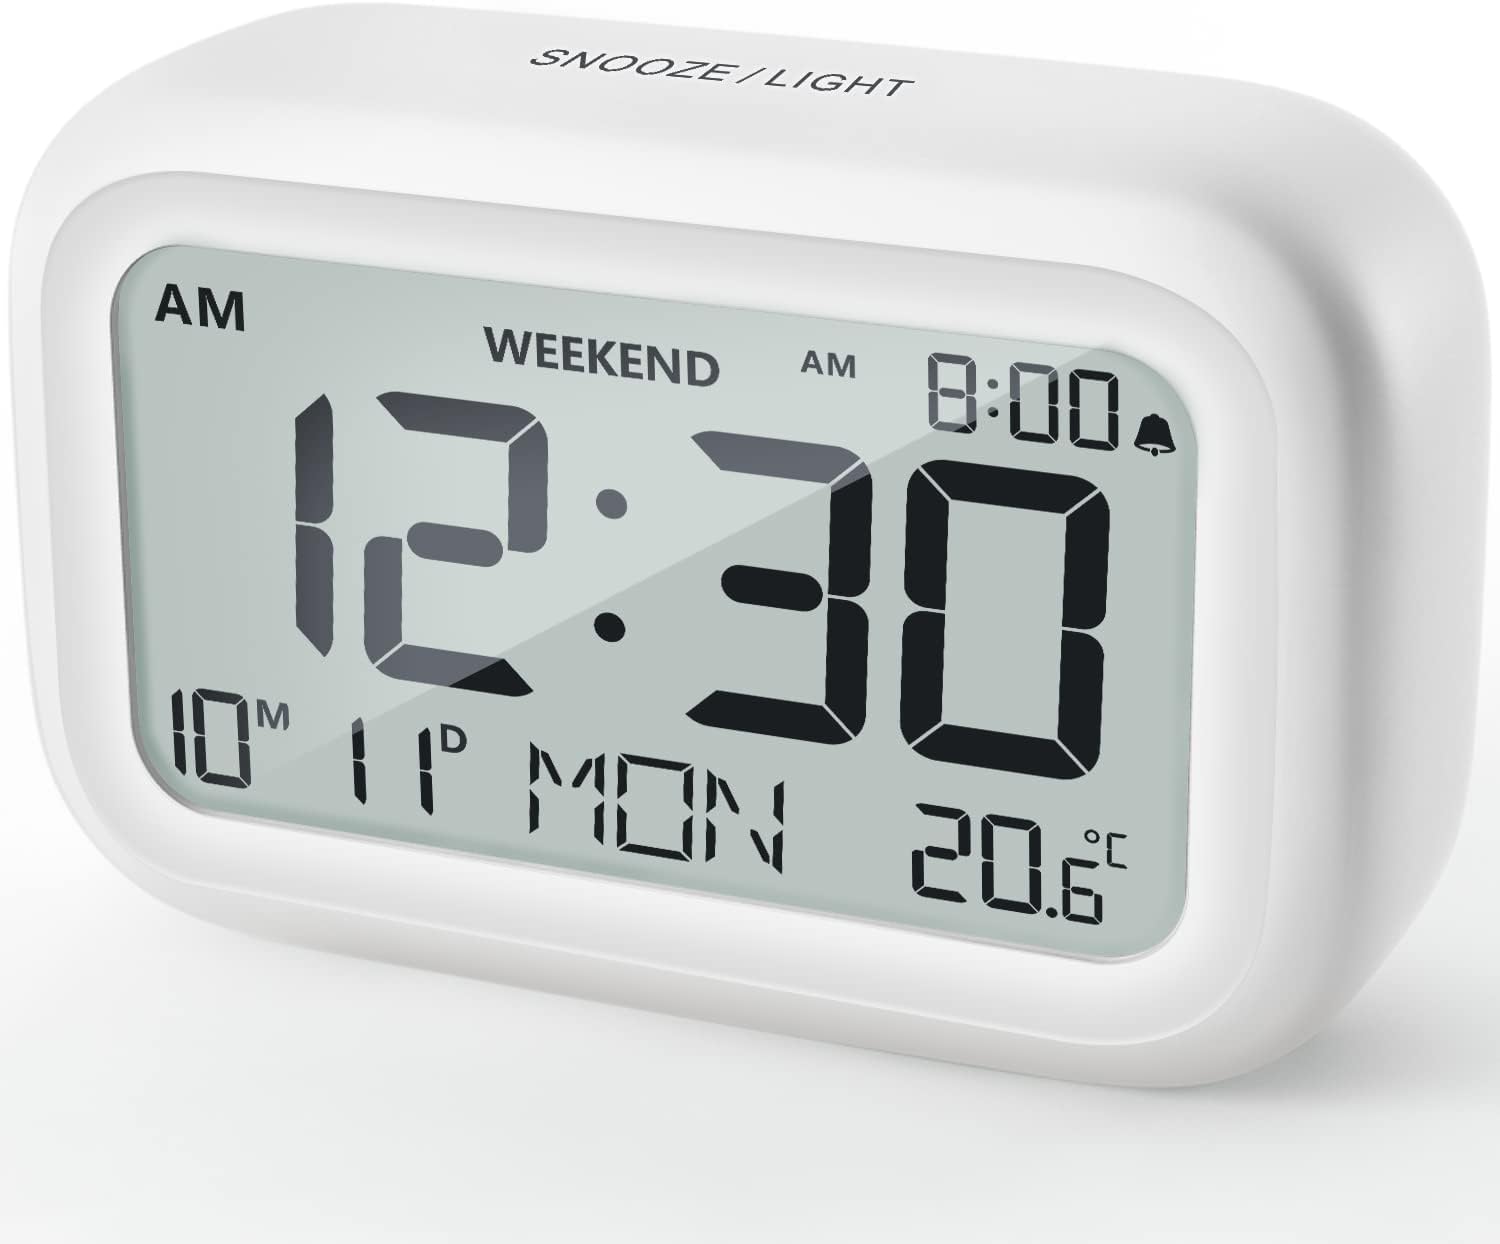
Figura 4.1: Quddiem View tal-Arloġġ tal-Allarm
This image displays the front of the DOOMAY Digital Alarm Clock, highlighting its large, clear LCD screen. The screen shows the current time (12:30), AM indicator, day of the week (MON), date (10th month, 11th day), and indoor temperature (20.6°C). The top of the clock has a "SNOOZE/LIGHT" button.

Figura 4.2: Karatteristiċi Ewlenin Aktar minnview
This diagram illustrates the main functionalities of the alarm clock: 12/24H time display, calendar, alarm setting, adjustable volume, snooze function, backlight, weekend mode, and temperature display. The clock itself is shown on a wooden table, displaying 7:00 AM, Friday, and 28.8 degrees.

Figure 4.3: Back Panel Controls
This image shows the rear of the alarm clock, detailing the various control buttons and the battery compartment. Buttons are clearly labeled for: 12/24H time format, Alarm setting, Weekend mode, Date setting, Minus (-) for decreasing values, Plus (+) for increasing values, and °C/°F for temperature unit selection. The battery compartment is visible, designed for two AAA batteries.
Kontrolli u Wiri:
- Display LCD: Shows time, date, day of week, AM/PM indicator, alarm status, and temperature.
- SNOOZE/LIGHT Button (Top): Activates snooze function during alarm; illuminates backlight for 5 seconds.
- 12/24H Button (Back): Jaqleb bejn il-formati tal-ħin ta' 12-il siegħa u 24 siegħa.
- ALARM Button (Back): Jidħol fil-modalità tas-setting tal-allarm.
- WEEKEND Button (Back): Activates/deactivates weekend mode.
- DATE Button (Back): Enters date setting mode.
- MINUS (-) Button (Back): Decreases values during setting; adjusts alarm volume.
- PLUS (+) Button (Back): Increases values during setting; adjusts alarm volume.
- Buttuna °C/°F (Wara): Jaqleb bejn l-unitajiet tat-temperatura Celsius u Fahrenheit.
5. Setup
5.1 Installazzjoni tal-batterija
- Iftaħ il-qoxra tal-kompartiment tal-batterija li tinsab fuq wara tal-arloġġ.
- Insert two (2) AAA batteries, ensuring correct polarity (+ and -).
- Agħlaq l-għatu tal-kompartiment tal-batterija sew.
- The display will light up, and the clock will be ready for initial setup. A low battery symbol will appear when batteries need replacement. If the display shows "8888" flashing, it's also an indication to change batteries.
5.2 Issettjar Inizjali tal-Ħin u d-Data
- Issettja Ħin:
- Agħfas il- 12/24H button to switch between 12-hour (with AM/PM) and 24-hour formats.
- Agħfas u żomm il- 12/24H Agħfas il-buttuna għal 3 sekondi biex tidħol fil-modalità tal-issettjar tal-ħin. Iċ-ċifri tas-sigħat jibdew jteptep.
- Uża l- + or - buttuni biex taġġusta s-siegħa.
- Agħfas il- 12/24H Agħfas il-buttuna mill-ġdid biex tikkonferma s-siegħa u tmur għall-issettjar tal-minuti. Iċ-ċifri tal-minuti jibdew jteptep.
- Uża l- + or - buttuni biex taġġusta l-minuta.
- Agħfas il- 12/24H button one more time to exit time setting.
- Issettja Data:
- Agħfas u żomm il- DATA button for 3 seconds to enter date setting mode. The year digits will flash.
- Uża l- + or - buttuni biex taġġusta s-sena.
- Agħfas il- DATA button again to confirm the year and move to month setting.
- Adjust the month using + or -.
- Agħfas DATA again to move to day setting.
- Adjust the day using + or -.
- Agħfas DATA one more time to exit date setting. The day of the week will automatically adjust.
6. Istruzzjonijiet Operattivi
6.1 Issettjar tal-Allarm
- Agħfas u żomm il- ALLARM button for 3 seconds. The alarm hour digits will flash.
- Uża l- + or - buttuni biex tissettja s-siegħa tal-allarm mixtieqa.
- Agħfas il- ALLARM button again to confirm the hour and move to minute setting. The alarm minute digits will flash.
- Uża l- + or - buttons to set the desired alarm minute.
- Agħfas il- ALLARM button one more time to exit alarm setting. The alarm icon (bell symbol) will appear on the display, indicating the alarm is active.
- To turn the alarm ON/OFF, simply press the ALLARM button once. The bell icon will appear/disappear.
6.2 Funzjoni Snooze
When the alarm sounds, gently tap the large SNOOZE / DAWL button on the top of the clock. The alarm will pause for 9 minutes and then sound again. This can be repeated multiple times.

Figure 6.1: Activating Snooze
This image demonstrates how to activate the snooze function by touching the top of the alarm clock. The text highlights that this action provides an additional 9 minutes of sleep after the alarm sounds.
To completely turn off the alarm after it sounds (without snoozing), press any button on the back of the clock.
6.3 Weekend Mode
The weekend mode allows the alarm to sound only from Monday to Friday, preventing it from ringing on Saturday and Sunday.

Figure 6.2: Weekend Mode Activated
This image shows the alarm clock display with the "WEEKEND" indicator prominently displayed, signifying that the weekend mode is active. The accompanying text clarifies that in this mode, the alarm will only sound from Monday to Friday, ensuring undisturbed weekends.
- To activate Weekend Mode, press the WEEKEND button once. The "WEEKEND" indicator will appear on the display.
- To deactivate Weekend Mode, press the WEEKEND button again. The "WEEKEND" indicator will disappear.
6.4 Adjustable Alarm Volume
The alarm clock offers two volume levels: Low (70 dB) and High (85 dB).

Figure 6.3: Alarm Volume Levels
This image visually represents the two available alarm volume settings: L01 (85 dB) for a louder alarm and L02 (70 dB) for a softer alarm. The alarm clock is shown in a bedroom setting, emphasizing its use as a bedside device.
- Waqt li tkun fil-modalità normali tal-wiri tal-ħin, agħfas il-buttuna + or - buttons to cycle between the two alarm volume levels. The current volume level will be briefly displayed.
6.5 Funzjoni tad-Dawl ta' Wara
To illuminate the display in low light conditions, simply tap the SNOOZE / DAWL button on the top of the clock. The backlight will activate for approximately 5 seconds, providing clear visibility of the time and other information.
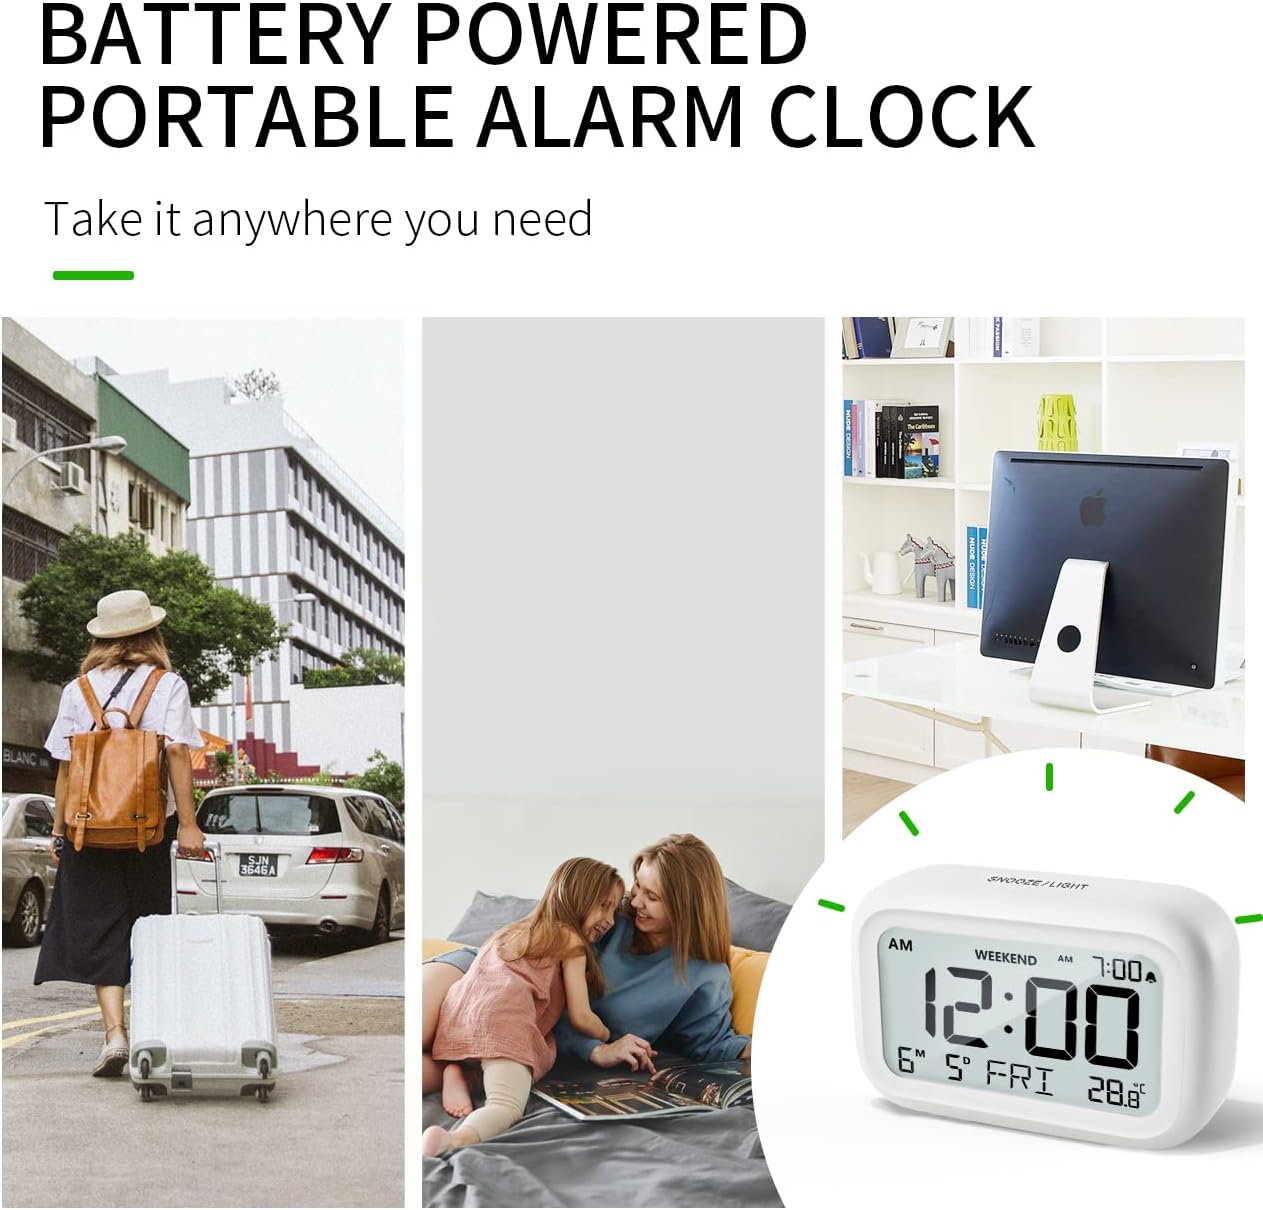
Figure 6.4: Backlight in Action
This image provides a side-by-side comparison of the alarm clock's display. On the left, the clock is shown in a well-lit environment. On the right, the same clock is shown in a dark setting with its 5-second backlight activated, demonstrating how the display becomes clearly visible at night.
6.6 Wiri tat-Temperatura
The clock displays the indoor temperature. You can switch between Celsius (°C) and Fahrenheit (°F) units.
- To change the temperature unit, press the ° C / ° F buttuna fuq wara tal-arloġġ.
7. Manutenzjoni
7.1 Tindif
Imsaħ l-arloġġ b'ċarruta ratba u niexfa. Tużax prodotti tat-tindif jew solventi li joborxu, għax jistgħu jagħmlu ħsara lill-wiċċ.
7.2 Sostituzzjoni tal-batterija
When the low battery indicator appears on the display, or if the display shows "8888" flashing, it is time to replace the batteries. Follow the steps in Section 5.1 Battery Installation to replace the two AAA batteries.
8 Issolvi l-problemi
| Problema | Kawża Possibbli | Soluzzjoni |
|---|---|---|
| Id-displej huwa vojt jew mudlam. | Il-batteriji huma mejta jew installati ħażin. | Ibdel il-batteriji b'batteriji AAA ġodda, filwaqt li tiżgura l-polarità korretta. |
| L-allarm ma jdoqqx. | Alarm is not activated, or Weekend Mode is ON. | Ensure the alarm icon is displayed. Check if Weekend Mode is active and deactivate if necessary. |
| Il-funzjoni snooze mhux qed taħdem. | Not tapping the SNOOZE/LIGHT button correctly. | Ensure a firm, brief tap on the top SNOOZE/LIGHT button when the alarm is sounding. |
| Il-Ħin/Data mhumiex korretti. | Not set correctly or batteries were removed. | Refer to Section 5.2 Initial Time and Date Setting to re-set. |
9. Speċifikazzjonijiet
| Karatteristika | Dettall |
|---|---|
| Numru tal-Mudell | 5293UK |
| Brand | DOOMAY |
| Dimensjonijiet (L x W x H) | 10.9 x 3.81 x 6.9 ċm (4.29 x 1.5 x 2.72 pulzieri) |
| Piż | 127.01 gramma (0.28 lbs) |
| Materjal | Acrylonitrile Butadiene Styrene (ABS) |
| Sors tal-Enerġija | 2 x Batteriji AAA (inklużi) |
| Tip ta 'Wiri | LCD diġitali |
| Livelli tal-Volum tal-Allarm | Low (70 dB), High (85 dB) |
| Tul ta' Snooze | minuti 9 |
| Tul tad-Dawl ta' wara | 5 sekonda |
| Unitajiet tat-Temperatura | Celsius (°C) / Fahrenheit (°F) |
10. Garanzija u Appoġġ
DOOMAY products are designed for reliability and performance. For any questions, technical support, or warranty claims, please contact your retailer or visit the official DOOMAY website for assistance. Please retain your proof of purchase for warranty purposes.
For further information, you may visit the brand's Amazon store page: DOOMAY Store on Amazon


