1. Introduzzjoni
Thank you for choosing the Xigmatek Lux M Micro-ATX Mini Tower PC Case. This manual provides detailed instructions for the installation, operation, and maintenance of your new PC chassis. Please read this manual carefully before beginning the assembly process to ensure proper installation and to maximize the performance and longevity of your system.
The Lux M case is designed to offer a robust and aesthetically pleasing housing for your computer components, featuring a tempered glass side panel, a metallic front panel with a unique cut-out pattern, and pre-installed fixed RGB fans for optimal cooling and visual appeal. It supports Micro-ATX and Mini-ITX motherboards and is compatible with various cooling solutions, including water cooling.
2. Informazzjoni dwar is-Sigurtà
Jekk jogħġbok osserva l-prekawzjonijiet ta' sigurtà li ġejjin waqt l-installazzjoni u t-tħaddim:
- Always disconnect the power supply from the wall outlet before installing or removing any components to prevent electric shock.
- Handle all components with care. Avoid touching circuit boards directly; hold them by their edges.
- Ilbes ċinga tal-polz anti-statika meta timmaniġġja komponenti elettroniċi sensittivi biex tevita ħsara minn skarika elettrostatika (ESD).
- Keep the case and components away from liquids, excessive heat, and direct sunlight.
- Kun żgur li jkun hemm ventilazzjoni xierqa madwar il-kaxxa tal-PC biex tevita li tissaħħan iżżejjed.
- Żomm il-partijiet żgħar u l-viti fejn ma jintlaħqux mit-tfal.
3. Kontenut tal-Pakkett
Verify that all items are present in your package. If any items are missing or damaged, please contact your retailer.
- Xigmatek Lux M Micro-ATX Mini Tower PC Case
- Accessory box (containing screws, standoffs, cable ties, etc.)
- Manwal għall-Utent (dan id-dokument)
4. Prodott Aktarview
Familiarize yourself with the various parts of your Xigmatek Lux M PC case.
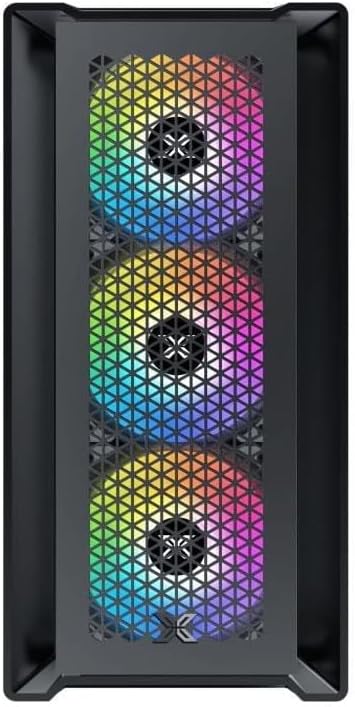
Figura 4.1: Quddiem View. This image displays the front of the Xigmatek Lux M case, highlighting the metallic mesh panel with a triangular design and the three pre-installed 120mm fixed RGB fans.

Figure 4.2: Angled Top-Front View. This perspective shows the tempered glass side panel, offering a clear view of the interior, and the top panel with its I/O ports (USB, audio) and power button.
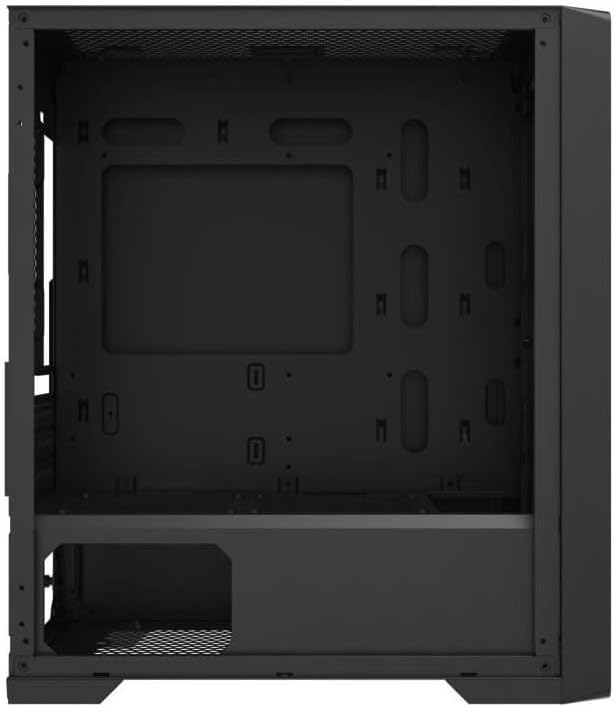
Figura 4.3: Tqassim Intern. The internal structure of the case, featuring the motherboard mounting tray, cutouts for cable management, and the power supply shroud at the bottom.
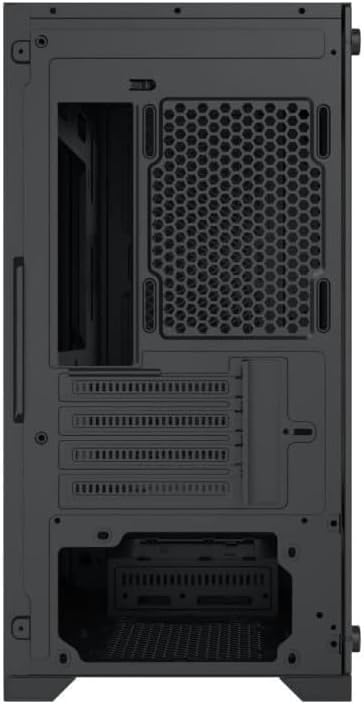
Figura 4.4: Wara View. This image illustrates the rear of the case, including the expansion slots for graphics cards and other add-in cards, the rear fan mounting area, and the power supply mounting bracket.
5. Setup u Installazzjoni
Follow these steps to install your computer components into the Xigmatek Lux M case.
5.1. Tħejjija tal-Każ
- Poġġi l-kaxxa fuq wiċċ ċatt u stabbli.
- Remove the tempered glass side panel by unscrewing the thumb screws and carefully lifting it off. Set it aside on a soft, non-abrasive surface.
- Remove the opposite steel side panel by unscrewing the thumb screws and sliding it backward.
5.2. Installazzjoni tal-Motherboard
The Lux M supports Micro-ATX and Mini-ITX motherboards.
- Installa l-I/O shield (jekk mhux installat minn qabel fuq il-motherboard tiegħek) fil-ftuħ ta' wara tal-kaxxa.
- Align the motherboard with the pre-installed standoffs. Ensure all screw holes on the motherboard match the standoffs.
- Secure the motherboard using the provided motherboard screws. Do not overtighten.
5.3. Installazzjoni tal-Unità tal-Provvista tal-Enerġija (PSU)
The PSU mounts at the rear bottom of the case.
- Żerżaq il-PSU fil-kompartiment apposta għalih minn wara tal-kaxxa.
- Align the PSU's screw holes with the holes on the case's rear panel.
- Waħħal il-PSU bil-viti pprovduti.
5.4. Storage Drive Installation (2.5"/3.5" Drives)
The case supports 2x 2.5"/3.5" storage drives.
- Locate the drive cage beneath the PSU shroud or dedicated 2.5" mounting points behind the motherboard tray.
- For 3.5" HDDs, slide the drive into a drive tray (if applicable) and secure it with screws.
- For 2.5" SSDs, secure them directly to the mounting points using the provided screws.
5.5. Graphics Card (VGA) and Expansion Card Installation
Il-kaxxa tappoġġja karti grafiċi sa 320mm fit-tul.
- Neħħi l-għata tas-slott ta' espansjoni meħtieġa minn wara tal-kaxxa.
- Insert your graphics card or other expansion card into the appropriate PCIe slot on your motherboard.
- Secure the card to the case using the expansion slot screws.
5.6. Cooling System Installation (Optional)
The Lux M comes with 4x 120mm X24F fixed RGB fans. It supports additional cooling options.
- Cooler tas-CPU: Max height of 160mm. Install your CPU cooler according to its manufacturer's instructions.
- Appoġġ għar-radjatur: The case supports radiators of 360mm, 240mm, or 120mm. Refer to your radiator's manual for installation. Common mounting locations include the front and top panels.
5.7. Ġestjoni tal-Kejbil
Uża l-qtugħ tar-rotta tal-kejbils u l-punti ta' rbit wara t-trej tal-motherboard biex torganizza l-kejbils. Dan itejjeb il-fluss tal-arja u l-estetika.
5.8. Assemblea Finali
- Once all components are installed and cables are managed, reattach the steel side panel and secure it with thumb screws.
- Carefully reattach the tempered glass side panel and secure it with thumb screws.
6. Istruzzjonijiet Operattivi
After completing the installation, connect your peripherals (monitor, keyboard, mouse) and power cable to the PC. Press the power button located on the top panel of the case to start your system.
The pre-installed X24F RGB fans feature fixed RGB lighting, which will illuminate automatically upon system power-on. No additional software or controller is required for their basic operation.
Ensure that the case's ventilation is not obstructed to maintain optimal airflow and cooling performance.
7. Manutenzjoni
Manutenzjoni regolari tgħin biex tiżgura l-lonġevità u l-prestazzjoni ottimali tal-komponenti tal-PC tiegħek.
- Tindif tat-Trab: Naddaf il-filtri tat-trab (jekk preżenti) u l-intern tal-kaxxa perjodikament billi tuża arja kkompressata jew pinzell artab. L-akkumulazzjoni tat-trab tista' tfixkel il-fluss tal-arja u twassal għal sħana żejda.
- Tindif ta' barra: Imsaħ l-uċuħ ta 'barra b'artab, damp cloth. Avoid harsh chemicals that may damage the finish or tempered glass.
- Ħġieġ ittemprat: Clean the tempered glass panel with a glass cleaner and a microfiber cloth to avoid scratches and streaks.
8 Issolvi l-problemi
Jekk tiltaqa' ma' problemi waqt jew wara l-installazzjoni, ikkunsidra l-passi komuni li ġejjin għas-soluzzjoni tal-problemi:
- Ebda Qawwa:
- Kun żgur li l-kejbil tal-enerġija huwa konness sew kemm mal-PSU kif ukoll mas-sokit tal-ħajt.
- Iċċekkja li s-swiċċ tal-PSU jinsab fil-pożizzjoni 'ON'.
- Verify that the front panel power switch cable is correctly connected to the motherboard's front panel header.
- Fans Not Spinning / RGB Not Lighting:
- Ensure all fan power cables are securely connected to the motherboard or a fan controller.
- For RGB, confirm that any necessary RGB headers are connected to the motherboard (though the included fans are fixed RGB and should light up with power).
- L-ebda Output tal-Wiri:
- Verify that your monitor cable is connected to the graphics card (if installed) and not the motherboard's integrated graphics port.
- Erġa' poġġi l-karta grafika fl-islott PCIe tagħha.
- Is-sħana żejda:
- Kun żgur li l-fannijiet kollha tal-kaxxa qed iduru u huma orjentati b'mod korrett għal fluss tal-arja ottimali (daħla/egżost).
- Naddaf kwalunkwe filtru tat-trab u l-komponenti interni.
- Verify that the CPU cooler is properly seated and making good contact with the CPU.
For more complex issues, consult your component manuals or seek assistance from Xigmatek support or a qualified technician.
9. Speċifikazzjonijiet
| Karatteristika | Speċifikazzjoni |
|---|---|
| Brand | Xigmatek |
| Isem tal-Mudell | Lux M |
| Numru tal-Mudell | EN48540 |
| Tip ta' Każ | Mini Torri |
| Kompatibbiltà tal-motherboard | Mikro-ATX, Mini-ITX |
| Materjal | Tempered Glass (side panel), Metal (front panel) |
| Kulur | Iswed |
| Fannijiet installati minn qabel | 4 x 120mm X24F Fixed RGB Fans |
| Appoġġ tar-radjatur | 360mm, 240mm, 120mm |
| Max CPU Cooler Għoli | 160mm |
| Tul Massimu tal-VGA | 320mm |
| Max PSU Tul | 165mm |
| Bajja tal-Ħażna | 2x 2.5"/3.5" |
| Karatteristiċi Speċjali | RGB Lighting, Triangular Mesh Front Design |
10. Garanzija u Appoġġ
Xigmatek products are manufactured to the highest quality standards. For warranty information and technical support, please refer to the warranty card included with your product or visit the official Xigmatek websit. Jekk jogħġbok żomm il-prova tax-xiri tiegħek għal talbiet ta' garanzija.
For further assistance, you may contact Xigmatek customer support through their official channels.


