Introduzzjoni
This manual provides comprehensive instructions for the setup, operation, and maintenance of your Tesla Smart Pet Feeder (Model TSL-PC-BL4). Please read this manual thoroughly before using the device to ensure proper functionality and safety for your pet.
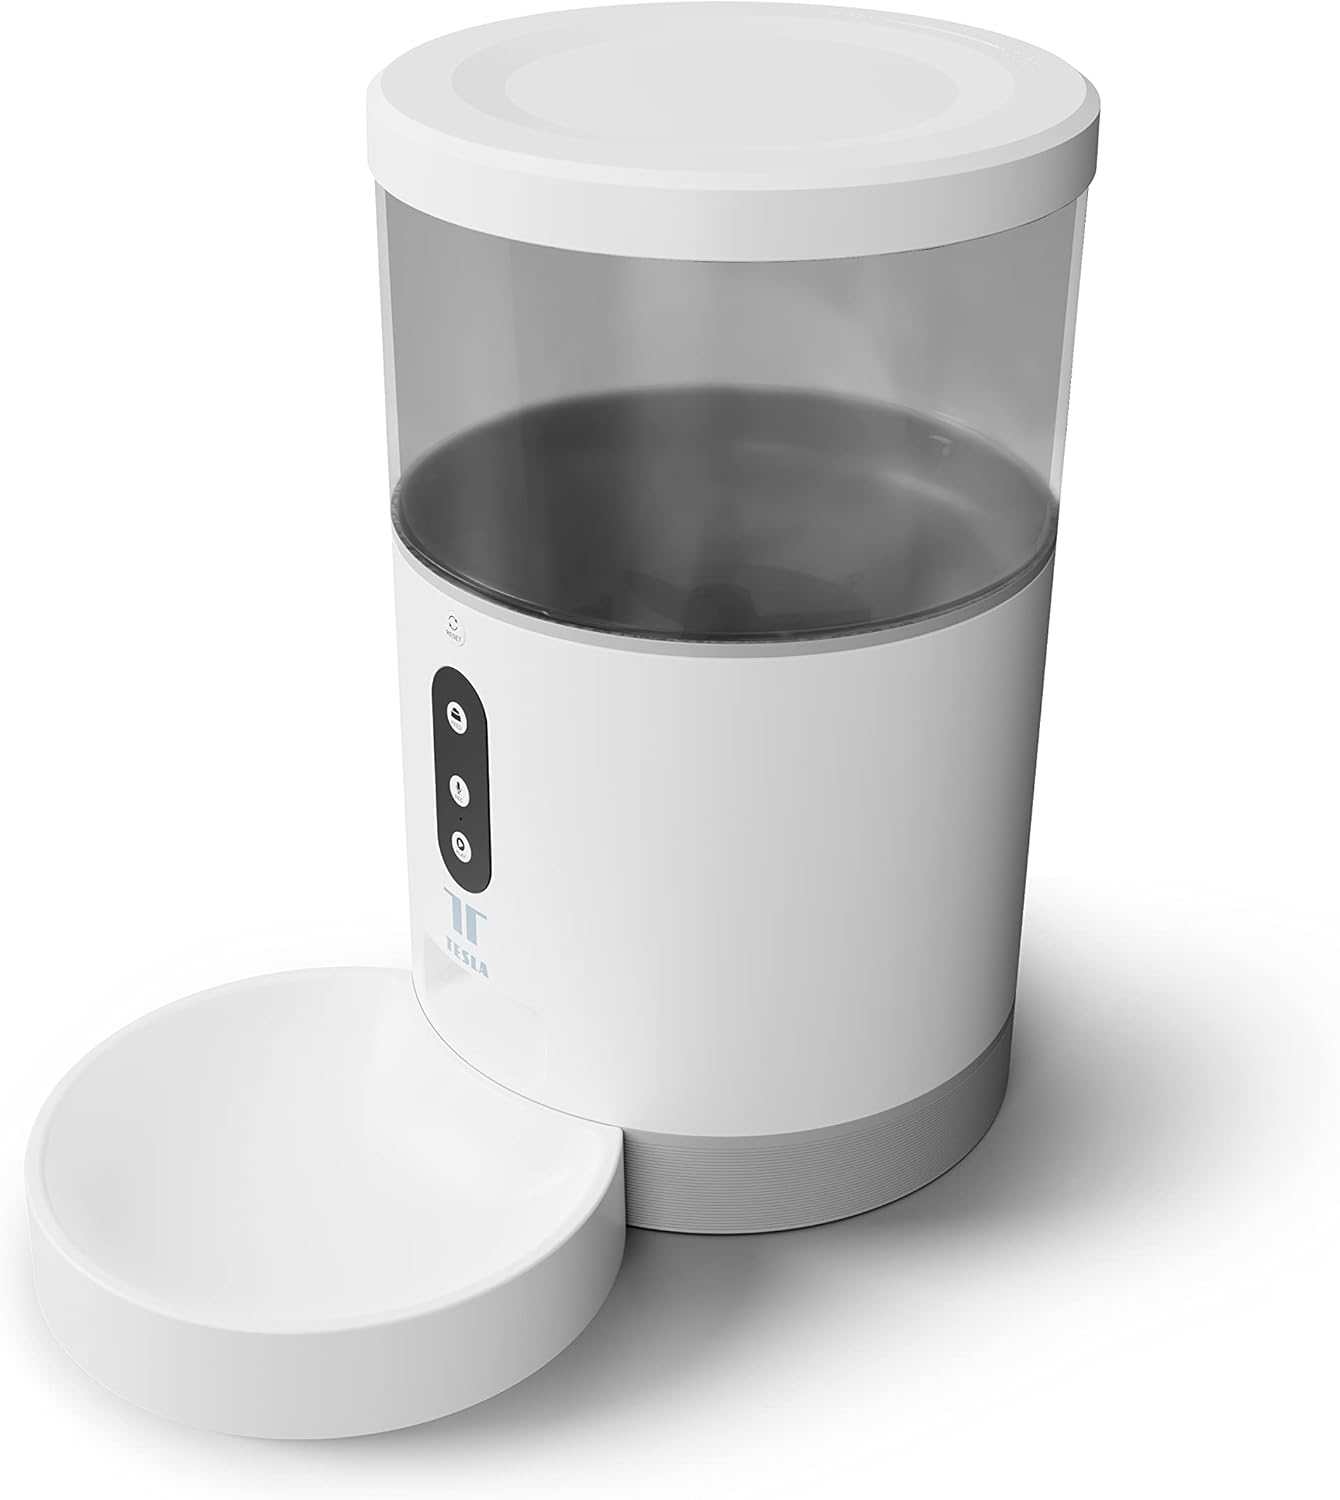
Immaġni: Quddiem view of the Tesla Smart Pet Feeder, showing the main unit with a transparent food reservoir, control buttons, and an attached white food bowl.
Informazzjoni Importanti dwar is-Sigurtà
Jekk jogħġbok osserva l-prekawzjonijiet ta' sigurtà li ġejjin biex tevita korriment jew ħsara lill-apparat:
- Tgħaddix l-unità prinċipali fl-ilma jew likwidi oħra.
- Kun żgur li l-alimentatriċi titqiegħed fuq wiċċ stabbli u livellat.
- Keep out of reach of small children and pets when not in use or during assembly.
- Use only dry pet food with a kibble size up to 10 mm.
- Tippruvax iżarma jew isewwi l-apparat lilek innifsek. Ikkuntattja l-appoġġ tal-klijent għall-assistenza.
- Always unplug the feeder before cleaning.
Kontenut tal-Pakkett
Ivverifika li l-komponenti kollha huma preżenti fil-pakkett:
- Tesla Smart Pet Feeder Main Unit
- Skutella tal-Ikel
- Adapter tal-Enerġija
- Manwal għall-Utent (dan id-dokument)
Gwida ta' Setup
1. Assemblea
- Place the main feeder unit on a flat, stable surface.
- Attach the food bowl to the designated slot at the base of the main unit. Ensure it clicks securely into place.

Immaġni: Quddiem view of the feeder highlighting the control panel with feed, record, and play buttons.
2. It-Tħaddim tal-Apparat
- Qawwa AC: Connect the power adapter to the feeder's power input port and plug it into a standard wall outlet.
- Backup tal-Batterija (Mhux obbligatorju): Għal tħaddim bla interruzzjoni waqt li tkun qed tinqata' l-enerġijatages, insert three LR20 (D-cell) batteries into the battery compartment located at the bottom of the unit. Il-batteriji mhumiex inklużi u għandhom jinxtraw separatament.

Immaġni: Wara view of the Tesla Smart Pet Feeder, showing the power input and battery compartment location.
3. Filling the Food Container
- Remove the lid from the top of the feeder.
- Pour dry pet food into the transparent container. The feeder has a capacity of 4 liters. Ensure kibble size does not exceed 10 mm to prevent jamming.
- Ibdel l-għatu sew.

Immaġni: Close-up view of dry pet food kibble in the feeder's bowl, demonstrating the type of food suitable for the device.
4. App Download and Wi-Fi Connection
- Download the Tesla Smart app from the App Store (iOS) or Google Play Store (Android).
- Open the app and follow the on-screen instructions to create an account and add your Tesla Smart Pet Feeder.
- Ensure your Wi-Fi network is 2.4 GHz for successful connection.
Istruzzjonijiet Operattivi
1. Scheduling Feeds via App
The primary method for controlling the feeder is through the Tesla Smart app. The app allows you to:
- Set feeding schedules: Define specific times for food dispensing.
- Adjust portion sizes: Control the amount of food dispensed per feeding. The feeder can dispense up to 10 portions per feeding.
- View feeding history.

Image: An orange cat resting beside the Tesla Smart Pet Feeder, illustrating the feeder in a home environment.
2. Tmigħ manwali
To dispense food manually, press the "Feed" button on the feeder's control panel. Each press will dispense one portion of food.
3. Reġistrazzjoni u Daqq tal-Vuċi
The feeder includes a built-in microphone and speaker, allowing you to record a short message to call your pet at feeding times.
- Rekord: Press and hold the "Record" button (microphone icon) on the control panel. Speak your message. Release the button to save.
- Play: Press the "Play" button (speaker icon) to play your recorded message. The message will also play automatically at scheduled feeding times.
4. Smart Home Integrazzjoni
The Tesla Smart Pet Feeder is compatible with Google Assistant and Amazon Alexa. You can control the feeder using voice commands after linking it through the respective smart home applications.
Manutenzjoni u Tindif
Regular cleaning ensures the longevity and hygienic operation of your pet feeder.
- Food Bowl: The food bowl can be detached and washed by hand with mild soap and water. Rinse thoroughly and dry completely before reattaching.
- Kontenitur tal-Ikel: The transparent food container can be wiped clean with a damp cloth. Ensure it is completely dry before refilling with food.
- Unità Prinċipali: Wipe the exterior of the main unit with a soft, dry cloth. Tużax prodotti tat-tindif li joborxu jew tgħaddasx l-unità prinċipali fl-ilma.
- Food Outlet: Periodically check the food outlet for any blockages or food residue and clear as necessary.
Important: Always unplug the feeder from the power source before cleaning.
Issolvi l-problemi
| Problema | Kawża Possibbli | Soluzzjoni |
|---|---|---|
| Feeder not powering on. | No power from outlet; batteries depleted or incorrectly installed. | Check power adapter connection and wall outlet. Replace or install D-cell batteries correctly. |
| L-ikel mhux qed jiġi mqassam. | Food jammed; container empty; incorrect kibble size; feeder offline. | Check for food blockages in the outlet. Refill container. Ensure kibble is max 10mm. Check Wi-Fi connection and app status. |
| Ma tistax tikkonnettja mal-Wi-Fi. | Incorrect Wi-Fi password; 5GHz network; feeder too far from router. | Verify Wi-Fi password. Ensure you are connecting to a 2.4 GHz network. Move feeder closer to router. Restart feeder and router. |
| Voice recording not working. | Microphone issue; recording procedure incorrect. | Ensure you are pressing and holding the record button correctly. Try restarting the feeder. |
Speċifikazzjonijiet
| Karatteristika | Dettall |
|---|---|
| Numru tal-Mudell | TSL-PC-BL4 |
| Dimensjonijiet (L x W x H) | 30 x 30 x 20 ċm |
| Piż | 1.92 Kilogrammi |
| Materjal | Plastik |
| Kulur | Abjad |
| Kapaċità | 4 Litri |
| Daqs tal-Kibble | Sa 10 mm |
| Sors tal-Enerġija | AC Adapter, 3x LR20 (D-cell) batteries (not included) |
| Konnettività | Wi-Fi (2.4GHz) |
| Karatteristiċi Speċjali | Wi-Fi and App Control, Voice Recording, Google Assistant/Amazon Alexa Compatible |
Garanzija u Appoġġ
For warranty information, technical support, or service inquiries, please refer to the official Tesla Smart webis-sit jew ikkuntattja lid-dipartiment tas-servizz tal-konsumatur tagħhom. Żomm l-irċevuta tax-xiri tiegħek bħala prova tax-xiri.
For the most up-to-date information and support resources, visit: www.teslasmart.com


