Introduzzjoni
This manual provides detailed instructions for the installation, operation, and maintenance of your AXAGON ADSA-ST USB 3.0 Docking Station. This device is designed to connect 2.5" and 3.5" SATA SSDs and HDDs to your computer via a USB 3.0 interface, offering fast data transfer speeds.
Jekk jogħġbok aqra dan il-manwal bir-reqqa qabel ma tuża l-prodott biex tiżgura l-funzjonalità xierqa u biex tevita l-ħsara.
Kontenut tal-Pakkett
Ivverifika li l-komponenti kollha huma preżenti fil-pakkett:
- AXAGON ADSA-ST Docking Station
- USB 3.0 Type-A to Micro-B cable
- Adapter tal-Enerġija
- Manwal għall-Utent (dan id-dokument)

Image: The AXAGON ADSA-ST Docking Station shown alongside its retail packaging, illustrating the product and its box.
Karatteristiċi Ewlenin
- Supports 2.5" and 3.5" SATA I/II/III SSDs and HDDs.
- USB 3.0 (USB 3.2 Gen 1) interface with up to 5 Gbps transfer speed.
- SATA 6G (SATA III) support.
- UASP (USB Attached SCSI Protocol) support for enhanced performance.
- TRIM support for SSDs.
- HDD Auto Spindown function.
- LED indication for power and activity.
- Compact design with aluminum body.

Immaġni: A view of the AXAGON ADSA-ST Docking Station highlighting its 5 Gbps USB 3.2 Gen 1 speed and compact size.
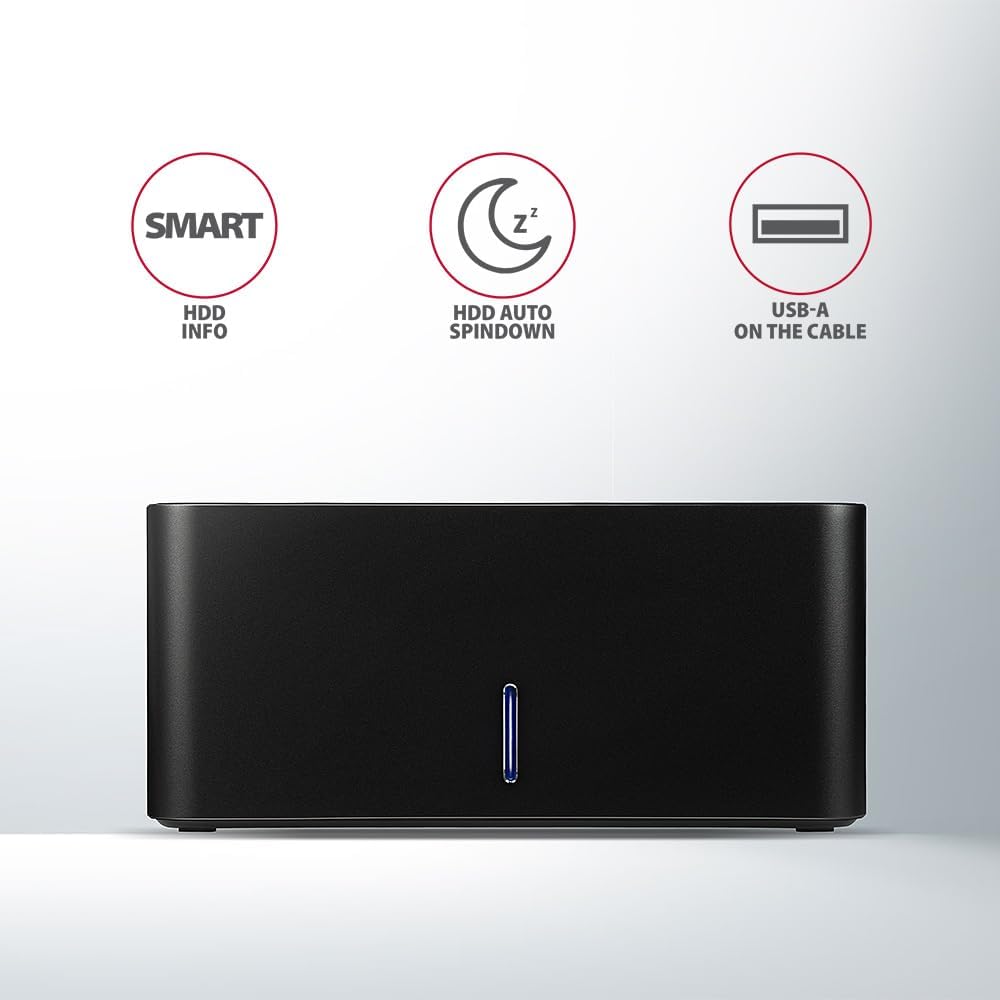
Image: The docking station from the front, indicating features like SMART HDD info, automatic HDD spindown, and USB-A connectivity.
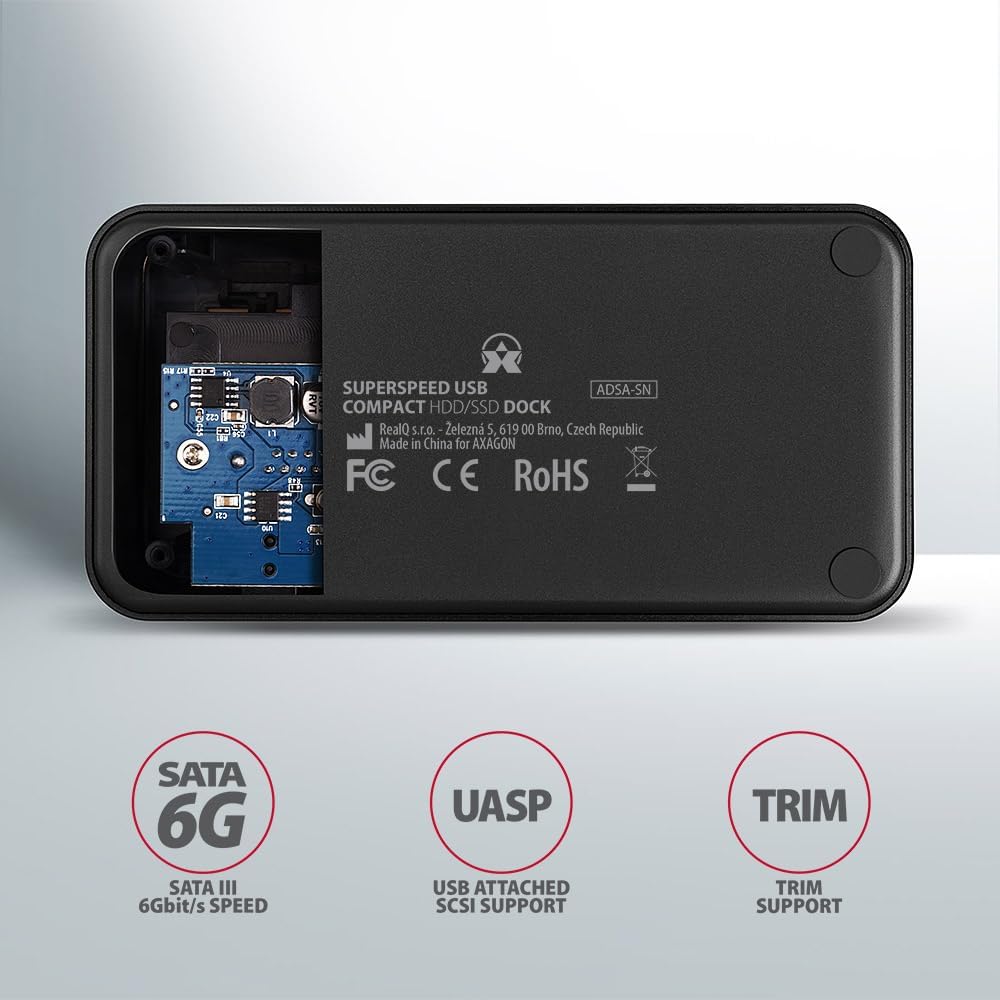
Image: The underside of the docking station, showing internal components and highlighting SATA 6G, UASP, and TRIM support.
Setup Istruzzjonijiet
- Qabbad l-Adapter tal-Enerġija: Plug the included power adapter into the DC IN port on the back of the docking station and then into a power outlet.
- Qabbad mal-Kompjuter: Connect the USB 3.0 cable from the docking station's Micro-B port to an available USB 3.0 (or higher) port on your computer.
- Insert HDD/SSD:
- For 2.5" SSD/HDD: Gently slide the 2.5" drive into the slot until it connects firmly with the SATA connector.
- For 3.5" HDD: Gently slide the 3.5" drive into the slot until it connects firmly with the SATA connector.
Ensure the drive is inserted correctly with the SATA connector facing the correct direction. Do not force the drive.

Image: A 2.5-inch SSD being inserted into the docking station, demonstrating compatibility with smaller drives.
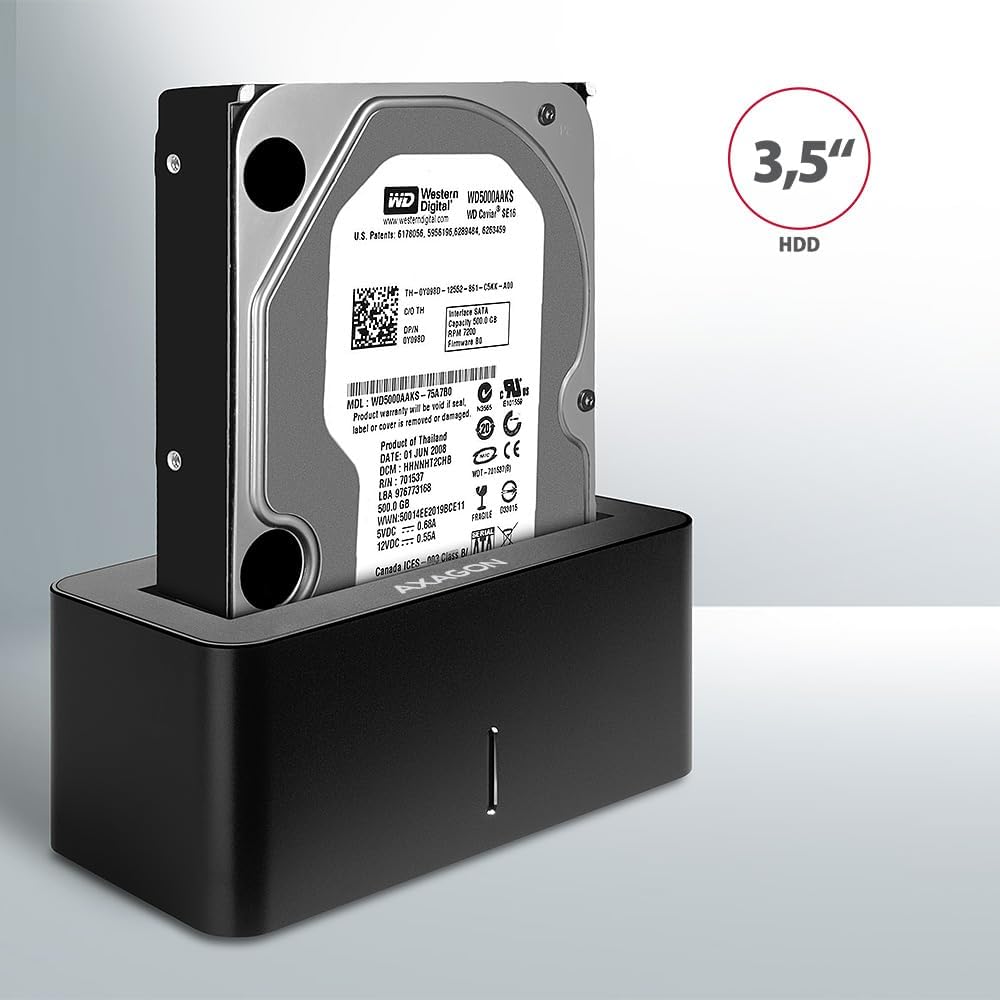
Image: A 3.5-inch HDD being inserted into the docking station, demonstrating compatibility with larger drives.
- Qawwa Mixgħul: Press the power button located on the back of the docking station. The LED indicator on the front will illuminate.
Image: The rear panel of the docking station, showing the power button, USB Micro-B port, and power input for connection.
Istruzzjonijiet Operattivi
Drive Recognition
Once powered on and connected, your operating system should automatically detect the inserted drive. If it's a new drive, you may need to initialize and format it through Disk Management (Windows) or Disk Utility (macOS) before it appears in File Esploratur/Finder.
Indikatur LED
The LED indicator on the front of the docking station provides status information:
- Blu solidu: Power on, drive idle.
- Blu li jteptep: Drive activity (reading or writing data).
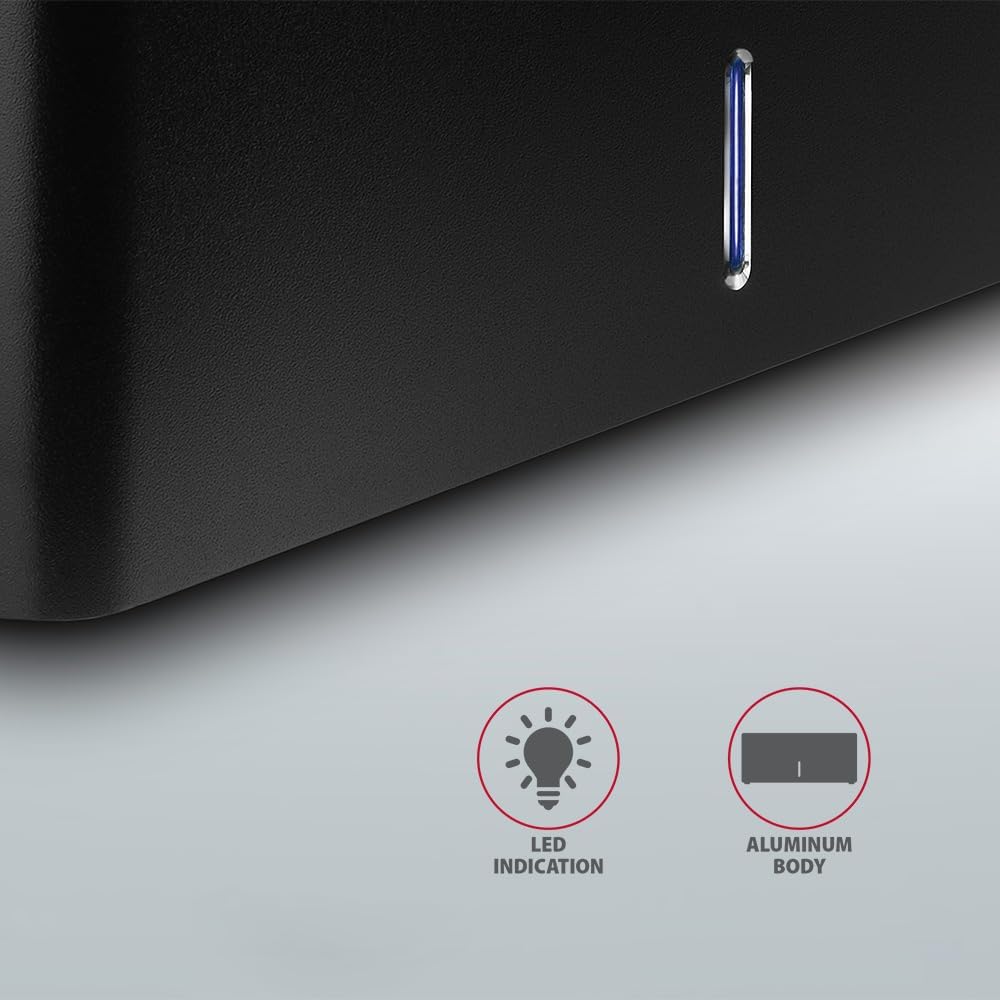
Immaġni: Close-up view of the docking station's front panel, highlighting the LED indicator light.
Removing a Drive
Before removing a drive, always safely eject it from your operating system to prevent data corruption. After ejection, gently pull the drive straight out of the docking station slot.
Spindown Awtomatiku tal-HDD
The docking station supports automatic spindown of the HDD when it is idle for a certain period, conserving power and extending drive lifespan. This feature is managed by the operating system or the drive itself.
Manutenzjoni
- Żomm l-istazzjon tad-docking nadif u ħieles mit-trab. Uża drapp artab u niexef għat-tindif.
- Evita li tesponi l-apparat għal temperaturi estremi, umdità, jew dawl tax-xemx dirett.
- Tippruvax tiżżarma jew issewwi l-apparat int stess. Irreferi għal persunal tas-servizz kwalifikat.
- Kun żgur li jkollok ventilazzjoni xierqa madwar l-istazzjon tad-docking waqt it-tħaddim.
Issolvi l-problemi
- Sewqan mhux skopert:
- Kun żgur li l-adapter tal-enerġija huwa konness sew u li l-istazzjon tad-docking huwa mixgħul.
- Verify the USB cable is properly connected to both the docking station and the computer.
- Ipprova port USB differenti fuq il-kompjuter tiegħek.
- Ensure the HDD/SSD is fully seated in the docking station's slot.
- Check Disk Management (Windows) or Disk Utility (macOS) to see if the drive is recognized but uninitialized/unformatted.
- Test with a different HDD/SSD to rule out a drive issue.
- Veloċitajiet ta' trasferiment baxxi:
- Ensure the docking station is connected to a USB 3.0 (or higher) port on your computer. USB 2.0 ports will limit speeds.
- Iċċekkja li s-sistema operattiva u d-drivers tiegħek huma aġġornati.
- The actual speed depends on the drive's performance and your computer's USB controller.
- Drive disconnects randomly:
- Iċċekkja l-konnessjonijiet kollha tal-kejbil.
- Kun żgur li l-adapter tal-enerġija qed jipprovdi enerġija stabbli.
- Disable USB power saving features in your computer's operating system settings.
Speċifikazzjonijiet Tekniċi
| Karatteristika | Dettall |
|---|---|
| Brand | AXAGON |
| Numru tal-Mudell | ADSA-SN |
| Pjattaforma tal-Ħardwer | PC |
| Apparati Kompatibbli | Laptop, PC tad-Desktop |
| Kompatibilità tas-sewqan | 2.5" / 3.5" SATA I/II/III SSD/HDD |
| Interface | USB 3.0 (USB 3.2 Ġen 1) |
| Rata ta' Trasferiment tad-Data | Up to 5 Gbps (USB 3.0), 6 Gbps (SATA III) |
| Portijiet USB totali | 1 (Micro-B) |
| Numru ta' Drive Bays | 1 |
| Kulur | Iswed |
| Piż tal-oġġett | 2.2 liri (madwar 1 kg) |
| Dimensjonijiet tal-Pakkett | 3.94 x 0.79 x 0.39 pulzieri (madwar 10 x 2 x 1 ċm) |
| Data L-Ewwel Disponibbli | 30 ta’ Marzu, 2021 |
Garanzija u Appoġġ
For warranty information and technical support, please refer to the official AXAGON webis-sit jew ikkuntattja lid-distributur lokali tiegħek. Żomm il-prova tax-xiri tiegħek għal talbiet ta' garanzija.


