1. Introduzzjoni
Thank you for choosing the ETA Falco Smart Robot Vacuum Cleaner with Mopping Function. This manual provides essential information for the safe and efficient operation, maintenance, and troubleshooting of your device. Please read this manual thoroughly before using the product and keep it for future reference.
Informazzjoni Importanti dwar is-Sigurtà
- Always ensure the robot is placed on a stable, level surface.
- Żomm l-apparat 'il bogħod mill-ilma u l-umdità.
- Do not allow children or unauthorized persons to operate the robot.
- Use only the original charging adapter and accessories provided.
- Before cleaning or maintenance, ensure the robot is powered off and unplugged from the charging station.
- Avoid operating the robot near open flames or flammable materials.
2. Prodott Aktarview
Komponenti u Kontrolli
Familiarize yourself with the main parts and controls of your ETA Falco Smart robot vacuum cleaner.
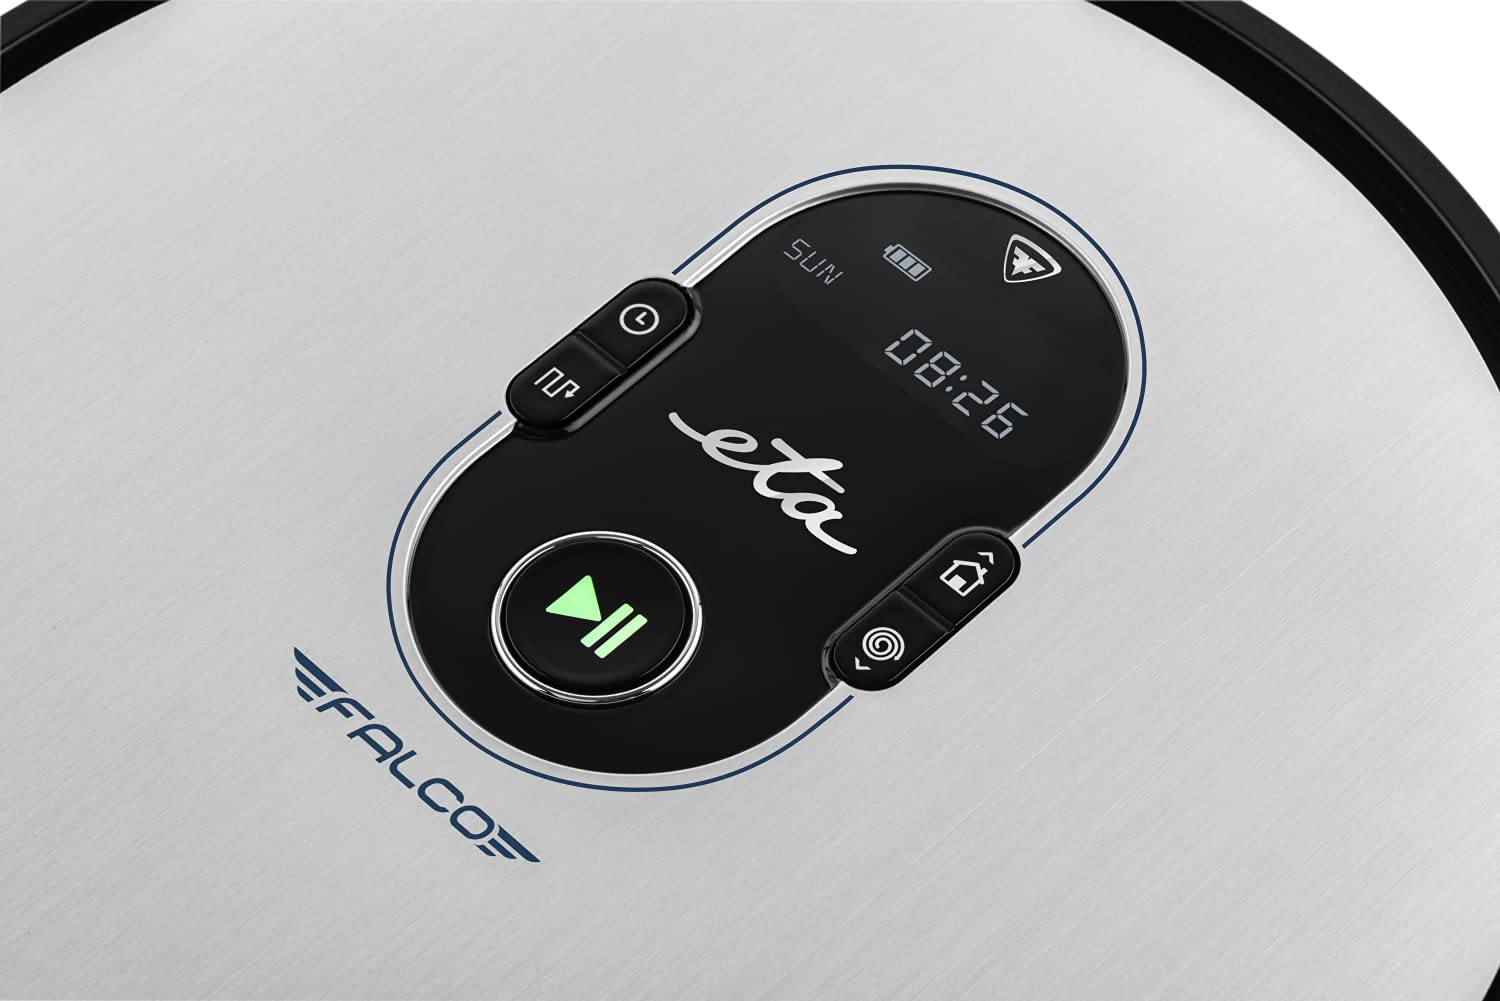
Stampa 2.1: Top panel controls. This image shows the main control panel on the top of the robot, including buttons for power, scheduling, and return to charging station, along with a digital display.

Stampa 2.2: Taħt view. This image displays the bottom of the robot, highlighting the main brush, two side brushes, and the mop attachment.

Stampa 2.3: Underside diagram. This diagram labels the key components on the robot's underside, including the side brushes, main brush, and mop attachment.
3. Kontenut tal-Pakkett
Meta tiftaħ il-pakkett, jekk jogħġbok kun żgur li l-oġġetti kollha li ġejjin huma preżenti:
- ETA Falco Smart Robot Vacuum Cleaner
- Stazzjon ta 'ċċarġjar
- Adapter tal-Iċċarġjar
- Kontroll mill-bogħod
- 2x Spare Side Brushes
- Special Rotary and Lamella Brush
- 2x Cleaning Cloths (Mop Pads)
- Filtru HEPA żejjed
- Mop Attachment with 300 ml Water Tank
- Ħajt Virtwali
4. Setup
4.1 Iċċarġjar inizjali
- Poġġi l-istazzjon tal-iċċarġjar ma' ħajt f'żona miftuħa, u kun żgur li ma jkun hemm l-ebda ostaklu f'distanza ta' metru mal-ġnub u żewġ metri 'l quddiem.
- Connect the charging adapter to the charging station and plug it into a power outlet.
- Place the robot vacuum cleaner on the charging station. Ensure the charging contacts align. The robot will begin charging automatically. A full charge takes approximately 5 hours.
4.2 Installazzjoni ta' Xkupilji tal-Ġenb
Attach the side brushes to the designated posts on the underside of the robot by pressing them down until they click into place. Ensure the 'L' and 'R' markings on the brushes match the corresponding markings on the robot.
4.3 Connecting to the ETA SMART App
The ETA SMART app enhances the functionality of your robot. Download the app from your smartphone's app store. Follow the in-app instructions to connect your robot to your home Wi-Fi network and pair it with the app.
4.4 Setting up the Virtual Wall
The virtual wall creates an invisible barrier to restrict the robot's access to certain areas. Place the virtual wall device on the floor where you want to create a boundary. Ensure the infrared beam is directed towards the area you wish to block. The robot will detect this beam and avoid crossing it.

Stampa 4.1: Robot with charging station and virtual wall. This image shows the robot positioned near its charging station, with a virtual wall device placed nearby to illustrate its function.
5. Istruzzjonijiet Operattivi
5.1 Modi tat-Tindif
The ETA Falco Smart offers four distinct cleaning modes:
- SMART: General cleaning mode for optimal coverage.
- KLASSIKU: Standard cleaning pattern.
- XIFER: Tnaddaf tul il-ħitan u t-truf tal-għamara.
- SPOT: Concentrated cleaning in a specific area.
You can select these modes via the ETA SMART app or the remote control.
5.2 Skedar tat-Tindif
Use the ETA SMART app to set a cleaning schedule for your robot. You can program specific times and days for the robot to automatically start cleaning.
5.3 Kontroll Manwali
You can manually control the robot's movement and functions using the remote control or the ETA SMART app. The app also allows you to monitor cleaning activity, battery charge, and view cleaning routes.

Stampa 5.1: ETA Smart App features. This image displays the ETA Smart App interface on a smartphone, highlighting features such as remote control, cleaning history, activity monitoring, battery status, cleaning modes (SMART, CLASSIC, EDGE, SPOT), cleaning schedule, mopping intensity control, and suction power adjustment.
5.4 Funzjoni ta 'mopping
- Fill the 300 ml water tank with clean water. Do not use detergents or cleaning solutions that are not approved for robot vacuums.
- Attach a clean mop pad to the mop attachment.
- Slide the mop attachment into the designated slot on the underside of the robot.
- Ibda ċiklu ta' tindif. Ir-robot se jnaddaf bil-vacuum cleaner u jimsaħ simultanjament.
6. Manutenzjoni
Manutenzjoni regolari tiżgura prestazzjoni ottimali u testendi l-ħajja tal-vacuum cleaner robot tiegħek.
6.1 Tindif tal-Kontenitur tat-Trab u l-Filtru
- Agħfas il-buttuna tar-rilaxx tat-trab u neħħi t-trab.
- Open the dust bin and empty its contents into a trash can.
- Remove the HEPA filter and primary filter. Tap them gently to remove dust. If washable, rinse under running water and allow to air dry completely before reinserting.
- Wipe the inside of the dust bin with a dry cloth.
- Reassemble the filters and dust bin, then reinsert into the robot.
6.2 Tindif tal-Pinzell Prinċipali
- Dawwar ir-robot.
- Remove the main brush cover by pressing the release tabs.
- Erfa' l-pinzell prinċipali.
- Use the cleaning tool (if provided) or scissors to remove hair and debris tangled around the brush.
- Clean the brush compartment.
- Reinsert the main brush and secure the cover.
6.3 Tindif tal-Pniezel tal-Ġenb
Periodically check the side brushes for tangled hair or debris. If necessary, remove them by gently pulling upwards and clean them. Replace worn or damaged brushes with the spare ones provided.
6.4 Tindif tal-Mopp u t-Tank tal-Ilma
After each mopping session, remove the mop pad and wash it thoroughly. Empty any remaining water from the water tank and rinse it. Allow both to air dry completely before storing or reusing.
6.5 Tindif tas-Sensuri
Wipe the anti-drop sensors, bumper sensors, and charging contacts on the robot and charging station with a clean, dry cloth to ensure proper function.
7 Issolvi l-problemi
If your robot vacuum cleaner encounters an issue, refer to the following common problems and solutions:
| Problema | Kawża Possibbli | Soluzzjoni |
|---|---|---|
| Robot ma jixgħelx | Batterija baxxa; Swiċċ tal-enerġija mitfi | Iċċarġja r-robot; Kun żgur li s-swiċċ tal-enerġija jkun mixgħul |
| Robot mhux jiċċarġja | Charging contacts dirty; Charging station unplugged | Clean charging contacts; Ensure charging station is plugged in |
| Prestazzjoni fqira tat-tindif | Kontenitur tat-trab mimli; Xkupilji mħabbla; Filtru mblukkat | Empty dust bin; Clean brushes; Clean/replace filter |
| Ir-robot jeħel spiss | Ostakli fuq l-art; Sensuri maħmuġin | Clear floor of cables/small items; Clean sensors |
| Virtual wall not working | Virtual wall batteries low; Incorrect placement | Replace batteries; Adjust virtual wall position |
Jekk il-problema tippersisti wara li tipprova dawn is-soluzzjonijiet, jekk jogħġbok ikkuntattja l-appoġġ għall-klijenti.
8. Speċifikazzjonijiet
Technical specifications for the ETA Falco Smart Robot Vacuum Cleaner (Model ETA251590000):
| Karatteristika | Dettall |
|---|---|
| Manifattur | ETA |
| Dimensjonijiet tal-Prodott (L x W x H) | 32.5 x 33.5 x 7.5 ċm |
| Piż | 250 gramma |
| Numru tal-Mudell tal-Oġġett | ETA251590000 (T2261) |
| Mudell Kulur | Blu |
| Materjal | Plastik |
| Tip ta' Enerġija | Mħaddma bil-batterija |
| Voltage | 3 Volts (14.4V Li-ion battery, 2400 mAh) |
| Numru ta' oġġetti fil-pakkett | 1 |
| Karatteristiċi Speċjali | Pet brush compatibility, Smart App control, Floating brush system, HEPA filter, Virtual wall |
| Komponenti Inklużi | Battery, Filter, Charging station, Adapter, Remote control, Side brushes, Rotary brush, Cleaning cloths, Mop attachment, Virtual wall |
| Kompożizzjoni tal-batterija | Lithium-ion |
| Ħajja tal-batterija | Sa 120 minuta |
| Ħin tal-Iċċarġjar | Appross. 5 sigħat |
| Rakkomandazzjoni tal-wiċċ | Laminat |
| Tip ta' Kontrollur | Kontroll tal-app |
| Disponibbiltà ta' Spare Parts | Informazzjoni mhux disponibbli dwar il-partijiet ta' riżerva |
9. Garanzija u Appoġġ
For warranty information, product support, or to inquire about spare parts, please refer to the warranty card included with your purchase or visit the official ETA websit. Żomm il-prova tax-xiri tiegħek għal talbiet ta' garanzija.