Introduzzjoni
Thank you for choosing the CREATE WINDSTYLANCE Ceiling Fan. This manual provides essential information for the safe and efficient operation of your new ceiling fan. Please read it thoroughly before installation and use, and keep it for future reference.
The CREATE WINDSTYLANCE ceiling fan is designed to provide optimal air circulation with its powerful yet quiet DC motor. Featuring six speed settings, a programmable timer, and reversible blades for summer and winter operation, it ensures comfort throughout the year. This model comes with dark wood blades and is controlled via a convenient remote.
Informazzjoni dwar is-Sigurtà
Dejjem segwi l-prekawzjonijiet bażiċi ta' sigurtà meta tinstalla u tħaddem apparati elettriċi biex tnaqqas ir-riskju ta' nar, xokk elettriku, u korriment personali.
- Kun żgur li l-provvista tal-enerġija hija skonnettjata qabel l-installazzjoni jew il-manutenzjoni.
- L-installazzjoni għandha ssir minn elettriċista kwalifikat.
- Mount the fan securely to a ceiling joist or a structure capable of supporting the fan's weight.
- Maintain a minimum clearance of 2.3 meters (7.5 feet) from the floor to the fan blades.
- Ddaħħalx oġġetti fil-mogħdija tax-xfafar li jduru.
- Żomm it-tfal u l-annimali domestiċi 'l bogħod mill-fann waqt it-tħaddim.
- Uża biss il-kontroll remot li jiġi mal-fann.
Kontenut tal-Pakkett
Iċċekkja li l-komponenti kollha huma preżenti qabel tibda l-installazzjoni:
- Assemblaġġ tal-Mutur tal-Fann tas-Saqaf
- Fan Blades (3x Dark Wood)
- Bracket tal-Immuntar
- Downrods (15 cm and 25 cm)
- Kanupew
- Kontroll mill-bogħod
- Detentur tal-Kontroll mill-Bogħod
- Hardware Kit (screws, washers, wire nuts)
- Manwal għall-Utent

Image: The CREATE WINDSTYLANCE ceiling fan with dark wood blades and its accompanying remote control.
Setup u Installazzjoni
Proper installation is crucial for the safe and efficient operation of your ceiling fan. Please follow these steps carefully. If you are unsure about any step, consult a qualified electrician.
1. Kontroll ta' Qabel l-Installazzjoni
- Itfi l-enerġija fis-circuit breaker.
- Ensure the mounting location can support the fan's weight (approx. 7.05 kg).
- Verify that the ceiling box is securely attached to the building structure.
2. Immuntar tal-Bracket
Attach the mounting bracket to the ceiling electrical box using the screws provided. Ensure it is firmly secured.
3. L-immuntar tad-Downrod u l-Mutur tal-Fann
Choose the appropriate downrod (15 cm or 25 cm) based on your ceiling height and desired fan clearance. The fan comes with two mounting rods of 15 and 25 cm, allowing for installation at the most suitable distance from the ceiling.


Image: Diagrams illustrating the fan installation with both the 15 cm and 25 cm downrods, showing the resulting fan height from the ceiling.
Feed the electrical wires from the fan motor through the chosen downrod. Secure the downrod to the fan motor assembly.
4. Wiring the Fan
Carefully connect the fan's electrical wires to the household wiring according to the wiring diagram in the full manual. Use wire nuts to secure connections. Ensure all connections are tight and properly insulated.
5. It-twaħħil tal-Fan Blades
Waħħal kull xafra tal-fann mal-housing tal-mutur billi tuża l-viti pprovduti. Kun żgur li l-viti kollha huma ssikkati sew.
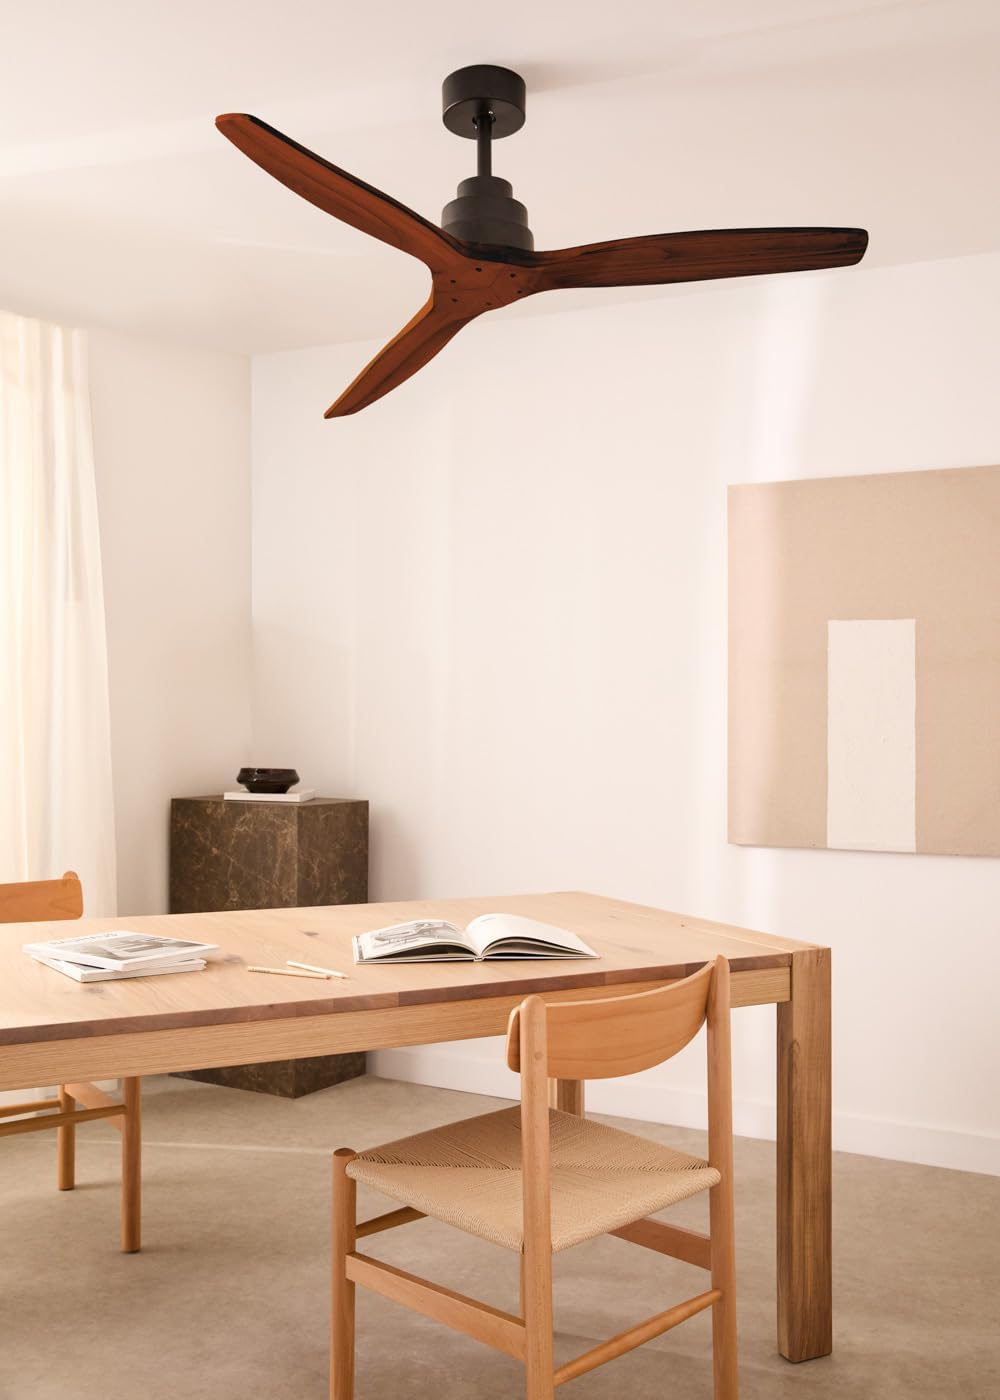
Image: The CREATE WINDSTYLANCE ceiling fan with dark wood blades installed in a contemporary living space, demonstrating its aesthetic integration.
6. Assemblea Finali
Erfa' l-assemblaġġ tal-fann u dendlu fuq il-bracket tal-immuntar. Waħħal il-kanupew biex tgħatti l-konnessjonijiet tal-wajers. Irrestawra l-enerġija fis-circuit breaker.
Istruzzjonijiet Operattivi
Your CREATE WINDSTYLANCE ceiling fan is operated using the included remote control.
Funzjonijiet ta 'Kontroll mill-bogħod

Image: The remote control for the fan, highlighting buttons for power, speed settings (1-6), timer (1H, 2H, 4H), and summer/winter mode.
- Buttuna tal-Qawwa: Jixgħel/Jitfi l-fann.
- Kontroll tal-Veloċità (1-6): Adjusts the fan speed. Level 1 is the lowest, 6 is the highest. An efficient and durable motor has six speed levels that generate different airflows, so you can always select the appropriate air circulation rate.
- Tajmer (1H, 2H, 4H): Sets the fan to automatically turn off after 1, 2, or 4 hours. You can program its timer from 1 to 4 hours, so it automatically switches off after the selected time.
- Modalità Sajf/Xitwa: Tibdel id-direzzjoni tar-rotazzjoni tax-xafra.
Summer Mode Operation
In summer mode, the fan blades rotate counter-clockwise, pushing cool air downwards. This creates a wind-chill effect, making the room feel cooler and dissipating heat.

Image: Diagram illustrating the airflow pattern in summer mode, where the fan pushes air downwards to create a cooling effect.
Winter Mode Operation
In winter mode, the fan blades rotate clockwise, drawing cool air upwards and pushing warm air (which rises to the ceiling) downwards. This helps to evenly distribute heat throughout the room, improving heating efficiency.

Image: Diagram illustrating the airflow pattern in winter mode, where the fan draws air upwards to circulate warm air downwards.
Manutenzjoni
Manutenzjoni regolari tiżgura l-lonġevità u l-prestazzjoni ottimali tal-fann tas-saqaf tiegħek.
- Tindif: Neħħi t-trab tax-xfafar tal-fann u l-housing tal-mutur regolarment b'ċarruta ratba,amp drapp. Tużax tindif jew solventi li joborxu.
- Viti li jissikkaw: Periodically check and tighten all screws on the fan blades and mounting bracket to prevent wobbling and noise.
- Bilanċ tax-Xafra: If the fan wobbles, ensure all blades are securely attached and balanced. A balancing kit (not included) may be used if necessary.
Issolvi l-problemi
Jekk tiltaqa' ma' problemi bil-fann tiegħek, irreferi għall-problemi u s-soluzzjonijiet komuni li ġejjin:
| Problema | Kawża Possibbli | Soluzzjoni |
|---|---|---|
| Fan ma jibda | Ebda provvista tal-enerġija; Wajers maħlula; Batterija tal-kontroll remot mejta. | Iċċekkja s-circuit breaker; Ivverifika l-konnessjonijiet tal-wajers; Ibdel il-batterija tal-kontroll remot. |
| Fan wobbles | Viti tax-xafra maħlula; Xfafar mhux ibbilanċjati; Bracket tal-immuntar maħlul. | Tighten all blade screws; Use a balancing kit; Ensure mounting bracket is secure. |
| Operazzjoni storbjuża | Viti maħlula; Problemi bil-mutur; Xfafar li jolqtu ostruzzjoni. | Check and tighten all screws; Ensure no obstructions; If motor noise persists, contact support. The unique design of the ultra-light blades combined with the highly efficient DC motor generates hardly any noise. |
| Il-kontroll mill-bogħod ma jaħdimx | Dead battery; Remote not paired; Obstruction between remote and receiver. | Replace battery; Refer to pairing instructions in the full manual; Remove obstructions. |
Speċifikazzjonijiet
| Karatteristika | Speċifikazzjoni |
|---|---|
| Brand | OĦLOQ |
| Numru tal-Mudell | 83190_167452 |
| Dijametru tal-Prodott | 132 ċm |
| Piż tal-Prodott | 7.05 Kilogrammi |
| Tip ta' Mutur | Mutur DC |
| Numru ta' Veloċitajiet | 6 |
| Funzjoni Timer | 1, 2, 4-il siegħa |
| Modi ta' Operazzjoni | Sajf / Xitwa |
| Livell ta' Storbju | 50 dB |
| Sors tal-Enerġija | Corded Elettriku |
| Komponenti Inklużi | Cord, Remote Control |
| Tip ta' Kamra | Bedroom (Recommended) |
| Tip Finish | Miżbugħa |

Image: Technical diagram of the fan, indicating its 132 cm diameter and suitability for rooms between 10m² and 25m².
Garanzija u Appoġġ
For warranty information and customer support, please refer to the contact details provided in your product packaging or visit the official CREATE websit. Żomm l-irċevuta tax-xiri tiegħek bħala prova tax-xiri għal kwalunkwe talba ta' garanzija.
If you require further assistance or have questions not covered in this manual, please contact CREATE customer service.


