1. Introduzzjoni
Welcome to the world of miniature crafting with your new Robotime DG146 Miniature Dollhouse Kit. This kit allows you to construct a detailed "Flowery Sweets & Teas" shop, complete with intricate furniture, decorations, and lighting. Designed for enthusiasts aged 14 and above, this DIY project provides a rewarding experience in assembly and creativity. Please read this manual carefully before beginning assembly to ensure a smooth and enjoyable building process.

Figure 1: Fully assembled Robotime DG146 "Flowery Sweets & Teas" miniature dollhouse kit, showcasing its detailed exterior with a patio, chairs, and floral decorations.
2. Informazzjoni dwar is-Sigurtà
Jekk jogħġbok osserva l-prekawzjonijiet tas-sigurtà li ġejjin:
- Rakkomandazzjoni dwar l-Età: This kit is recommended for individuals aged 14 years and up. It is not suitable for children under 36 months due to small parts which may present a choking hazard.
- Partijiet Żgħar: The kit contains numerous small components. Keep them out of reach of young children and pets.
- Għodod: Use appropriate tools (e.g., scissors, tweezers, glue) carefully. Adult supervision is recommended for younger builders.
- Adeżivi: Use non-toxic, water-soluble glue as recommended. Ensure proper ventilation when using adhesives.
- Komponenti elettriċi: If the kit includes LED lights, handle wires and battery components with care. Ensure correct polarity when inserting batteries.
- Sigurtà tal-Materjal: All materials in the package are environmentally friendly. The paint used is odorless and can be easily washed out with water.
3. Setup u Preparazzjoni
Before you begin assembly, ensure you have a clean, well-lit workspace and all necessary tools.
3.1 Tneħħija tal-kaxxa u Inventarju
Carefully open the product packaging and verify all components are present against the included parts list. Refer to the image below for the typical packaging of the kit.

Figure 2: The product packaging for the Robotime DG146 kit, displaying the assembled model and key features.
3.2 Għodod Meħtieġa (Mhux Inklużi)
- Precision Scissors or Craft Knife
- Tweezers (for small parts)
- Ħakkiem
- Lapes
- Quick-drying Craft Glue (e.g., white glue, wood glue)
- Small Screwdriver (if battery box is included)
3.3 Workspace Preparation
Choose a flat, stable surface. Organize parts by type or step as indicated in the detailed instruction booklet provided within the kit. Keep small parts in trays or containers to prevent loss.
4. Istruzzjonijiet tal-Assemblea
The Robotime DG146 kit is a DIY assembly project. Follow the step-by-step pictorial instructions provided in the dedicated booklet included in your package. The general process involves:
- Identifikazzjoni tal-Parti: Identify parts using the provided diagrams and numbering.
- Cutting and Shaping: Carefully cut out paper and fabric pieces, and detach wooden components from their sheets.
- Inkullar: Apply glue sparingly to designated areas and hold parts together until dry.
- Wajers (jekk applikabbli): Connect LED lights according to the circuit diagram. Ensure batteries are inserted correctly.
- Dekorazzjoni: Add miniature accessories, furniture, and decorative elements to complete the scene.
Pay close attention to details such as the miniature counter and patio setup, as shown in the following images.

Figura 3: Dettaljat view of the miniature counter, featuring a coffee grinder, baked goods, and other shop items.
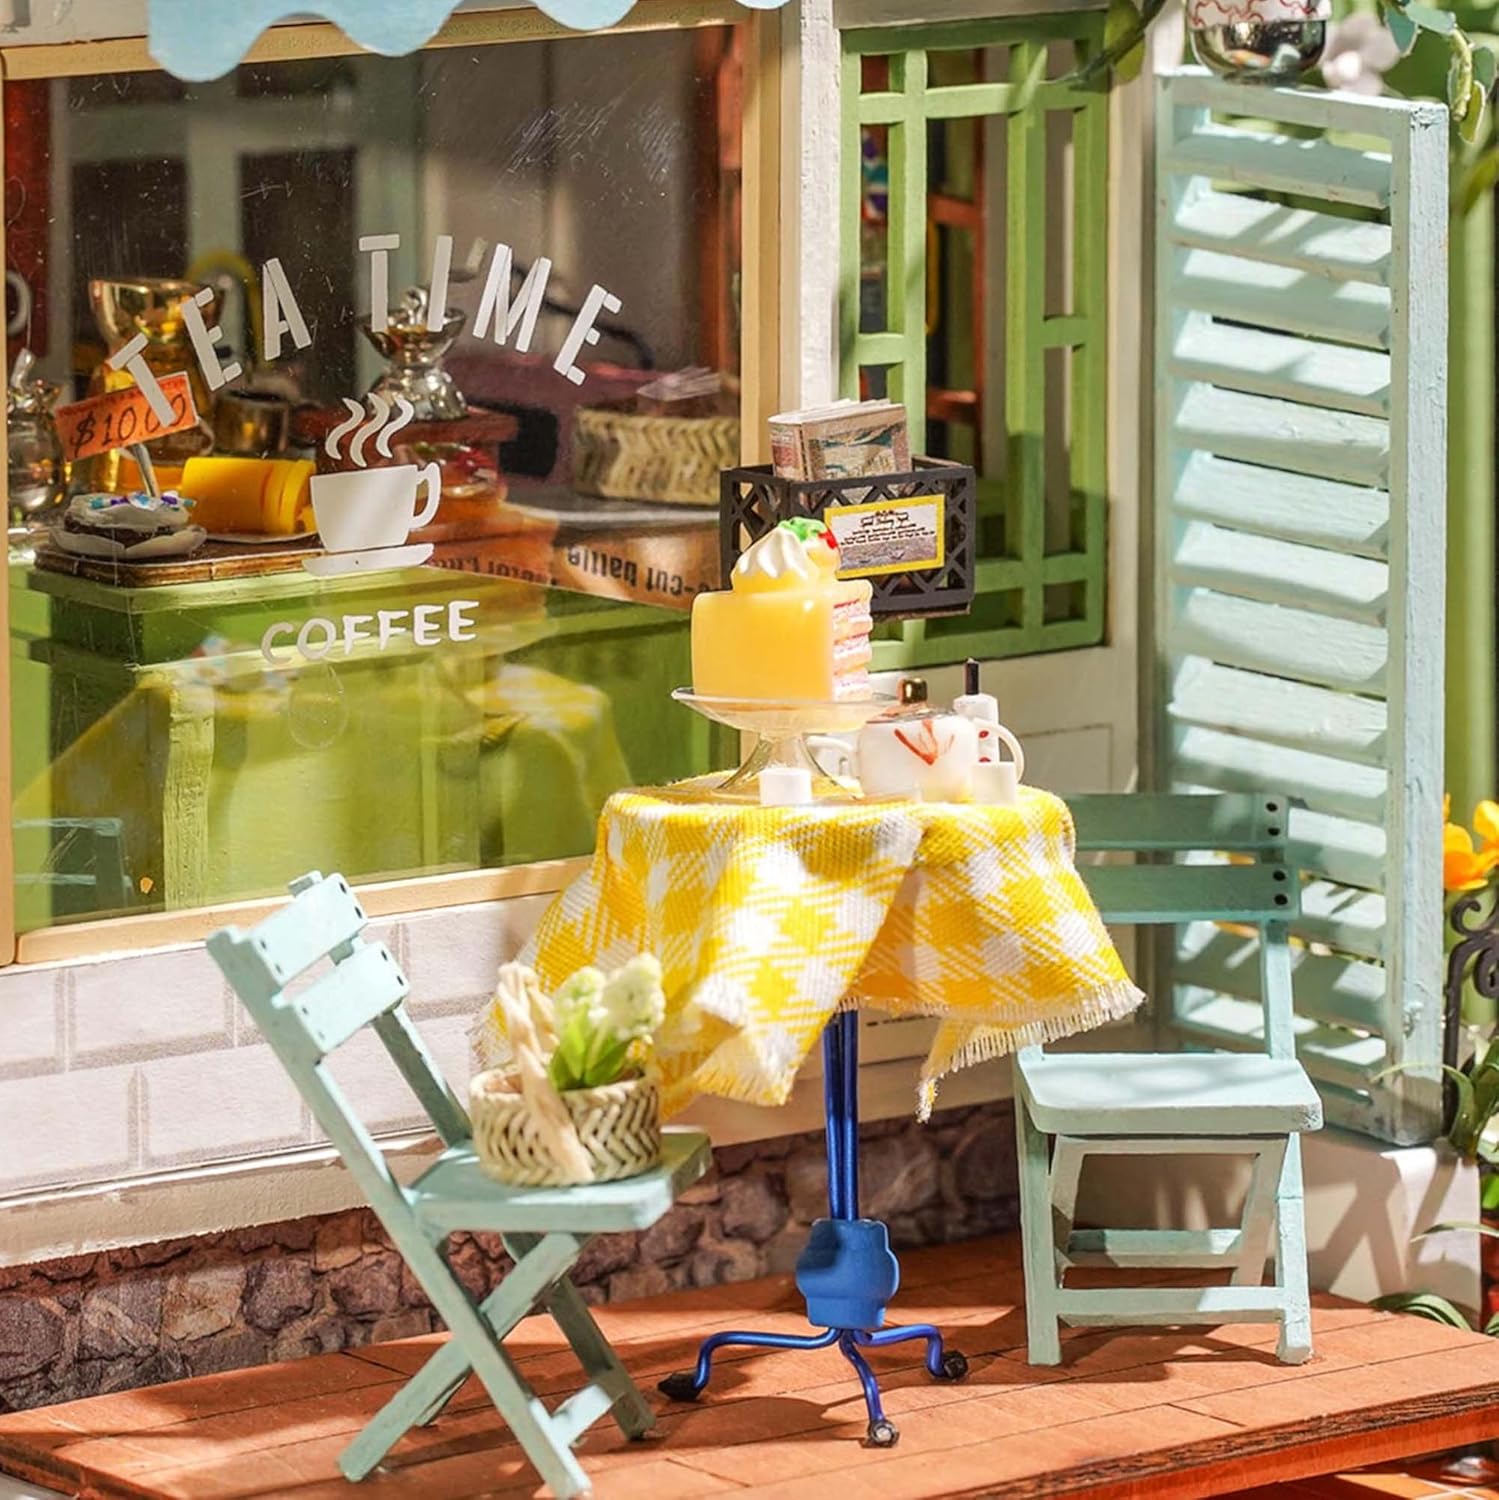
Figure 4: The outdoor patio area with a checkered tablecloth, miniature chairs, and a slice of cake.

Figure 5: The side garden area, featuring a green trellis adorned with flowers and a small dog figurine.
5. Kura u Manutenzjoni
To ensure the longevity and appearance of your assembled miniature dollhouse:
- Tindif: Gently dust the model with a soft brush or cloth. Avoid using wet cloths or harsh cleaning agents, as they may damage the materials or paint. The puzzle has an easy to clean surface that allows it to maintain a brand new look.
- Ħażna: Store the assembled model in a dry, cool place away from direct sunlight to prevent fading or warping of materials.
- Immaniġġjar: Handle the model with care, especially delicate parts. Avoid dropping or applying excessive pressure.
- Tiswijiet: If any parts become detached, reattach them using appropriate craft glue.
6 Issolvi l-problemi
Hawn huma xi kwistjonijiet komuni u s-soluzzjonijiet tagħhom waqt l-assemblaġġ:
| Problema | Kawża Possibbli | Soluzzjoni |
|---|---|---|
| Parts do not fit together | Incorrect part identification; excess material; misalignment. | Double-check part numbers. Gently sand or trim excess material if necessary. Ensure correct orientation before applying glue. |
| Glue not holding | Insufficient glue; incorrect glue type; not enough drying time. | Apply a thin, even layer of appropriate craft glue. Hold parts firmly until the glue sets. Allow sufficient drying time. |
| Dwal LED ma jaħdmux | Incorrect battery insertion; loose wire connection; faulty LED. | Check battery polarity. Ensure all wire connections are secure. Test individual LEDs if possible. |
| Partijiet nieqsa | Parts lost during unboxing; manufacturing error. | Carefully re-check packaging and workspace. Contact Robotime customer support with your purchase details. |
7. Speċifikazzjonijiet tal-Prodott
| Karatteristika | Dettall |
|---|---|
| Numru tal-Mudell | DG146 |
| Brand | ROBOTIME |
| Dimensjonijiet tal-Prodott (L x W x H) | 23 x 16 x 26 ċm (9.06 x 6.3 x 10.24 pulzieri) |
| Piż tal-oġġett | 306 Gramma (0.67 libbra) |
| Tip(i) ta' Materjal | Wood, Paper, Fabric |
| Età Rakkomandata | 14 snin 'il fuq |
| Assemblea Meħtieġa | Iva |
| Batteriji Meħtieġa? | No (Based on input, but typically these kits have lights, so I'll add a note) |
Note: While the specifications state "Batteries Required? No", many Robotime kits include LED lighting. Please refer to your specific kit's internal instructions for details on power requirements for lighting components.

Figura 6: Dimensjonali 'l fuqview of the assembled DG146 kit, indicating its length, width, and height.
8. Garanzija u Appoġġ
For any missing parts, damaged components, or assembly assistance not covered in this manual, please contact Robotime customer support. Keep your purchase receipt and product model number (DG146) ready when contacting support.
Please refer to the official Robotime website or the contact information provided on your product packaging for the most up-to-date support channels and warranty details.


