Introduzzjoni
This instruction manual provides detailed guidance for the installation, operation, and maintenance of the K2 Pumps PAWP00003K Leather Pitcher Pump Repair Kit. This kit is designed to restore the functionality of your pitcher pump by replacing worn or damaged leather components, ensuring efficient water drawing.
Kontenut tal-Pakkett
The K2 Pumps PAWP00003K Leather Pitcher Pump Repair Kit includes the following components:
- One (1) Lower Valve Leather (approximately 3-1/2" x 2-7/8")
- One (1) Leather Cup (approximately 3" x 2")
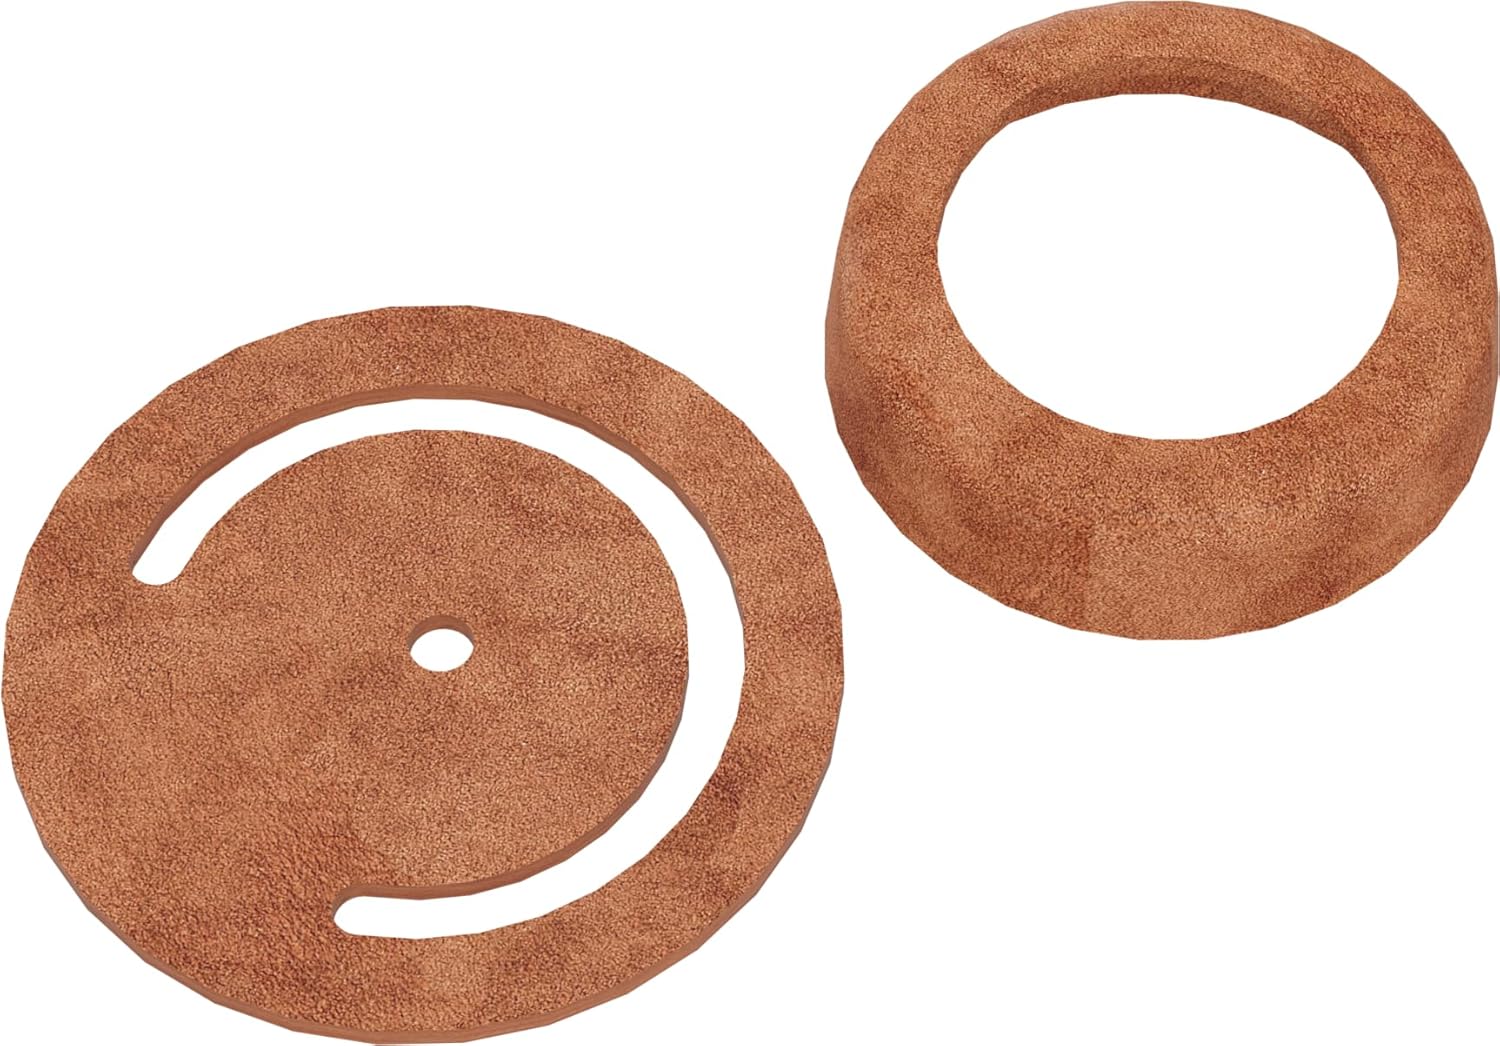
Figure 1: Components of the K2 Pumps PAWP00003K Repair Kit. Shown are the lower valve leather (left) and the cup leather (right).
Istruzzjonijiet għall-installazzjoni
Before beginning the installation, ensure the pump is disconnected from any water source and is stable. It is recommended to wear appropriate safety gear, such as gloves.
Għodod Meħtieġa:
- Ċavetta aġġustabbli jew ċavetta tal-pajpijiet
- Screwdriver (flathead or Phillips, depending on pump model)
- Tnalji
- Ċraret nodfa
- Water or non-toxic lubricant (for leather conditioning)
Passi ta' Installazzjoni:
- Żarma l-Pompa: Carefully disassemble your pitcher pump according to its specific model's instructions. Typically, this involves removing the handle, piston rod, and the pump cylinder head to access the internal components.
- Remove Old Leathers: Locate and remove the old, worn-out valve leather and cup leather. Note their original orientation for correct reassembly. Clean any debris or residue from the pump's internal surfaces.
- Condition New Leathers: Before installation, soak the new leather components in water for at least 30 minutes, or apply a non-toxic lubricant. This will soften the leather, allowing it to expand slightly and create a better seal.
- Install Lower Valve Leather: Place the new lower valve leather onto the valve seat at the bottom of the pump cylinder. Ensure it lies flat and is properly centered to create an effective seal.
- Install Leather Cup: Attach the new leather cup to the piston assembly. The cup should face downwards, creating a seal against the cylinder wall as the piston moves. Ensure it is securely fastened.
- Erġa' arma l-Pompa: Carefully reassemble the pump, reversing the disassembly steps. Ensure all connections are tight and secure. Do not overtighten components, especially those with threaded plastic parts.
- Ittestja l-Pompa: Once reassembled, prime the pump by pouring water into the top of the cylinder. Operate the pump handle several times to check for proper function and to ensure there are no leaks. The leathers will continue to swell and improve their seal with initial use.
Operazzjoni
After successful installation of the repair kit, your pitcher pump should operate as intended, drawing water efficiently. To operate, ensure the pump is primed with water, then move the handle up and down in a steady motion. The new leather components will create the necessary suction and pressure to lift water.
Manutenzjoni
Proper maintenance extends the life of your pump's leather components:
- Keep Leathers Wet: Leather components perform best when kept moist. If the pump is left dry for extended periods, the leathers may shrink, leading to a loss of prime or reduced pumping efficiency. If this occurs, re-prime the pump and operate it to re-saturate the leathers. It may take several days for severely dried leathers to fully re-swell.
- Użu regolari: Frequent use helps keep the leathers conditioned and prevents them from drying out.
- Spezzjona Perjodikament: Periodically inspect the leathers for signs of wear, cracking, or damage. Replace them with a new K2 Pumps repair kit if significant wear is observed.
Issolvi l-problemi
| Ħruġ | Kawża Possibbli | Soluzzjoni |
|---|---|---|
| Pump not priming or losing prime | Dry or shrunken leathers; improper seating of valve/cup leather; air leak in suction line. | Ensure leathers are wet and expanded (prime pump with water). Recheck installation of valve and cup leathers. Inspect suction line for loose connections or cracks. |
| Reduced water flow or pressure | Worn or damaged leathers; debris obstructing valve. | Inspect and replace leathers if worn. Disassemble and clean valve area to remove any obstructions. |
| Water leaking from pump body | Loose connections; damaged pump casing (unlikely with repair kit). | Check all threaded connections for tightness. If leaks persist from the casing, professional repair or pump replacement may be necessary. |
Speċifikazzjonijiet
| Karatteristika | Dettall |
|---|---|
| Brand | K2 Pumps |
| Numru tal-Mudell | PAWP00003K |
| Materjal | Ġilda |
| Komponenti Inklużi | Lower Valve Leather, Leather Cup |
| Approximate Valve Leather Dimensions | 3-1/2" x 2-7/8" |
| Approximate Cup Leather Dimensions | 3" x 2" |
| Piż tal-oġġett | 1.13 uqija (kit totali) |
Garanzija u Appoġġ
Specific warranty information for the K2 Pumps PAWP00003K Leather Pitcher Pump Repair Kit is not provided in this manual. For product support, inquiries, or to report issues, please contact the manufacturer or your point of purchase. Always refer to the original pump's manual for comprehensive warranty details related to the pump itself.