1. Introduzzjoni
Thank you for choosing the USX MOUNT UL Listed Heavy Duty TV Wall Mount. This product is engineered for secure and versatile mounting of televisions ranging from 32 to 90 inches and weighing up to 150 lbs. It features a full-motion design with swivel, tilt, and leveling adjustments, along with an 8-inch horizontal sliding function for optimal TV positioning. Please read this manual thoroughly before installation and retain it for future reference.

Figura 1: USX MOUNT Heavy Duty TV Wall Mount with bubble level and cable ties.
2. Informazzjoni Importanti dwar is-Sigurtà
- TWISSIJA: This product is designed for use in wood stud, solid concrete, or brick walls only. Tinstallax fuq drywall waħdu.
- Ensure your TV's weight and VESA pattern are within the specified limits of this mount.
- Dejjem uża apparat li jsib l-istuds biex issib l-istuds tal-injam b'mod preċiż.
- If mounting to concrete or brick, appropriate concrete anchors are required. Contact USX MOUNT if you need these anchors.
- Installation should be performed by at least two people due to the weight and size of the TV and mount.
- Do not overtighten screws, as this may damage the wall or TV.
- Żomm it-tfal u l-annimali domestiċi 'l bogħod waqt l-installazzjoni.
3. Kontenut tal-Pakkett
Verify that all components are present and undamaged before beginning installation. If any parts are missing or defective, please contact USX MOUNT customer support.
- TV Wall Mount Assembly
- Brackets tat-TV (2 biċċiet)
- Pjanċa tal-Ħajt
- Livell tal-bużżieqa
- Cable Ties (3 pieces)
- Standard Mounting Hardware (various screws, washers, spacers for different TV types)
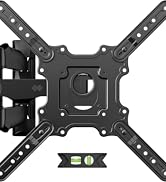
Figura 2: All components included in the package.
4. Għodod Meħtieġa (Mhux Inklużi)
- Finder Stud
- Drill Elettriku
- Level (a small one is included, but a larger one may be helpful)
- Lapes
- Tape Measure
- Tornavit tar-ras Phillips
- Socket Wrench (e.g., 13mm)
- Martell (għal ankri tal-konkrit)
5. Speċifikazzjonijiet tal-Prodott
| Karatteristika | Speċifikazzjoni |
|---|---|
| Numru tal-Mudell | XML018-1 |
| Daqsijiet tat-TV Kompatibbli | 32 - 90 pulzieri |
| Kapaċità massima tat-Tagħbija | 150 lbs (68.2 kg) |
| Kompatibilità VESA | Max 600x400mm, Min 200x100mm |
| Tip ta' Moviment | Articulating, Swivel, Tilt |
| Angolu Mejjel | +5° / -15° |
| Angolu li jdur | +/-45° |
| Distanza għall-Ħajt | 3.35 - 19.09 pulzieri |
| Horizontal Sliding | 8 inches (left or right) |
| Tipi ta' Ħitan Kompatibbli | Wood studs (8", 12", 16", 18", 24"), Solid concrete wall, Brick wall |
| Materjal | Azzar Liga |

Figura 3: Available VESA patterns and how to measure your TV's VESA.
6. Gwida għall-Installazzjoni
6.1. Lista ta' Kontroll ta' Qabel l-Installazzjoni
- Confirm your TV's size and weight are within the mount's specifications.
- Verify your TV's VESA mounting pattern.
- Identify your wall type (wood studs, concrete, or brick).
- Gather all necessary tools and included hardware.
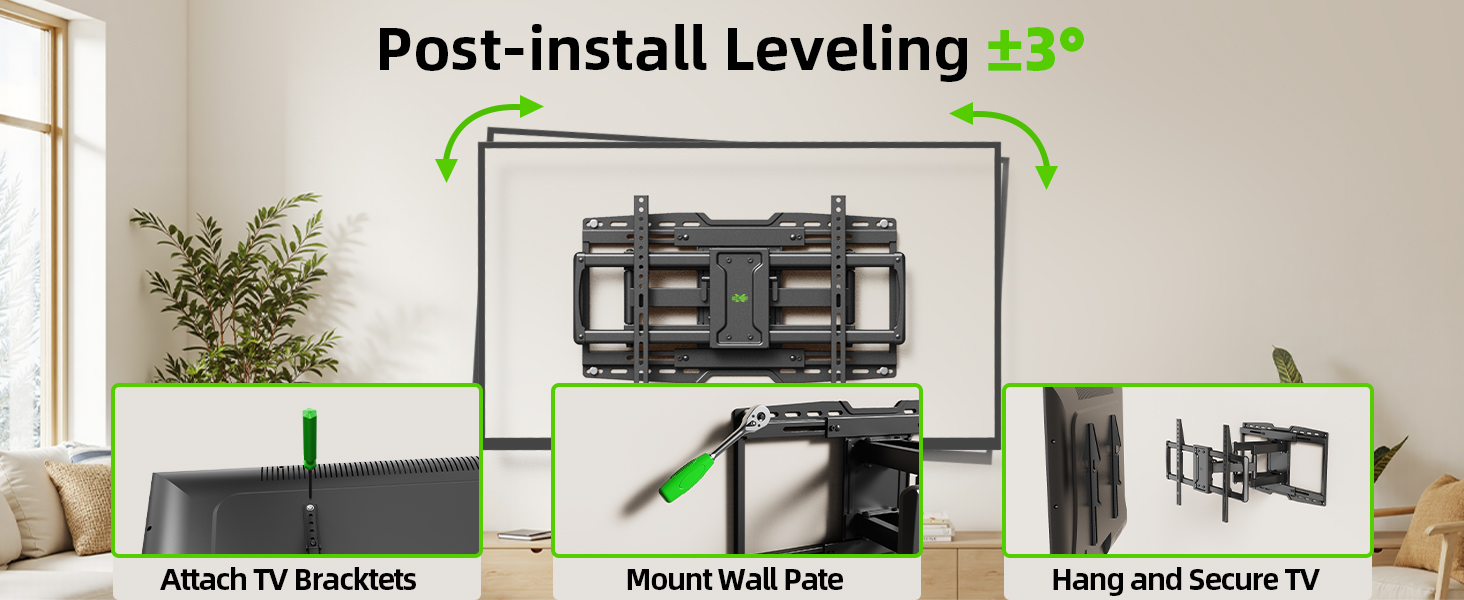
Figura 4: Confirm TV and wall compatibility before installation.
6.2. Installazzjoni Pass Pass
Pass 1: Waħħal il-Parentesi tat-TV mat-TV
- Carefully place your TV face-down on a soft, clean surface.
- Align the TV brackets with the mounting holes on the back of your TV.
- Select the appropriate screws, washers, and spacers from the hardware kit. For flat TV backs, spacers may not be needed. For irregular or curved TV backs, use spacers to ensure a secure fit without damaging the TV.
- Secure the brackets to the TV using a screwdriver. Do not overtighten.
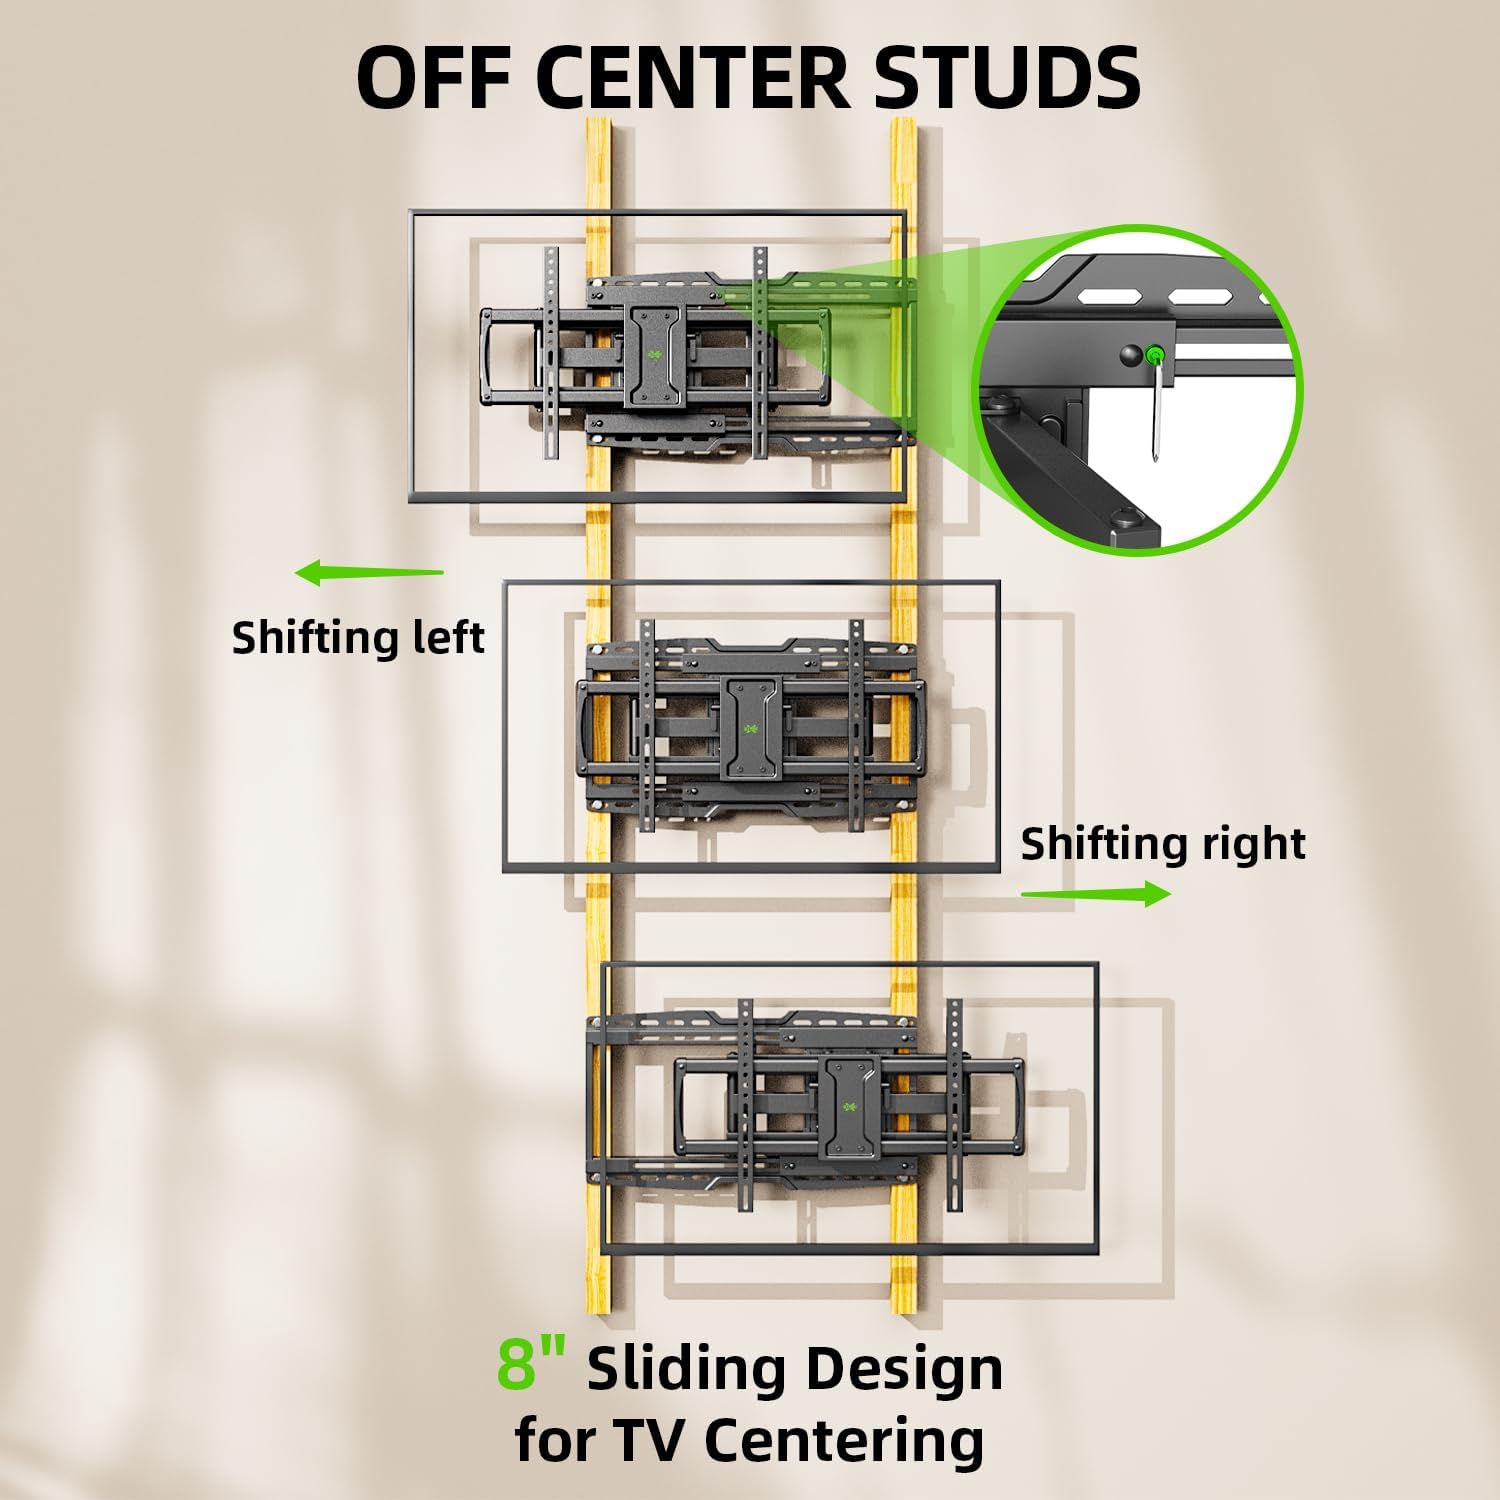
Figura 5: TV brackets attached to the back of the television.
Vidjo 1: This video demonstrates the process of attaching the TV brackets to the television, including considerations for different TV back types.
Step 2: Locate Wall Studs and Mark Drilling Points
- Use a stud finder to locate the edges and center of two adjacent wood studs. Mark the center of each stud.
- Hold the wall plate against the wall at your desired height and use a level to ensure it is perfectly horizontal. Mark the drilling points through the wall plate's holes onto the wall.
- The mount features an 8-inch horizontal sliding design, allowing you to center your TV even if your studs are off-center. Plan your wall plate placement accordingly.

Figura 6: The 8-inch sliding design allows for TV centering even with off-center studs.
Pass 3: Waħħal Pjanċa tal-Ħajt mal-Ħajt
Għal Ħitan bi Studs tal-Injam:
- Drill pilot holes at the marked locations using a 7/32 inch (5.5 mm) drill bit. Ensure the depth is sufficient for the lag bolts.
- Attach the wall plate to the wall using the provided lag bolts and washers. Tighten securely with a socket wrench.
For Solid Concrete or Brick Walls:
- Drill pilot holes at the marked locations using a 3/8 inch (10 mm) drill bit. Ensure the depth is sufficient for the concrete anchors.
- Insert the concrete anchors into the pilot holes, tapping gently with a hammer if necessary until flush with the wall surface.
- Attach the wall plate to the wall using the provided lag bolts and washers, screwing them into the anchors. Tighten securely.

Figura 7: Compatible wall types for installation. Do not install on drywall alone.
Vidjo 2: This installation video demonstrates locating studs, drilling, and securing the wall plate for various wall types.
Step 4: Hang TV onto Wall Plate
- With assistance, carefully lift the TV and hook the attached TV brackets onto the wall plate.
- Kun żgur li t-TV huwa mwaħħal sew mal-pjanċa tal-ħajt.
- Engage the safety screws or locking mechanisms on the TV brackets to prevent accidental dislodging.

Figura 8: Fuqview of the TV mounting process, including hanging and securing the TV.
Step 5: Leveling Adjustment
- After hanging the TV, use the horizontal post-installation leveling screws to fine-tune the TV's level. This allows for a +/-3° adjustment.
- Use the included bubble level or a larger level to achieve perfect horizontal alignment.
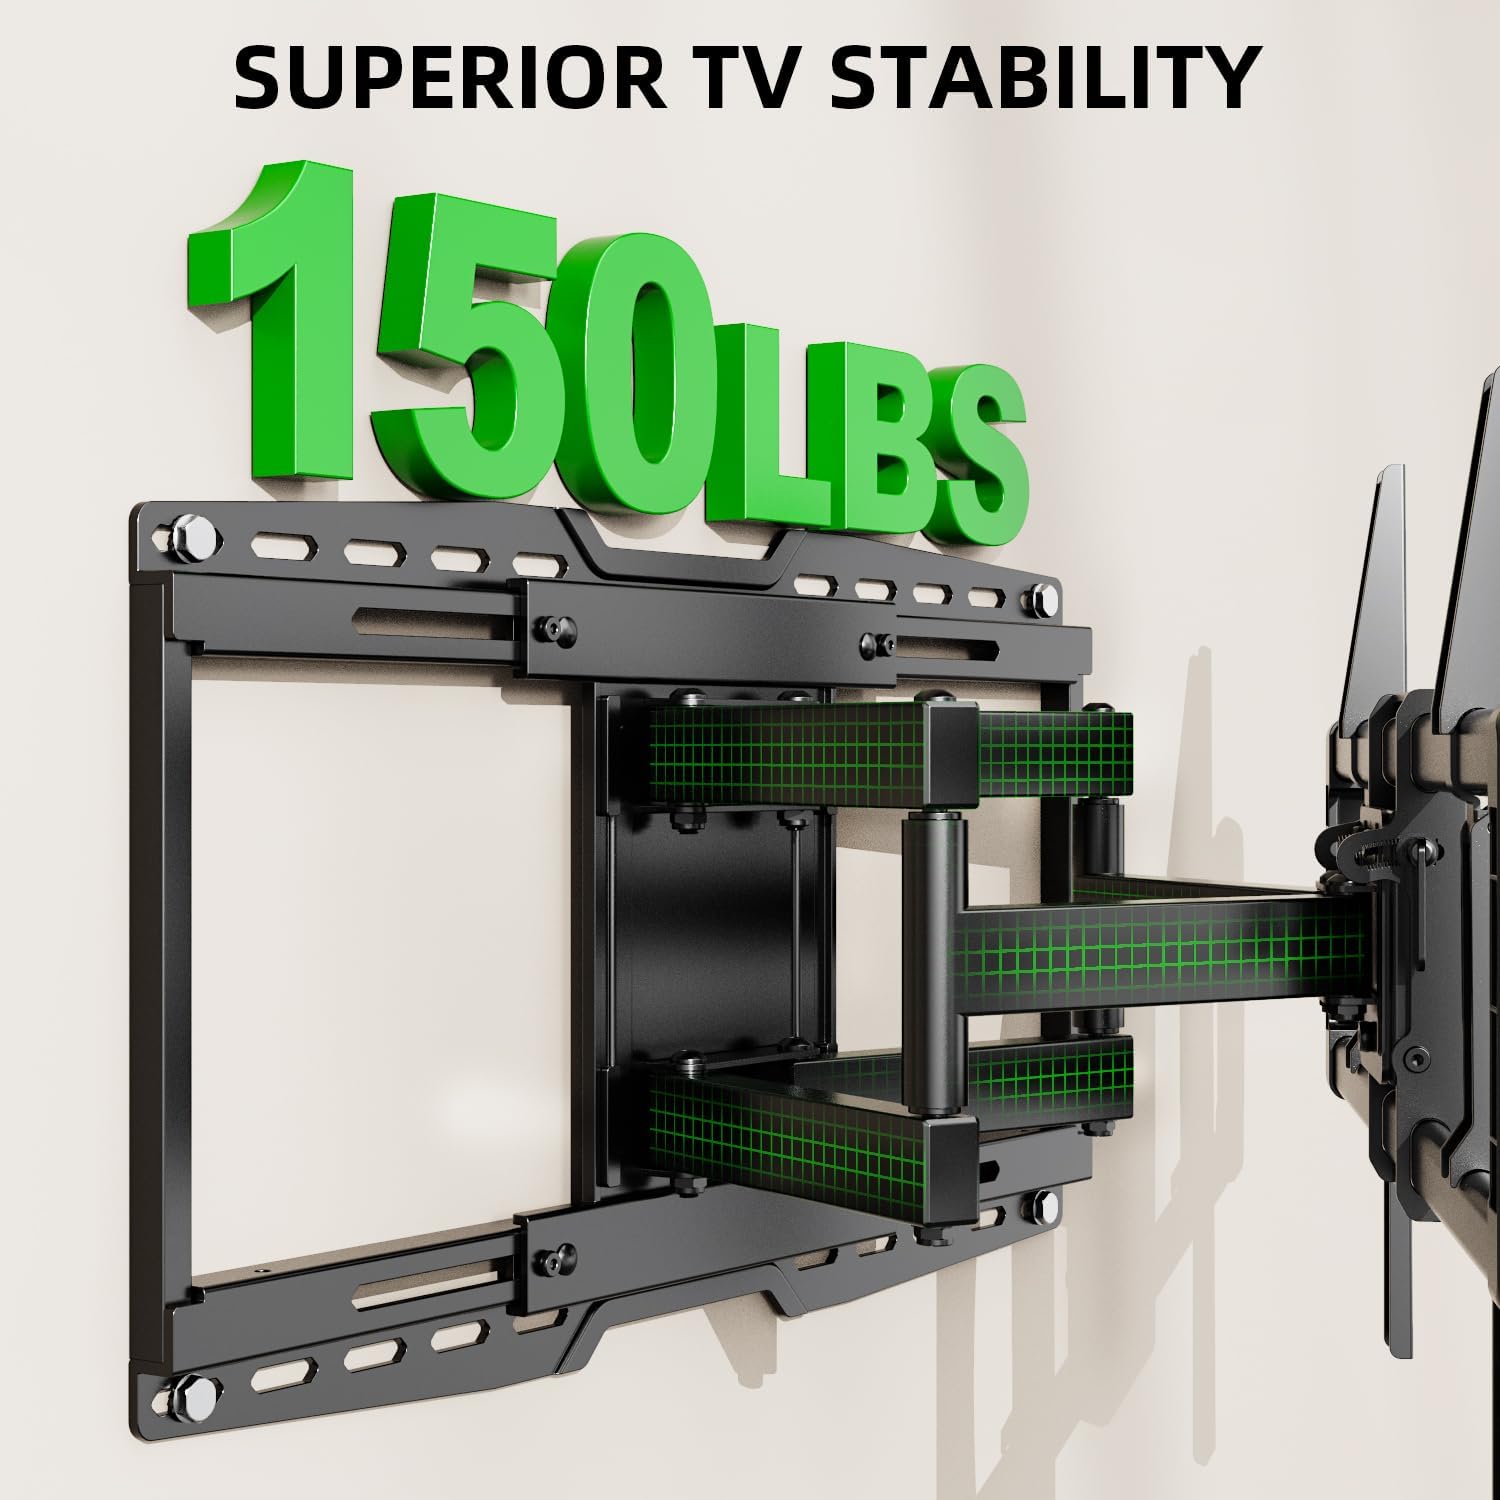
Figura 9: Post-installation leveling screws for precise alignment.
7. Istruzzjonijiet Operattivi
7.1. Aġġustament tal-Mejjel
The mount allows for a tilt range of +5° (upward) to -15° (downward). This feature is useful for reducing glare and optimizing viewangoli.
- Locate the tilt handles on the TV brackets.
- Loosen the tilt handles to adjust the TV to your desired vertical angle.
- Tighten the tilt handles to secure the TV in position.

Figura 10: Adjusting the TV tilt for comfortable viewing.
7.2. Swivel and Extension/Retraction
The full-motion arms allow the TV to swivel up to +/-45° and extend from 3.35 inches to 19.09 inches from the wall.
- Gently pull the TV away from the wall to extend the articulating arms.
- Carefully pivot the TV left or right to achieve the desired swivel angle.
- To retract, push the TV back towards the wall until it is in the desired position.

Figura 11: Flessibbli viewing with extension, retraction, and swivel capabilities.
7.3. Horizontal Sliding
The mount features an 8-inch horizontal sliding function on the wall plate, allowing you to shift the TV left or right by up to 8 inches after installation, ensuring perfect centering.
- Gently slide the TV along the wall plate to adjust its horizontal position.
- Ensure the TV is securely positioned after adjustment.
8. Manutenzjoni
- Iċċekkja perjodikament il-viti u l-konnessjonijiet kollha biex tiżgura li jibqgħu ssikkati u siguri.
- Naddaf il-muntatura b'ċarruta ratba u niexfa. Evita prodotti tat-tindif jew solventi li joborxu.
- If the articulating arms become stiff, a small amount of silicone-based lubricant can be applied to the pivot points.
9 Issolvi l-problemi
9.1. TV is not level after installation
- Use the horizontal post-installation leveling screws (as described in Section 6.2, Step 5) to adjust the TV's angle by +/-3°.
9.2. Difficulty moving the TV (stiff arms)
- Ensure no cables are snagged or obstructing movement.
- Apply a small amount of silicone-based lubricant to the articulating joints if movement remains stiff.
9.3. TV is not centered on the wall
- Utilize the 8-inch horizontal sliding feature of the mount to reposition the TV left or right on the wall plate.
10. Garanzija u Appoġġ
This USX MOUNT product is manufactured by X-MOUNT LIMITED. For specific warranty details, please refer to the product packaging or visit the official USX MOUNT website. If you require concrete anchors not included in your package, or have any questions or concerns regarding installation or operation, please contact USX MOUNT customer support.


