1. Introduzzjoni
This manual provides essential instructions for the safe operation, setup, maintenance, and troubleshooting of your CROWN CT31015 Spray Gun with Separate Motor. Please read this manual thoroughly before using the product to ensure proper function and to prevent injury or damage. Keep this manual for future reference.

Image 1.1: The CROWN CT31015 Spray Gun with its separate motor unit, hose, and spray gun assembly.
2. Istruzzjonijiet tas-Sigurtà
Always observe the following safety precautions to reduce the risk of electric shock, fire, or serious injury.
- Sigurtà taż-Żona tax-Xogħol: Żomm iż-żona tax-xogħol nadifa u mdawwla sew. Żoni imbarazzati jew mudlama jistiednu inċidenti. Tħaddimx għodod tal-enerġija f'atmosferi splussivi, bħal fil-preżenza ta' likwidi, gassijiet jew trab fjammabbli.
- Sigurtà Elettrika: Il-plakek tal-għodda tal-enerġija għandhom jaqblu mas-sokit. Qatt timmodifika l-plakka bl-ebda mod. Tabbużax mill-korda. Qatt tuża l-korda biex iġġorr, tiġbed, jew tiskonnettja l-għodda tal-enerġija. Żomm il-korda 'l bogħod mis-sħana, żejt, truf li jaqtgħu, jew partijiet li jiċċaqalqu.
- Sigurtà Personali: Always wear appropriate personal protective equipment, including safety glasses, a respirator mask, and gloves. Avoid wearing loose clothing or jewelry. Secure long hair.
- Sigurtà Kimika: Always refer to the paint or material manufacturer's safety data sheet (SDS) for specific handling, ventilation, and disposal instructions. Ensure adequate ventilation to prevent inhalation of fumes.
- Użu u Kura tal-Għodda: Tisforzax l-għodda tal-enerġija. Uża l-għodda tal-enerġija korretta għall-applikazzjoni tiegħek. Skonnettja l-plagg mis-sors tal-enerġija qabel ma tagħmel xi aġġustamenti, tibdel l-aċċessorji, jew taħżen l-għodda tal-enerġija.
- Manutenzjoni: Ħalli l-għodda tal-enerġija tiegħek isservisjata minn persuna ta' tiswija kwalifikata li tuża biss partijiet ta' sostituzzjoni identiċi. Dan jiżgura li tinżamm is-sigurtà tal-għodda tal-enerġija.
3. Kontenut tal-Pakkett
Verify that all items listed below are present and undamaged upon opening the package.
- Spray gun
- Manwal għall-utent (dan id-dokument)
- Manka tal-arja
- Lembut tal-kejl
- Virga tat-tindif
- Pinzell tat-tindif
- Nozzle: 2 pieces (sizes 2/2.5/3 mm, specific sizes may vary)
- Seal ring: 2 Pieces
- Special wrench for spray tip
- Hose holder: 2 pieces

Stampa 3.1: View of the CROWN CT31015 spray gun and motor unit, showing the main components.
4. Speċifikazzjonijiet Tekniċi
| Karatteristika | Speċifikazzjoni |
|---|---|
| Mudell | CT31015 |
| Qawwa Rated | 1200 W |
| Amperage (at 220-230 V) | 4.5 A |
| Rata tal-Fluss | 1100 ml/min |
| Maximum Spraying Pressure | 0.1 - 0.3 bar |
| Viskożità massima | 150 DIN-s |
| Dijametru taż-żennuna | 2 / 2.5 / 3 mm |
| Kapaċità tal-ġibjun | 900 ml |
| Piż | 5.1 kg |
| Dimensjonijiet tal-Prodott | 31 x 39.2 x 52.2 ċm |
| Sors tal-Enerġija | Corded Elettriku |
5. Setup u Preparazzjoni
5.1. Assemblea
- Qabbad il-Pajp tal-Arja: Attach one end of the air hose securely to the air outlet on the motor unit and the other end to the air inlet on the spray gun handle. Ensure connections are tight to prevent air leaks.
- Attach Spray Gun to Holder: Place the spray gun into the designated hose holder on the motor unit when not in use or during preparation.
- Agħżel iż-żennuna: Choose the appropriate nozzle (2mm, 2.5mm, or 3mm) based on the viscosity of the material to be sprayed. Use the special wrench to securely attach the selected nozzle to the spray gun.
- Waħħal ir-Reservoir: Screw the paint reservoir firmly onto the bottom of the spray gun assembly.

Image 5.1: The CROWN CT31015 spray gun fully assembled with the motor unit, hose, and paint reservoir.
5.2. Preparazzjoni tal-Materjal
- Dilwizzjoni: Most paints and coatings require dilution before spraying. Use the measuring funnel to determine the correct viscosity. Refer to the paint manufacturer's instructions for recommended dilution ratios.
- Iffiltrar: Always filter the paint or material through a fine mesh strainer or paint filter to remove any lumps or debris that could clog the nozzle.
- Filling Reservoir: Carefully pour the prepared material into the 900 ml reservoir. Do not overfill.
6. Istruzzjonijiet Operattivi
6.1. Tixgħel
- Ensure the spray gun is properly assembled and the reservoir is filled.
- Plug the power cord into a suitable electrical outlet (220-230 V).
- Turn on the motor unit using the power switch. The motor will start, providing air pressure to the spray gun.
6.2. Teknika tal-Isprejjar
- Spray tat-test: Before applying to your project, always perform a test spray on a piece of scrap material to check the spray pattern and material flow. Adjust as necessary.
- Distanza: Hold the spray gun approximately 6-10 inches (15-25 cm) from the surface.
- Moviment: Move the spray gun in smooth, even strokes, keeping it perpendicular to the surface. Overlap each pass by about 50% to ensure even coverage.
- Trigger Control: Press the trigger fully to start spraying and release it at the end of each stroke.
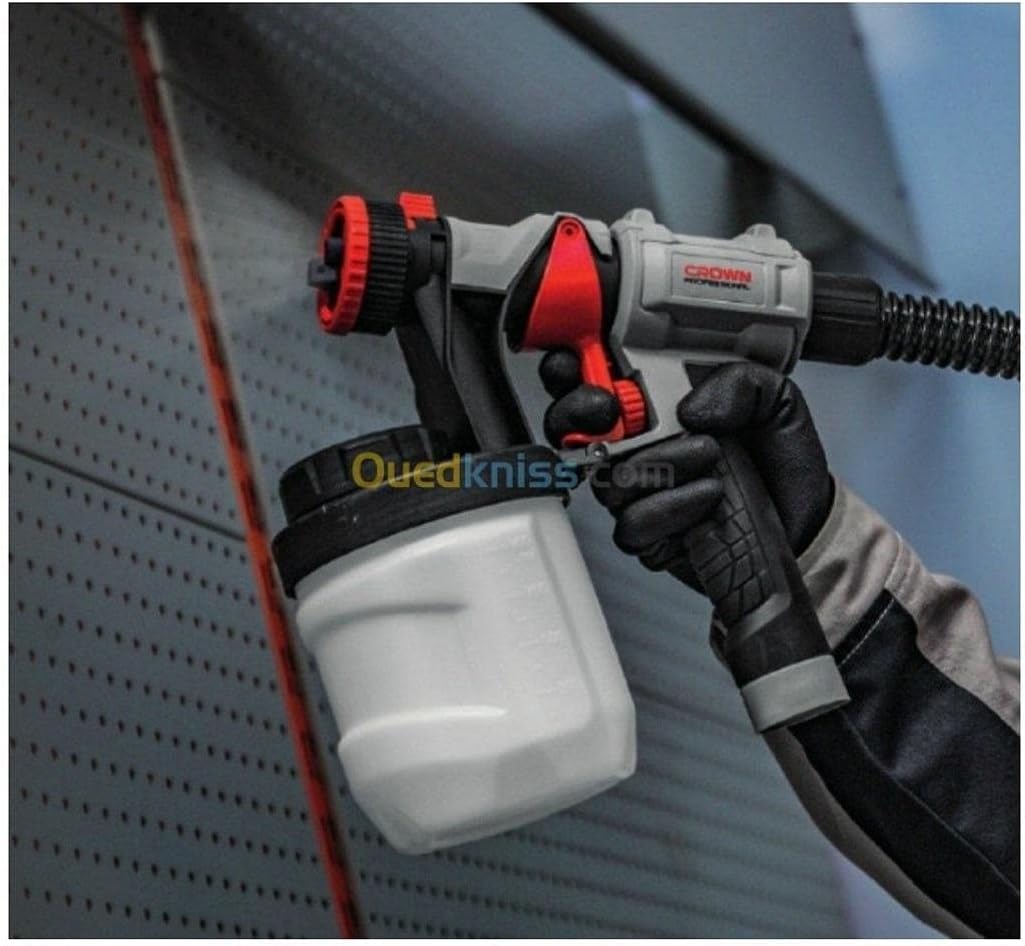
Image 6.1: An individual demonstrating the use of the CROWN CT31015 spray gun for applying paint to a surface.

Immaġni 6.2: Stampa dettaljata view of the CROWN CT31015 spray gun, highlighting the nozzle and trigger mechanism.
7. Manutenzjoni u Tindif
Proper cleaning after each use is crucial for maintaining the performance and longevity of your spray gun.
- Empty Reservoir: Disconnect the power and empty any remaining material from the reservoir. Dispose of paint responsibly according to local regulations.
- Laħlaħ Inizjali: Fill the reservoir with an appropriate cleaning solution (water for latex paints, mineral spirits for oil-based paints). Spray the cleaning solution through the gun until it runs clear.
- Żarma: Carefully disassemble the spray gun components: reservoir, nozzle, air cap, and fluid needle.
- Tindif bir-reqqa: Use the provided cleaning brush and cleaning rod to remove all paint residue from the disassembled parts. Pay close attention to the nozzle and air cap.
- Laħlaħ u Nixxef: Rinse all parts with clean water or appropriate solvent and allow them to dry completely before reassembly.
- Ħażna: Store the clean, dry spray gun and motor unit in a safe, dry place, away from extreme temperatures.
8 Issolvi l-problemi
Irreferi għal din it-taqsima għal soluzzjonijiet għal kwistjonijiet operattivi komuni.
| Problema | Kawża Possibbli | Soluzzjoni |
|---|---|---|
| Ebda Sprej jew Sprej Dgħajjef | Clogged nozzle or air cap Insufficient material in reservoir Air leaks in hose connections Materjal oħxon wisq | Naddaf iż-żennuna u t-tapp tal-arja Imla r-riżervwar Issikka l-konnessjonijiet kollha tal-pajp Dilute material to recommended viscosity |
| Disinn ta' Sprej Irregolari | Żennuna parzjalment imblukkata Incorrect spray gun distance Inconsistent movement | Clean nozzle thoroughly Maintain consistent distance (6-10 inches) Practice smooth, even strokes |
| Mutur Mhux Jibda | Ebda provvista ta 'enerġija Korda/swiċċ tal-enerġija difettuż | Iċċekkja l-iżbokk tad-dawl u l-konnessjonijiet Ikkuntattja persunal tas-servizz kwalifikat |
| Spray Eċċessiv | Spray gun too far from surface Material too thin | Reduce distance to surface Adjust dilution or use a smaller nozzle |
9. Garanzija u Appoġġ
For warranty information, technical support, or to inquire about replacement parts, please contact Crown customer service or refer to the warranty card included with your product. Keep your purchase receipt as proof of purchase for warranty claims.
You may also visit the official Crown website for additional resources and contact details: www.crown-tools.com


