1. Introduzzjoni
This manual provides detailed instructions for the proper installation, operation, and maintenance of your Pyramid Plastics Rear Hugger for the Kawasaki Ninja 250R (2008-2013 models). This product is designed to protect the rear shock absorber, undertray, and other components from road debris, water spray, and dirt, enhancing the longevity and cleanliness of your motorcycle.
Please read this manual thoroughly before beginning installation to ensure correct fitting and to prevent damage to the product or your motorcycle. Keep this manual for future reference.
2. Informazzjoni dwar is-Sigurtà
Dejjem osserva l-prekawzjonijiet ta' sigurtà li ġejjin waqt l-installazzjoni u l-manutenzjoni:
- Ensure the motorcycle is stable and securely supported on a stand before commencing any work.
- Allow the engine and exhaust system to cool down completely before touching any components to avoid burns.
- Ilbes tagħmir protettiv personali xieraq, inklużi ingwanti u protezzjoni għall-għajnejn.
- Use the correct tools for each step to prevent damage to fasteners or components.
- Jekk m'intix ċert dwar xi pass, ikkonsulta mekkanik tal-muturi kwalifikat.
- Do not modify the product or motorcycle components in any way not described in this manual.
- Keep all small parts and tools away from children and pets.
3. Kontenut tal-Pakkett
Before installation, verify that all components are present and undamaged. If any parts are missing or damaged, contact your supplier immediately.
- 1x Pyramid Plastics Rear Hugger (Model 07301B)
- 1x Fitting Kit (includes bolts, washers, spacers, and any necessary brackets)
- 1x Installation Instructions (this manual)
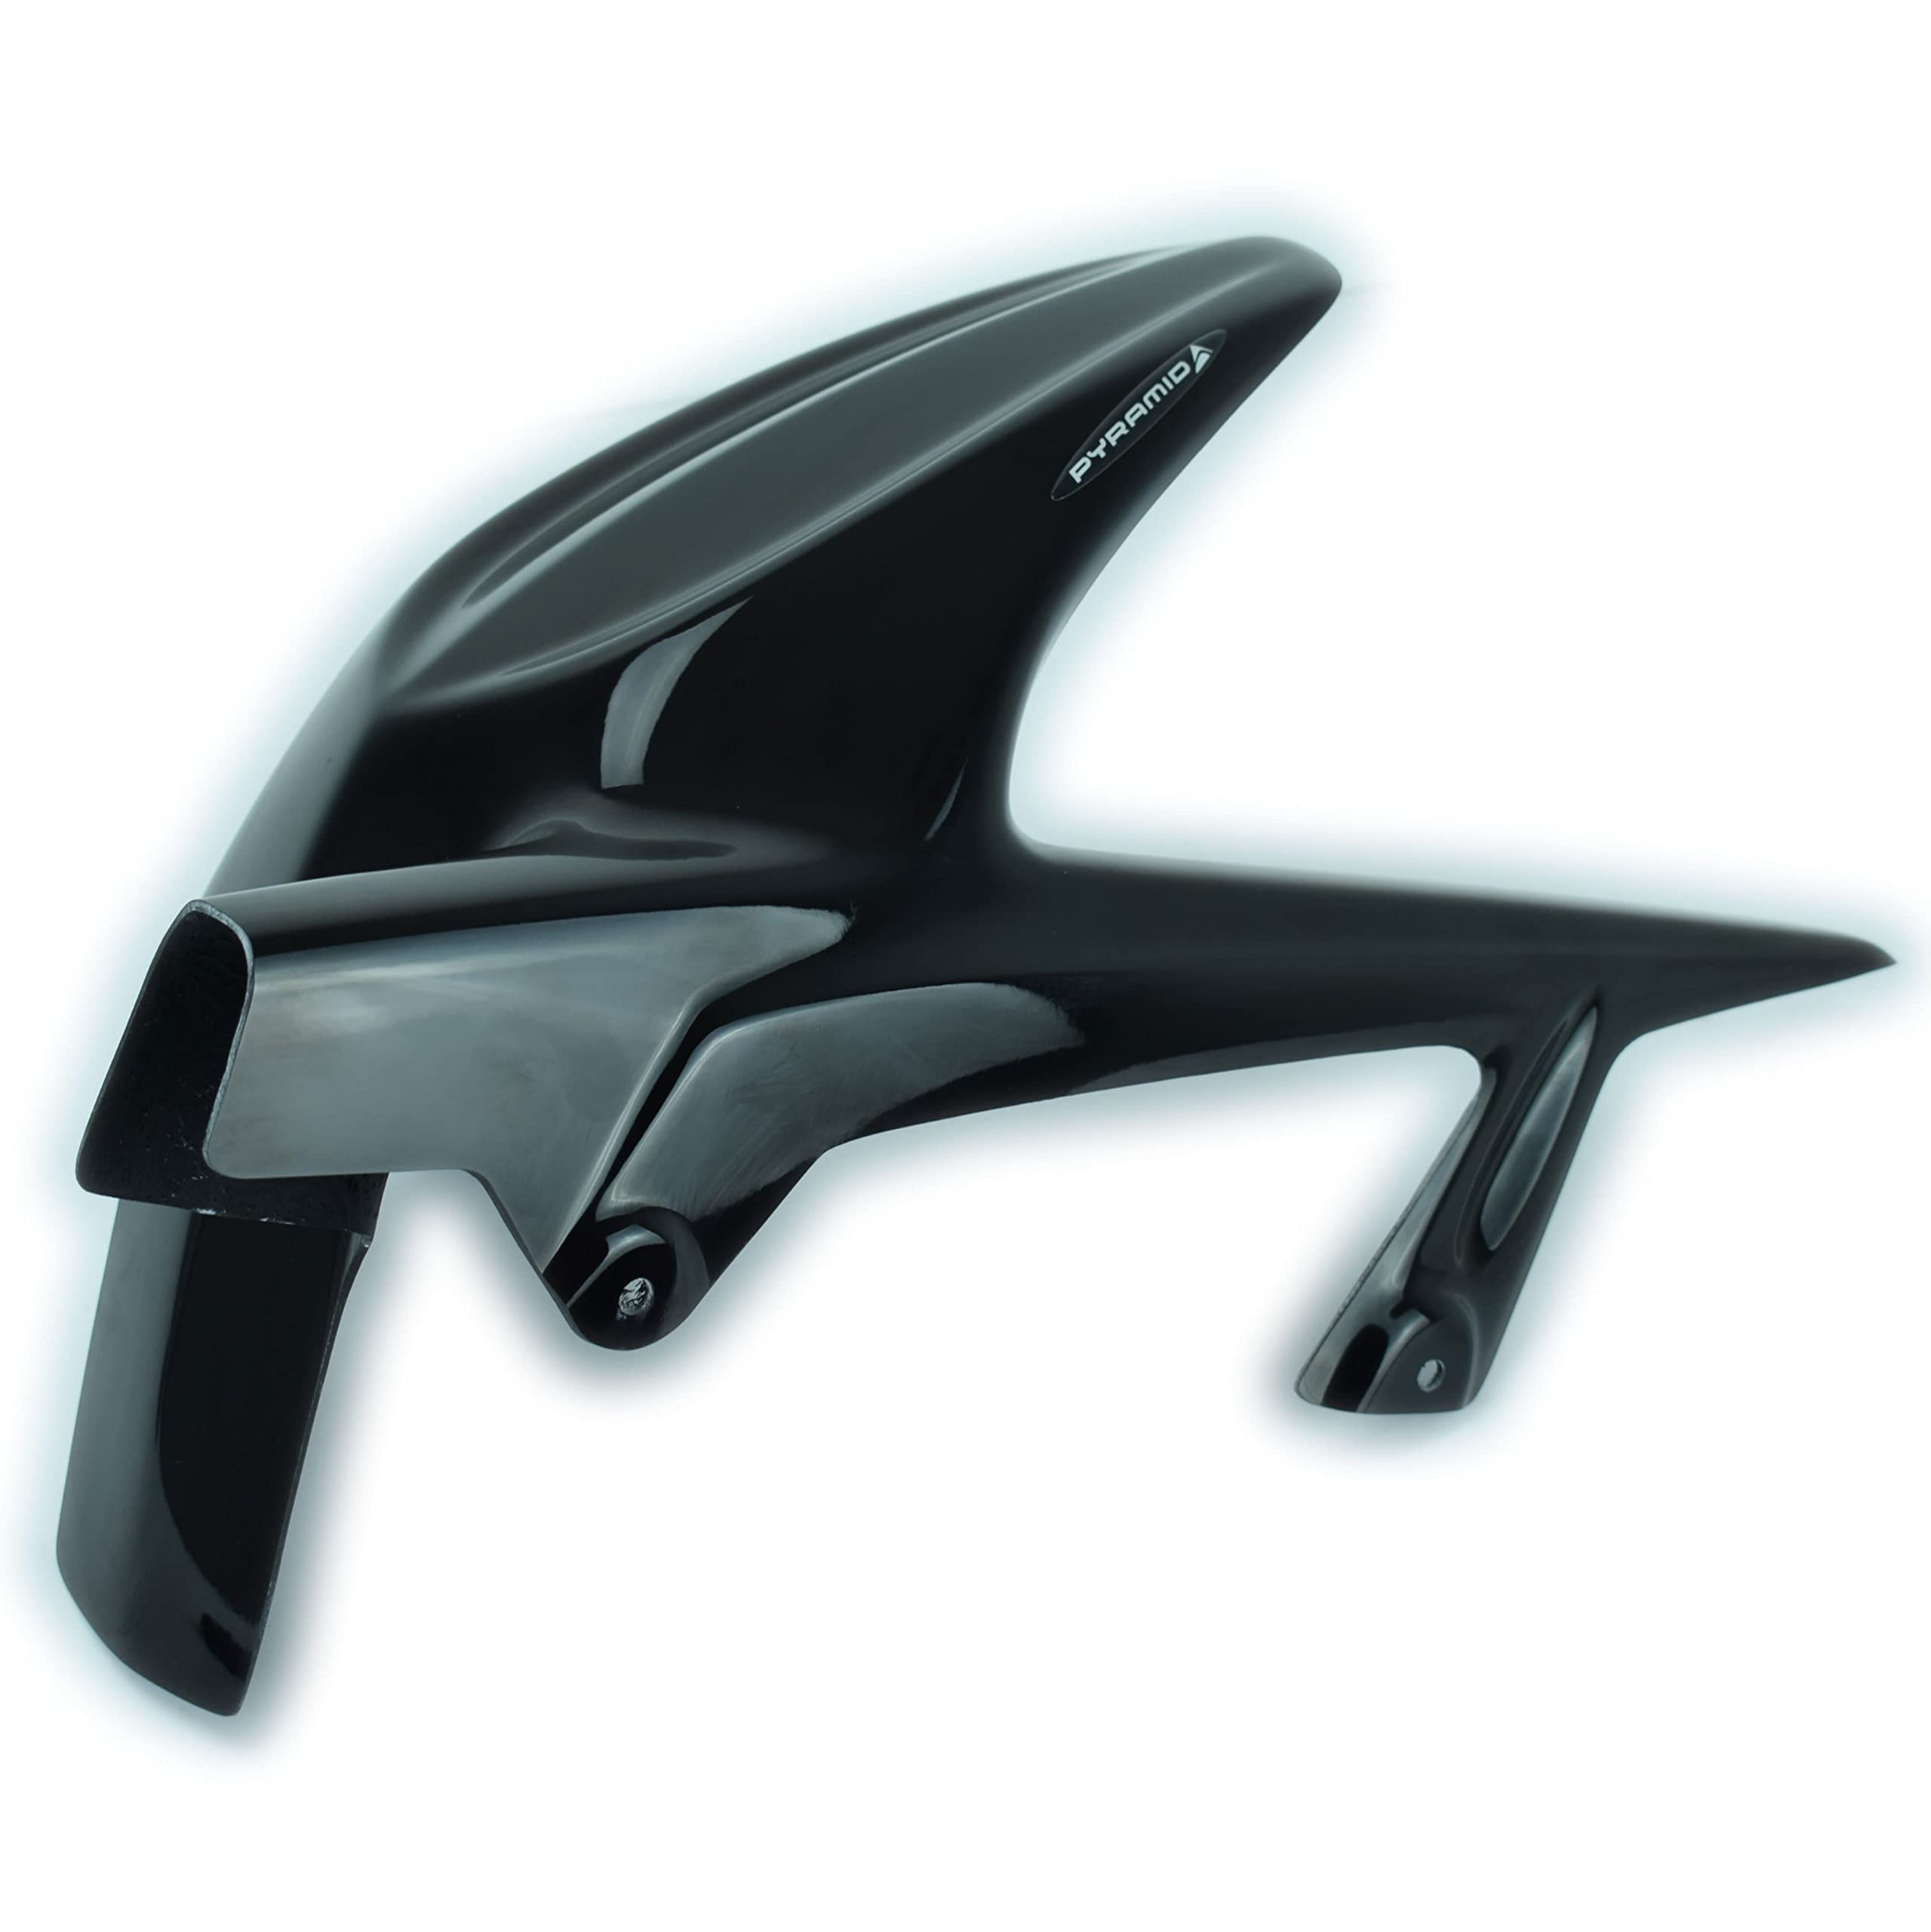
Image 3.1: Main component of the Pyramid Plastics Rear Hugger, Gloss Black finish.
4. Gwida għall-Installazzjoni
This section outlines the steps required to install the Pyramid Plastics Rear Hugger on your Kawasaki Ninja 250R. Ensure you have all necessary tools before starting.
Għodod Meħtieġa:
- Sett ta' Socket Wrench
- Sett ta' Ċwievet Eżagonali (wrenches Allen)
- Torque Wrench (rakkomandat)
- Drapp nadif
- Stand tal-Mutur
Passi ta' Installazzjoni:
- Ipprepara l-Mutur: Place your Kawasaki Ninja 250R on a suitable stand to lift the rear wheel off the ground. Ensure the motorcycle is stable. Allow the exhaust to cool.
- Sib il-Punti tal-Immuntar: Identify the existing mounting points on the swingarm or chain guard area where the hugger will attach. These typically involve existing bolt holes.
- Naddaf iż-Żona: Thoroughly clean the swingarm, chain guard, and surrounding areas to remove any dirt, grease, or debris. This ensures a clean fit and prevents contamination.
- Position the Hugger: Carefully position the Pyramid Plastics hugger against the swingarm, aligning its mounting holes with the motorcycle's attachment points.
- Installa Qafliet: Using the provided fitting kit, insert the bolts with appropriate washers and spacers through the hugger's mounting holes and into the motorcycle's attachment points. Do not fully tighten yet.
- Aġġusta u Allinja: Gently adjust the hugger to ensure it is centered and has adequate clearance from the tire, chain, and any moving parts. Ensure there is no contact with the tire at full suspension compression.
- Issikka l-Qfieli: Once properly aligned, progressively tighten all fasteners. Refer to your motorcycle's service manual for specific torque specifications for the mounting points, if available. Do not overtighten.
- Kontroll Finali: After tightening, visually inspect the hugger for secure attachment, proper alignment, and sufficient clearance. Rotate the rear wheel manually to confirm no rubbing or interference.
Immaġni 4.1: Eż.ample of a rear hugger properly installed, showing clearance around the tire and chain.
5. Manutenzjoni
Regular maintenance of your Pyramid Plastics Rear Hugger will ensure its longevity and continued performance.
- Tindif: Clean the hugger regularly with mild soap and water, using a soft cloth. Avoid abrasive cleaners or harsh chemicals that could damage the finish.
- Spezzjoni: Periodically check all mounting bolts for tightness. Vibrations from riding can sometimes loosen fasteners. Inspect the hugger for any signs of cracks, damage, or excessive wear.
- Verifika tal-Awtorizzazzjoni: Ensure the hugger maintains adequate clearance from the tire and chain, especially after long rides or if the suspension has been adjusted.
- Ħsara: If the hugger sustains significant damage, consider replacing it to maintain optimal protection and aesthetic appeal.
6 Issolvi l-problemi
Hawn huma xi kwistjonijiet komuni u s-soluzzjonijiet potenzjali tagħhom:
| Problema | Kawża Possibbli | Soluzzjoni |
|---|---|---|
| Hugger is loose or rattling. | Il-boltijiet tal-immuntar mhumiex issikkati biżżejjed. | Check and tighten all mounting bolts securely. Do not overtighten. |
| Hugger rubs against the tire or chain. | Incorrect alignment during installation; incorrect spacers used. | Loosen mounting bolts, re-align the hugger, and ensure proper clearance. Verify correct spacer usage as per fitting kit instructions. |
| Excessive vibration from the hugger. | Loose mounting; improper fitment. | Ensure all bolts are tight. Re-check installation steps. If vibration persists, consult a professional. |
7. Speċifikazzjonijiet
- Isem tal-Prodott: Pyramid Plastics Rear Hugger
- Numru tal-Mudell: 07301B
- Kompatibilità: Kawasaki Ninja 250R (Years: 2008-2013)
- Materjal: Plastik ABS ta' kwalità għolja
- Temm: Iswed Gloss
- Piż tal-oġġett: Madwar 2.5 kg (skont id-dejta tal-prodott)
- Manifattur: Plastics Piramida
8. Garanzija u Appoġġ
Pyramid Plastics products are manufactured to high standards. For specific warranty information, please refer to the warranty card included with your purchase or visit the official Pyramid Plastics website. In case of any issues or for technical support, please contact your retailer or Pyramid Plastics customer service directly.
Informazzjoni ta' Kuntatt:
- Websit: www.pyramidplastics.co.uk (eżampil-link, il-link attwali jista' jvarja)
- Email: support@pyramidplastics.co.uk (example email)


