1. Introduzzjoni
Thank you for choosing the UOKIER Wireless Security Camera. This manual provides essential information for setting up, operating, and maintaining your camera to ensure optimal performance. This camera is designed for both indoor and outdoor use, offering 1080P HD video, night vision, two-way audio, and motion detection for enhanced security.
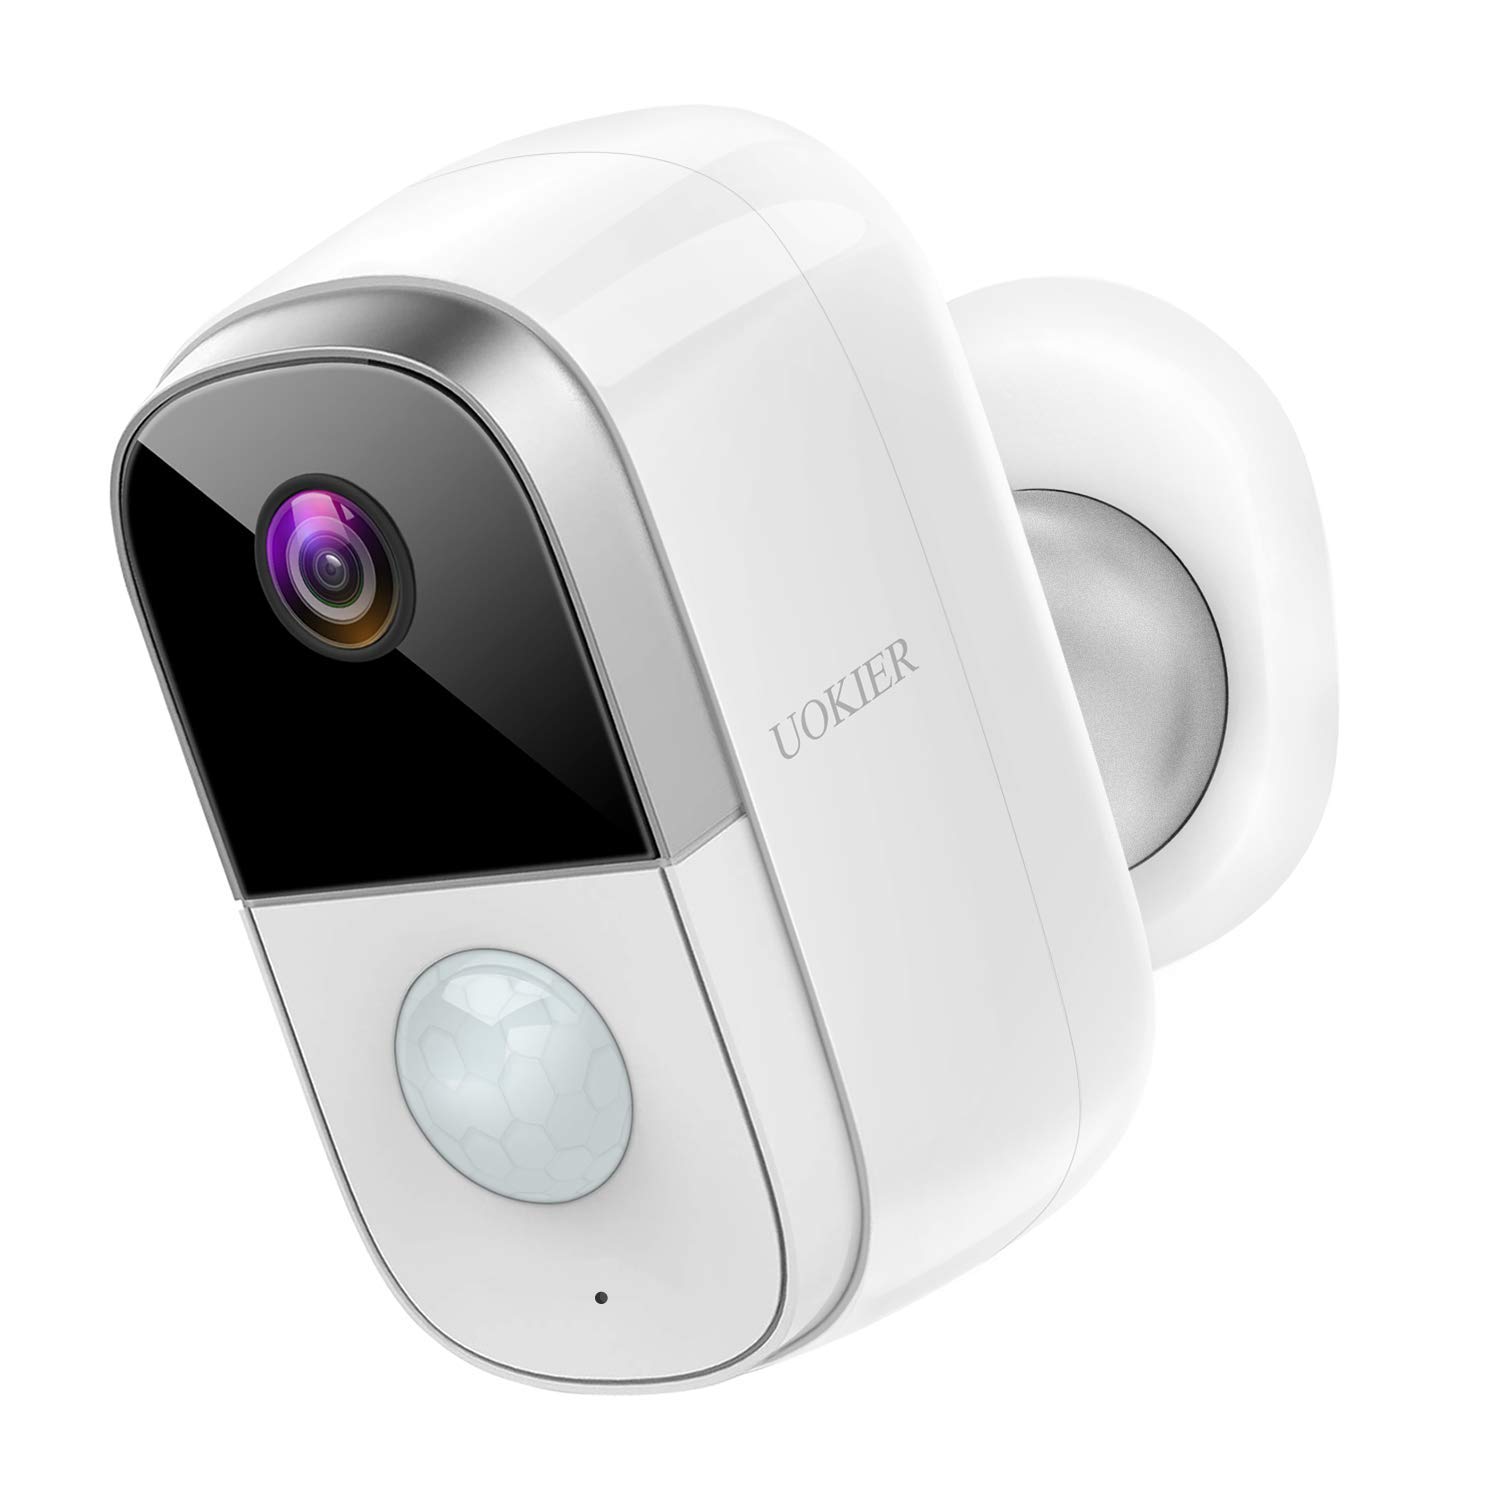
Figure 1: UOKIER Wireless Security Camera
2. X'hemm fil-Kaxxa
Upon unboxing your UOKIER Wireless Security Camera, please verify that all the following components are included:
- UOKIER Wireless Security Camera Unit
- Quick Guide (Instruction Manual)
- Cable tal-Iċċarġjar tal-USB
- Muntaġġ tal-Ħajt manjetiku
- Adjustable Wall Mount (threaded)
- Viti tal-Immuntar u Ankri tal-Ħajt
- Pads li jwaħħlu 3M
- Tweezers (for Micro SD card insertion/removal)
Video 1: UOKIER 6400 mAh Security Camera - Unboxing and Components Overview
3. Karatteristiċi tal-prodott
- Vidjo 1080P Full HD: Captures crisp and clear images with no distortion.
- Viżjoni Lejl IR: Jipprovdi ċara view on your phone even in dark conditions.
- Smart PIR Motion Detection: Upgraded program sends notifications upon human movement detection.
- Convenient 2-Way Audio: Directly talk to family or visitors via the camera through the app.
- Prestazzjoni affidabbli tal-batterija: Rechargeable battery lasts up to 2-6 months depending on usage. (6400 mAh capacity)
- 100% Wireless & Cordless: Easy to install without worrying about wires.
- Li ma jgħaddix temp (IP65): Certified waterproof and dustproof, suitable for outdoor installation.
- Użu versatili: Can also be used as a baby monitor.
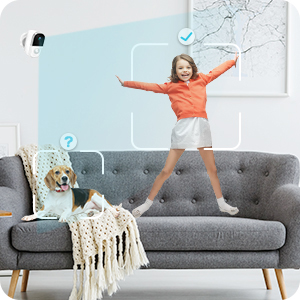
Image 1: Comparison of 720P vs 1080P Full HD video quality.

Image 2: Day and Night vision comparison, highlighting IR Night Vision.
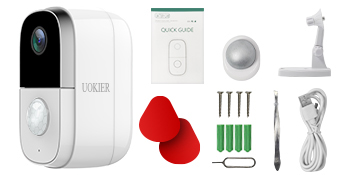
Image 3: Illustration of PIR motion detection distinguishing human movement.
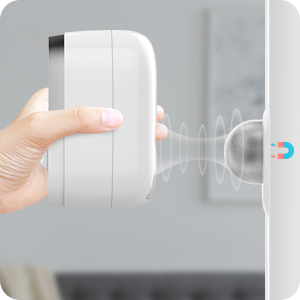
Image 4: User communicating through the camera's two-way audio feature.
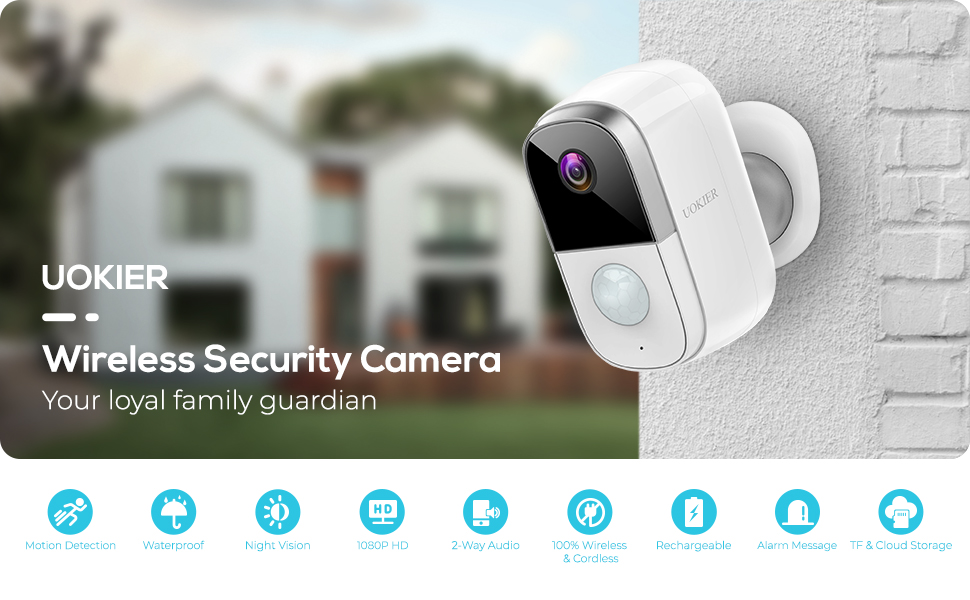
Image 5: Visual representation of the camera's long-lasting rechargeable battery.
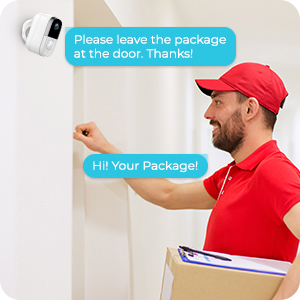
Image 6: Demonstrating the easy, wire-free installation of the camera.
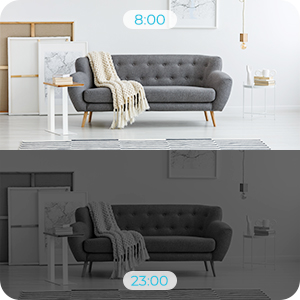
Image 7: Camera shown in rainy conditions, highlighting its weatherproof design.
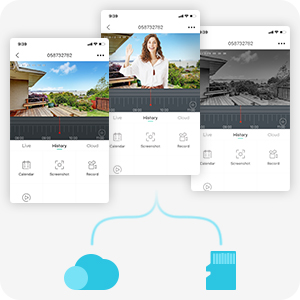
Image 8: Camera positioned in a nursery, demonstrating its use as a baby monitor.
Video 2: UOKIER Wireless Security Camera Outdoor Indoor - Detailed Features Overview
4. Setup
4.1 Iċċarġjar inizjali
Before first use, fully charge the camera using the provided USB charging cable. The charging port is located under a protective grommet on the back of the camera. A red indicator light typically signifies charging, turning blue when fully charged.
4.2 Inserting Micro SD Card
Locate the Micro SD card slot, also under the protective grommet. Gently insert a Micro SD card (up to 128GB, not included) into the slot until it clicks into place. Use the provided tweezers if necessary for easier insertion or removal.
4.3 Tniżżil tal-App u Ħolqien ta' Kont
Download the "CloudEdge" app from your device's app store (available for iOS and Android). Create an account and log in.
4.4 Żieda tal-Apparat
- In the CloudEdge app, tap the "+" icon to add a new device.
- Select "Battery Camera" from the list of device types.
- Follow the on-screen instructions to power on the camera and reset it (hold the reset button for 4-5 seconds until a tone is heard).
- Connect your mobile device to a 2.4GHz Wi-Fi network. (Note: 5GHz Wi-Fi networks are not supported).
- The app will display a QR code. Position your camera's lens 5-8 inches away from your phone screen to scan the QR code. A tone will be heard from the camera upon successful scanning.
- The camera will then connect to your Wi-Fi network. Once connected, you can name your device and begin live viewing.
4.5 Għażliet ta 'Immuntar
The camera offers flexible mounting options:
- Muntaġġ manjetiku: Attach the magnetic base to a clean, flat surface using the provided 3M adhesive pads or screws. The camera can then be easily attached magnetically and adjusted.
- Adjustable Wall Mount: Use the threaded adjustable mount for a more secure installation. Screw the mount into the desired location using the provided screws and wall anchors. Then, screw the camera onto the threaded connector of the mount. This allows for precise angle adjustment.
5. Istruzzjonijiet Operattivi
5.1 Ħaj View
From the "Devices" screen in the CloudEdge app, tap on your camera to access the live view. You can switch between HD and SD quality, listen to audio, and take screenshots or manual recordings.
5.2 Sejbien tal-Moviment
Configure motion detection settings in the app:
- Adjust sensitivity (Low/High).
- Enable "Alarm only when people appear" for human-specific detection.
- Set day/night detection preferences.
- Create an alarm plan to define specific time periods for active detection.
5.3 Awdjo b'żewġ direzzjonijiet
Waqt li tkun ħaj view, tap the "Intercom" button to activate two-way audio. Hold the button to speak, and release to listen.
5.4 Reġistrazzjoni u Daqq
- Reġistrazzjoni ta' Avvenimenti: The camera automatically records clips when motion is detected. You can set the recording time (20, 40 seconds, or 1 minute) in the SD Card settings.
- Reġistrazzjoni manwali: Tap the "Record" button in live view to manually start and stop recording.
- Storja: Access recorded events via the "History" tab in the app. Use the timeline to navigate through recorded clips.
- Ħażna Cloud: The camera supports optional cloud storage services. A free 7-day trial may be available. Check the "Cloud" tab for details.
5.5 Notifications and Device Sharing
- Notifiki: Enable or disable push notifications for motion alerts in the app settings.
- Kondiviżjoni tal-Apparat: Share access to your camera with family members or trusted individuals through the "Device Share" option in settings.
6. Manutenzjoni
- Iċċarġjar tal-batterija: Recharge the camera battery when the app indicates low power. Use the provided USB cable and a standard 5V USB power adapter.
- Tindif tal-Lenti: Naddaf il-lenti tal-kamera regolarment b'ċarruta ratba u niexfa biex tiżgura kwalità ta' immaġni ċara.
- Ġestjoni tal-Karta SD: Perjodikament mill-ġdidview and format the Micro SD card through the app settings to maintain optimal recording performance and free up space.
7 Issolvi l-problemi
- Il-kamera mhux qed tikkonnettja mal-Wi-Fi:
- Kun żgur li n-netwerk Wi-Fi tiegħek huwa 2.4GHz. Netwerks ta' 5GHz mhumiex appoġġjati.
- Iċċekkja li l-password tal-Wi-Fi hija korretta.
- Make sure the camera is within range of your Wi-Fi router. Consider using a Wi-Fi extender if the distance is significant.
- Reset the camera by holding the reset button for 4-5 seconds and try the setup process again.
- Kwalità ħażina tal-vidjo jew dewmien:
- Check your Wi-Fi signal strength in the app. A weak signal can cause lag.
- Kun żgur li l-konnessjoni tal-internet tiegħek hija stabbli u għandha bandwidth suffiċjenti.
- Clean the camera lens for any obstructions or smudges.
- Batterija tisbat malajr:
- High motion detection sensitivity and frequent recordings will consume more battery. Adjust settings to lower sensitivity or reduce recording duration.
- Kun żgur li l-kamera hija ċċarġjata kompletament.
- Consider a solar panel charger (sold separately) for continuous power in outdoor installations.
- App not responding or device not found:
- Close and restart the CloudEdge app.
- Iċċekkja l-konnessjoni tal-internet tat-telefon tiegħek.
- If the issue persists, try resetting the camera and re-adding it to the app.
8. Speċifikazzjonijiet
| Karatteristika | Speċifikazzjoni |
|---|---|
| Numru tal-Mudell | B083338HMR |
| Riżoluzzjoni tal-Qbid tal-Vidjo | Full HD ta '1080p |
| Teknoloġija tal-Konnettività | Mingħajr fili (Wi-Fi 2.4GHz) |
| Sors tal-Enerġija | Batterija Rikargabbli (6400 mAh) |
| Karatteristiċi Speċjali | Sensor tal-Mozzjoni, Viżjoni bil-Lejl, Awdjo b'2 Direzzjonijiet |
| Użu fuq ġewwa/barra | Ġewwa, Barra |
| Klassifikazzjoni tal-Protezzjoni Internazzjonali | IP65 |
| Qasam Ta ' View | 130 Grad |
| Għażliet ta' Ħażna | Karta Mikro SD (sa 128GB), Ħażna fis-Sħab |
| Dimensjonijiet tal-oġġett L x W x H | 2.44 x 2.13 x 3.94 pulzieri |
| Piż tal-oġġett | 13.5 uqija (384 Grammi) |
9. Garanzija u Appoġġ
For warranty information or technical support, please refer to the contact details provided in the Quick Guide included with your product or visit the official UOKIER websit. Żomm l-irċevuta tax-xiri tiegħek għal pretensjonijiet ta' garanzija.