1. Introduzzjoni
This manual provides detailed instructions for the installation, operation, and maintenance of the HiLook THC-B150P 5MP 4-in-1 CCTV Bullet Camera. This camera is designed for both indoor and outdoor surveillance, offering high-resolution video and versatile compatibility. Please read this manual thoroughly before using the product to ensure proper setup and functionality.
2. Informazzjoni dwar is-Sigurtà
- Provvista tal-Enerġija: Use only a regulated 12 VDC power supply. Ensure the power source meets the camera's requirements to prevent damage.
- Installazzjoni: Installation should be performed by qualified personnel in accordance with all local codes. Securely mount the camera to prevent it from falling.
- Ambjent: Avoid exposing the camera to extreme temperatures, humidity, or corrosive environments. While rated IP66 for weather resistance, direct submersion is not recommended.
- Tindif: Do not use strong detergents or abrasive materials to clean the camera. Use a soft, dry cloth.
- Żarmar: Do not attempt to disassemble the camera. Unauthorized modifications will void the warranty.
3. Kontenut tal-Pakkett
Jekk jogħġbok iċċekkja l-kontenut tal-pakkett malli tirċevih. Jekk xi oġġetti huma nieqsa jew bil-ħsara, ikkuntattja lill-fornitur tiegħek immedjatament.
- HiLook THC-B150P 5MP 4-in-1 CCTV Bullet Camera
- Viti tal-Immuntar u Plugs tal-Ħajt
- Quick Start Guide / User Manual (this document)
- Drill Template (may be included)
4. Prodott Aktarview
The HiLook THC-B150P is a high-performance bullet camera featuring a 5MP CMOS sensor and a 2.8mm fixed lens. It supports multiple video output formats (TVI/AHD/CVI/CVBS) for broad compatibility with various DVR systems. The camera includes EXIR 2.0 technology for enhanced night vision up to 20 meters and is rated IP66 for outdoor use.
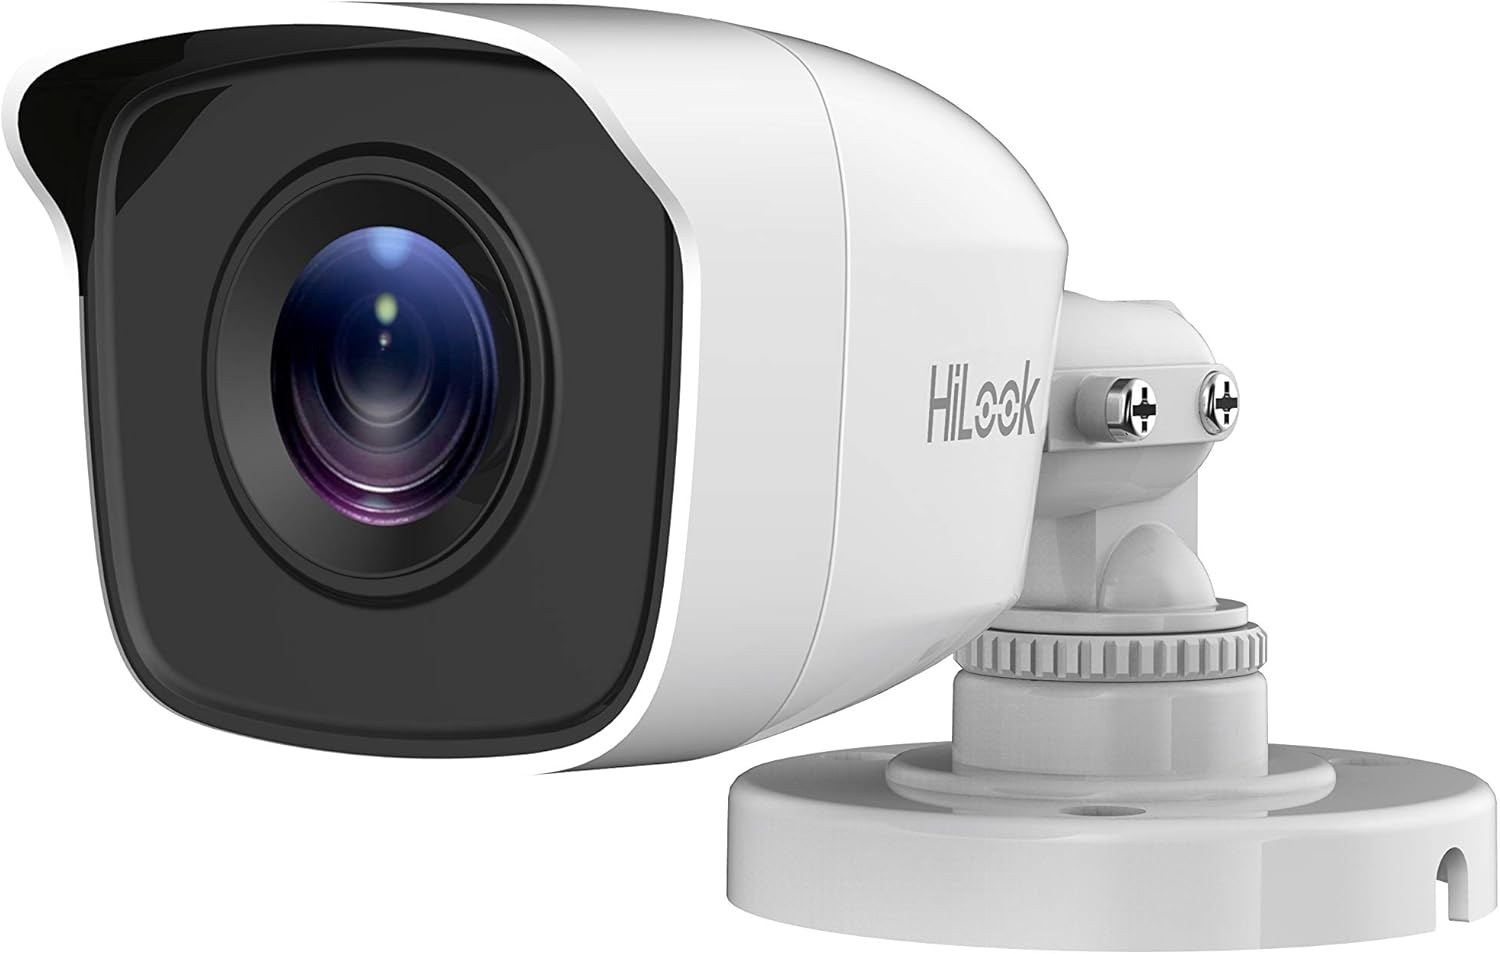
Figura 4.1: Quddiem view of the HiLook THC-B150P 5MP Bullet Camera, showing the lens and housing.

Figura 4.2: HiLook THC-B150P camera highlighting key features such as 4-in-1 video output, 5MP resolution, IP66 weather resistance, Smart IR, and Day/Night switch.
5. Setup u Installazzjoni
5.1 Post tal-Immuntar
Choose a suitable location for mounting the camera, considering the desired field of view, lighting conditions, and proximity to power and video cables. The camera is designed for wall mounting and can be used both indoors and outdoors due to its IP66 rating.
5.2 Passi ta' Installazzjoni
- Ipprepara l-Wiċċ tal-Immuntar: Use the provided drill template (if available) to mark the screw holes on the wall or ceiling.
- Drill toqob: Drill pilot holes for the mounting screws. Insert wall plugs if mounting on masonry.
- Sikura l-Kamera: Attach the camera base to the mounting surface using the provided screws. Ensure it is firmly secured.
- Aġġusta Angolu: Loosen the adjustment screws on the camera bracket to position the camera for the desired viewing angle. Tighten the screws once the angle is set.

Figura 5.1: Ġenb view of the HiLook THC-B150P camera, illustrating the adjustable bracket for precise positioning.
5.3 Konnessjonijiet tal-Wiring
- Konnessjoni tal-Enerġija: Connect a 12 VDC power adapter to the camera's power input.
- Output tal-vidjo: Connect the camera's video output cable to the corresponding input on your Digital Video Recorder (DVR) or other compatible video input device. The camera supports TVI, AHD, CVI, and CVBS video formats.
6. Istruzzjonijiet Operattivi
6.1 Tixgħel
Once all connections are made, apply power to the camera. The camera will initiate and begin transmitting video. Allow a few moments for the image to stabilize.
6.2 Video Output Mode Switching
The THC-B150P supports four video output formats: TVI, AHD, CVI, and CVBS. The default mode is typically TVI. To switch between modes, use the OSD menu (refer to Section 7) or a compatible UTC (Up The Coax) controller if your DVR supports it. Incorrect mode selection may result in no video or a distorted image.
6.3 Smart IR Functionality
The camera features Smart IR, which automatically adjusts the intensity of the infrared LEDs to prevent overexposure of objects closer to the camera, ensuring a balanced image in low-light conditions.
7. Configuration (OSD Menu)
The On-Screen Display (OSD) menu allows you to configure various camera settings. Access the OSD menu via your DVR's UTC control function (Up The Coax). Navigate the menu using the DVR's controls.
7.1 Key OSD Menu Options
- FORMAT TAL-VIDEO: Select the desired video output format (TVI, AHD, CVI, CVBS).
- ESPOŻIZZJONI: Adjust settings like Shutter, AGC (Automatic Gain Control), and Brightness.
- BILANĊ TAL-ABJAD: Configure color temperature settings (e.g., Auto, Manual).
- JUM/LEJL: Set the camera's mode for day, night, or auto-switching.
- DNR (Tnaqqis tal-Ħoss Diġitali): Reduce image noise in low-light conditions.
- IMAGE SETTINGS: Fine-tune sharpness, contrast, and saturation.
- RESET: Restore camera settings to factory defaults.
8. Manutenzjoni
8.1 Tindif
Regularly clean the camera lens and housing to ensure optimal image quality. Use a soft, lint-free cloth. For stubborn dirt, a slightly damp cloth with plain water can be used. Avoid chemical cleaners.
8.2 Konsiderazzjonijiet Ambjentali
Although the camera is IP66 rated, protecting it from direct, prolonged exposure to harsh weather conditions (e.g., heavy snow, direct hail) can extend its lifespan. Ensure proper drainage around the mounting area.
9 Issolvi l-problemi
| Problema | Kawża Possibbli | Soluzzjoni |
|---|---|---|
| Ebda output tal-vidjo | Incorrect video format selected; Power issue; Loose cable connection | Check OSD menu for correct video format (TVI/AHD/CVI/CVBS); Verify power supply; Ensure all cables are securely connected. |
| Poor image quality / blurry image | Dirty lens; Incorrect focus (if adjustable); Poor lighting; Interference | Clean the lens; Adjust OSD image settings; Ensure adequate lighting; Check cable quality and routing. |
| IR not working at night | Day/Night mode set incorrectly; IR LEDs faulty | Check Day/Night setting in OSD menu (set to Auto or Night); Contact support if IR LEDs are visibly not functioning. |
| Camera not responding to UTC control | DVR not compatible with UTC; Incorrect connection | Ensure your DVR supports UTC control for the selected video format; Verify video cable connection. |
10. Speċifikazzjonijiet
| Karatteristika | Speċifikazzjoni |
|---|---|
| Isem tal-Mudell | THC-B150P |
| Sensor tal-Immaġni | Senser CMOS 5MP |
| Riżoluzzjoni tal-Qbid tal-Vidjo | 5 MP (2560 × 1944) |
| Lenti | Lenti Fissa 2.8mm |
| Firxa IR | Up to 20m (EXIR 2.0) |
| Illuminazzjoni Minima | 0.01 Lux/F1.2 |
| Output tal-vidjo | TVI/AHD/CVI/CVBS (4-in-1) |
| Menu OSD | Supported (Up the Coax) |
| Reżistenza għat-temp | IP66 |
| Provvista tal-Enerġija | 12 VDC |
| Konsum tal-Enerġija | Max. 4 watt |
| Materjal | Plastik |
| Dimensjonijiet | 16 x 6 x 5 ċm |
| Piż | 150 g |
| Tip ta 'Immuntar | Mount Wall |
| Temperatura operattiva | Not specified (refer to product packaging for details) |
11. Garanzija u Appoġġ
For warranty information, please refer to the warranty card included with your product or visit the official HiLook website. Technical support may be available through your local distributor or the HiLook support channels. Keep your purchase receipt for warranty claims.


