Introduzzjoni
Thank you for choosing the GameMax H605 Micro ATX Gaming Tower Case. This manual provides essential information for the proper installation, operation, and maintenance of your new PC case. Please read this manual thoroughly before beginning assembly to ensure optimal performance and safety.
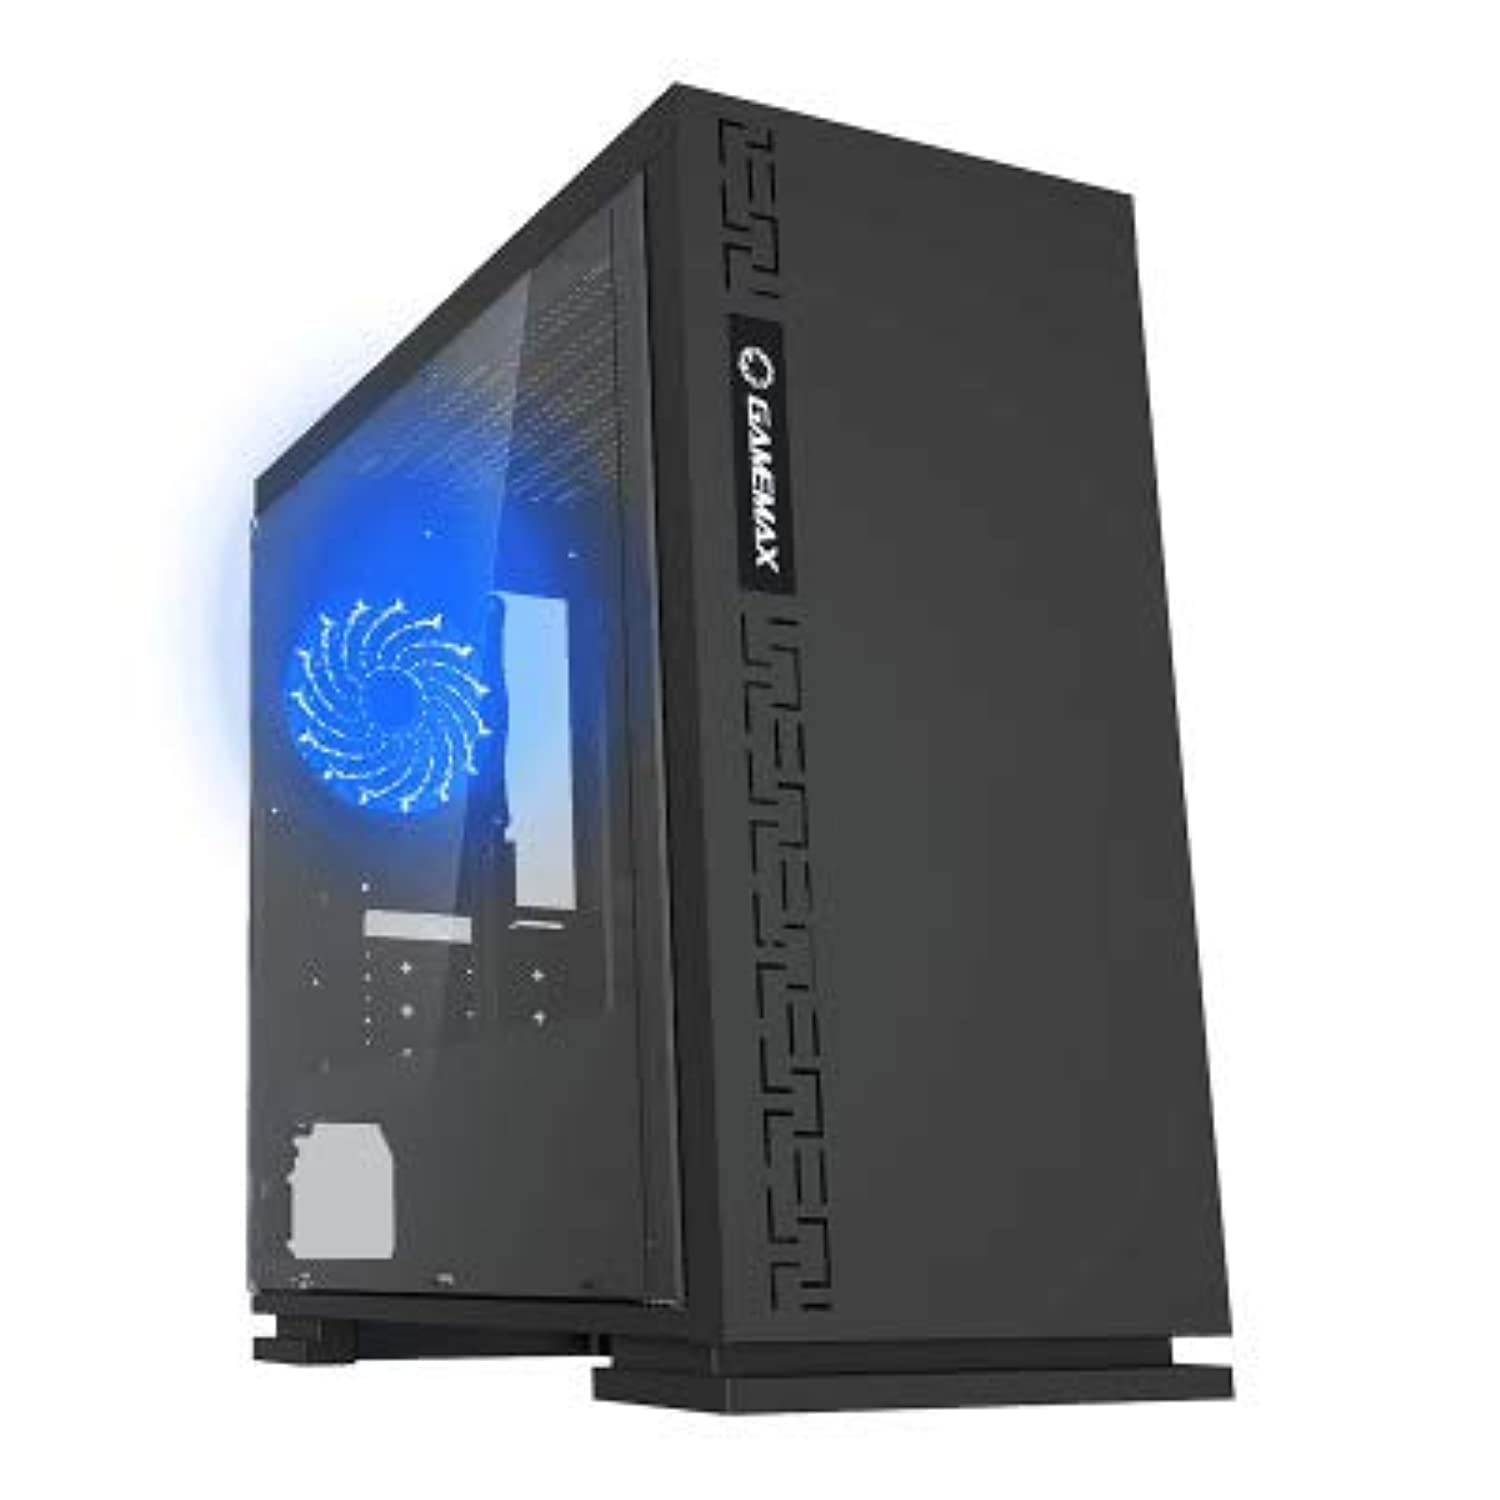
Figura 1: Quddiem view of the GameMax H605 Micro ATX Gaming Tower Case, showcasing its sleek design and front panel.
The GameMax H605 is designed for Micro ATX motherboards and features a compact yet efficient layout for gaming components. It includes one pre-installed LED fan at the rear for immediate cooling. The case is constructed from steel and plastic, offering a balance of durability and aesthetics.
Informazzjoni dwar is-Sigurtà
Jekk jogħġbok osserva l-linji gwida tas-sigurtà li ġejjin waqt l-installazzjoni u t-tħaddim:
- Dejjem skonnettja l-provvista tal-enerġija mis-sokit tal-ħajt qabel ma tinstalla jew tneħħi xi komponenti.
- Ilbes ċinga tal-polz anti-statika biex tevita ħsara minn skarika elettrostatika (ESD) lil komponenti sensittivi.
- Handle components carefully to avoid physical damage.
- Żomm il-kaxxa 'l bogħod minn likwidi u umdità eċċessiva.
- Kun żgur li jkun hemm ventilazzjoni xierqa madwar il-kaxxa biex tevita li tissaħħan iżżejjed.
Kontenut tal-Pakkett
Verify that all the following items are present in your GameMax H605 package:
- GameMax H605 Micro ATX Gaming Tower Case
- Kaxxa tal-aċċessorji (viti, standoffs, rabtiet tal-kejbil)
- Manwal għall-Utent (dan id-dokument)
If any items are missing or damaged, please contact your retailer or GameMax support.
Setup
1. Tħejjija tal-Każ
- Poġġi l-kaxxa fuq wiċċ ċatt u stabbli.
- Neħħi l-pannelli tal-ġenb billi tneħħi l-viti bil-ponta fuq wara tal-kaxxa u tiżżerżaq il-pannelli lura.

Figura 2: Intern view of the GameMax H605 case with the side panel removed, showing the motherboard tray and drive bays.
2. Installazzjoni tal-Motherboard
- Installa l-ilqugħ tal-I/O fil-ftuħ ta' wara tal-kaxxa.
- Align your Micro ATX motherboard with the standoffs inside the case. Ensure the standoffs match the screw holes on your motherboard.
- Waħħal il-motherboard bil-viti pprovduti.
3. Installazzjoni tad-Drajv tal-Ħażna
- For 3.5-inch HDDs, slide the drive into the designated drive cage bays and secure with screws if necessary.
- For 2.5-inch SSDs, mount them onto the dedicated SSD brackets or trays and secure with screws.
4. Installazzjoni ta 'Provvista ta' Enerġija
- Position the power supply unit (PSU) in the bottom rear compartment of the case.
- Secure the PSU to the case using the screws provided with your power supply.
5. Installazzjoni tal-Karta tal-Grafika u l-Karta tal-Espansjoni
- Neħħi l-għata tas-slott ta' espansjoni meħtieġa minn wara tal-kaxxa.
- Daħħal il-karta grafika tiegħek jew karti ta' espansjoni oħra fis-slots PCIe xierqa fuq il-motherboard tiegħek.
- Waħħal il-karti bil-viti.

Figura 3: Wara view of the GameMax H605 case, showing expansion slots and I/O shield opening.
6. Ġestjoni tal-Kejbil
Uża l-qtugħ tar-rotta tal-kejbils u l-punti ta' rbit wara t-trej tal-motherboard biex timmaniġġja l-kejbils. Dan itejjeb il-fluss tal-arja u l-estetika.
Operazzjoni
Once all components are installed and connected, replace the side panels and connect your peripherals (monitor, keyboard, mouse) to the motherboard's I/O ports. Connect the power cable to the PSU and a wall outlet. Press the power button on the front panel to start your system.

Figura 4: Minn fuq 'il quddiem view of the GameMax H605 case, highlighting the front panel I/O ports and power button.
Manutenzjoni
Regular maintenance helps ensure the longevity and optimal performance of your PC case and components:
- Tindif tat-Trab: Periodically clean dust from the case interior, fans, and filters using compressed air or a soft brush. Ensure the system is powered off and unplugged before cleaning.
- Verifika tal-Ġestjoni tal-Kejbils: Occasionally check cable routing to ensure no cables are obstructing airflow or fan operation.
- Spezzjoni tal-fann: Verify that all fans are spinning freely and are free from obstructions.
Issolvi l-problemi
Jekk tiltaqa' ma' problemi bil-bini tal-PC tiegħek, ikkunsidra l-passi komuni li ġejjin għas-soluzzjoni tal-problemi:
- Ebda Qawwa: Ensure all power cables (24-pin ATX, 8-pin CPU, GPU power) are securely connected. Check if the PSU switch is in the 'ON' position.
- Ebda Display: Verify that the monitor cable is connected to the graphics card (not the motherboard I/O) and that the monitor is powered on and set to the correct input.
- Is-sħana żejda: Check fan connections and ensure they are spinning. Clean any dust buildup. Verify proper airflow within the case.
- Konnessjonijiet sfużi: Re-seat RAM modules, graphics card, and all power/data cables to ensure they are firmly in place.
Speċifikazzjonijiet
| Karatteristika | Dettall |
|---|---|
| Brand | GameMax |
| Numru tal-Mudell tal-Oġġett | H605 BLK |
| Manifattur | GameMax |
| Serje | H605 BLK |
| Kulur | Iswed |
| Pjattaforma tal-Ħardwer | Windows 7 |
| Batteriji Inklużi | Nru |
| Piż tal-oġġett | 7.53 gramma |
| Kompatibbiltà tal-motherboard | Mikro ATX |
| Tip ta' Każ | Torri tan-Nofs |
| Użi Rakkomandati Għall-Prodott | Logħob |
| Materjal | Solid Plastic Alloy |
| Metodu tat-tkessiħ | Water (Implies compatibility for water cooling solutions) |
| Isem tal-Mudell | H605 BLK |
| Daqs tal-fann | 120 millimetru |
| Portijiet USB totali | 1 |
| Data L-Ewwel Disponibbli | 9 ta’ Lulju, 2019 |
Garanzija u Appoġġ
GameMax products are designed for reliability and performance. For warranty information, please refer to the warranty card included with your purchase or visit the official GameMax website. If you require technical assistance or have questions regarding your GameMax H605 case, please contact GameMax customer support through their official channels.
Jekk jogħġbok żomm il-prova tax-xiri tiegħek għal pretensjonijiet ta' garanzija.


