1. Introduzzjoni u Fuqview
This manual provides detailed instructions for the setup, operation, and maintenance of your NZXT H510 Compact ATX PC Gaming Case. Designed for optimal performance and ease of use, the H510 features a sleek design, efficient cable management, and robust cooling capabilities.
Karatteristiċi ewlenin:
- Front I/O USB Type-C Port for high-speed connectivity.
- Tempered glass side panel with single thumbscrew installation for easy access.
- Patented cable routing kit with pre-installed channels and straps for simplified cable management.
- Includes two Aer F120mm fans for optimized internal airflow.
- Removable dust filters on front panel and PSU intakes.
- Removable bracket for radiators up to 240mm, supporting both closed-loop and custom-loop water cooling.
- Motherboard support for Mini-ITX, MicroATX, and ATX form factors.
2. Komponenti tal-Prodott
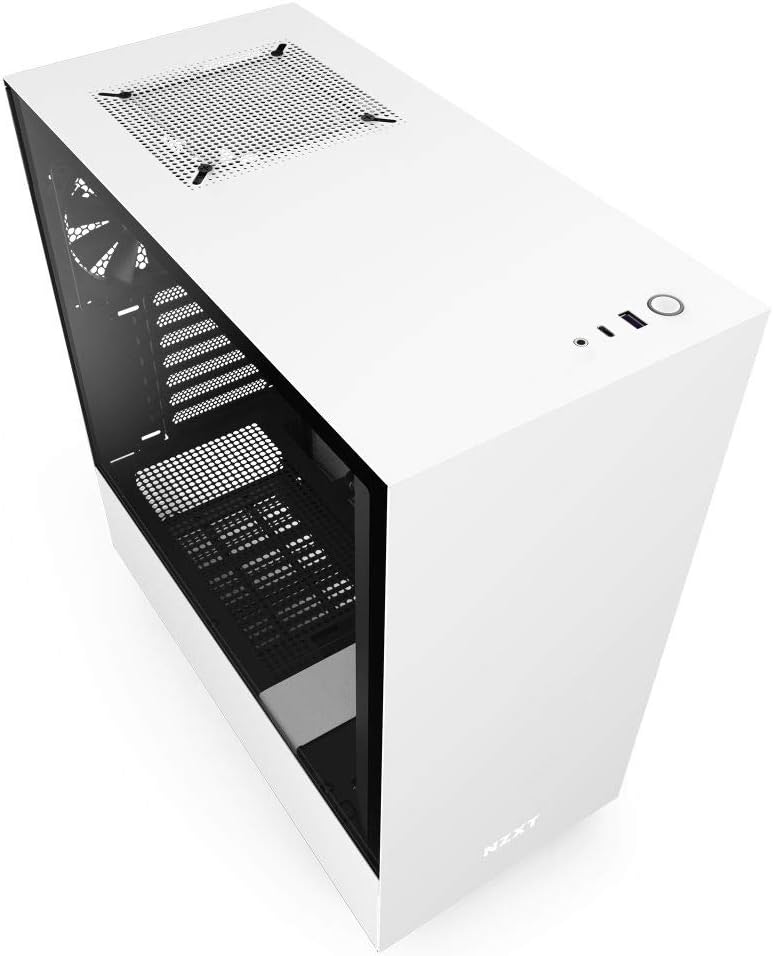
Esterni Views:


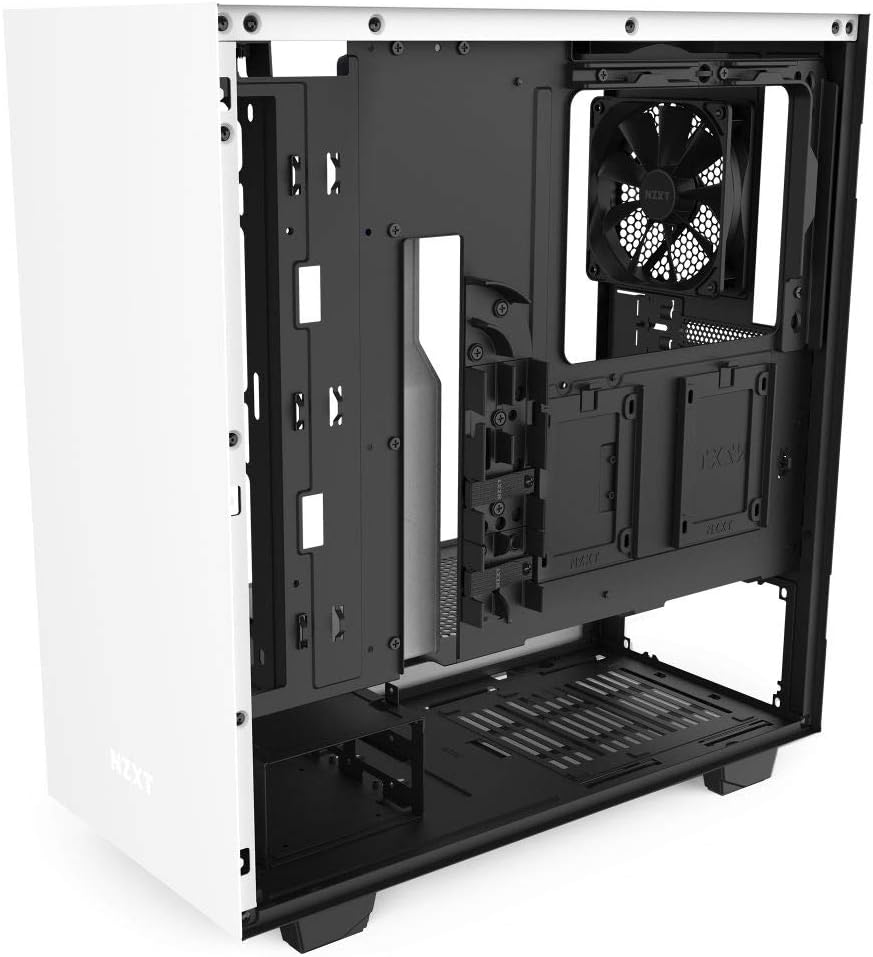
Tqassim Intern:

3. Setup u Installazzjoni
3.1 Disimballaġġ
Carefully remove the case from its packaging. Inspect for any damage during transit. Retain the packaging for future transport or warranty claims.
3.2 Tempered Glass Panel Removal
The tempered glass side panel is secured with a single thumbscrew at the rear of the case. Unscrew the thumbscrew and gently pull the panel away from the chassis. Place the panel on a soft, flat surface to prevent scratches or damage.
3.3 Installazzjoni tal-Motherboard
- Installa l-I/O shield (jekk mhux imwaħħal minn qabel mal-motherboard tiegħek) fil-ftuħ ta' wara tal-kaxxa.
- Align your Mini-ITX, MicroATX, or ATX motherboard with the standoffs inside the case. Ensure all standoffs align with the motherboard's mounting holes.
- Waħħal il-motherboard billi tuża l-viti pprovduti.
3.4 Installazzjoni tal-Provvista tal-Enerġija
The power supply unit (PSU) mounts at the bottom rear of the case. Slide the PSU into its designated bay and secure it with screws from the rear of the chassis.
3.5 Ġestjoni tal-Cable
Utilize the patented cable routing kit located behind the motherboard tray. Route all necessary cables (24-pin ATX, 8-pin EPS, SATA, PCIe, front panel connectors) through the pre-installed channels and secure them with the included straps for a clean build and improved airflow.
3.6 Installazzjoni tal-Komponenti
- Karta tal-Grafika (GPU): Install your GPU into the appropriate PCIe slot on the motherboard and secure it with the thumbscrew or latch.
- Drives tal-Ħażna: The case supports multiple drive configurations. Install 2.5" SSDs onto the dedicated trays behind the motherboard tray. 3.5" HDDs can be installed in the drive cage located beneath the PSU shroud.
- Tkessiħ: The H510 includes two Aer F120mm fans. Additional fans or a 240mm radiator can be mounted on the front bracket. A 120mm fan can be mounted at the rear exhaust.
3.7 Front I/O Connections
Connect the front panel cables (USB 3.1 Gen 2 Type-C, USB 3.0 Type-A, Audio, Power, Reset, HDD LED) to their corresponding headers on your motherboard. Refer to your motherboard manual for exact header locations.
4. Istruzzjonijiet Operattivi
4.1 Tixgħel
Once all components are securely installed and cables connected, plug the power cable into the PSU and a wall outlet. Press the power button located on the top panel of the case to start your system.
4.2 Front Panel Functionality
- Buttuna tal-Qawwa: Initiates system startup or shutdown.
- Port tat-Tip Ċ tal-USB 3.1 Ġen 2: For connecting compatible high-speed USB-C devices.
- Port USB 3.0 tat-Tip A: For connecting standard USB-A devices.
- Awdjo Jack: Għall-konnessjoni ta' headphones jew kuffji tal-widna.
5. Manutenzjoni
5.1 Tindif
Regular cleaning helps maintain optimal performance and extends the lifespan of your PC components. Use compressed air to remove dust from fans and internal components. Wipe exterior surfaces with a soft, damp drapp.
5.2 Filtri tat-Trab
The NZXT H510 is equipped with removable dust filters on the front panel and PSU intake. Periodically remove and clean these filters to prevent dust buildup and ensure unrestricted airflow. The top panel also features a magnetic dust filter for easy removal and cleaning.
6 Issolvi l-problemi
6.1 Is-Sistema Mhux Qed Tixgħel
- Kun żgur li l-kejbil tal-enerġija huwa konness sew kemm mal-PSU kif ukoll mas-sokit tal-ħajt.
- Iċċekkja li s-swiċċ tal-PSU jinsab fil-pożizzjoni 'ON'.
- Check all internal power connections, especially the 24-pin ATX and 8-pin EPS cables to the motherboard.
- Confirm front panel power button cables are correctly connected to the motherboard headers.
6.2 Kwistjonijiet ta' Tisħin Żejjed
- Ensure all case fans are spinning correctly and are oriented for proper airflow (intake/exhaust).
- Clean all dust filters and internal components to remove any obstructions to airflow.
- Verify CPU cooler and GPU fans are functioning.
- Iċċekkja l-applikazzjoni tal-pejst termali fuq is-CPU.
6.3 USB or Audio Ports Not Functioning
- Ensure the front panel USB and audio cables are correctly connected to the corresponding headers on your motherboard.
- Check your motherboard manual for correct header locations.
7. Speċifikazzjonijiet Tekniċi
| Karatteristika | Speċifikazzjoni |
|---|---|
| Numru tal-Mudell | CA-H510B-W1 |
| Tip ta' Każ | Torri tan-Nofs |
| Kompatibbiltà tal-motherboard | Mini-ITX, MicroATX, ATX |
| Materjal | SGCC Steel, Tempered Glass |
| Dimensjonijiet (LxWxH) | 16.85" x 8.27" x 18.11" (428mm x 210mm x 460mm) |
| Piż tal-oġġett | 16.3 liri (7.41 kg) |
| Portijiet I / O ta 'quddiem | 1x USB 3.1 Gen 2 Type-C, 1x USB 3.0 Type-A, 1x Headset Audio Jack |
| Fannijiet Inklużi | 2x Aer F120mm (Case Version) |
| Appoġġ tar-radjatur | Front: Up to 240mm, Rear: 120mm |
| Tip ta' Immuntar tal-Provvista tal-Enerġija | Muntatura ta 'wara |
| Metodu tat-tkessiħ | Arja |
8. Garanzija u Appoġġ
8.1 Informazzjoni dwar Garanzija
The NZXT H510 Compact ATX PC Gaming Case comes with a manufacturer's warranty. Please refer to the official NZXT webis-sit jew id-dokumentazzjoni tax-xiri tiegħek għal termini u kundizzjonijiet speċifiċi tal-garanzija.
8.2 Ikkuntattja l-Appoġġ
For technical assistance, troubleshooting, or warranty inquiries, please visit the official NZXT support page or contact their customer service. You can find more information and products at the Ħanut NZXT fuq Amazon.


