1. Introduzzjoni
The GameMax Expedition is a compact Micro ATX PC gaming case designed for efficient cooling and component compatibility. This manual provides instructions for the proper installation, operation, and maintenance of your PC case.

Figure 1.1: GameMax Expedition MATX PC Gaming Case, White.
2. Informazzjoni dwar is-Sigurtà
- Dejjem skonnettja l-enerġija mill-komponenti kollha qabel l-installazzjoni jew il-manutenzjoni.
- Ilbes ċinga tal-polz anti-statika biex tevita ħsara lill-komponenti minn skarika elettrostatika (ESD).
- Be cautious of sharp edges inside the chassis.
- Żomm il-partijiet żgħar u l-viti 'l bogħod mit-tfal.
- Ensure proper ventilation around the case during operation.
3. Kontenut tal-Pakkett
Ivverifika li l-oġġetti kollha huma preżenti fil-pakkett:
- GameMax Expedition MATX PC Gaming Case
- Kaxxa tal-aċċessorji (viti, standoffs, rabtiet tal-kejbil)
- 1 x 120mm Blue LED Fan (pre-installed at rear)
- Manwal għall-Utent (dan id-dokument)
4. Karatteristiċi tal-prodott
- Micro Gaming Chassis: Compact design optimized for gaming components.
- Portijiet I/O: 1 x USB 3.0, 2 x USB 2.0, and HD Audio ports located on the top panel.
- Tkessiħ: Includes 1 x 120mm Blue LED fan. Supports additional fans for enhanced airflow.
- Tieqa tal-ġenb: Full side window panel allows visibility of internal components.
- Magnetic Dust Filter: Removable dust filter on the top panel for easy cleaning and improved system longevity.
- GPU Bracket: Integrated bracket provides support for graphics cards, preventing sag and accommodating larger cards.
5. Komponent Aktarview
5.1 Esterni Views

Figure 5.1: Front panel design with air intake and included 120mm fan illustration.

Figure 5.2: Top I/O panel featuring USB 3.0, USB 2.0, and audio ports.
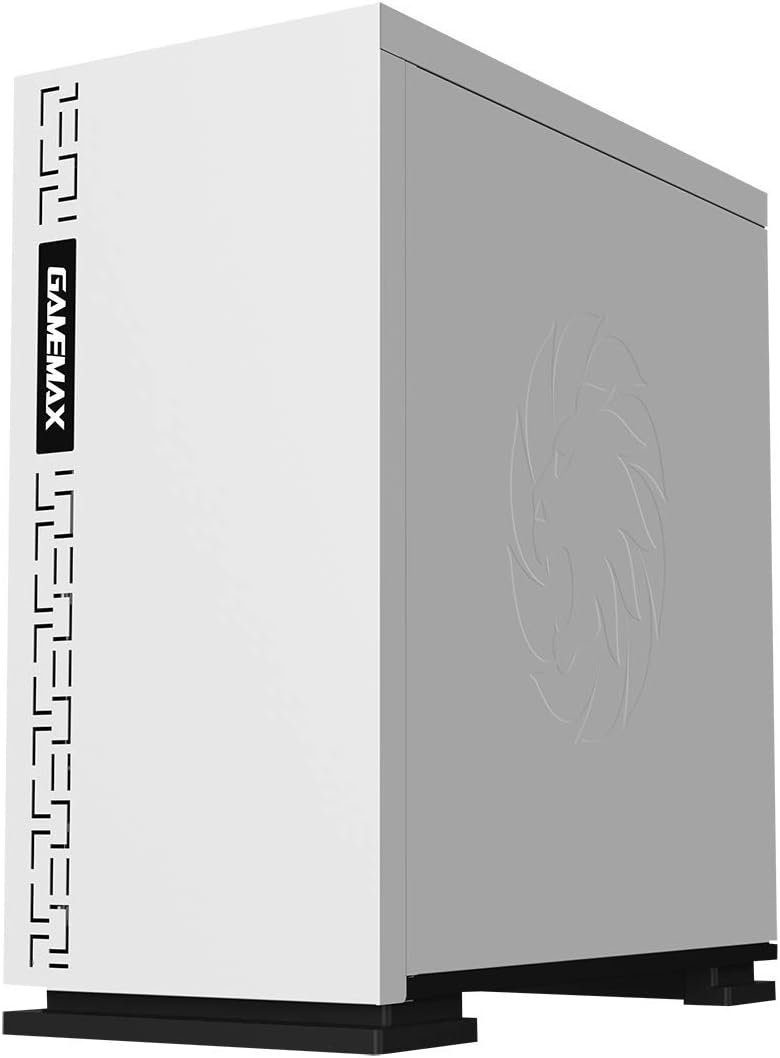
Figura 5.3: Fuq view showing the magnetic dust filter for fan ventilation.
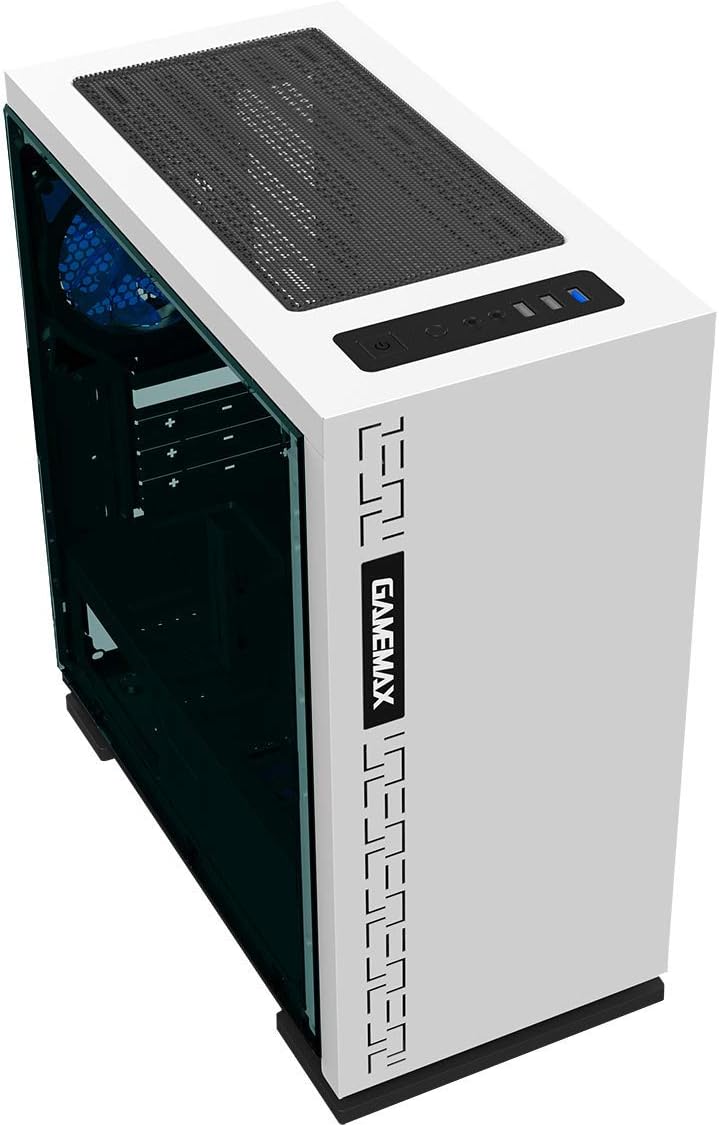
Figura 5.4: Wara view displaying expansion slots and the pre-installed 120mm fan.
5.2 Tqassim Intern

Figura 5.5: Intern view with the side panel removed, showing the motherboard tray and cable routing options.

Figure 5.6: Illustration of fan and radiator mounting points within the chassis.

Figure 5.7: Drive bay locations supporting 2.5" and 3.5" storage devices.
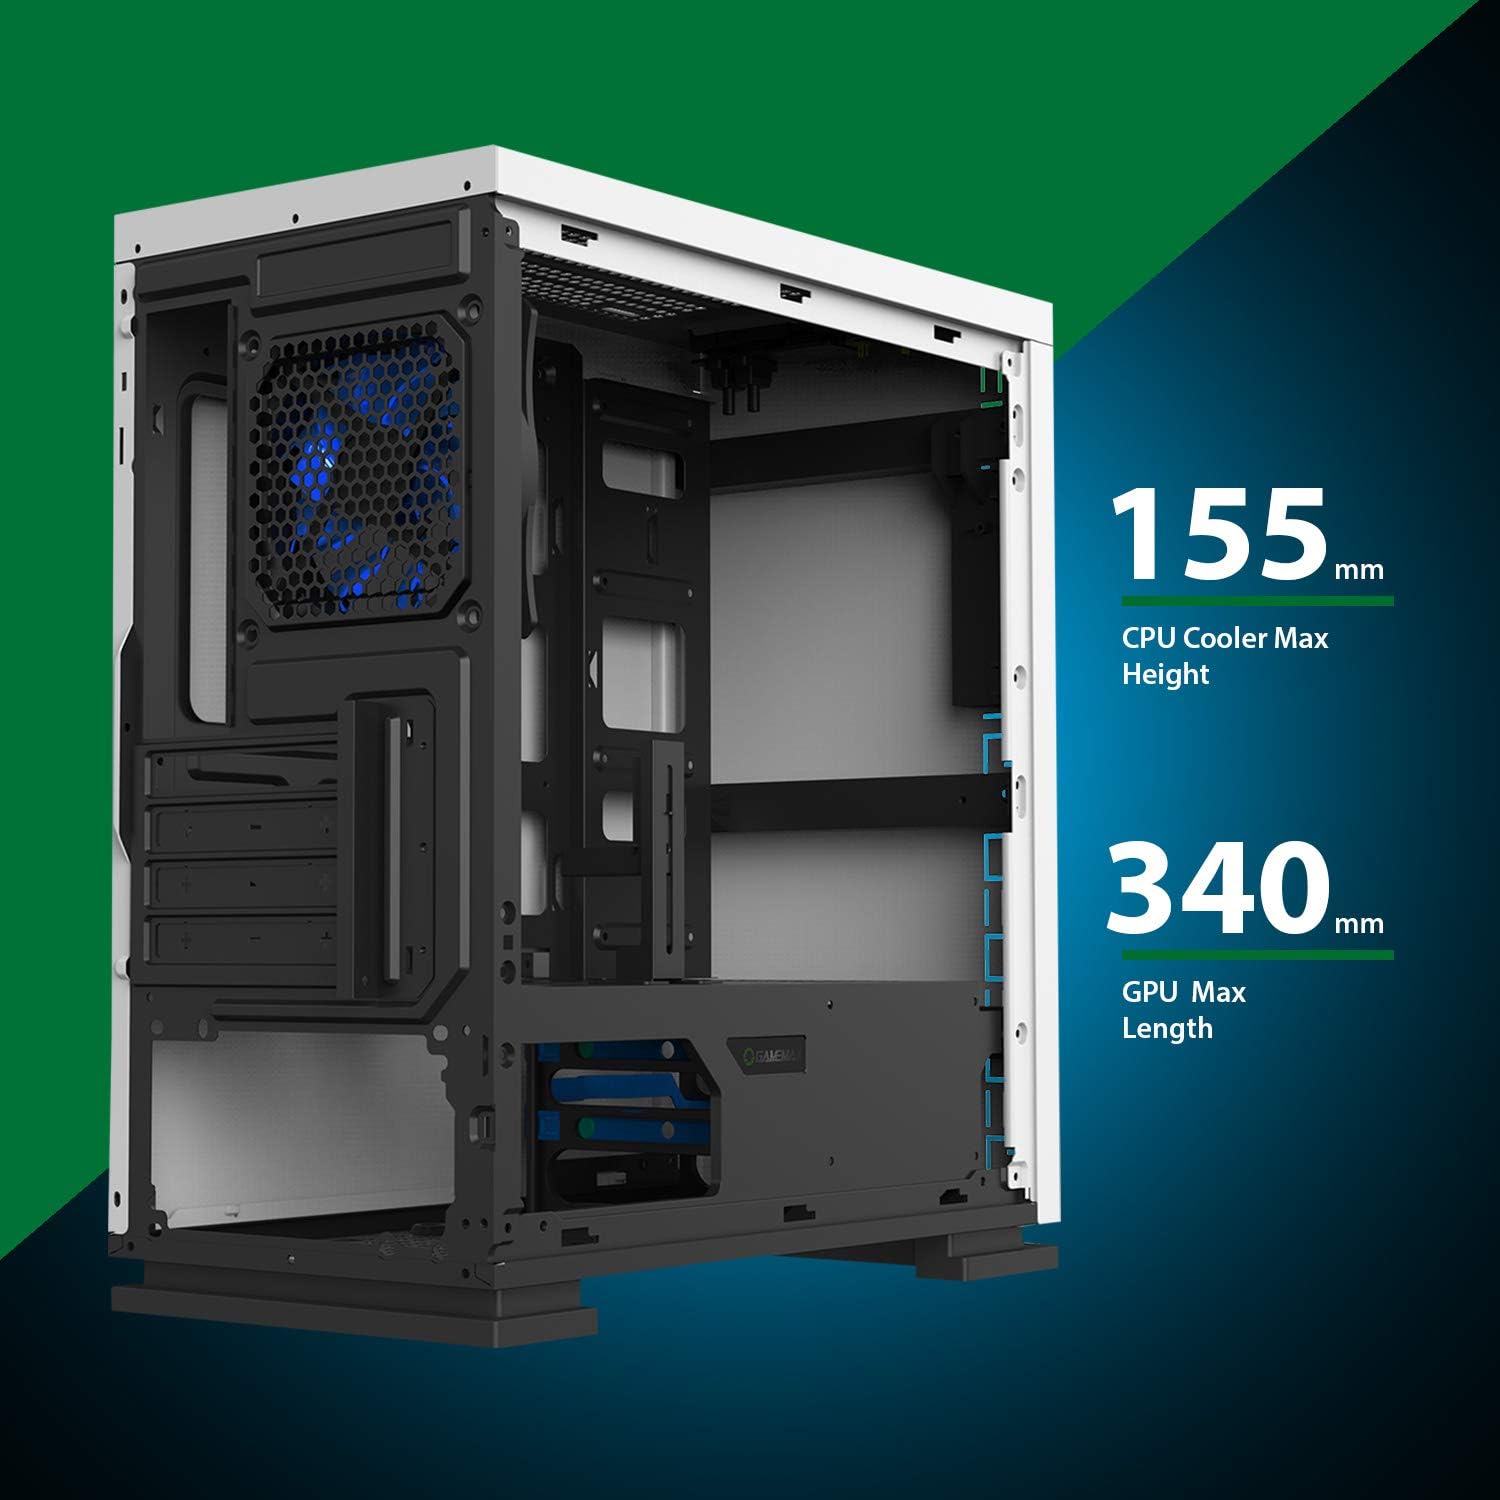
Figure 5.8: Maximum clearance for CPU coolers (155mm) and GPUs (340mm).
6. Setup u Installazzjoni
6.1 Preparazzjoni
- Unpack the chassis and remove all packaging materials.
- Remove the side panels by unscrewing the thumbscrews at the rear.
- Gather necessary tools: Phillips head screwdriver, cable ties.
6.2 Installazzjoni tal-Motherboard
- Installa l-ilqugħ tal-I/O fil-ftuħ ta' wara tax-chassis.
- Align the motherboard with the pre-installed standoffs. Ensure the standoffs match your Micro ATX motherboard's mounting holes.
- Waħħal il-motherboard bil-viti pprovduti.
6.3 Installazzjoni tal-Provvista tal-Enerġija
- Place the power supply unit (PSU) into the dedicated compartment at the bottom rear of the case.
- Align the PSU with the screw holes on the rear of the chassis.
- Waħħal il-PSU bil-viti pprovduti.
6.4 Installazzjoni tad-Drive tal-Ħażna
- 2.5" Drives: Mount 2.5" SSDs/HDDs to the dedicated mounting points on the motherboard tray or within the drive cage using the provided screws.
- 3.5" Drives: Installa HDDs ta' 3.5" fil-gaġġa tad-drajv li tinsab taħt il-qoxra tal-PSU. Żerżaq id-drajv fit-trej u waħħalha.
6.5 Expansion Card (GPU) Installation
- Neħħi l-għata tas-slott ta' espansjoni meħtieġa minn wara tax-chassis.
- Insert your graphics card or other expansion card into the appropriate PCIe slot on the motherboard.
- Waħħal il-karta b'kamin.
- Utilize the adjustable GPU bracket to provide additional support for heavier graphics cards.
6.6 Installazzjoni tal-Fann u t-Tkessiħ
- The case comes with one 120mm Blue LED fan pre-installed at the rear.
- Additional 120mm fans can be installed at the top and front positions as needed.
- Ensure fans are oriented correctly for optimal airflow (intake or exhaust).
6.7 Front Panel Connector Installation
Connect the front panel cables (USB 3.0, USB 2.0, HD Audio, Power SW, Reset SW, Power LED, HDD LED) to their corresponding headers on your motherboard. Refer to your motherboard manual for exact pin layouts.
7. Joperaw
Once all components are installed and cables are connected, replace the side panels. Connect your monitor, keyboard, mouse, and power cable. Press the power button on the top panel to start your system. The pre-installed LED fan will illuminate upon power-on.
8. Manutenzjoni
- Tindif tal-Filtru tat-Trab: Regularly remove and clean the magnetic dust filter located on the top panel to maintain optimal airflow and prevent dust buildup inside the case.
- Tindif Ġenerali: Uża artab, damp cloth to clean the exterior surfaces of the case. Avoid abrasive cleaners.
- Tneħħija tat-Trab Intern: Periodically use compressed air to clear dust from internal components and fans. Ensure the system is powered off and unplugged before performing internal cleaning.
9 Issolvi l-problemi
- Is-Sistema Mhux Tixgħel: Check all power connections, including the PSU to the wall outlet, PSU to motherboard, and front panel power switch cable to the motherboard.
- Fannijiet Mhux Iduru: Verify fan cables are securely connected to the motherboard or fan controller.
- Portijiet USB ma Jaħdmux: Kun żgur li l-kejbils tal-USB tal-pannell ta' quddiem huma konnessi sew mal-headers tal-USB tal-motherboard.
- L-ebda Output tal-Wiri: Confirm the graphics card is properly seated and connected to power, and the monitor cable is connected to the graphics card, not the motherboard's integrated graphics port (unless using integrated graphics).
10. Speċifikazzjonijiet
| Karatteristika | Speċifikazzjoni |
|---|---|
| Isem tal-Mudell | GMX EXPEDITION |
| Brand | GAMEMAX |
| Tip ta' Każ | Micro Tower (MATX) |
| Kompatibbiltà tal-motherboard | Mikro ATX |
| Kulur | Expedition White |
| Materjal | Polikarbonat (PC) |
| Dimensjonijiet tal-Prodott (LxWxH) | 14.96 x 7.4 x 13.78 pulzieri (380 x 188 x 350 mm) |
| Piż tal-oġġett | 8.58 liri (3.9 kg) |
| Portijiet USB 3.0 | 1 |
| Portijiet USB 2.0 | 2 |
| Metodu tat-tkessiħ | Arja, Ilma |
| Fan Inkluż | 1 x 120mm Blue LED (Rear) |
| Max CPU Cooler Għoli | 155mm |
| Max GPU Tul | 340mm |
11. Garanzija u Appoġġ
For warranty information and technical support, please visit the official GameMax webis-sit jew ikkuntattja lill-bejjiegħ lokali tiegħek.
Uffiċjali Websit: gamemaxpc.com


