1. Introduzzjoni
This manual provides detailed instructions for the installation, configuration, and operation of the ASRock Z370 TAICHI motherboard. This motherboard is designed to support 8th Generation Intel Core Processors (Socket 1151) and DDR4 memory, offering a robust platform for personal computing.
2. Linji Gwida dwar is-Sigurtà
Observe the following safety precautions during installation and operation to prevent damage to the motherboard or injury:
- Always disconnect the power cord from the wall outlet before handling any components.
- Ilbes ċinga tal-polz anti-statika jew tmiss ta' spiss oġġett ertjat biex teħles mill-elettriku statiku.
- Immaniġġja l-motherboard mit-truf tagħha biex tevita li tmiss komponenti sensittivi.
- Kun żgur li jkun hemm ventilazzjoni xierqa fil-kaxxa tal-kompjuter biex tevita li jisħon iżżejjed.
- Żomm il-motherboard 'il bogħod mill-umdità u minn temperaturi estremi.
3. Kontenut tal-Pakkett
Ivverifika li l-oġġetti kollha huma preżenti fil-pakkett:
- ASRock Z370 TAICHI Motherboard
- SLI Bridge
- Kejbils SATA (il-kwantità tista' tvarja)
- Manwal ta' Istruzzjoni
- Support DVD Disk
- Wi-Fi Antenna (for integrated Intel 802.11ac WiFi)
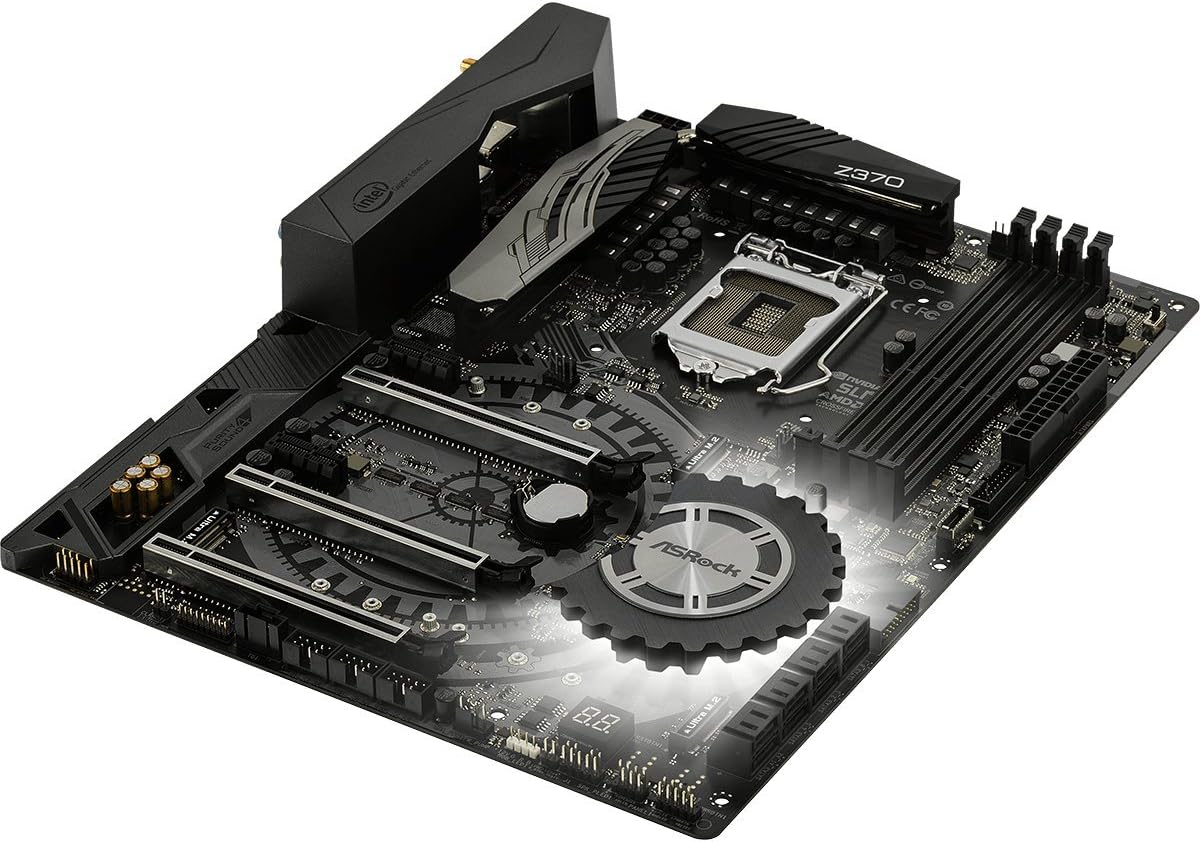
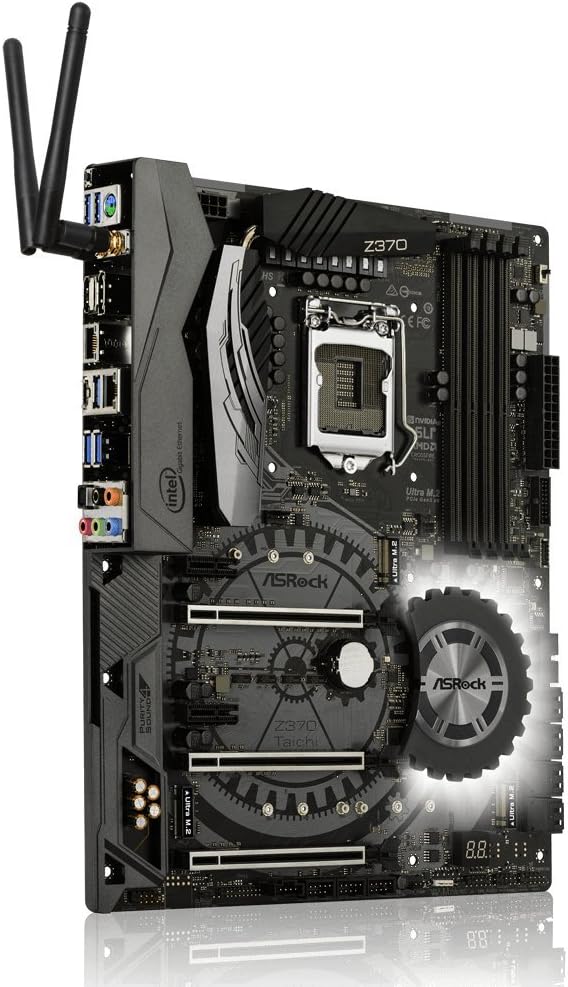
4. Layout tal-Motherboard
Iffamiljarizza ruħek mal-komponenti u l-konnetturi ewlenin fuq il-motherboard qabel l-installazzjoni.


5. Gwida għall-Installazzjoni
Follow these steps for proper installation of components onto the motherboard.
5.1. Installazzjoni tas-CPU
- Locate the LGA 1151 CPU socket.
- Iftaħ il-lieva tas-sokit tas-CPU u erfa' l-pjanċa tat-tagħbija.
- Allinja s-CPU bir-reqqa mas-sokit, filwaqt li tiżgura li t-trijangolu tad-deheb fuq is-CPU jaqbel mat-trijangolu fuq is-sokit.
- Poġġi s-CPU bil-mod fis-sokit mingħajr ma tisforzah.
- Agħlaq il-pjanċa tat-tagħbija u waħħalha bil-lieva.
- Installa l-cooler tas-CPU skont l-istruzzjonijiet tal-manifattur tiegħu.
5.2. Installazzjoni tar-RAM (DDR4)
- Identify the DDR4 DIMM slots. For dual-channel operation, refer to the motherboard manual for recommended slot pairing.
- Iftaħ il-klipps fiż-żewġt itruf tas-slott tad-DIMM.
- Align the notch on the DDR4 module with the key in the DIMM slot.
- Agħfas sew 'l isfel fuq iż-żewġt itruf tal-modulu tal-memorja sakemm il-klipps jidħlu f'posthom.
5.3. Storage Device Installation (SATA & M.2)
5.3.1. SATA Drives
- Connect SATA data cables to the SATA3 ports on the motherboard and to your SATA hard drives or SSDs.
- Qabbad il-kejbils tal-enerġija SATA mill-provvista tal-enerġija tiegħek mad-drajvs.
5.3.2. Ultra M.2 SSDs
- Locate the Ultra M.2 slots on the motherboard. The Z370 TAICHI features three Ultra M.2 slots (PCIe Gen3 x4 & SATA3).
- Neħħi l-vit tal-istandoff M.2.
- Daħħal l-M.2 SSD fl-islott f'angolu ta' 30 grad.
- Imbotta bil-mod l-M.2 SSD 'l isfel u waħħalha bil-vit tal-istandoff.
5.4. Installazzjoni tal-Karta PCIe
- Identify the PCIe 3.0 x16 and x1 slots.
- Remove the corresponding expansion slot cover from your computer case.
- Align the PCIe card with the slot and press down firmly until it is seated correctly.
- Waħħal il-karta mal-kaxxa b'kamin.
5.5. Konnessjonijiet tal-Enerġija
- Qabbad il-konnettur tal-enerġija ATX ta' 24-pin mill-provvista tal-enerġija tiegħek mal-motherboard.
- Connect the 8-pin (or 4+4-pin) ATX 12V power connector to the motherboard.
5.6. Konnessjonijiet tal-I/O tal-Pannell ta' Quddiem u ta' Wara
- Connect the front panel headers (power switch, reset switch, HDD LED, power LED) to the corresponding pins on the motherboard. Refer to the motherboard manual for pin assignments.
- Connect USB 2.0, USB 3.1 Gen1, and USB 3.1 Gen2 Type-C front panel connectors if your case supports them.
- Connect audio cables from the front panel to the motherboard's audio header.
- Install the Wi-Fi antennas to the rear I/O panel connectors for Intel 802.11ac WiFi functionality.
- Connect peripherals (monitor, keyboard, mouse, network cable) to the rear I/O ports.
6. BIOS Setup and Software
After hardware installation, configure the system through the BIOS/UEFI and install necessary software.
6.1. Accessing the BIOS/UEFI
- Ixgħel il-kompjuter tiegħek.
- Matul il-proċess tal-ibbutjar, agħfas ripetutament il-buttuna Del or F2 ċavetta biex tidħol fl-utilità tas-setup tal-BIOS/UEFI.
6.2. Initial BIOS Configuration
- Issettja d-data u l-ħin korretti tas-sistema.
- Ikkonfigura l-ordni tal-ibbutjar biex tipprijoritizza l-midja tal-installazzjoni tas-sistema operattiva tiegħek (USB drive jew DVD).
- Review and adjust SATA mode (AHCI is generally recommended for SSDs).
- Issejvja l-bidliet u oħroġ mill-BIOS.
6.3. Installazzjoni tas-Sewwieq u s-Softwer
- After installing your operating system, install the necessary drivers from the provided support DVD or download the latest versions from the ASRock website. Key drivers include chipset, audio, LAN, Wi-Fi, and graphics drivers.
- Install ASRock utility software for features like RGB LED control and system monitoring.
6.4. Aġġornamenti tal-BIOS
Iċċekkja regolarment l-ASRock website for BIOS updates. BIOS updates can improve system stability, compatibility, and performance. Refer to the ASRock website for specific instructions on how to update the BIOS, typically involving a utility or flashing from within the BIOS itself.
7 Issolvi l-problemi
Din it-taqsima tindirizza kwistjonijiet komuni li tista’ tiltaqa’ magħhom.
7.1. Ebda Qawwa / Ebda Boot
- Kun żgur li l-kejbils tal-enerġija kollha (24-pin ATX, 8-pin ATX 12V) huma konnessi sew mal-motherboard u l-provvista tal-enerġija.
- Verify the power supply switch is in the "ON" position.
- Iċċekkja l-konnessjoni tas-swiċċ tal-enerġija tal-pannell ta' quddiem mal-motherboard.
- Ipprova booting b'komponenti minimi (CPU, RAM stick wieħed, graphics card jekk m'hemmx grafika integrata) biex tiżola l-problema.
7.2. L-ebda Output tal-Wiri
- Confirm the monitor is connected to the correct graphics output (either dedicated GPU or motherboard's integrated graphics port).
- Reseat the graphics card and ensure its power connectors are attached.
- Test with a different monitor or display cable.
7.3. Instabbiltà tas-Sistema / Ħabtiet
- Check CPU and RAM temperatures. Ensure CPU cooler is properly installed.
- Iċċekkja li l-moduli tar-RAM ikunu mqiegħda sew u kompatibbli. Ħaddem għodda dijanjostika tal-memorja.
- If overclocking, revert to default BIOS settings to check for stability.
- Kun żgur li s-sewwieqa kollha huma aġġornati.
7.4. Periferali Mhux Skoperti
- Ipprova qabbad il-periferali ma' port differenti.
- Iċċekkja l-maniġer tal-apparat fis-sistema operattiva tiegħek għal problemi tas-sewwieq.
- Ensure the peripheral is powered on and functioning correctly.
8. Speċifikazzjonijiet
Detailed technical specifications for the ASRock Z370 TAICHI motherboard.
| Karatteristika | Dettall |
|---|---|
| Brand | ASRock |
| Isem tal-Mudell | TAICHI |
| Socket tas-CPU | LGA 1151 |
| Proċessuri Kompatibbli | 8th Generation Intel Core Processors |
| Tip ta' Ċipset | Intel Z370 |
| Teknoloġija tal-Memorja RAM | DDR4 |
| Veloċità tal-Memorja | 2400 MHz (Supports DDR4 4333+(OC)) |
| Kapaċità Massima tal-Memorja | 64 GB |
| PCIe Slots | 3 PCIe 3.0 x16, 2 PCIe 3.0 x1 |
| Appoġġ Multi-GPU | NVIDIA Quad SLI, AMD 3-Way CrossFireX |
| Għażliet tal-Output tal-Grafika | HDMI, DisplayPort |
| Awdjo | 7.1 CH HD Audio (Realtek ALC1220 Audio Codec), Purity Sound 4 & DTS Connect |
| Portijiet SATA | 8 SATA3 |
| M.2 Slots | 3 Ultra M.2 (PCIe Gen3 x4 & SATA3) |
| USB 3.1 Ġen2 | 3 (1 Front Type-C, 1 Rear Type-C, 1 Rear Type-A) |
| USB 3.1 Ġen1 | 8 (4 Front, 4 Rear) |
| Portijiet USB 2.0 | 3 |
| LAN | Dual Intel Gigabit LAN |
| Konnettività bla fili | Intel 802.11ac WiFi + BT 4.2 |
| Karatteristiċi Speċjali | ASRock RGB LED, Hyper BCLK Engine II, Intel Optane Memory Ready |
| Dimensjonijiet (LxWxH) | 12.2 x 13.7 x 3.6 pulzieri |
| Piż tal-oġġett | 3.3 liri |
| L-Ewwel Data Disponibbli | 7 ta’ Ottubru, 2017 |
9. Informazzjoni dwar Garanzija
ASRock provides a limited warranty for its motherboards. The specific terms and duration of the warranty may vary by region and retailer. Please retain your proof of purchase for warranty claims. For detailed warranty information, refer to the official ASRock webis-sit jew ikkuntattja lill-bejjiegħ lokali tiegħek.
10. Appoġġ Tekniku
For further assistance, driver downloads, BIOS updates, or troubleshooting not covered in this manual, please visit the official ASRock support websit:
You can also find additional resources and FAQs on the ASRock product page for the Z370 TAICHI model.


