Introduzzjoni
This manual provides comprehensive instructions for the safe and efficient operation, installation, and maintenance of your ATAG CX4511C oven. Please read this manual thoroughly before using the appliance and keep it for future reference. Proper use and care will ensure optimal performance and extend the lifespan of your oven.
Istruzzjonijiet tas-Sigurtà
Dejjem segwi l-prekawzjonijiet ta' sigurtà li ġejjin biex tevita korriment personali jew ħsara lill-apparat:
- Ensure the oven is properly installed by a qualified technician before first use.
- Tmissx uċuħ sħan. Dejjem uża ingwanti tal-forn jew pot holders.
- Żomm it-tfal 'il bogħod mill-apparat waqt it-tħaddim u t-tkessiħ.
- Never use water to extinguish grease fires; smother the flames or use a dry chemical extinguisher.
- Taħżinx materjali li jaqbdu ġewwa jew ħdejn il-forn.
- Skonnettja l-apparat mill-provvista tal-enerġija qabel ma tnaddaf jew tagħmel xi manutenzjoni.
- Tħaddimx il-forn jekk il-korda jew il-plagg tal-elettriku jkunu bil-ħsara.
Prodott Overview
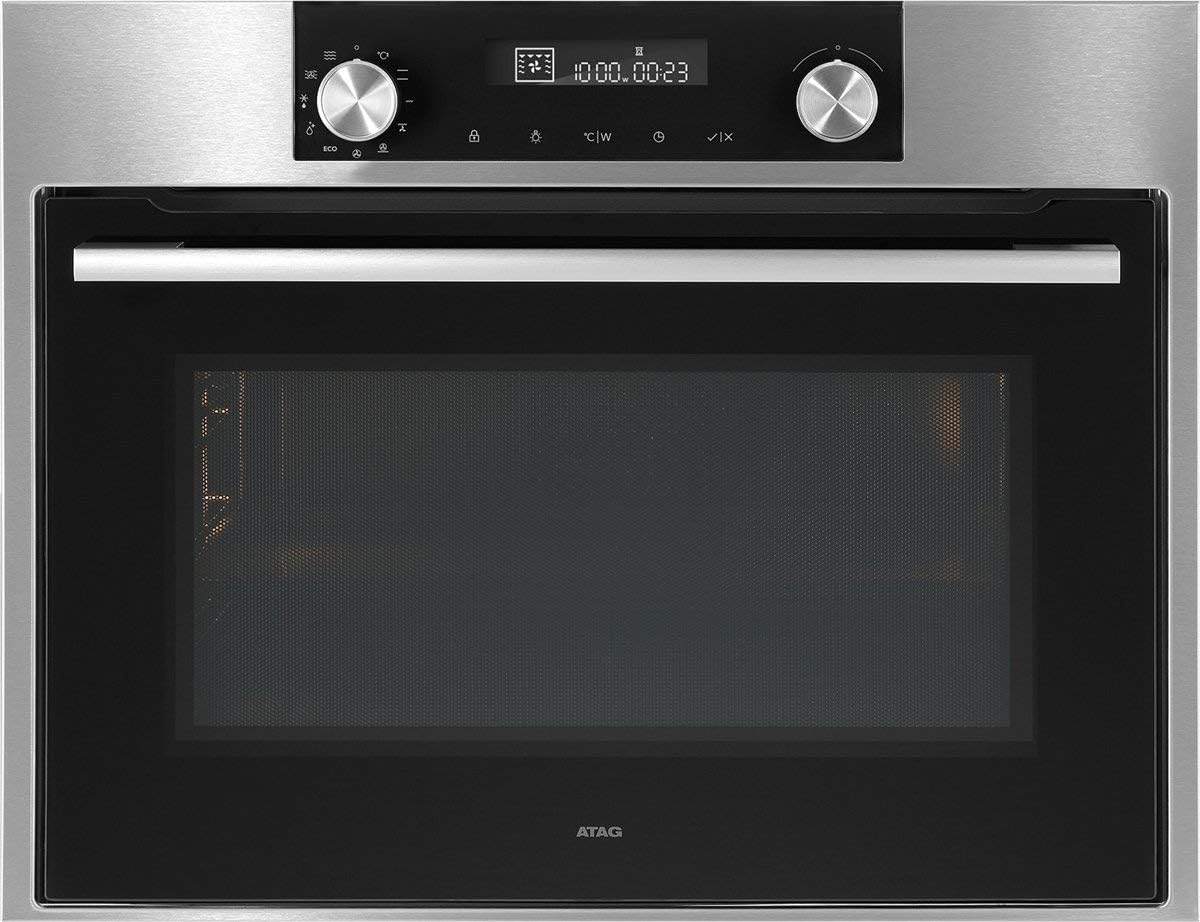
Figura 1: Quddiem view tal-ATAG CX4511C oven. This image displays the stainless steel finish, the black glass door with a horizontal handle, and the integrated control panel at the top. The control panel features two rotary knobs, a digital display, and touch-sensitive buttons for various functions and settings.
L-ATAG CX4511C is a built-in oven designed for modern kitchens. It features a sleek stainless steel and black glass aesthetic. Key components include:
- Panel tal-Kontroll: Located at the top, featuring a digital display, two rotary knobs for function and temperature selection, and touch controls for timer, settings, and other options.
- Bieb tal-Forn: A black glass door with a sturdy stainless steel handle, providing visibility into the oven cavity.
- Kavità tal-Forn: The interior cooking space, equipped with racks and lighting.
- Slots tal-ventilazzjoni: Essential for proper air circulation and cooling of the appliance.
Setup
1. Installazzjoni
L-ATAG CX4511C oven must be installed by a qualified electrician or authorized service technician in accordance with local regulations and the provided installation instructions. Ensure adequate ventilation around the appliance.
2. Tindif Inizjali
Before first use, clean the oven interior and all accessories (racks, trays) with a damp cloth and mild detergent. Rinse thoroughly and dry. Do not use abrasive cleaners.
3. First Use (Burn-in)
To eliminate any manufacturing odors, operate the empty oven for approximately 60 minutes at 200°C (392°F) using a conventional heating mode. Ensure the kitchen is well-ventilated during this process.
Istruzzjonijiet Operattivi
1. Issettjar tal-Ħin
Upon first connection to power, the display will flash. Use the right rotary knob to set the current time, then press the checkmark button to confirm.
2. Selecting a Cooking Function
Turn the left rotary knob to select the desired cooking function (e.g., conventional heat, fan-assisted, grill). The selected function icon will appear on the display.
3. Issettjar tat-Temperatura u l-Ħin
After selecting a function, turn the right rotary knob to adjust the temperature. Press the timer button to set a cooking duration, then use the right knob to adjust the time. Confirm settings by pressing the checkmark button or waiting a few seconds for automatic confirmation.
4. Preheating
The oven will begin preheating once the function and temperature are set. An indicator on the display will show when the set temperature has been reached.
5. Ending Operation
To stop cooking, turn the left rotary knob to the 'Off' position or press the stop button if available. Allow the oven to cool down completely before opening the door for an extended period.
Manutenzjoni u Tindif
1. Tindif ta' barra
Clean the exterior surfaces, including the control panel and door, with a soft cloth and warm soapy water. For stainless steel, use a specialized stainless steel cleaner. Avoid abrasive sponges or harsh chemicals.
2. Tindif Intern
Għal ħmieġ ħafif, imsaħ l-intern b'żebgħa adeżiva.amp cloth after the oven has cooled. For stubborn stains, use an oven cleaner specifically designed for the oven's interior lining, following the product instructions carefully. Remove all racks and accessories before cleaning.
3. Door Glass Cleaning
Clean the inner and outer glass panels of the oven door with a glass cleaner or warm soapy water. Ensure no liquid seeps into the door's ventilation system.
4. Replacing the Oven Lamp
Ensure the oven is disconnected from the power supply. Unscrew the protective glass cover, replace the bulb with a new heat-resistant oven lamp of the same specifications, and reattach the cover.
Issolvi l-problemi
| Problema | Kawża Possibbli | Soluzzjoni |
|---|---|---|
| Il-forn ma jisħonx. | Ebda provvista tal-enerġija; settings mhux korretti; fjus qata’. | Check power connection; verify settings; check household fuse box. |
| Riżultati tat-tisjir mhux uniformi. | Pożizzjoni mhux korretta tax-xtilliera; forn mgħobbi żżejjed; bieb miftuħ ta’ spiss wisq. | Use recommended rack positions; avoid overcrowding; minimize door openings. |
| Duħħan jew riħa qawwija waqt l-ewwel użu. | Ħruq taż-żjut residwi tal-manifattura. | Dan huwa normali. Kun żgur li tivventila sew. Dan se jisparixxi wara l-ewwel użu. |
| Id-displej juri kodiċi ta' żball. | Ħsara interna. | Innota l-kodiċi tal-iżball u kkuntattja l-appoġġ għall-klijenti. |
Speċifikazzjonijiet
- Ditta: ATAG
- Mudell: CX4511C
- Kapaċità: 51 Litri
- Qawwa: 3400 W
- ASIN: B075V16NFM
- Kulur: Iswed, Azzar Inossidabbli
- L-Ewwel Data Disponibbli: 11 ta’ Ġunju 2019
Garanzija u Appoġġ
Your ATAG CX4511C oven comes with a manufacturer's warranty. For detailed information regarding warranty terms, conditions, and duration, please refer to the warranty card included with your appliance or visit the official ATAG website. For technical support, service requests, or spare parts, please contact ATAG customer service directly. Contact details can typically be found on the manufacturer's websit jew fid-dokumentazzjoni pprovduta max-xiri tiegħek.
When contacting support, please have your model number (CX4511C) and serial number ready. The serial number is usually located on a label inside the oven door frame or on the back of the appliance.


