1. Introduzzjoni
Grazzi tax-xiriasing the Gingko Cube LED Click Clock. This innovative alarm clock combines elegant design with smart functionality, displaying time, date, and temperature. Its unique sound-activated display ensures a dark room at night, illuminating only when needed. Please read this manual carefully to ensure proper setup and operation of your device.
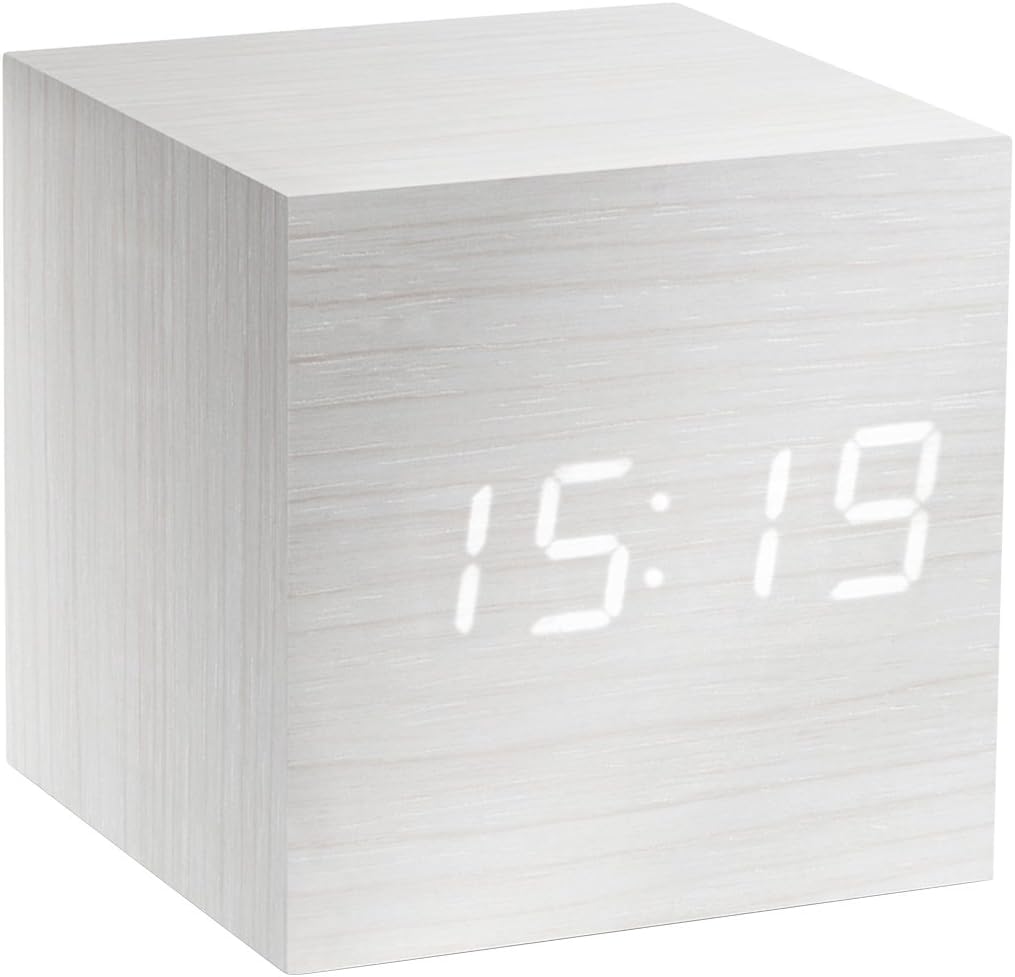
Figure 1: The Gingko Cube LED Click Clock displaying the time 15:19. The clock features a minimalist cube design with a white wood-grain finish and bright white LED digits.
2. Informazzjoni dwar is-Sigurtà
- Tesponix l-apparat għall-ilma jew għal umdità eċċessiva.
- Evita temperaturi estremi, dawl tax-xemx dirett, jew sorsi ta’ sħana.
- Tippruvax tiżżarma jew timmodifika l-apparat. Dan jannulla l-garanzija.
- Use only the provided USB adapter or compatible power sources.
- Żomm fejn ma jintlaħaqx mit-tfal.
- Armi l-batteriji b'mod responsabbli skont ir-regolamenti lokali.
3. Kontenut tal-Pakkett
Jekk jogħġbok immarka l-kaxxa għall-oġġetti li ġejjin:
- Gingko Cube LED Click Clock (Model GK08W13)
- Adapter tal-Enerġija USB
- Cable USB
- Manwal ta 'Istruzzjoni (dan id-dokument)
4. Prodott Aktarview
The Gingko Cube LED Click Clock is designed for simplicity and functionality. Its main features include a hidden LED display that appears through the wood-grain finish, and control buttons located on the back panel.

Figura 2: Wara view of the Gingko Cube LED Click Clock. This image shows the battery compartment cover removed, revealing slots for three AAA batteries. Above the battery compartment, five small control buttons are visible: SET, UP, DOWN, V/S, and RESET.
4.1 Buttuni tal-Kontroll
- SET: Enters setting mode for time, date, and alarms. Confirms selections.
- UP: Increases values during setting.
- 'L isfel: Inaqqas il-valuri waqt l-issettjar.
- V/S (Voice/Sound): Toggles between sound-activated display mode and permanent display mode.
- RESET: Jirrisettja l-arloġġ għad-defaults tal-fabbrika.
4.2 Qawwa Input
The clock can be powered via the included USB cable and adapter, or by 3 x AAA batteries (not included). An internal battery is included to retain settings during power outages.
5. Setup
5.1 Tixgħel
- Using USB Power: Connect the small end of the USB cable to the DC5V port on the back of the clock. Plug the larger end into the USB power adapter, then plug the adapter into a wall outlet.
- Użu ta' Batteriji: Open the battery compartment cover on the back of the clock. Insert 3 x AAA batteries, ensuring correct polarity (+/-). Close the battery compartment cover securely.
Id-displej se jixgħel, u jindika li l-arloġġ huwa mixgħul.
5.2 Initial Settings (Time, Date, Temperature Format)
Agħfas u żomm il- SET button for 3 seconds to enter setting mode. The display will flash, indicating the current setting is ready for adjustment. Use the UP u 'L isfel buttons to change values. Press SET biex tikkonferma u tmur għall-issettjar li jmiss.
- Issettjar tas-Sena: Adjust the year (e.g., 2024). Press SET.
- L-issettjar tax-xahar: Adjust the month. Press SET.
- Issettjar tad-Data: Adjust the day. Press SET.
- Format 12/24 Siegħa: Select "12H" or "24H". Press SET.
- L-issettjar tas-siegħa: Adjust the hour. Press SET.
- L-issettjar tal-minuti: Adjust the minute. Press SET.
- Unità tat-temperatura: Select "°C" (Celsius) or "°F" (Fahrenheit). Press SET.
The clock will exit setting mode automatically after a few seconds of inactivity or after the last setting is confirmed.
6. Istruzzjonijiet Operattivi
6.1 Display Modes (Time, Date, Temperature)
The clock can cycle through displaying time, date, and temperature. By default, it will alternate between these displays.

Figure 3: The clock displaying the time 11:43, positioned on a dark desk next to a laptop. This illustrates the clock's compact size and clear LED display in a typical environment.
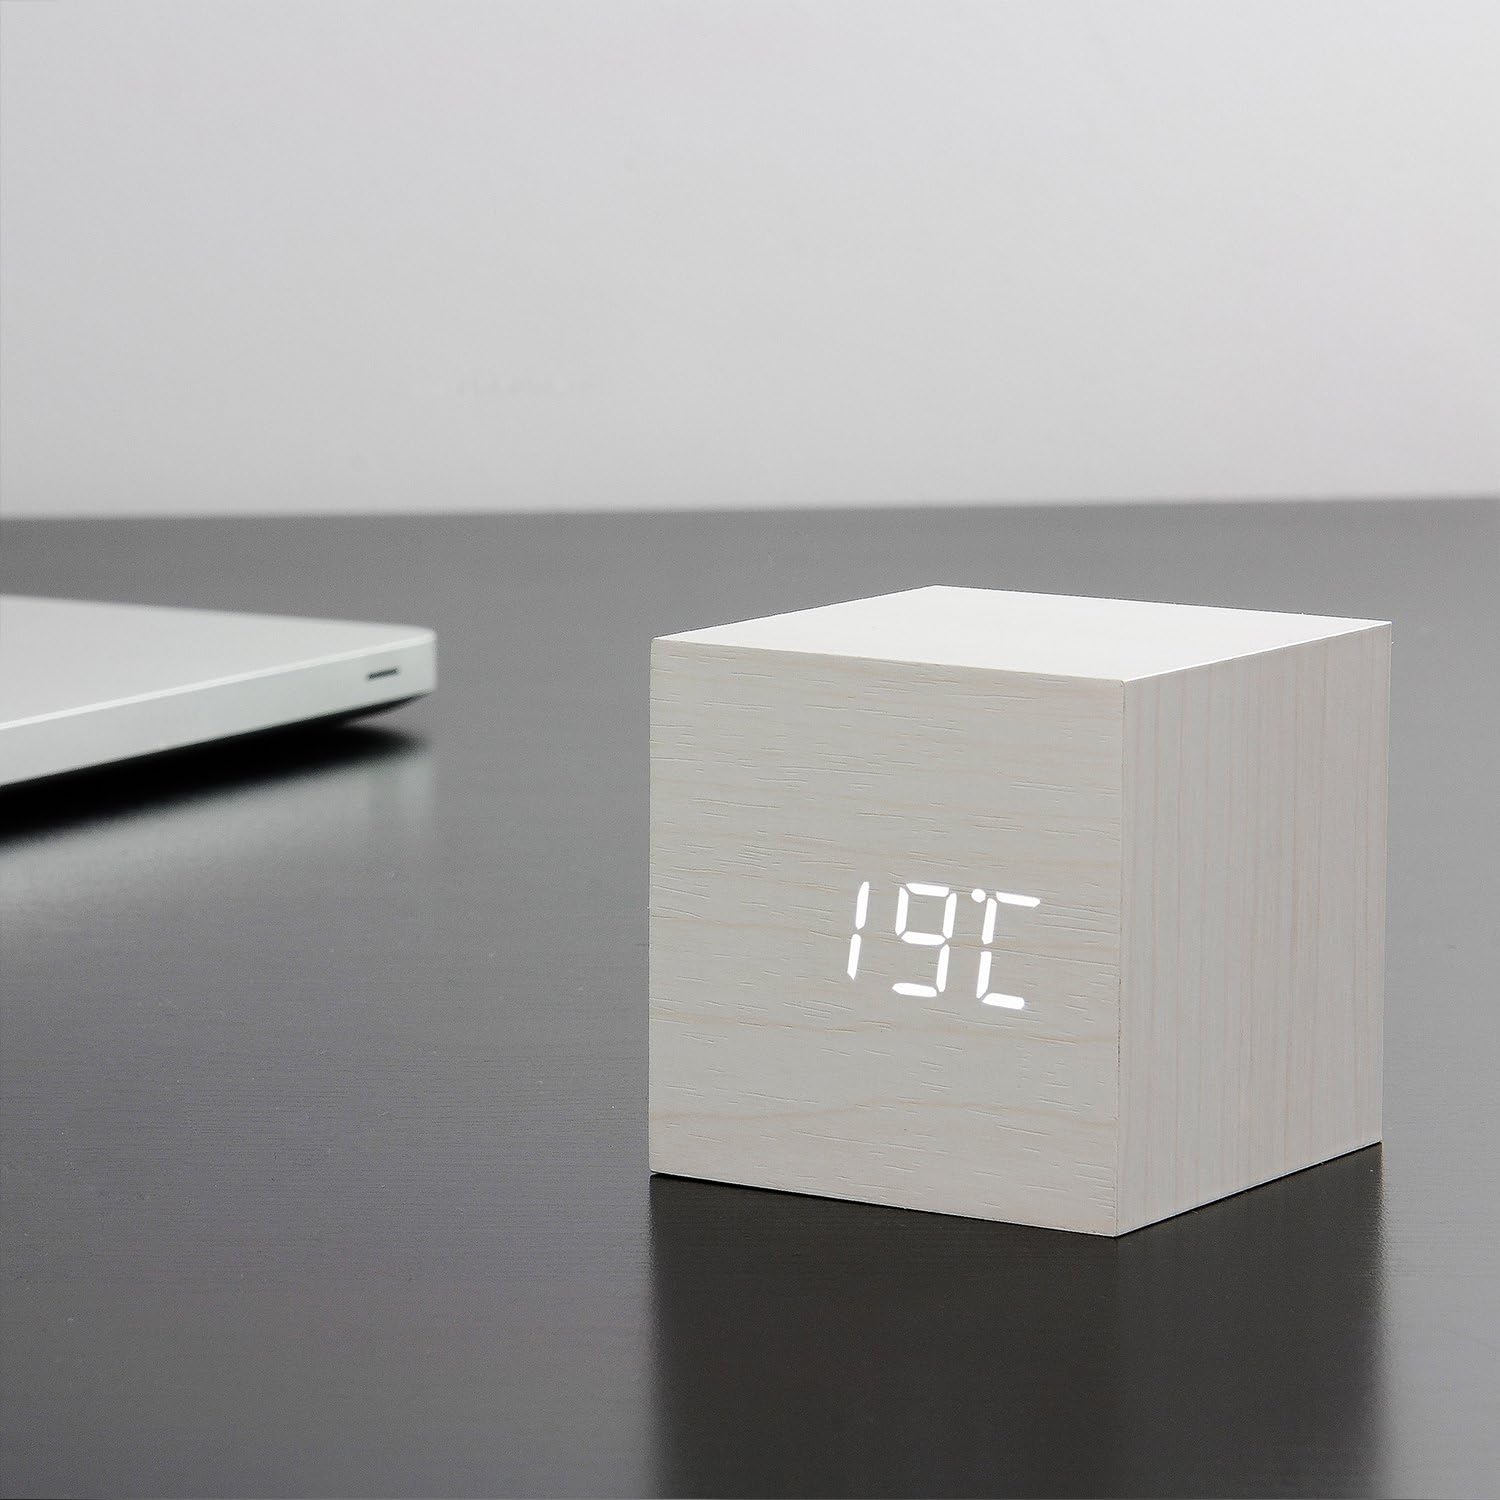
Figure 4: The clock displaying the temperature 19°C, also on a dark desk next to a laptop. This shows the clock's ability to display environmental temperature in addition to time and date.
6.2 Sound Activation (V/S Mode)
The clock features a sound-activated display mode, which conserves power and keeps your room dark. In this mode, the display turns off when the room is quiet and illuminates when a sound (like a clap or tap) is detected.
- Agħfas il- V/S button to toggle between sound-activated display (display turns off after a few seconds of silence) and permanent display (display remains on).
- When in sound-activated mode, a sound above 60dB (e.g., a clap, finger snap, or gentle tap on the clock/surface) will activate the display for approximately 10 seconds.
6.3 Settings tal-allarm
The clock supports up to three different alarm settings (AL1, AL2, AL3).
- From the normal display mode, short press the SET button repeatedly until "AL1", "AL2", or "AL3" appears.
- To set an alarm, press and hold the SET button for 3 seconds when the desired alarm (e.g., "AL1") is displayed. The hour digits will flash.
- Użu UP u 'L isfel to set the alarm hour. Press SET.
- Użu UP u 'L isfel to set the alarm minute. Press SET.
- The display will show "ON:AL" or "OFF:AL". Use UP or 'L isfel to toggle the alarm ON or OFF. Press SET biex tikkonferma.
- Repeat for AL2 and AL3 if desired.
When an alarm sounds, it will last for 1 minute. To stop the alarm, press any button. The alarm will automatically turn off after 1 minute if no button is pressed.
6.4 Dimmer Function
The clock features an automatic dimmer function. The display brightness will automatically adjust between brighter (7:00 AM - 6:59 PM) and dimmer (7:00 PM - 6:59 AM) modes to suit ambient light conditions.
7. Manutenzjoni
- Naddaf il-wiċċ tal-arloġġ b'ċarruta ratba u niexfa. Tużax prodotti tat-tindif jew solventi li joborxu.
- If using batteries, replace them when the display becomes dim or erratic. Remove batteries if the clock will not be used for an extended period.
8 Issolvi l-problemi
| Problema | Kawża Possibbli | Soluzzjoni |
|---|---|---|
| Id-displej huwa mitfi jew mudlam. | Sound-activated mode is on; low batteries; no power. | Tap the clock or make a sound to activate. Press V/S to switch to permanent display. Replace batteries or ensure USB power is connected. |
| Clock not responding to buttons. | Problema temporanju tas-softwer. | Press the RESET button on the back of the clock. Re-enter settings if necessary. |
| L-allarm ma jdoqqx. | Alarm is set to OFF; incorrect alarm time. | Check alarm settings (AL1/AL2/AL3) to ensure it is set to ON and the time is correct. |
| Incorrect time/date/temperature. | Settings not correctly configured. | Re-enter setting mode (Section 5.2) and adjust values. |
9. Speċifikazzjonijiet
| Karatteristika | Dettall |
|---|---|
| Numru tal-Mudell | GK08W13 |
| Dimensjonijiet (L x W x H) | 68 x 68 x 68 mm (2.68 x 2.68 x 2.68 pulzieri) |
| Piż | 120 gramma (0.26 lbs) |
| Materjal | Plastik |
| Kulur | White / White LED |
| Tip ta 'Wiri | LED diġitali |
| Sors tal-Enerġija | USB Cable (DC5V) or 3 x AAA Batteries |
| Karatteristiċi | Time, Date, Temperature Display, Sound Activation, 3 Alarm Settings, Dimmer Function, Internal Battery for Settings Retention |
10. Garanzija u Appoġġ
Gingko products are designed and manufactured to the highest standards. For warranty information or technical support, please refer to the official Gingko website or contact your retailer. Please have your model number (GK08W13) and purchase details ready when seeking support.
Għal aktar informazzjoni, żur: www.gingkodesign.com


