1. Introduzzjoni
Thank you for choosing the Everbilt 1/2 in. x 8 in. Brass MPT x MHT Anti-Siphon Sillcock. This manual provides essential information for the safe installation, operation, and maintenance of your new sillcock. Please read these instructions thoroughly before installation and retain them for future reference.
This sillcock is designed for outdoor water access, featuring a durable brass construction and an anti-siphon mechanism to prevent backflow contamination of your potable water supply. It is suitable for deck mount, single-hole installations.
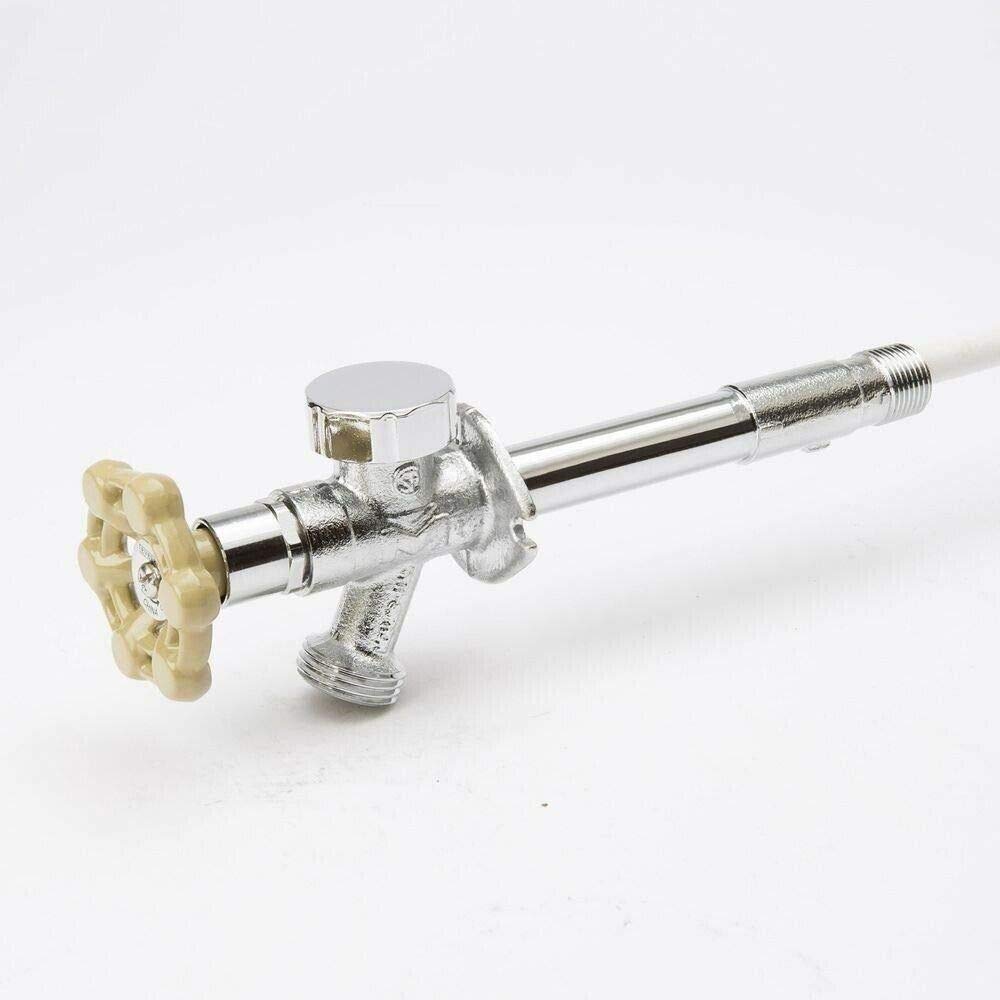
Figura 1: Everbilt 1/2 in. x 8 in. Brass Anti-Siphon Sillcock. This image displays the complete sillcock unit, including the main brass body, the lever handle, and the threaded connections for installation.
2. Informazzjoni dwar is-Sigurtà
Always observe basic safety precautions when installing or servicing plumbing fixtures. Failure to follow these instructions could result in property damage, personal injury, or death.
- Itfi l-provvista tal-ilma: Before beginning any installation or repair, ensure the main water supply to the area is completely shut off.
- Ilbes tagħmir protettiv: Dejjem ilbes tagħmir protettiv personali xieraq, inklużi nuċċalijiet u ingwanti tas-sigurtà.
- Installazzjoni professjonali: Jekk m'intix ċert dwar xi parti tal-proċess tal-installazzjoni, ikkonsulta plamer kwalifikat.
- Kodiċijiet lokali: Ensure all installation procedures comply with local plumbing and building codes.
- Anti-siphon feature: The anti-siphon mechanism is crucial for preventing backflow. Do not tamper with or remove this component.
- Winterization: In freezing climates, proper winterization is essential to prevent damage to the sillcock and plumbing system.
3. Lista tal-Partijiet
Iċċekkja li l-komponenti kollha huma preżenti qabel tibda l-installazzjoni.
- Everbilt 1/2 in. x 8 in. Brass Anti-Siphon Sillcock (Main Unit)
- Lever Handle (Pre-attached or separate)
- Deck Plate (Included for aesthetic finish)
- Mounting Hardware (Screws, nuts, washers - typically included for securing the sillcock)
4. Konfigurazzjoni u Installazzjoni
4.1 Għodod Meħtieġa
- Ċavetta aġġustabbli jew Ċavetta tal-pajpijiet
- Pipe Thread Sealant (Teflon tape or pipe dope)
- It-trapan (jekk qed toħloq toqba ġdida għall-immuntar)
- Appropriate Drill Bit (for mounting screws)
- Screwdriver (Phillips or flathead, depending on mounting hardware)
- Bucket or Towel (for catching residual water)
4.2 Kontrolli ta' qabel l-installazzjoni
- Spezzjona l-prodott: Ensure there are no visible defects or missing parts.
- Ivverifika l-konnessjonijiet: Confirm that your existing plumbing connections are compatible with the 1/2 inch MPT (Male Pipe Thread) inlet and MHT (Male Hose Thread) outlet.
- Agħżel il-post: Select a suitable deck mount location that allows for easy access and proper drainage. Ensure there is sufficient space behind the mounting surface for the sillcock's length (8 inches).
- Shut off water: Locate and turn off the main water supply valve to your home or the specific branch line feeding the installation area. Open nearby faucets to relieve pressure and drain lines.
4.3 Passi ta' Installazzjoni
- Prepare mounting hole: If replacing an old sillcock, remove it. Clean the mounting surface. If installing new, drill a hole of appropriate size for the sillcock body and mounting screws.
- Apply sealant: Apply pipe thread sealant (Teflon tape or pipe dope) to the 1/2 inch MPT inlet threads of the sillcock. Wrap tape clockwise 3-4 times.
- Insert sillcock: Insert the sillcock through the mounting hole from the exterior. Ensure the deck plate is positioned correctly against the exterior surface.
- Secure the sillcock: From the interior, secure the sillcock using the provided mounting hardware. Tighten screws evenly to ensure a snug fit without over-tightening, which could damage the mounting surface or sillcock.
- Connect water supply: Connect your 1/2 inch FPT (Female Pipe Thread) water supply line to the 1/2 inch MPT inlet of the sillcock. Use an adjustable wrench to tighten the connection. Do not overtighten.
- Iċċekkja għal tnixxijiet: Slowly turn the main water supply back on. Inspect all connections for leaks. If leaks are present, turn off the water, tighten the connection slightly, and recheck.
- Operazzjoni tat-test: Open and close the sillcock handle to ensure smooth operation and proper water flow.
5. Operazzjoni
The Everbilt Anti-Siphon Sillcock features a simple lever handle for water control.
- Biex tiftaħ: Rotate the lever handle counter-clockwise to open the valve and allow water to flow.
- Biex tagħlaq: Rotate the lever handle clockwise to close the valve and stop water flow. Ensure the handle is fully closed to prevent drips.
- Anti-Siphon Feature: The integrated anti-siphon device automatically prevents backflow of contaminated water into your potable water supply. Do not obstruct or remove this device.
6. Manutenzjoni
6.1 Tindif
To maintain the polished brass finish, clean the sillcock regularly with a soft cloth and mild soap. Avoid abrasive cleaners, scouring pads, or harsh chemicals, as these can damage the finish.
6.2 Preparazzjoni għax-Xitwa (għal Klimi Silġ)
Proper winterization is critical to prevent freezing and potential damage to the sillcock and your home's plumbing system. This sillcock is designed to drain when closed, but additional steps are recommended:
- Disconnect hoses: Before the first freeze, disconnect all hoses from the sillcock.
- Shut off interior valve: Locate the interior shut-off valve for the sillcock's water supply (if available) and turn it off.
- Drain the line: Open the sillcock handle to allow any remaining water in the line to drain out. Leave the handle open until spring.
- Insulate: Consider insulating the exterior portion of the sillcock with a faucet cover for added protection in extremely cold conditions.
7 Issolvi l-problemi
| Problema | Kawża Possibbli | Soluzzjoni |
|---|---|---|
| Tnixxija ta' ilma mill-konnessjonijiet | Loose connection; insufficient pipe thread sealant. | Turn off water supply. Tighten connection slightly. If leak persists, disassemble, reapply pipe thread sealant, and reassemble. |
| Water drips from spout when closed | Handle not fully closed; worn washer or internal component. | Ensure handle is fully closed. If dripping continues, internal components may need inspection or replacement by a qualified plumber. |
| Fluss ta 'ilma baxx | Partially closed main water supply; obstruction in line; aerator (if present) clogged. | Check if main water supply is fully open. Inspect for kinks in hoses. Clean or replace aerator if applicable. |
| Sillcock frozen (in cold weather) | Improper winterization. | Do not attempt to thaw with open flame. Use a hairdryer or warm towels. In the future, ensure proper winterization steps are followed. If damage occurs, replacement may be necessary. |
8. Speċifikazzjonijiet
| Brand | Everbilt |
| Numru tal-Mudell | 104-515EB (Part Number: VFFASPC15EB) |
| Daqs tal-Konnessjoni | 1/2 pulzier |
| Tip ta' Dħul | MPT (Male Pipe Thread) |
| Tip ta' żbokk | MHT (Male Hose Thread) |
| Tul | 8 pulzieri |
| Materjal | Brass, Steel |
| Tip Finish | Ram illustrat |
| Tip ta 'Immuntar | Immuntar fuq il-Gverta, Toqba Unika |
| Anti-Siphon Feature | Iva |
| Piż tal-oġġett | 9.6 uqija |
| UPC | 032888187788 |
9. Garanzija
Everbilt products are manufactured to high-quality standards. For specific warranty information, please refer to the warranty card included with your purchase or visit the official Everbilt websit. Żomm il-prova tax-xiri tiegħek għal talbiet ta' garanzija.
10. Appoġġ għall-Klijent
If you have any questions regarding the installation, operation, or maintenance of your Everbilt sillcock, please contact Everbilt customer support. Contact information can typically be found on the product packaging or the official Everbilt websit.
Please have your model number (104-515EB) and date of purchase ready when contacting support.


