Introduzzjoni
Thank you for choosing the HOMCOM 650W Electric Paint Sprayer. This advanced system is designed for efficient and smooth application of various paints on small to medium-sized projects, such as fences, furniture, and walls. Its lightweight design ensures ease of transport and assembly, providing a drip-free, spill-free, and splatter-free painting experience.
Please read this manual thoroughly before operating the paint sprayer to ensure safe and effective use. Keep these instructions for future reference.

Image: The HOMCOM 650W Electric Paint Sprayer, featuring a blue compressor unit and a black spray gun, ready for use.
Istruzzjonijiet tas-Sigurtà
Dejjem segwi l-prekawzjonijiet bażiċi ta' sigurtà meta tuża apparati elettriċi biex tnaqqas ir-riskju ta' nar, xokk elettriku, u korriment personali.
- Aqra l-istruzzjonijiet kollha: Iffamiljarizza ruħek mal-kontrolli u l-użu xieraq tat-tagħmir.
- Ilbes tagħmir protettiv personali (PPE) xieraq: Always wear safety glasses, a respirator mask, gloves, and protective clothing.
- Żgura ventilazzjoni xierqa: Uża l-isprejer f'żona ventilata sew biex tevita li tieħu n-nifs tad-dħaħen taż-żebgħa.
- Żomm iż-żona tax-xogħol nadifa u mdawwal sew: Żoni imbarazz jew skuri jistiednu inċidenti.
- Evita l-bidu aċċidentali: Ensure the switch is in the off position before plugging in.
- Tisprejjax materjali fjammabbli: Never use with highly flammable liquids or in explosive atmospheres.
- Skonnettja l-enerġija: Always unplug the sprayer before cleaning, adjusting, or performing maintenance.
- Żomm lit-tfal u lil dawk li jkunu fil-qrib 'il bogħod: Tħallix lit-tfal jew lil persuni mhux imħarrġa joperaw l-isprejer.
Komponenti tal-Prodott
The HOMCOM 650W Electric Paint Sprayer kit includes the following components:
- Main Compressor Unit
- Spray Gun
- Flexible Air Hose (1.5m)
- Paint Container (800ml capacity)
- Tazza tal-Kejl tal-Viskożità
- Cleaning Clip/Brush
- Ċinga tal-Ġarr
- Korda tal-Enerġija

Immaġni: Komprensiva view of all parts included in the HOMCOM paint sprayer kit, including the spray gun, hose, container, compressor unit, viscosity cup, cleaning tool, and strap.
Setup Istruzzjonijiet
- Ipprepara ż-Żona tax-Xogħol: Ensure the area is clean, well-ventilated, and free from obstructions. Cover surfaces not to be painted.
- Arma l-isprejer:
- Connect the flexible air hose to the air outlet on the main compressor unit and to the air inlet on the spray gun. Ensure connections are secure.
- Attach the paint container to the bottom of the spray gun by screwing it clockwise until tight.
- If desired, attach the carrying strap to the compressor unit for easier portability.
- Ipprepara ż-Żebgħa:
- Consult your paint manufacturer's instructions for thinning recommendations.
- Use the provided viscosity measuring cup to check the paint's viscosity. Fill the cup with paint and time how long it takes for the paint to flow out. Adjust with thinner until the desired viscosity is achieved (maximum 130 DIN).
- Strain the paint to remove any lumps or debris that could clog the nozzle.
- Pour the prepared paint into the paint container.
- Qabbad l-Enerġija: Ensure the ON/OFF switch on the compressor unit is in the 'OFF' position before plugging the power cord into a suitable electrical outlet (220-230V/50Hz).
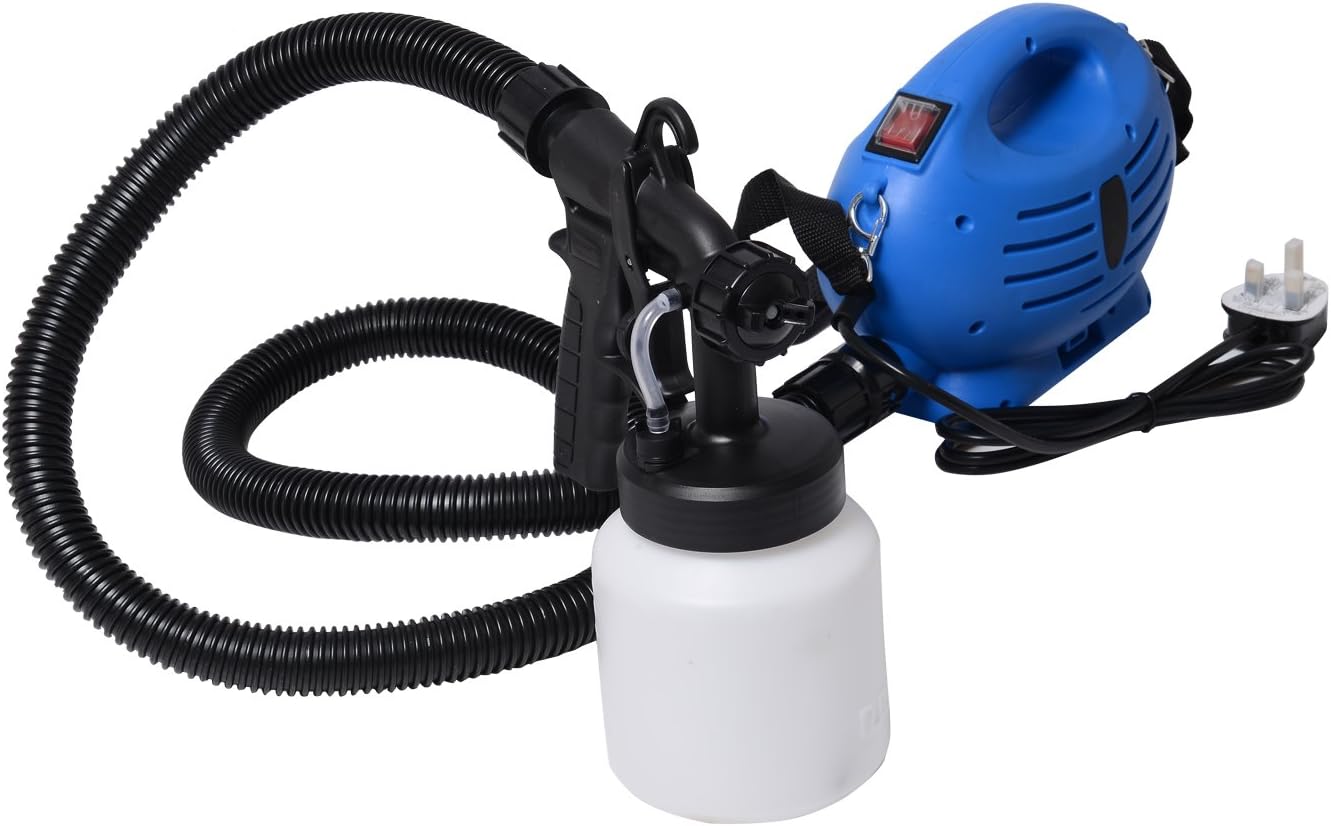
Image: The HOMCOM paint sprayer fully assembled, demonstrating the connection between the compressor unit and the spray gun via the flexible hose.
Istruzzjonijiet Operattivi
- Qawwa Mixgħul: Flip the ON/OFF switch on the compressor unit to the 'ON' position. The compressor will start.
- Aġġusta l-Mudell tal-Isprej: The spray gun features an adjustable nozzle for three spray patterns: horizontal, vertical, and circular (nummular). Rotate the air cap ears to select the desired pattern based on your project needs.
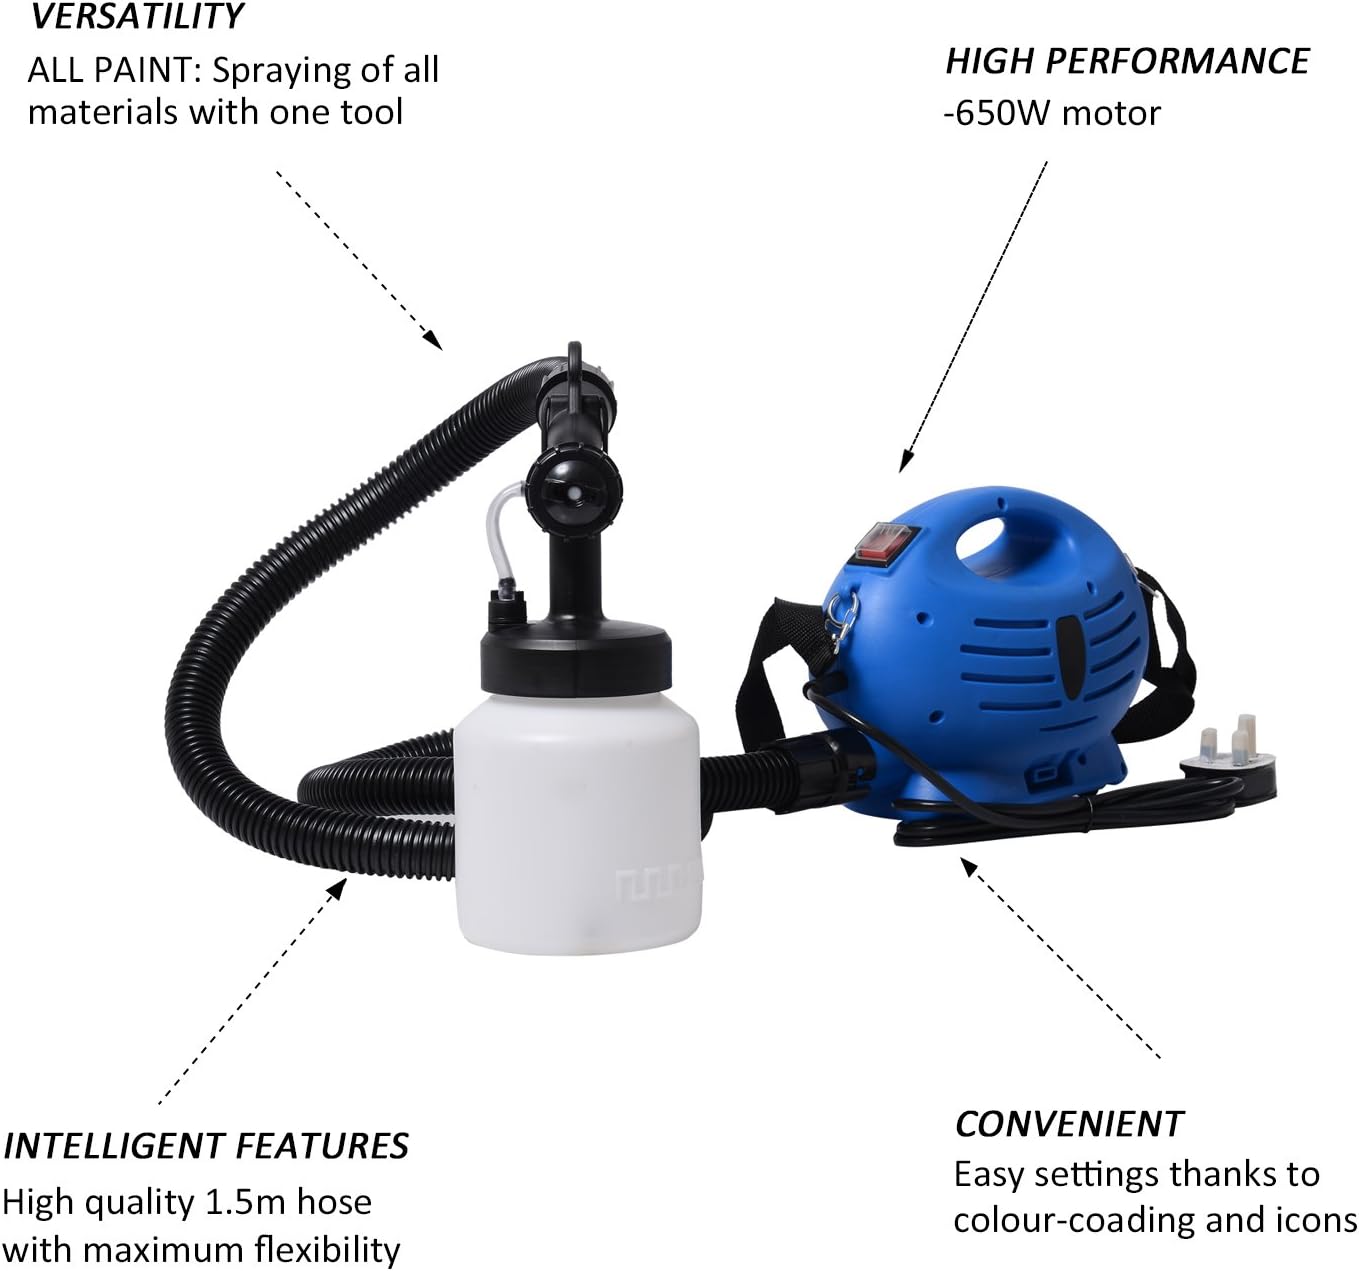
Image: Visual representation of the horizontal, vertical, and circular spray patterns achievable by adjusting the nozzle.
- Aġġusta l-Kontroll tal-Fluss: Use the flow control knob on the spray gun to regulate the amount of paint being sprayed. Start with a lower setting and increase as needed.
- Spray tat-test: Before painting your actual project, test the spray pattern and flow on a piece of scrap material. Adjust settings until you achieve an even and consistent spray.
- Teknika tal-Isprejjar:
- Żomm il-pistola tal-isprej madwar 6-12-il pulzier (15-30 ċm) 'il bogħod mill-wiċċ, waqt li żżommha perpendikolari mal-wiċċ.
- Move the gun in smooth, even strokes, overlapping each pass by about one-third.
- Itlaq il-grillu fl-aħħar ta' kull puplesija biex tevita li tinġabar iż-żebgħa.
- Apply multiple thin coats rather than one thick coat for a better finish and to prevent drips.
- Working at Any Angle: The design allows for spraying from various angles, including overhead, without issues.

Image: Close-up of the compressor's ON/OFF switch and the spray gun's flow control knob, essential for operating the device.
Manutenzjoni u Tindif
Proper cleaning after each use is crucial for maintaining the performance and longevity of your paint sprayer. Neglecting cleaning can lead to clogs and damage.
- Skonnettja l-Enerġija: Dejjem aqla’ l-isprejer mill-plagg tal-elettriku qabel ma tnaddaf.
- Kontenitur taż-Żebgħa Vojt: Remove any remaining paint from the container and return it to its original can or dispose of it properly.
- Laħlaħ il-Kontenitur: Fill the paint container with an appropriate cleaning solution (water for latex paints, mineral spirits for oil-based paints).
- Flaxx tal-isprejer: Reattach the container to the spray gun and spray the cleaning solution through the gun until it runs clear. Do this in a safe, well-ventilated area, directing the spray into a waste container.
- Disassemble and Clean Components:
- Unscrew the paint container and detach the air hose from both the gun and compressor.
- Disassemble the spray gun nozzle and air cap.
- Use the provided cleaning clip/brush and appropriate cleaning solution to thoroughly clean all parts, including the nozzle, air cap, fluid tube, and paint container.
- Ensure all paint residue is removed from internal and external surfaces.
- Nixxef u Aħżen: Allow all components to dry completely before reassembling. Store the sprayer in a clean, dry place, away from extreme temperatures.

Image: The viscosity measuring cup, an essential tool for preparing paint to the correct consistency for spraying.
Issolvi l-problemi
| Problema | Kawża Possibbli | Soluzzjoni |
|---|---|---|
| L-ebda sprej jew sprej dgħajjef |
|
|
| Mudell irregolari tal-bexx |
|
|
| Iż-żebgħa tqattar jew tiċċirkola |
|
|
Jekk tiltaqa' ma' problemi li mhumiex elenkati hawn jew jekk is-soluzzjonijiet ma jsolvux il-problema, jekk jogħġbok ikkuntattja l-appoġġ għall-klijenti.
Speċifikazzjonijiet
| Karatteristika | Speċifikazzjoni |
|---|---|
| Numru tal-Mudell | B40-002 |
| Qawwa | 650 W |
| Voltage | 220-230V / 50Hz |
| Tul tal-Manka | 1.5 m |
| Materjal taż-żennuna | Plastik |
| Daqs taż-żennuna | Φ 2.5 mm |
| Veloċità tal-Mutur | 32000 r/min |
| Kapaċità tal-Kontenitur | 800 ml |
| Viskożità massima | 130 DIN |
| Piż Nett | 1.8 kg |
Garanzija u Appoġġ
For warranty information or technical support, please refer to the documentation provided with your purchase or contact HOMCOM customer service directly. Keep your purchase receipt as proof of purchase.
Għal aktar assistenza, jekk jogħġbok żur is-sit uffiċjali tal-HOMCOM webis-sit jew ikkuntattja l-kanali tal-appoġġ għall-klijenti tagħhom.


