1. Introduzzjoni
This manual provides comprehensive instructions for the installation, operation, and maintenance of the HJC CL-17 Helmet Top Vent. Proper installation and care ensure optimal performance and longevity of your helmet's ventilation system. This top vent is designed to enhance airflow and comfort for riders using the HJC CL-17 helmet model.
2. Informazzjoni dwar is-Sigurtà
Always prioritize safety when handling helmet components. Ensure the helmet is stable during installation. Incorrect installation of the top vent may compromise the helmet's structural integrity or ventilation effectiveness. This product is a component for a helmet that meets Federal Motor Vehicle Safety Standard 218 (FMVSS 218). Always refer to your main helmet manual for overall helmet safety and usage guidelines.
3. Kontenut tal-Pakkett
Iċċekkja li l-komponenti kollha huma preżenti qabel tibda l-installazzjoni:
- HJC CL-17 Top Vent (Wine color)
- Istruzzjonijiet għall-installazzjoni (dan il-manwal)
- (Optional, depending on specific kit) Adhesive strips or small screws
4. Installazzjoni
Follow these steps carefully to install the HJC CL-17 Top Vent:
- Ipprepara l-Elmu: Place your HJC CL-17 helmet on a stable, clean surface. If replacing an existing vent, carefully remove the old vent by gently prying it off or unscrewing it, depending on its attachment method. Clean the area thoroughly to remove any residue or dirt.
- Align the New Vent: Position the new HJC CL-17 Top Vent over the designated vent opening on the top of the helmet. Ensure it aligns perfectly with the contours and attachment points.
- Secure the Vent:
- It-twaħħil li jwaħħal: If your vent uses adhesive, peel off the protective backing from the adhesive strips on the underside of the vent. Press the vent firmly onto the helmet surface for at least 30 seconds to ensure a strong bond.
- Screw Attachment: If your vent uses screws, align the screw holes on the vent with those on the helmet. Insert and gently tighten the screws. Do not overtighten, as this can damage the helmet shell.
- Ivverifika l-Installazzjoni: Once secured, gently test the vent to ensure it is firmly attached and does not wobble. Check that the vent mechanism (if applicable) operates smoothly.
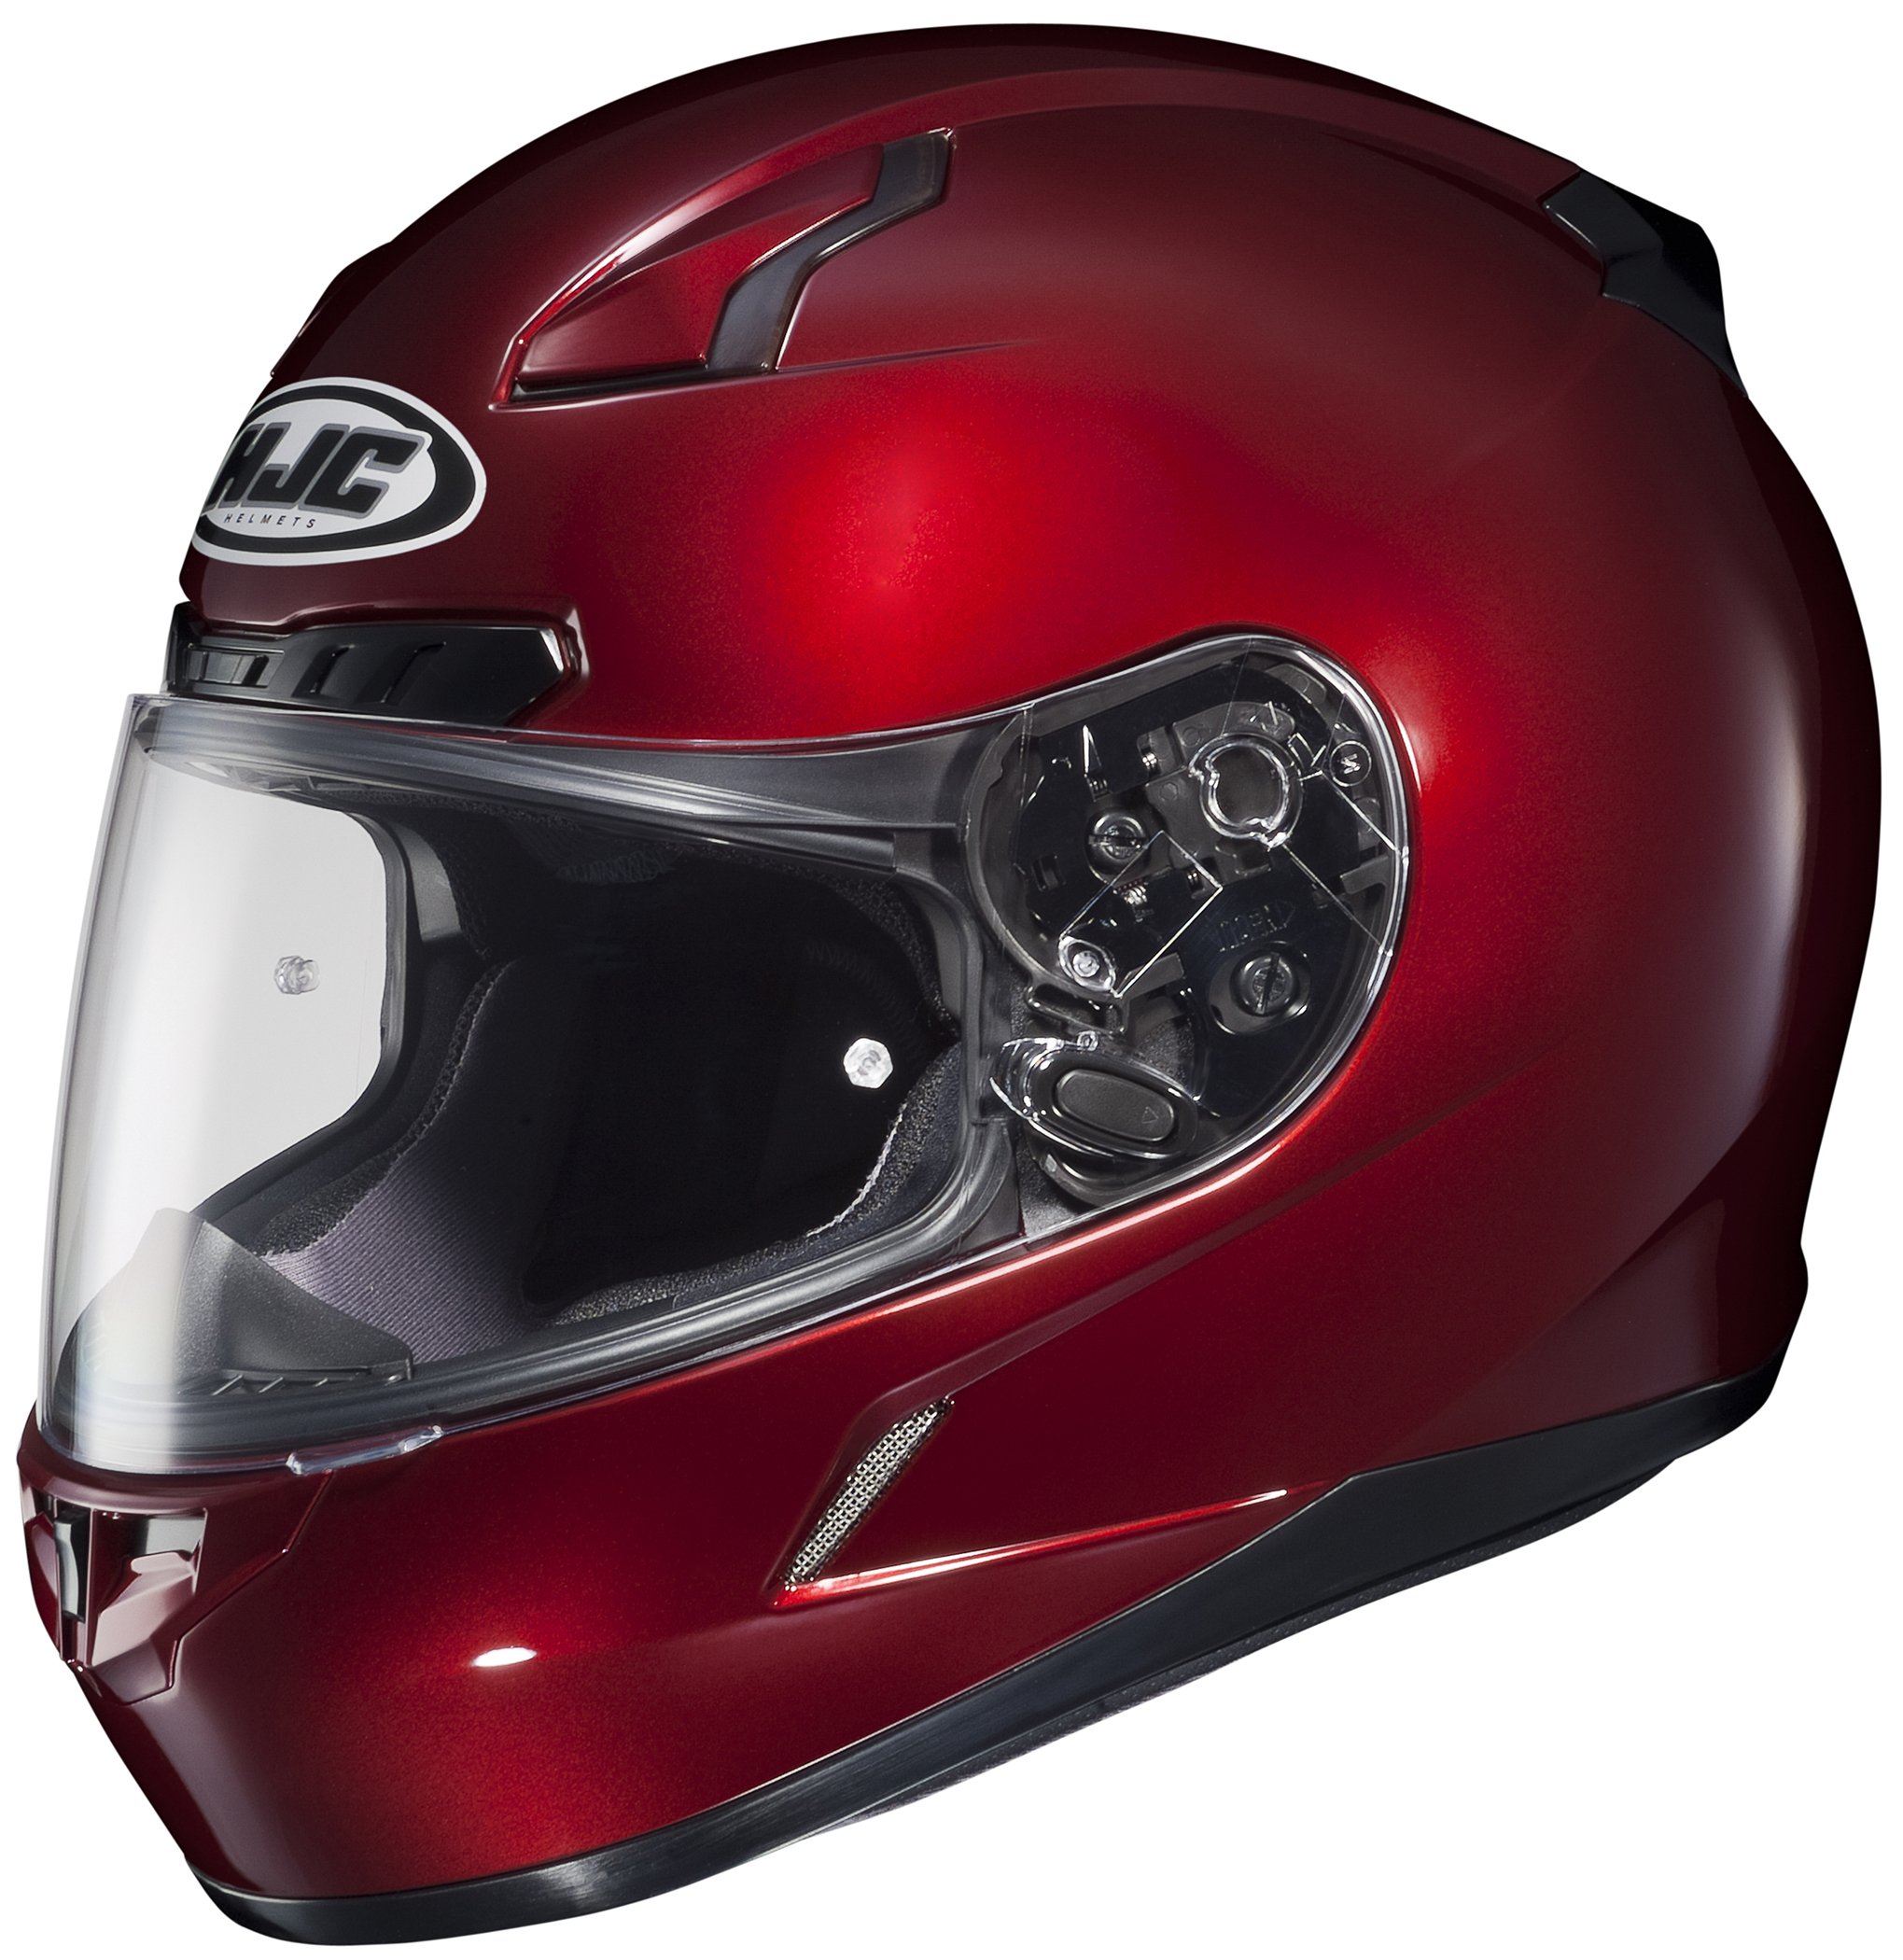
Image 1: HJC CL-17 Helmet. The top vent is located on the upper surface of the helmet, designed for air intake. This image illustrates the general appearance of the helmet where the vent is installed.
5. Operazzjoni
The HJC CL-17 Top Vent is designed for simple operation to control airflow:
- Ftuħ tal-Vent: Locate the slider or lever on the top vent. Slide or push the mechanism forward (or in the indicated direction) to open the vent, allowing air to flow into the helmet.
- L-Għeluq tal-Vent: Slide or push the mechanism backward (or in the indicated direction) to close the vent, reducing or stopping airflow.
Adjust the vent position as needed to achieve desired ventilation based on riding conditions and personal comfort.
6. Manutenzjoni
Regular maintenance ensures the top vent functions correctly and extends its lifespan:
- Tindif: Periodically clean the vent and surrounding area with a soft, damp cloth. Use mild soap if necessary, and rinse thoroughly. Avoid harsh chemicals or abrasive cleaners, as these can damage the vent material or helmet finish.
- Spezzjoni: Regularly inspect the vent for any signs of damage, cracks, or loose attachment. Ensure the slider mechanism moves freely without obstruction.
- Lubrikazzjoni (jekk applikabbli): If the vent mechanism feels stiff, a small amount of silicone-based lubricant can be applied to the moving parts. Avoid oil-based lubricants.
7 Issolvi l-problemi
| Problema | Kawża Possibbli | Soluzzjoni |
|---|---|---|
| Vent mechanism is stiff or stuck. | Dirt or debris accumulation; lack of lubrication. | Clean the vent thoroughly. Apply a small amount of silicone lubricant to the moving parts. |
| Poor airflow through the vent. | Vent is partially closed; internal helmet padding obstruction; vent clogged with debris. | Ensure the vent is fully open. Check for any internal obstructions. Clean the vent openings. |
| Vent feels loose after installation. | Improper attachment; adhesive not fully cured; screws not tightened. | Re-check installation steps. If adhesive, ensure sufficient pressure and curing time. If screws, gently tighten them. |
8. Speċifikazzjonijiet
- Isem tal-Mudell: CL-17 Top Vent
- Numru tal-Parti: 0951-2001-11
- Ditta: HJC
- Kulur: Wine (Red)
- Karatteristika Speċjali: Ventilazzjoni
- Materjal ta 'barra: Polikarbonat (PC)
- Piż tal-oġġett: Madwar 1.6 uqija
- Dimensjonijiet tal-oġġett (L x W x H): Madwar 4 x 1 x 2 pulzieri
9. Garanzija u Appoġġ
HJC products are manufactured to high-quality standards. For specific warranty information regarding your HJC CL-17 Top Vent, please refer to the warranty documentation provided with your original helmet purchase or visit the official HJC Helmets website. For technical support or replacement parts, please contact HJC customer service directly through their official channels.
Informazzjoni ta' Kuntatt: Jekk jogħġbok żur www.hjchelmets.com for the most up-to-date support and contact details.


