1. Introduzzjoni
This manual provides comprehensive instructions for the installation, operation, and maintenance of your Swann SWDVK-163208S-US 3200S 16-Channel 960H DVR Security System. Please read this manual thoroughly before using the product to ensure proper setup and functionality. Keep this manual for future reference.
The system includes a 16-channel 960H Digital Video Recorder (DVR) with a pre-installed 1TB hard drive and eight 700TVL security cameras designed for both indoor and outdoor use. It supports continuous recording, motion detection, and remote viewkapaċitajiet.
2. Informazzjoni dwar is-Sigurtà
- Kun żgur li l-konnessjonijiet kollha tal-enerġija huma sikuri u kklassifikati b'mod korrett għall-apparat.
- Do not expose the DVR or cameras to water or excessive moisture.
- Evita li tpoġġi d-DVR fid-dawl tax-xemx dirett jew ħdejn sorsi ta’ sħana.
- Use only the power adapters supplied with the system.
- Do not attempt to open or service the DVR or cameras yourself. Refer all servicing to qualified personnel.
- Keep cables organized to prevent tripping hazards and ensure proper ventilation.
3. Kontenut tal-Pakkett
Verify that all items listed below are present in your package. If any items are missing or damaged, contact Swann customer support.
- Swann SWDVK-163208S-US 16-Channel 960H DVR with 1TB HDD
- 8 x 700TVL Security Cameras
- 8 x BNC Cables (60ft/18m)
- Adapters tal-Enerġija għal DVR u Kameras
- Cable Ethernet
- Cable HDMI
- Ġurdien USB
- Viti u Plakek tal-Immuntar
- Gwida Quick Start
- Stikers li Jwaqqfu s-Serq
4. Sistema Overview
4.1 DVR Front Panel
The front panel of the DVR provides access to essential controls and indicators.
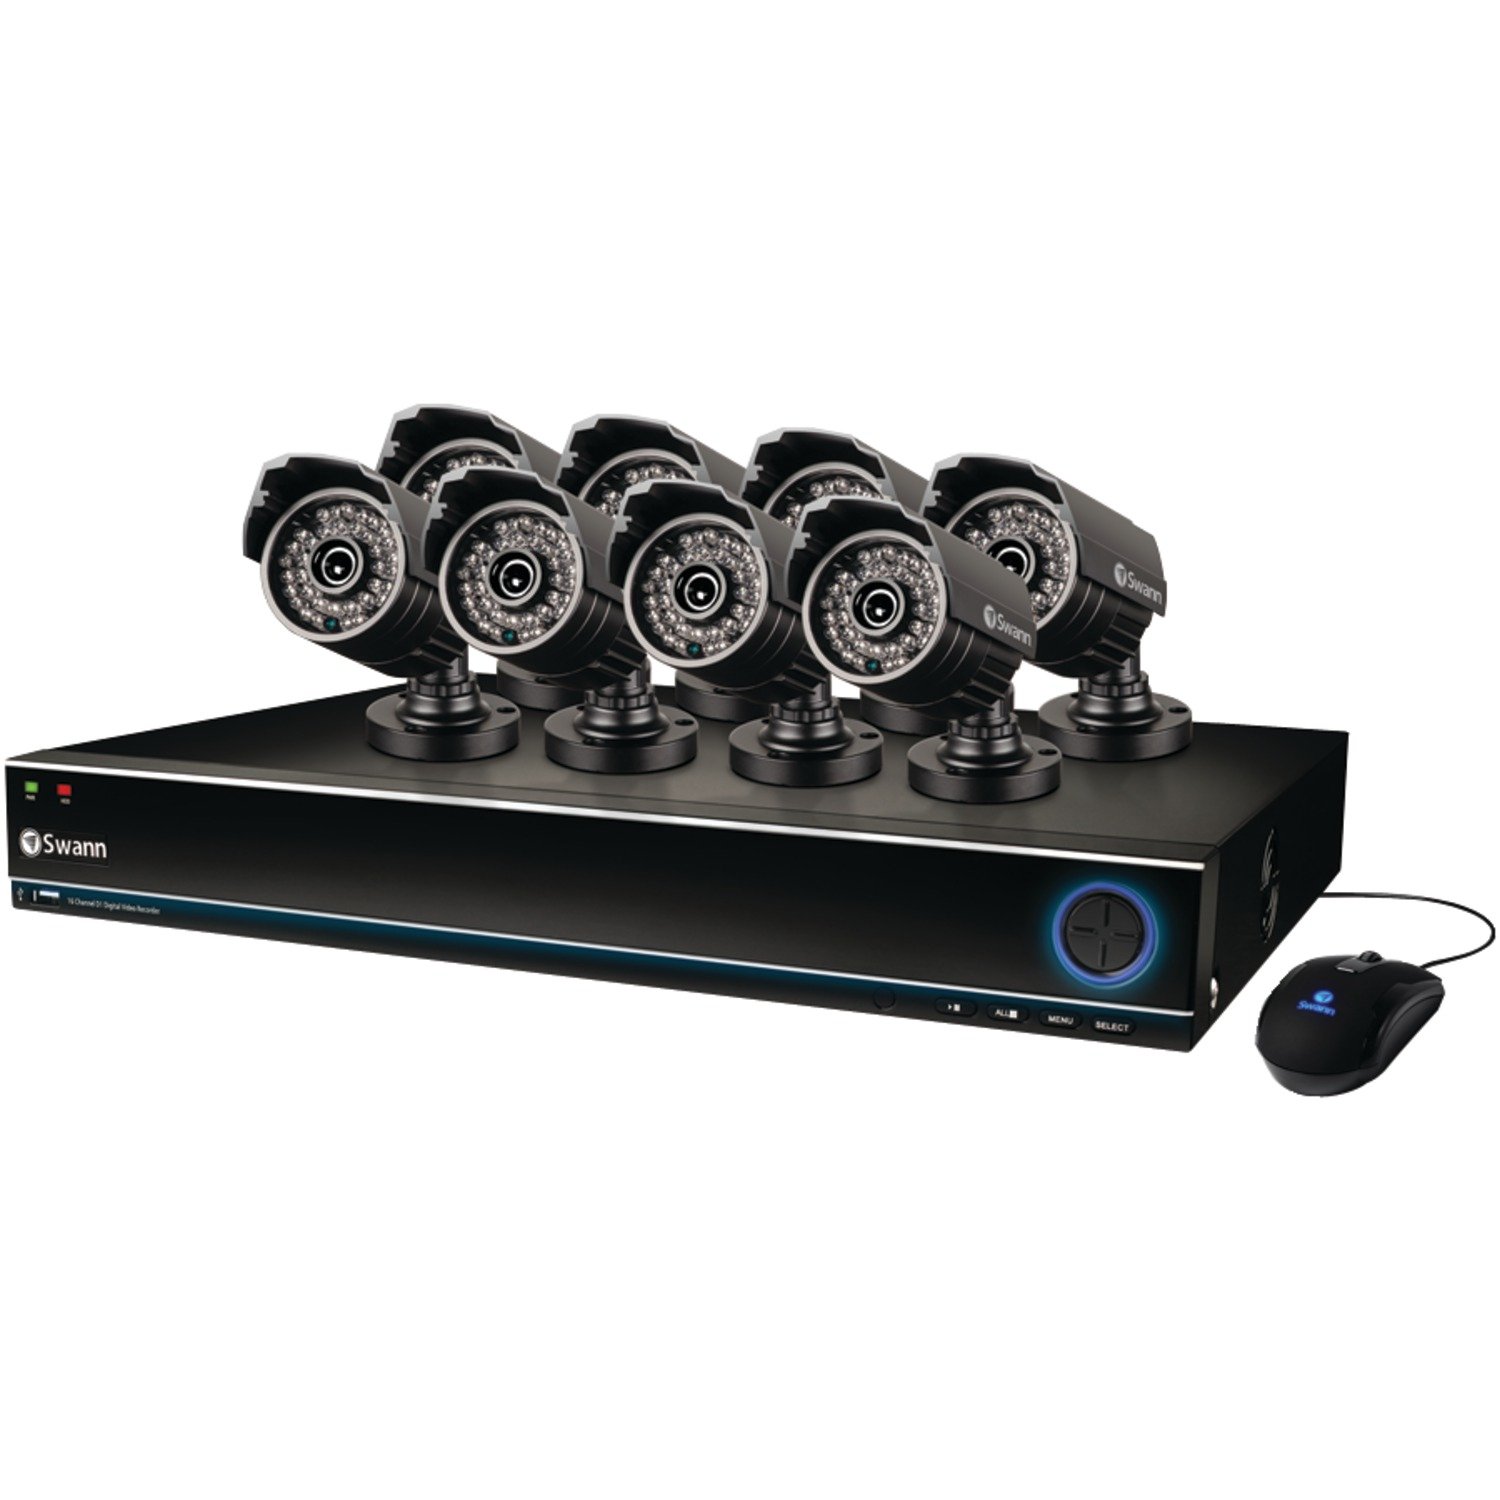
Image: The Swann SWDVK-163208S-US security system, showing the DVR unit and several cameras. The DVR features a blue-lit front panel with control buttons and status indicators.
- Indikatur tal-Enerġija: Illuminates when the DVR is powered on.
- Indikatur HDD: Teptip meta l-hard drive ikun attiv.
- Indikatur tan-Netwerk: Jindika konnettività tan-netwerk.
- Port USB: For connecting a USB mouse or for data backup.
- Buttuni tal-Kontroll: Navigate menus and control playback.
4.2 DVR Rear Panel
The rear panel contains all the necessary ports for connecting cameras, monitors, and network cables.
- Input tal-Vidjo (BNC): 16 ports for connecting security cameras.
- Video Output (HDMI/VGA): For connecting a monitor or TV.
- Audio Input/Output (RCA): For connecting microphones and speakers (if supported).
- Port Ethernet (RJ45): Għal konnessjoni tan-netwerk.
- Portijiet USB: Portijiet USB addizzjonali għal periferali.
- eSATA Port: For connecting an external hard drive for expanded storage.
- Input ta' Enerġija: For connecting the DVR power adapter.
4.3 Karatteristiċi tal-Kamera
The included 700TVL cameras offer clear video surveillance with night vision capabilities.
- Riżoluzzjoni: 700TVL (Television Lines) for detailed images.
- Viżjoni bil-lejl: Infrared LEDs provide visibility up to 82ft (25m) in low light or complete darkness.
- reżistenti għat-temp: Designed for both indoor and outdoor installation.
- Immuntar: Adjustable brackets for flexible positioning.
5. Setup
5.1 Konnessjoni tad-DVR
- Connect the included USB mouse to one of the USB ports on the DVR.
- Connect the HDMI cable from the DVR's HDMI output to an HDMI input on your TV or monitor. Alternatively, use a VGA cable for VGA connections.
- Għal remoti viewing, connect an Ethernet cable from the DVR's Ethernet port to your router or network switch.
5.2 Konnessjoni tal-Kameras
- Mount each camera in your desired location using the provided screws and plugs. Ensure the camera has a clear field of view u huwa protett minn impatt dirett.
- Connect one end of the BNC cable to the camera's video output.
- Connect the other end of the BNC cable to a video input port on the DVR (e.g., Video In 1, Video In 2, etc.).
- Connect the camera's power input to the power splitter cable, then connect the power adapter to the splitter and a power outlet.
5.3 Tixgħel
- Connect the DVR power adapter to the DVR's power input and then to a power outlet.
- The DVR will power on automatically. The power indicator light on the front panel will illuminate.
- Wait for the system to boot up. The Swann logo will appear on your connected monitor, followed by the live view wiri.
5.4 Konfigurazzjoni Inizjali
Upon first boot-up, the DVR will guide you through an initial setup wizard.
- Għażla tal-Lingwa: Agħżel il-lingwa ppreferuta tiegħek.
- Data u Ħin: Set the correct date, time, and time zone. This is crucial for accurate recording timestamps.
- Issettjar tan-Netwerk: Configure network settings (DHCP is usually sufficient for automatic setup).
- Setup tal-Password: Create a strong password for the administrator account to secure your system.
- Format tal-Hard Drive: The system may prompt to format the hard drive. Confirm to proceed.
6. Tħaddim tas-Sistema
6.1 Ħaj View
Wara s-setup inizjali, id-DVR se juri l-istampi live view from all connected cameras. You can switch between single-camera view, multi-camera grids (e.g., 4-channel, 8-channel, 16-channel), and sequence modes using the on-screen menu or front panel controls.
6.2 Modi ta' Reġistrazzjoni
Id-DVR jappoġġja diversi modi ta' reġistrazzjoni:
- Reġistrazzjoni Kontinwa: Records 24/7, overwriting the oldest footage meta l-hard drive ikun mimli.
- Reġistrazzjoni ta 'Sejbien tal-Moviment: Jirrekordja biss meta jinstab moviment fil-kamera view. This conserves hard drive space. Sensitivity and detection areas can be configured for each camera.
- Reġistrazzjoni Skedata: Rekords matul ħinijiet speċifiċi tal-ġurnata jew tal-ġimgħa.
- Reġistrazzjoni manwali: Start and stop recording manually from the DVR interface.
Access recording settings via the DVR's main menu: Menu > Record > Record Schedule.
6.3 Daqq
Biex terġa 'view irreġistrat footage:
- Mill-live view, right-click with the mouse to open the main menu.
- Agħżel Daqq.
- Choose the desired date and camera channel(s).
- Use the timeline to navigate through recorded events. Different colors on the timeline indicate different recording types (e.g., continuous, motion).
- Uża l-kontrolli tal-plejbek (plejbek, pawża, attakk mgħaġġel 'il quddiem, rewind) biex terġa' luraview footage.
6.4 Backup
You can back up important video footage to a USB flash drive or external hard drive.
- Insert a USB storage device into a USB port on the DVR.
- Mur fuq Menu > Backup.
- Select the camera channel, date, and time range for the footage you wish to back up.
- Choose the backup device and file format (e.g., AVI).
- Ikklikkja Ibda to begin the backup process.
6.5 mill-bogħod Viewing (SwannLink & SwannView)
The SwannLink and SwannView applications allow you to view your cameras remotely from a smartphone or tablet.
- Ensure your DVR is connected to the internet via the Ethernet port.
- Download the SwannView app mill-ħanut tal-apps tat-tagħmir tiegħek.
- Open the app and follow the on-screen instructions to add your DVR. This typically involves scanning a QR code displayed on the DVR's monitor (Menu > Network > SwannLink) or manually entering the device ID.
- Enter the DVR's username and password when prompted.
- Issa għandek tkun kapaċi view foo ħajtage and access playback remotely.
7. Manutenzjoni
7.1 Ġestjoni tal-Hard Drive
Il-hard drive ta' 1TB awtomatikament jissostitwixxi l-eqdem fajl.tage when full. To ensure optimal performance, it is recommended to periodically check the hard drive status via Menu > HDD > Disk Manage. You can also connect an external hard drive to the eSATA port for additional storage capacity.
7.2 Cleaning Cameras
Naddaf il-lentijiet tal-kamera perjodikament b'drapp artab u dryer.amp drapp biex tneħħi t-trab, il-ħmieġ, jew tbajja’ ta’ ilma li jistgħu joskuraw view. Do not use harsh chemicals or abrasive materials.
7.3 Aġġornamenti tal-Firmware
Swann may release firmware updates to improve system performance or add new features. Check the Swann support website for the latest firmware for your model. Follow the instructions provided with the firmware update carefully to avoid damaging the DVR.
8 Issolvi l-problemi
| Problema | Kawża Possibbli | Soluzzjoni |
|---|---|---|
| L-ebda immaġni fuq il-monitor | Kejbil tal-vidjow maħlul, input mhux korrett magħżul fuq il-monitor, DVR mhux mixgħul. | Iċċekkja l-konnessjonijiet tal-kejbil HDMI/VGA. Kun żgur li l-monitor huwa fuq l-input korrett. Ivverifika l-qawwa tad-DVR. |
| Ebda immaġni tal-kamera | Loose BNC cable, camera power issue, faulty camera. | Check BNC and power connections for the specific camera. Test camera with a known working cable/power supply. |
| Id-DVR mhux qed jirreġistra | Recording schedule not set, hard drive full or faulty, motion detection not configured. | Check recording schedule. Verify hard drive status. Ensure motion detection is enabled and configured correctly. |
| Ma jistax view mill-bogħod | No network connection, incorrect network settings, app configuration error. | Verify DVR has internet access. Check network settings (DHCP). Reconfigure the DVR in the SwannView app. |
| Purple image on camera | IR filter stuck, camera malfunction. | Power cycle the camera. If the issue persists, the camera may be faulty and require replacement. |
9. Speċifikazzjonijiet
- Numru tal-Mudell: SWDVK-163208S-US
- Inputs tal-Vidjo: 16 Channels BNC
- Output tal-vidjo: hdmi, vga
- Riżoluzzjoni tal-wiri: Up to 1080p (HDMI)
- Riżoluzzjoni tar-Reġistrazzjoni: 960H (960x576/960x480)
- Hard Drive: 1TB SATA HDD (expandable via eSATA)
- Format tal-kompressjoni: H.264
- Interface tan-Netwerk: Port Ethernet RJ45
- Interface USB: 3 x portijiet USB 2.0
- Riżoluzzjoni tal-kamera: 700TVL
- Camera Night Vision: Sa 82 pied (25m)
- Camera Weatherproof Rating: IP66 (għall-użu fuq barra)
- Dimensions (DVR): 22.5 x 15.3 x 8.1 pulzieri (approssimattiv)
- Weight (DVR): 14 liri (madwar)
- Sors tal-Enerġija: DC 12V
10. Informazzjoni dwar Garanzija
Swann products are covered by a limited warranty. The specific terms and duration of your warranty may vary by region and product. Please refer to the warranty card included with your product or visit the official Swann webgħal informazzjoni dettaljata dwar il-garanzija u proċeduri ta' reġistrazzjoni. Żomm il-prova tax-xiri tiegħek għal talbiet ta' garanzija.
11. Appoġġ
For technical assistance, product support, or to download the latest software and manuals, please visit the official Swann support website. You can typically find FAQs, troubleshooting guides, and contact information for customer service there. Have your product model number (SWDVK-163208S-US) ready when contacting support.
Appoġġ ta' Swann Websit: https://www.swann.com/us/support


