1. Introduzzjoni
Thank you for choosing the Chieftec Libra Series LG-01B Mid-Tower ATX PC Case. This manual provides essential information for the proper installation, operation, and maintenance of your new computer chassis. Please read this manual thoroughly before beginning installation to ensure optimal performance and safety.
2. Informazzjoni dwar is-Sigurtà
Dejjem osserva l-prekawzjonijiet tas-sigurtà li ġejjin:
- Ensure the power supply is disconnected from the mains before opening the case or installing components.
- Immaniġġja l-komponenti b'attenzjoni biex tevita ħsara minn skariku elettrostatiku (ESD). Ikkunsidra li tuża ċinga tal-polz antistatika.
- Żomm partijiet żgħar u għodda 'l bogħod mit-tfal.
- Do not operate the case in environments with excessive dust, moisture, or extreme temperatures.
- Refer to the manuals of your individual components (motherboard, power supply, etc.) for specific installation instructions.
3. Kontenut tal-Pakkett
Ivverifika li l-oġġetti kollha huma preżenti fil-pakkett:
- Chieftec Libra Series LG-01B PC Case
- Accessory kit (screws, motherboard standoffs, thumb screws)
Note: Power supply unit (PSU) is not included and must be purchased separately.
4. Karatteristiċi ewlenin
- Modern and ergonomic design
- Support for mATX and ATX motherboards
- Front panel connectivity: 1x USB 3.0, 2x USB 2.0, Mic-in, Audio-out (HD Audio)
- Tool-less installation for 5.25" optical drives and 3.5" hard drives
- Drive Bays: 2x 5.25" external, 1x 3.5" external, 2x 3.5" internal, 1x 2.5" internal
- Fan preparations: 1x 80/90/120mm (front), 2x 80mm (rear), 2x 120mm (left side panel)
- Għoli massimu tal-apparat li jkessaħ is-CPU: 140mm
- Maximum VGA card length: 380mm
5. Konfigurazzjoni u Installazzjoni
5.1. Il-Ftuħ tal-Każ
To access the interior, remove the side panel. Typically, this involves unscrewing two thumb screws at the rear of the case and sliding the panel backward.
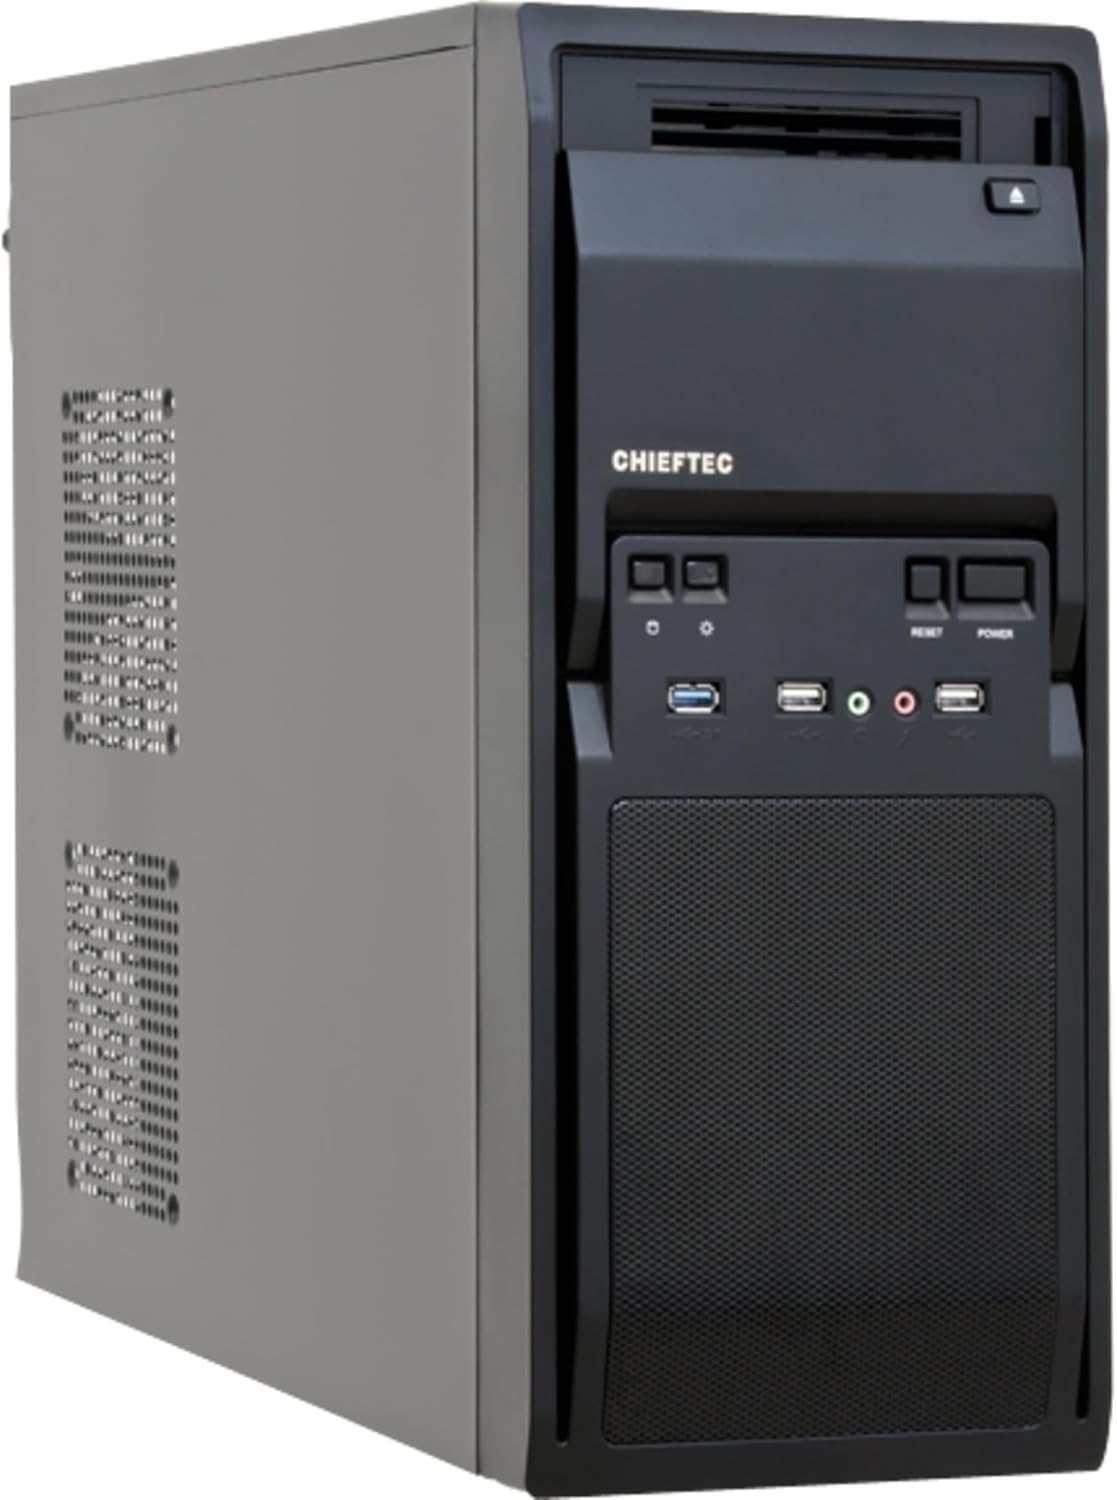
Figura 1: Quddiem-xellug view of the Chieftec LG-01B PC case, showing the main chassis and front panel design. The side panel is secured by screws at the rear.
5.2. Installazzjoni tal-Motherboard
- Install the necessary motherboard standoffs into the motherboard tray according to your motherboard's form factor (ATX or mATX).
- Place the I/O shield into the opening at the rear of the case.
- Allinja bir-reqqa l-motherboard tiegħek mal-istandoffs u l-I/O shield, imbagħad waħħalha bil-viti.

Figura 2: Intern view of the Chieftec LG-01B PC case, showing the motherboard tray, drive bays with tool-less clips, and cable management cutouts. The rear I/O shield opening is visible.
5.3. Installazzjoni tal-Unità tal-Provvista tal-Enerġija (PSU)
Install your ATX power supply into the designated bay at the top rear of the case and secure it with screws from the exterior.

Figura 3: Wara view of the Chieftec LG-01B PC case, highlighting the power supply mounting area at the top, expansion slots, and fan mounting points.
5.4. Drive Installation (ODD/HDD/SSD)
- 5.25" Optical Drives: Remove the front panel bay cover, slide the optical drive into the bay, and secure it using the tool-less clips.
- 3.5" Hard Drives: Slide the 3.5" HDD into an internal bay and secure it with the tool-less clips.
- SSDs ta' 2.5": Install 2.5" SSDs into the dedicated internal 2.5" bay, typically requiring screws.

Figura 4: Quddiem view of the Chieftec LG-01B PC case with the front panel cover for the I/O ports opened, revealing the 5.25" and 3.5" external drive bays. The USB and audio ports are also visible.
5.5. Konnessjonijiet tal-Panel ta' Quddiem
Connect the front panel cables (USB 3.0, USB 2.0, HD Audio, Power, Reset, HDD LED, Power LED) to the corresponding headers on your motherboard. Refer to your motherboard manual for header locations.
5.6. Expansion Cards (GPU, etc.)
Remove the necessary expansion slot covers at the rear of the case. Insert your expansion card into the PCIe slot on the motherboard and secure it with a screw.
5.7. Ġestjoni tal-Kejbil
Utilize the cable routing cutouts and tie-down points behind the motherboard tray to manage cables for improved airflow and aesthetics.
6. Istruzzjonijiet Operattivi
Once all components are installed and connected, close the side panel. Connect your monitor, keyboard, mouse, and power cable to the system. Press the power button on the front panel to start your computer.
6.1. Portijiet tal-Panel ta' Quddiem
- Port USB 3.0: Għal trasferiment ta' dejta b'veloċità għolja ma' apparati kompatibbli.
- Portijiet USB 2.0: Għall-konnessjoni ta' apparati USB standard.
- Mic-in Jack: Għall-konnessjoni ta 'mikrofonu.
- Audio-out Jack: Għall-konnessjoni ta' headphones jew speakers.
- Buttuna tal-Qawwa: Biex tixgħel/titfi s-sistema.
- Buttuna Irrisettja: Biex terġa 'tibda s-sistema.
7. Manutenzjoni
Manutenzjoni regolari tgħin biex tiżgura l-lonġevità u l-prestazzjoni ottimali tal-komponenti tal-PC tiegħek.
- Tindif tat-Trab: Periodically clean dust from inside the case, especially from fan filters and heatsinks, using compressed air or a soft brush. Ensure the system is powered off and unplugged before cleaning.
- Ġestjoni tal-Kejbil: Kun żgur li l-kejbils huma mqiegħda pulit biex tevita li l-fluss tal-arja jiġi mxekkel.
- Ventilazzjoni: Ensure the case has adequate clearance around its ventilation openings for proper airflow.
8 Issolvi l-problemi
Jekk tiltaqa' ma' problemi, ikkunsidra l-passi komuni li ġejjin għas-soluzzjoni tal-problemi:
- Is-sistema mhux qed tixgħel:
- Check if the power cable is securely connected to the PSU and the wall outlet.
- Kun żgur li s-swiċċ tal-PSU jkun fil-pożizzjoni 'ON'.
- Ivverifika li l-kejbil tal-buttuna tal-enerġija tal-pannell ta' quddiem huwa konness sew mal-header tal-motherboard.
- L-ebda output tal-wiri:
- Ensure the monitor cable is securely connected to the graphics card or motherboard (if using integrated graphics).
- Erġa' poġġi l-karta grafika u l-moduli tar-RAM.
- Il-portijiet USB mhux qed jaħdmu:
- Check if the front panel USB cables are correctly connected to the motherboard headers.
- Ensure necessary drivers are installed for your motherboard.
Għal kwistjonijiet aktar kumplessi, ikkonsulta l-manwali tal-komponenti tiegħek jew fittex assistenza professjonali.
9. Speċifikazzjonijiet
| Mudell | LG-01B |
| Fattur tal-Formola | Torri tan-Nofs |
| Kompatibbiltà tal-motherboard | ATX, mATX |
| Dimensjonijiet (LxWxH) | 484mm x 180mm x 404mm (with feet +3mm) / 19.06 x 7.09 x 15.91 inches |
| Piż | 4.5 kg / 9.9 lbs (without PSU) |
| Bajjiet tad-Drajv Esterni | 2x 5.25", 1x 3.5" |
| Bajja ta' Drive Interni | 2x 3.5", 1x 2.5" |
| Portijiet tal-Panew ta' Quddiem | 1x USB 3.0, 2x USB 2.0, Mic-in, Audio-out (HD Audio) |
| Fan Preparations | Front: 1x 80/90/120mm; Rear: 2x 80mm; Left Side: 2x 120mm |
| Max CPU Cooler Għoli | 140mm |
| Tul Max tal-Kard VGA | 380mm |
| Ħxuna tal-Materjal | 0.6mm |
10. Garanzija u Appoġġ
The Chieftec Libra Series LG-01B PC case comes with a 24-month warranty from the date of purchase. This warranty covers manufacturing defects. It does not cover damage caused by improper installation, misuse, accidents, modifications, or unauthorized repairs.
For technical support or warranty claims, please contact your retailer or visit the official Chieftec websit għal informazzjoni ta' kuntatt.


