1. Introduzzjoni
This manual provides detailed instructions for the proper installation, operation, and maintenance of the Apollo PXPC3810PK 3/8-inch PEX Pipe Clamp. Adhering to these guidelines ensures optimal performance and longevity of the product. Please read this manual thoroughly before beginning any installation.
2. Prodott Aktarview
The Apollo PXPC3810PK is a high-quality stainless steel pinch clamp designed for securing 3/8-inch PEX pipe and conduit connections. It is manufactured to meet ASTM F-2159 standards and is NSF listed, ensuring reliability and safety for plumbing applications. This clamp provides a secure, leak-free connection when used with appropriate PEX fittings and crimping tools.

Figure 2.1: Apollo PXPC3810PK 3/8-inch PEX Pipe Clamp
3. Informazzjoni dwar is-Sigurtà
- Always wear appropriate personal protective equipment (PPE), such as safety glasses and gloves, when working with tools and plumbing systems.
- Ensure all components are clean and free from dirt, water, or other contaminants before assembly. Contaminants on mating surfaces can lead to an inferior assembly and potential leaks.
- Use only PEX crimping tools specifically designed for pinch clamps to ensure proper crimping and a secure connection.
- Do not reuse clamps. Once a clamp has been crimped, it should not be removed and re-crimped. Always use a new clamp għal kull konnessjoni.
4. Istruzzjonijiet ta 'installazzjoni
Follow these steps carefully for proper installation of the Apollo PXPC3810PK PEX Pipe Clamp:
- Ipprepara l-Komponenti: Ensure all PEX tubing, fittings, and the clamp itself are clean and free of any debris, dirt, or moisture. Wipe components clean if necessary.
- Insert PEX Tube into Fitting: Insert the PEX tube fully into the end of the PEX fitting. Verify that the tubing is completely seated against the stop inside the fitting.
- Poġġi l-Clamp: Slide the correctly sized Apollo PXPC3810PK clamp over the end of the PEX tube and fitting. Position the clamp so that it is approximately 1/8 to 1/4 inch from the end of the PEX tube, over the fitting's barb.
- Crimp the Clamp: Using a PEX pinch clamp tool, fully close the clamp. The tool's ratchet mechanism will prevent it from opening until the crimp is complete and secure.
- Verifika Viżwali: After crimping, visually inspect the clamp to ensure it is fully closed. The maximum allowable end gap after crimping is 0.005 inches. A properly crimped clamp will appear uniformly compressed around the fitting.
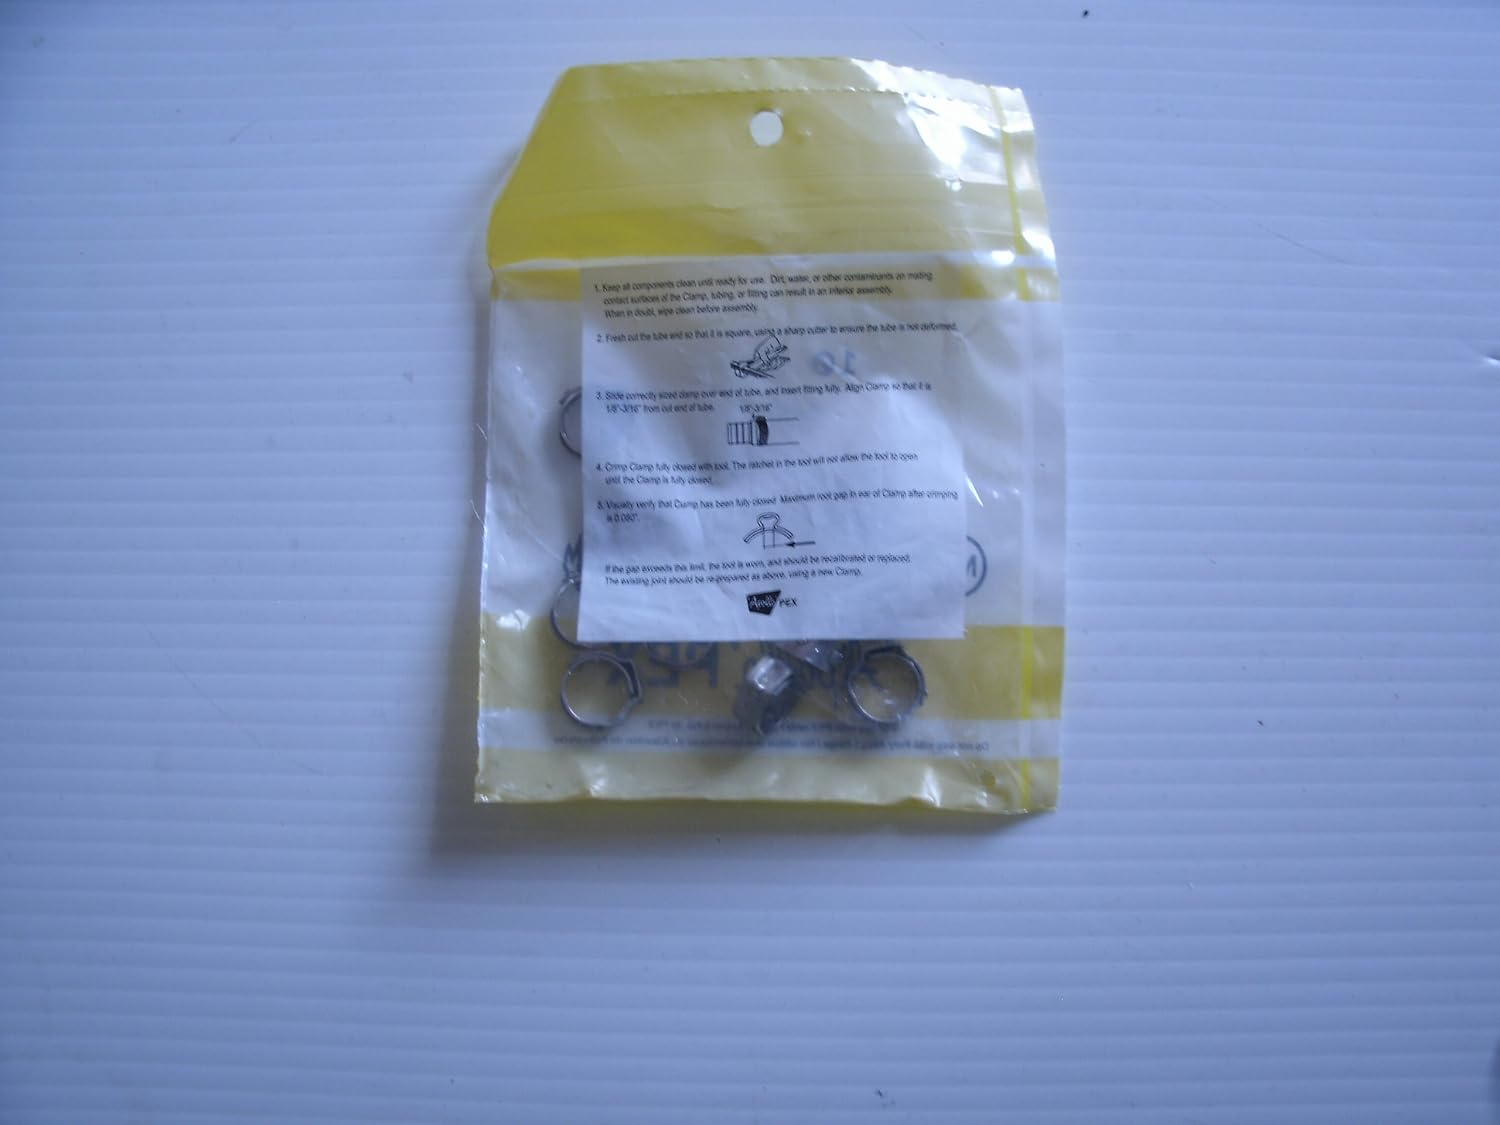
Figure 4.1: Installation instructions as printed on product packaging
5. Istruzzjonijiet Operattivi
The operation of the Apollo PXPC3810PK clamp is integral to its installation. Once properly installed as described in Section 4, the clamp creates a permanent, secure connection. No further operational steps are required after successful crimping.
6. Manutenzjoni
The Apollo PXPC3810PK PEX pipe clamp is designed for a maintenance-free service life once installed correctly. Regular inspection of PEX connections during routine plumbing checks is recommended to ensure no visible signs of wear or leakage. If a connection shows signs of failure, it must be replaced.
7 Issolvi l-problemi
- Leakage at Joint: If a joint leaks after crimping, it indicates an improper seal. This could be due to misorientation of the PEX tube or fitting, or an incomplete crimp. The faulty clamp and potentially the PEX tube or fitting must be replaced, and a new clamp must be used for re-crimping.
- Clamp Not Fully Closed: If the crimping tool does not fully close the clamp, ensure the tool is properly calibrated and in good working condition. Verify the clamp size matches the PEX pipe and fitting. Replace the clamp and re-attempt crimping.
8. Speċifikazzjonijiet
| Karatteristika | Speċifikazzjoni |
|---|---|
| Numru tal-Mudell | PXPC3810PK |
| Pipe/Conduit Size | 3/8 inch PEX |
| Materjal | Stainless Steel |
| Standards | ASTM F-2159, NSF Listed |
| Temperatura operattiva | 0 - 200 grad F |
| Kulur | Fidda |
| Piż tal-oġġett | 1.12 uqija (madwar) |
| Dimensjonijiet tal-Prodott | 4.25 x 4.75 x 6 pulzieri (ippakkjar) |
| UPC | 0670750269127 |
9. Garanzija u Appoġġ
Specific warranty information for the Apollo PXPC3810PK clamp is not provided in the product details. For warranty inquiries or technical support, please contact Apollo customer service directly through their official website or authorized distributors. Always retain your proof of purchase for any warranty claims.


