Introduzzjoni
This user manual provides essential information for the safe and efficient operation, maintenance, and troubleshooting of your Gastroback Pro Vital 40117 Centrifugeuse Juicer. Please read these instructions carefully before first use and keep them for future reference.
The Gastroback Pro Vital 40117 is designed for extracting juice from whole fruits and vegetables quickly and efficiently, thanks to its powerful 700W motor and XL filling chute.
Istruzzjonijiet Importanti dwar is-Sigurtà
Dejjem segwi l-prekawzjonijiet bażiċi ta' sigurtà meta tuża apparati elettriċi biex tnaqqas ir-riskju ta' nar, xokk elettriku, u korriment lil persuni.
- Aqra l-istruzzjonijiet kollha qabel ma tħaddem l-apparat.
- Tgħaddix il-bażi tal-mutur fl-ilma jew likwidi oħra.
- Kun żgur li l-apparat ikun immuntat sew qabel l-użu.
- Keep hands and utensils out of the feed chute during operation to prevent injury.
- Dejjem aqla’ l-juicer mill-plagg tal-elettriku meta ma jkunx qed jintuża, qabel ma tiġbor jew tiżżarma partijiet, u qabel ma tnaddaf.
- Tħaddim l-ebda apparat b'korda jew plagg bil-ħsara, jew wara li l-apparat ma jaħdimx jew ikun waqa' jew ġie mħassar b'xi mod.
- Dan l-apparat huwa għall-użu fid-dar biss.
Komponenti tal-Prodott
Familiarize yourself with the parts of your Gastroback Pro Vital 40117 Centrifugeuse Juicer.


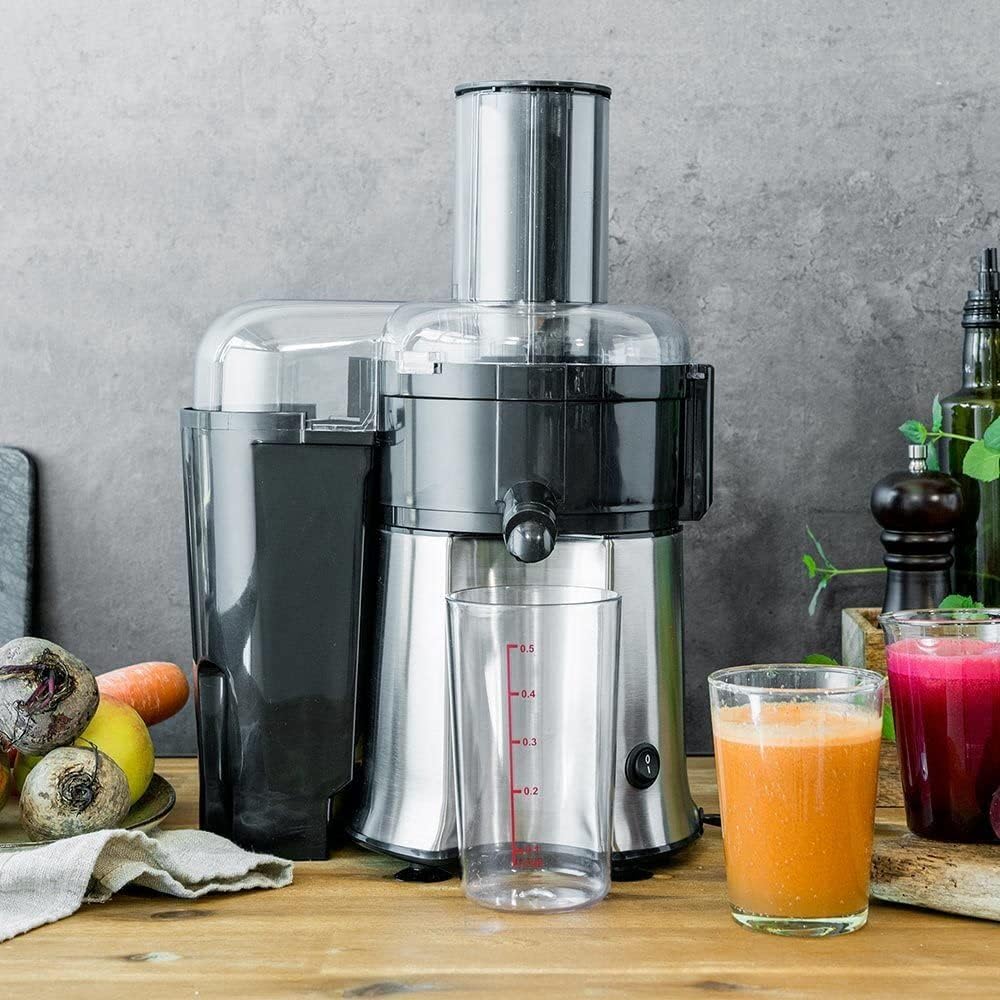
- Bażi tal-Mutur: Contains the 700W multi-motor.
- Kontenitur tal-Polpa: Collects discarded pulp, dishwasher safe.
- Kontenitur tal-meraq: Transparent container for collecting extracted juice.
- Kanal tal-Għalf: XL (75mm diameter) for whole fruits and vegetables.
- Micro-sieve: Stainless steel filter for fine juice.
- Għatu: Secures the components during operation.
- Pusher: Used to guide fruits and vegetables down the feeding chute.
Setup u Assemblea
Before first use, wash all removable parts (pulp container, juice container, lid, micro-sieve, pusher) in warm soapy water, rinse thoroughly, and dry. The pulp container is dishwasher safe.
- Poġġi l-bażi tal-mutur fuq wiċċ stabbli, ċatt u niexef.
- Insert the micro-sieve filter basket securely into the motor base. Ensure it clicks into place.
- Place the lid onto the motor base, aligning the locking mechanism.
- Attach the pulp container to the side of the juicer, ensuring it is properly seated to collect pulp.
- Position the transparent juice container under the juice spout.
- Insert the pusher into the feeding chute.
- Ipplaggja l-korda tal-enerġija f'sokit elettriku adattat (230V).
Istruzzjonijiet Operattivi
Segwi dawn il-passi għal riżultati ottimali tal-meraq.
- Prepare your fruits and vegetables. While the XL chute allows for whole items, remove large seeds (e.g., peach pits) and hard skins (e.g., pineapple, melon). Wash all produce thoroughly.
- Ensure the juicer is correctly assembled and plugged in.
- Turn on the juicer using the power switch. The 700W multi-motor will start.
- Gradually feed fruits and vegetables into the feeding chute. Use the pusher gently to guide them down. Do not force produce into the chute, as this can strain the motor.
- The fresh juice will flow into the juice container, and the pulp will be collected in the pulp container.
- Ladarba l-juicer ikun lest, itfi l-juicer u aqlagħh mill-plagg tal-elettriku.
Suġġerimenti għall-Aħjar Riżultati:
- For maximum juice yield, feed produce slowly and steadily.
- Juice softer fruits (like berries) alternately with harder fruits (like apples) to prevent clogging.
- Consume fresh juice immediately for the best taste and nutritional value.


Tindif u Manutenzjoni
Tindif regolari jiżgura l-lonġevità u t-tħaddim iġjeniku tal-juicer tiegħek.
- Dejjem aqla’ l-juicer qabel ma tnaddaf.
- Disassemble all removable parts: pusher, lid, micro-sieve, pulp container, and juice container.
- Laħlaħ il-partijiet kollha li jistgħu jitneħħew taħt ilma ġieri immedjatament wara l-użu biex tevita li l-polpa tinxef u teħel.
- Use a cleaning brush (often supplied with juicers, though not explicitly mentioned here) to clean the micro-sieve thoroughly. Ensure all pulp is removed from the fine mesh.
- The pulp container is dishwasher safe. Other parts can be washed by hand with warm soapy water.
- Imsaħ il-bażi tal-mutur b'adamp drapp. Qatt m'għandek tgħaddas il-bażi tal-mutur fl-ilma.
- Dry all parts completely before reassembling or storing the juicer.
Ħażna: Store the assembled juicer in a dry, cool place, away from direct sunlight.
Issolvi l-problemi
This section addresses common issues you might encounter with your juicer.
| Problema | Kawża Possibbli | Soluzzjoni |
|---|---|---|
| Il-juicer ma jixgħelx. | Mhux imdaħħal; serratura tas-sigurtà mhux attivata; mitfijatage. | Ensure power cord is securely plugged in. Check that all parts are correctly assembled and the safety locking arm is engaged. Check household fuse/circuit breaker. |
| Il-mutur jieqaf waqt it-tħaddim. | Overload protection activated; too much produce fed at once. | Turn off and unplug the juicer. Remove excess produce. Wait 15-20 minutes for the motor to cool down before restarting. Feed produce more slowly. |
| Rendiment baxx ta' meraq jew polpa mxarrba. | Micro-sieve clogged; produce fed too quickly. | Clean the micro-sieve thoroughly. Feed produce at a slower, more consistent pace. |
| Vibrazzjoni jew storbju eċċessiv. | Improper assembly; damaged micro-sieve. | Disassemble and reassemble all parts, ensuring they are securely in place. Inspect the micro-sieve for damage; replace if necessary. |
If the problem persists after attempting these solutions, please contact Gastroback customer support.
Speċifikazzjonijiet Tekniċi
- Mudell: Gastroback Pro Vital 40117
- Qawwa: 700 Watts
- Voltage: 230V
- Materjal: Stainless Steel (brushed housing), BPA-free components
- Dimensjonijiet (L x W x H): 20.5 x 26.8 x 39.6 ċm (madwar 8.1 x 10.5 x 15.6 pulzieri)
- Piż: 3.2 Kilogrammi (madwar 7.05 lbs)
- Feeding Chute Diameter: 75 mm (XL)
- Karatteristiċi Speċjali: Micro-sieve in stainless steel, dishwasher-safe pulp container.
Garanzija u Appoġġ
Gastroback products are manufactured with high-quality materials and undergo strict quality control. For information regarding warranty terms and conditions, please refer to the warranty card included with your product or visit the official Gastroback websit. Żomm il-prova tax-xiri tiegħek għal talbiet ta' garanzija.
For technical support, spare parts, or service inquiries, please contact Gastroback customer service. Contact details can typically be found on the manufacturer's websit jew fl-ippakkjar tal-prodott.
Riżorsi onlajn: For additional tips, recipes, and product information, visit the official Gastroback websit: www.gastroback.de


