1. Prodott Aktarview
This manual provides detailed instructions for the assembly, operation, and maintenance of your Loomie 5-Drawer Dresser. This versatile furniture piece features five spacious drawers, a built-in charging station, adjustable LED lighting, and convenient side storage racks, designed to enhance organization and functionality in your living space.
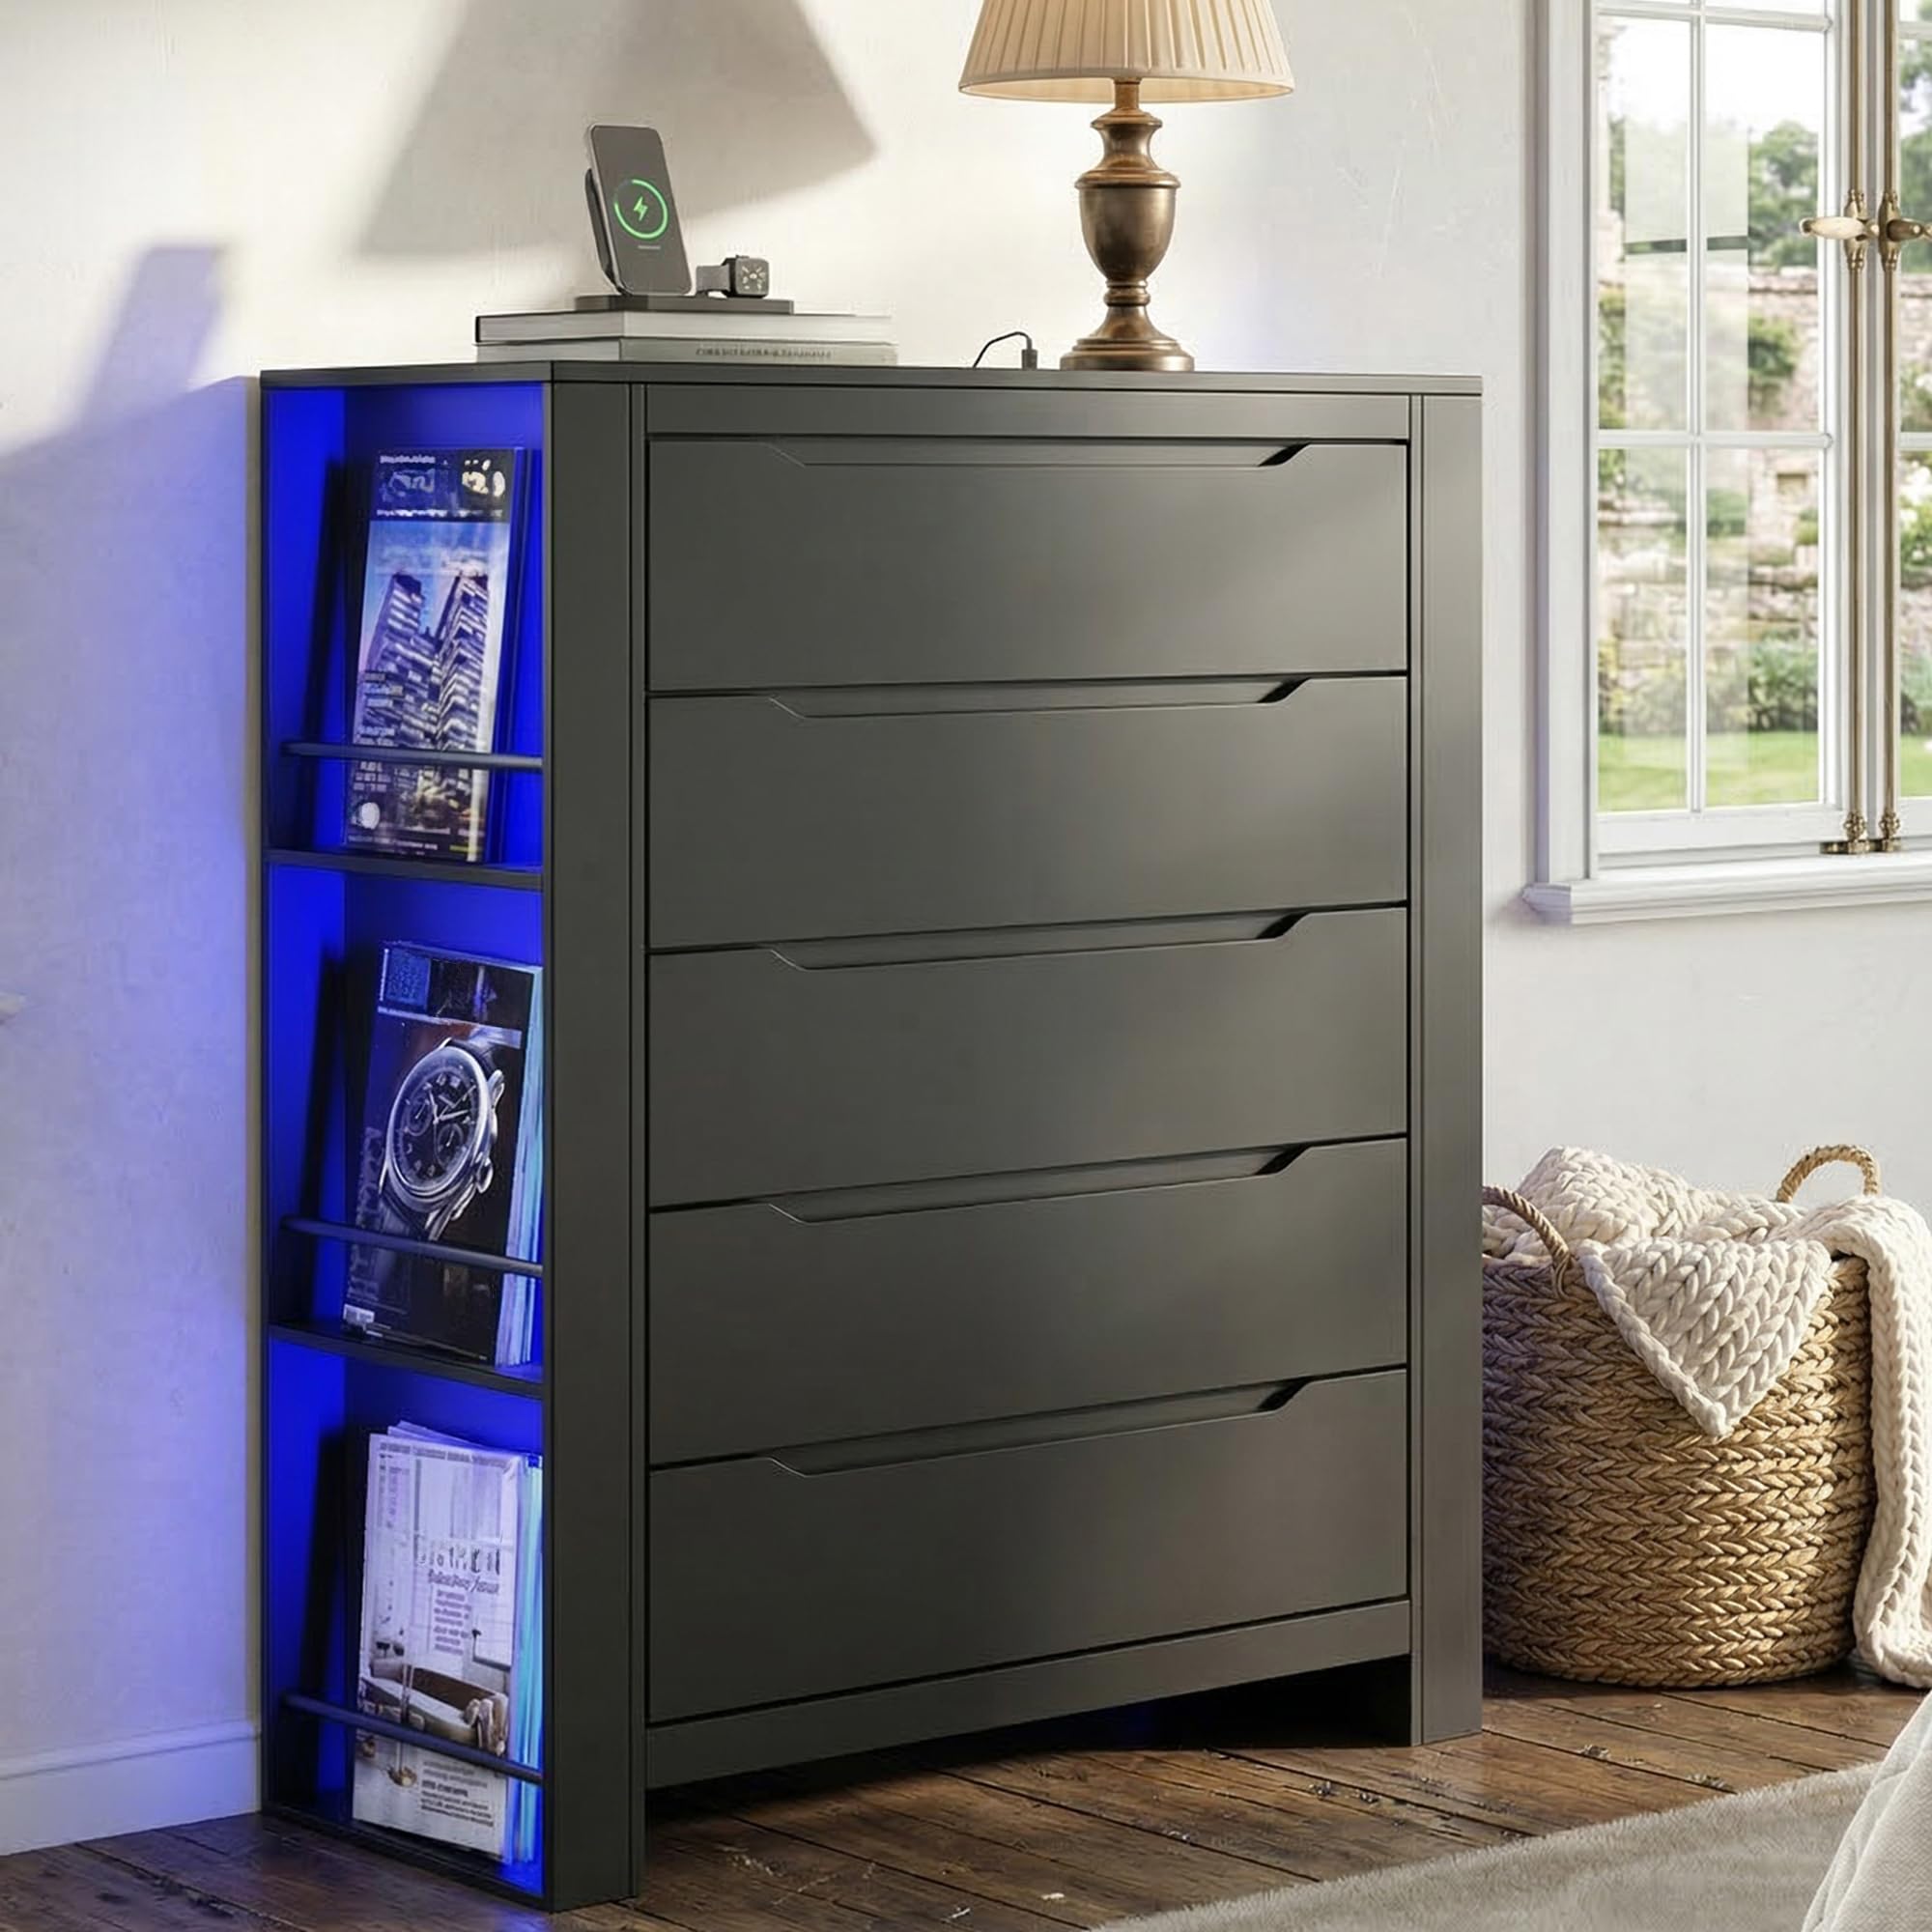
Image 1.1: The Loomie 5-Drawer Dresser, featuring its sleek design and integrated features.
2. Informazzjoni dwar is-Sigurtà
- Apparat Kontra t-Tqall: Always install the included anti-tipping device to prevent accidental tipping, especially in households with children or pets. Securely fasten the dresser to the wall as instructed.
- Distribuzzjoni tal-piż: Distribute weight evenly across drawers and shelves. Avoid placing excessively heavy items on the top surface or in a single drawer.
- Sigurtà Elettrika: The built-in charging station is for indoor use only. Do not expose it to moisture. Ensure the power cord is not pinched or damaged.
- Assemblea: Two-person assembly is recommended for safety and ease of installation.

Image 2.1: Illustration of the anti-tipping design, showing proper installation to secure the dresser to a wall.
3. Kontenut tal-Pakkett
Before beginning assembly, verify that all components listed in the packing list are present and undamaged. If any parts are missing or damaged, please contact customer support.
Nota: The exact number of screws and small parts may vary slightly. Refer to the detailed assembly video for visual guidance on parts and their usage.
4. Istruzzjonijiet tal-Assemblea
Follow these steps carefully for proper assembly. An electric screwdriver is recommended to save time and effort. Lay out all numbered boards before starting.
4.1. Assemblaġġ tal-Kxaxen
- Assemble the drawer sides (parts 20, 21, 22, 23) using screws (part F).
- Slide the drawer bottom (part 24) into the grooves.
- Attach the drawer front (part 19) using screws (part A) and cam locks (part B).
- Install the drawer slides (DL, DR) onto the assembled drawer using screws (part N). Repeat for all five drawers.
4.2. Assemblaġġ tal-qafas
- Attach the side support bars (parts 15, 16, 17) to the bottom panel (part 9) using screws (part B) and dowels (part 18).
- Secure the top panel (part 8) to the side support bars using screws (part B).
- Attach the main side panels (parts 2, 3) to the base structure using screws (part A) and dowels (part D).
- Install the internal support bars (parts 4, 5) using screws (part B).
- Attach the back panels (parts 13, 14) to the frame using screws (part D).
- Secure the top board (part 1) to the main frame using screws (part A) and dowels (part D).
4.3. LED Light and Charging Station Installation
- Carefully route the LED light strips (part K) along the designated channels on the side storage racks.
- Secure the LED strips using the provided clips (parts M, J).
- Insert the charging station unit (part I) into the pre-cut opening on the top surface of the dresser. Secure it with screws (part J).
4.4. Passi Finali
- Slide the assembled drawers into their respective slots.
- Install the anti-tipping device to the back of the dresser and secure it to a wall stud.
Video 4.1: Official installation video for the Tall Dresser, demonstrating step-by-step assembly.
Video 4.2: Official installation video focusing on the 5-drawers assembly process.
5. Istruzzjonijiet Operattivi
5.1. Uża l-Istazzjon tal-Iċċarġjar
The built-in charging station is located on the top surface of the dresser. It includes two AC outlets (125V/12A) and two USB ports (5V/2A). Plug the dresser's 4.9-foot power cord into a wall outlet. You can then connect your laptops, smartphones, tablets, and other small devices directly to the charging station.

Image 5.1: Close-up of the built-in charging station on the dresser's top surface.
5.2. Kontroll tad-Dwal LED
The dresser features two multi-color RGB LED light strips. These lights can be controlled via a dedicated mobile application. Download the app (details typically found in a separate leaflet or QR code on the product packaging) to adjust colors, brightness, and dynamic modes to suit your preference.

Image 5.2: The dresser illuminated by its adjustable LED light strip, demonstrating app control capabilities.
5.3. Użu tal-Kxaxen
The dresser is equipped with five drawers featuring integrated cut-out handles and smooth metal slides for effortless opening and closing. The side storage racks provide additional open shelving for books, magazines, or decorative items.

Image 5.3: Details of the 3-tier side storage rack, handless drawer design, and smooth metal drawer slides.
6. Manutenzjoni
- Tindif: The dresser is crafted from durable MDF with a finely polished surface. To clean, simply wipe with a damp drapp. Evita kimiċi ħarxa jew prodotti tat-tindif li joborxu.
- It-tfarfir: Regularly dust the surfaces with a soft, dry cloth to prevent buildup.
- Tixrid: Imsaħ it-tixrid immedjatament biex tevita t-tbajja’ jew ħsara lill-injam inġinerizzat.
- Slajds tal-Kxaxen: Iċċekkja perjodikament il-pjastri tal-kxaxen għal tħaddim bla xkiel. Jekk meħtieġ, tista' tapplika ammont żgħir ta' lubrikant tas-silikon.
7 Issolvi l-problemi
- Il-kxaxen ma jiżżerżqux bla xkiel: Ensure the metal slides are correctly installed and aligned. Check for any obstructions in the tracks. A review mentioned issues with hole marks for drawer rails; double-check alignment during assembly.
- Id-dwal LED ma jaħdmux: Verify that the power cord for the dresser is securely plugged into a working outlet. Check the connection of the LED strips to the power source. Ensure the control app is correctly paired and functioning.
- Charging station not providing power: Confirm the dresser's power cord is plugged in. Test the outlets/USB ports with different devices to rule out device-specific issues.
- Il-kredenza tħossha instabbli: Re-check all screw connections to ensure they are tight. Confirm the anti-tipping device is properly installed and secured to a wall stud.
8. Speċifikazzjonijiet
| Brand | Loomie |
| Isem tal-Mudell | 101598A2 |
| Materjal | Injam Inġinerija |
| Dimensjonijiet tal-Prodott (P x W x H) | 15.75" x 43.58" x 31.5" (40ċm x 110ċm x 80ċm) |
| Numru ta 'Kxaxen | 5 |
| Piż tal-oġġett | 84.88 Liri |
| Stazzjon ta 'ċċarġjar | 2 Sokits tal-AC (125V/12A), 2 Portijiet USB (5V/2A) |
| Dwal LED | Multi-color RGB, App Control |

Image 8.1: Detailed product size and drawer dimensions.
9. Garanzija u Appoġġ
For warranty information or technical support, please refer to the contact details provided with your purchase or visit the official Loomie websit. Żomm l-irċevuta tax-xiri tiegħek għal pretensjonijiet ta' garanzija.