
Introduzzjoni
This manual provides detailed instructions for the setup, operation, and maintenance of your MOBAPAD Chitu2 HD Wireless Controller. Please read this manual thoroughly before using the product to ensure optimal performance and longevity.
X'hemm fil-Kaxxa
Ivverifika li l-komponenti kollha huma preżenti fil-pakkett tiegħek:
- ChiTu 2 Switch 2 Controller ×1
- Smart RGB Charging Dock ×1
- USB-C Cable ×1
- Cross D-Pad ×1 (replaceable)
- Manwal għall-Utent ×1
- Karta tal-Garanzija × 1
- QC Pass ×1

Image: All items included in the MOBAPAD Chitu2 HD Wireless Controller package.
Setup
Iċċarġjar Inizjali
Before first use, fully charge the controller using the included USB-C cable and Smart RGB Charging Dock. Connect the USB-C cable to the dock and a power source. Place the controller onto the dock to begin charging. The RGB lighting on the dock will indicate charging status.
Konnessjoni man-Nintendo Switch
- Set the toggle switch on the back of the controller to the "NS Mode" position.
- On your Nintendo Switch console, navigate to Kontrolluri > Ibdel il-Maqbad/Ordni.
- Żomm il-buttuna Home (M logo) on the controller for 3 seconds until the LED lights flash rapidly.
- For the first-time connection, within 20 seconds, remove and reattach a Joy-Con to your Switch console to activate the wake-up function for the controller.
- Once paired, the controller will vibrate briefly, and the corresponding player LED will illuminate solid.
- To auto-reconnect or wake up the Switch console, short press the Home button (M logo).

Image: Step-by-step guide for connecting the controller to Nintendo Switch.
Connecting to PC, Android, iOS
Set the toggle switch on the back of the controller to the "BT" (Bluetooth) position for PC, Android, or iOS devices. Follow your device's standard Bluetooth pairing procedure to connect the controller.
Istruzzjonijiet Operattivi
TMR Glide Joysticks
The controller features Next-Gen TMR Glide Joysticks with non-contact magnetic sensors, LSR liquid silicone rings, and an inverted stick cap structure. This design provides smooth, drift-free performance and precise control.

Immaġni: Dettaljata view of the TMR Glide Joystick technology.

Image: Frictionless 'Air' Tech for zero drift and precise movements.
Buttuni Mekkaniċi
All face buttons are equipped with premium mechanical micro-switches, offering a short 0.7mm actuation distance and a crisp, tactile "clicky" response. These buttons are designed for fast input and durability with a 5 million+ click lifespan.

Image: Internal structure of the mechanical micro-switch buttons.
HD Vibration
The controller integrates dual ALPS linear vibration motors, providing multi-layered and high-frequency tactile feedback for an immersive gaming experience.

Image: Location of ALPS linear vibration motors and 6-axis motion sensor.
NFC & 6-Axis Motion Control
A built-in NFC reader ensures 100% compatibility with amiibo figures for in-game rewards. The high-precision 6-axis gyroscope enables fluid motion tracking and immersive aim control.

Image: Using the NFC function to scan amiibo figures.
Programmable Macro Buttons & Turbo Function
The controller features two programmable back buttons (M1 and M2) that support complete button remapping and macro recording. This allows for simplified complex combos and instant execution of multi-button sequences. The Turbo function can be assigned to any function button with the dedicated Turbo button, allowing for rapid fire inputs.

Image: Turbo function and programmable macro buttons.
D-Pads li jistgħu jinbidlu
The controller includes easily swappable disc and cross-style D-pads, allowing customization for different game styles.
Baċir tal-Iċċarġjar
The Smart RGB Charging Dock provides convenient drop-and-go instant charging. It also features immersive multi-mode RGB lighting.
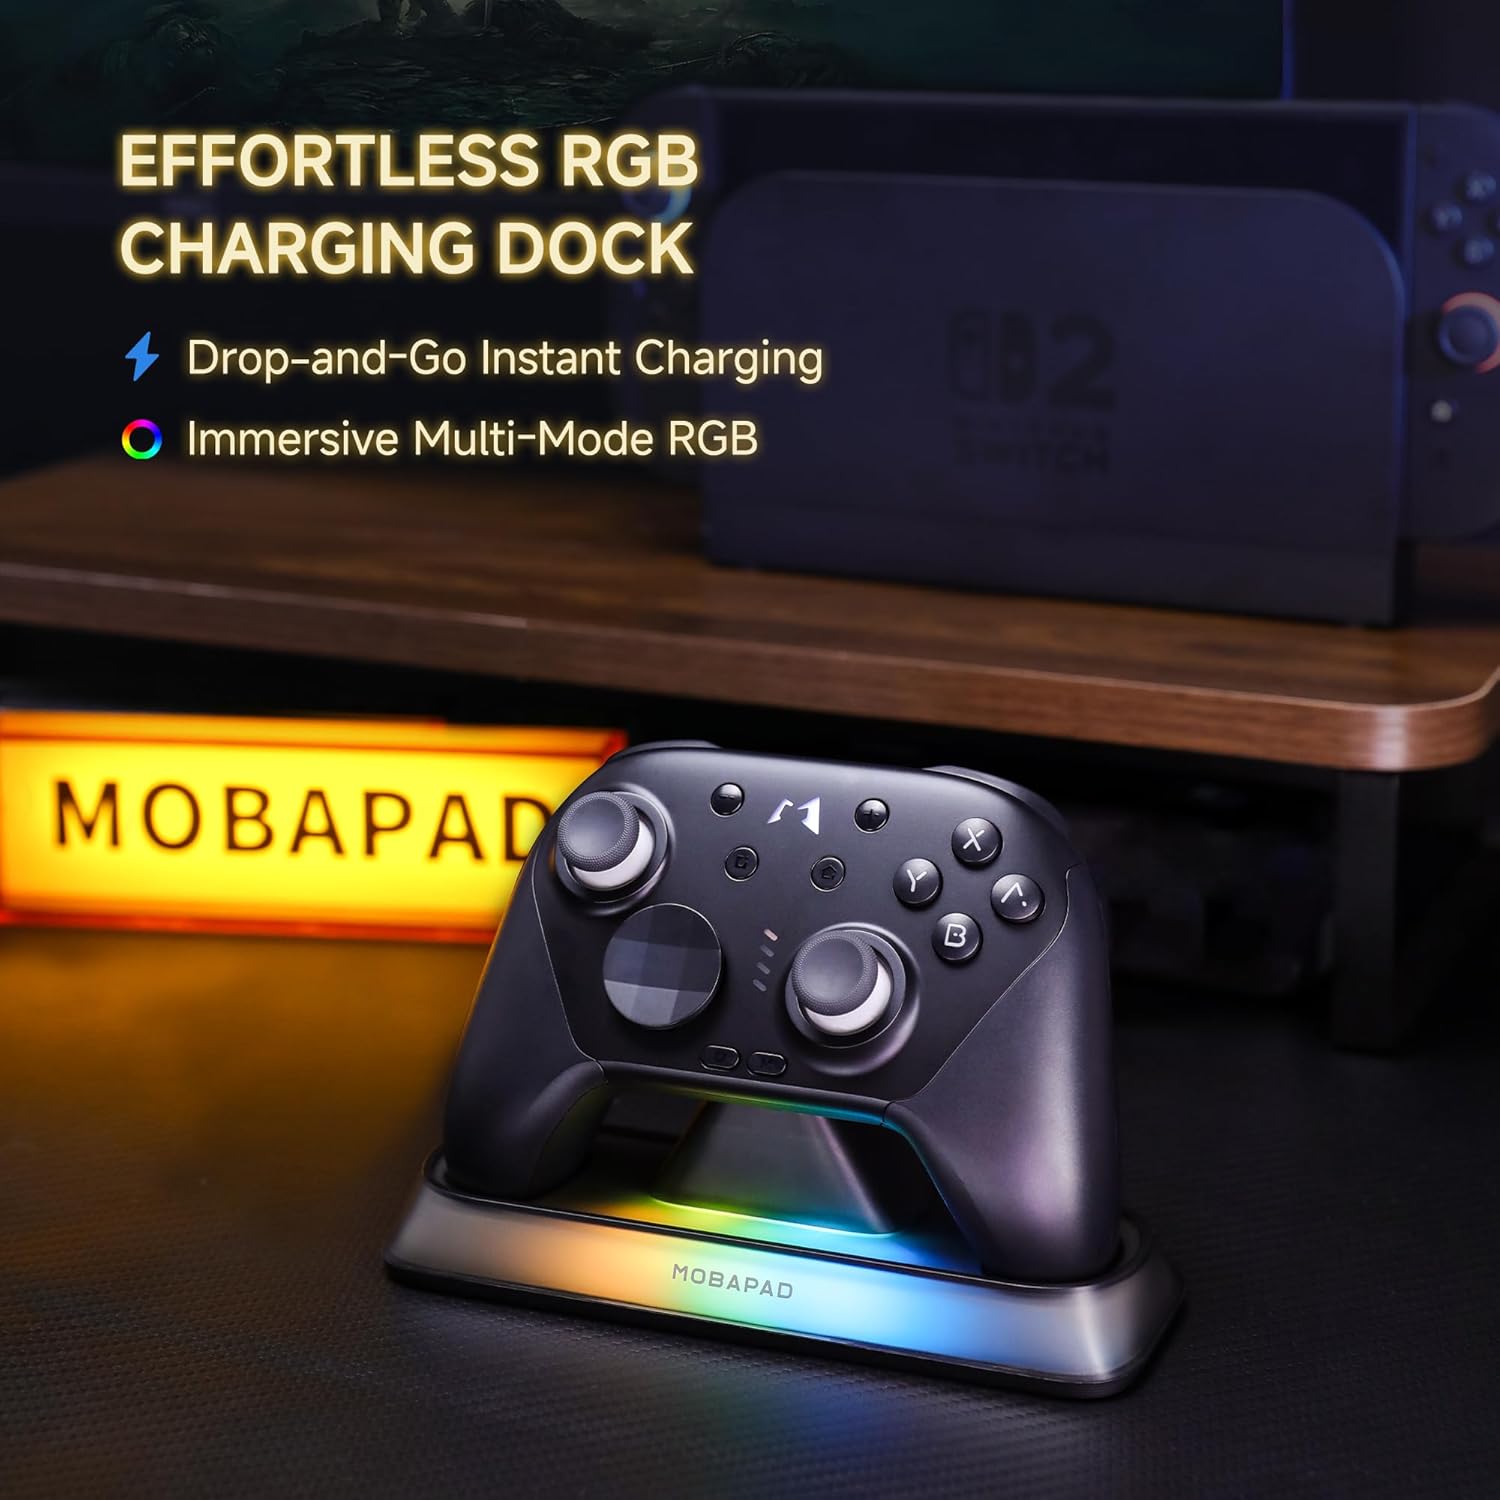
Image: Controller in the Smart RGB Charging Dock.
Manutenzjoni
To maintain your controller's performance and appearance:
- Naddaf il-kontrollur regolarment b'ċarruta ratba u niexfa. Evita li tuża kimiċi ħarxa jew materjali li joborxu.
- Aħżen il-kontrollur f'post frisk u niexef 'il bogħod mix-xemx diretta u minn temperaturi estremi.
- Evita li twaqqa’ l-kontrollur jew li tissottomettih għal impatti qawwija.
- Ensure the charging contacts on both the controller and the dock are clean and free of debris for efficient charging.
Issolvi l-problemi
Kwistjonijiet ta' Konnessjoni
- Il-kontrollur mhux qed jikkonnettja: Ensure the mode switch on the back is set correctly (NS for Switch, BT for other devices). Verify Bluetooth is enabled on your device. Try re-pairing the controller.
- Konnessjoni intermittenti: Ensure the controller is within range of your device. Avoid obstacles that may interfere with the wireless signal.
Problemi tal-iċċarġjar
- Il-kontrollur mhux qed jiċċarġja: Check that the USB-C cable is securely connected to both the dock and a power source. Ensure the controller is properly seated on the charging dock, aligning the contact points.
- RGB lights not working on dock: Verify the dock is powered. If the controller is fully charged, some RGB effects may turn off automatically.
Button/Joystick Malfunction
- Buttuni ma jirrispondux: Ensure the controller is charged. Try resetting the controller (refer to the full user manual for specific reset instructions if available).
- Joystick issues: While designed for zero drift, if any issues arise, ensure the controller's firmware is up to date.
Speċifikazzjonijiet
| Karatteristika | Dettall |
|---|---|
| Apparati Kompatibbli | Nintendo Switch 2 / Switch OLED / Switch Lite / Windows PC / Android / iOS |
| Tip ta' Kontrollur | Wireless Gamepad/Controller |
| Teknoloġija tal-Konnettività | Wireless/Wired |
| Karatteristiċi Addizzjonali | Zero-Drift TMR Control, ALPS HD Haptics, Charging Dock, Mechanical Buttons, Ergonomic Grip, One-Tap Wake-Up, Motion Sensing, Screenshot, Wireless |
| Kwantità tal-Buttuni | 19 |
| Pjattaforma tal-Ħardwer | Nintendo Swiċċ, PC, Android, iOS |
| Sors tal-Enerġija | Mħaddma bil-batterija |
| Piż tal-oġġett | 200 Gramm |
| Dimensjonijiet tal-oġġett | 5.79 x 3.98 x 2.64 pulzieri |
| Isem tal-Mudell | ChiTu 2 |
| UPC | 730425194441 |
Vidjo Uffiċjali tal-Prodott
Vidjo: Uffiċjal lestview of the Mobapad Chitu2 HD Wireless Controller with Charging Dock, demonstrating its features and design.
Garanzija u Appoġġ
The MOBAPAD Chitu2 HD Wireless Controller includes a Warranty Card in the package. Please refer to this card for specific warranty terms and conditions. For technical support, troubleshooting assistance, or any product-related inquiries, please contact MOBAPAD-Official customer service through their official channels or the retailer where the product was purchased.