1. Introduzzjoni
This manual provides detailed instructions for the proper installation, operation, and maintenance of the Generic Sloan 3308607 H-535 Flushometer Coupling Kit, 3/4 Inch. This kit is designed to replace or repair the coupling connection for Sloan flushometer valves, ensuring a secure and leak-free connection. Please read all instructions carefully before beginning installation.
2. Informazzjoni dwar is-Sigurtà
- Dejjem itfi l-provvista prinċipali tal-ilma qabel ma tipprova xi xogħol tal-plumbing.
- Ilbes tagħmir protettiv personali xieraq, bħal nuċċalijiet tas-sigurtà u ingwanti.
- Ensure all connections are tightened securely to prevent leaks, but do not overtighten, which can damage components.
- Jekk m'intix ċert dwar xi pass, ikkonsulta plamer kwalifikat.
3. Kontenut tal-Pakkett
Ivverifika li l-komponenti kollha huma preżenti u mhux imħassra qabel ma tipproċedi bl-installazzjoni.
- 1 x 3/4 Inch Flushometer Coupling
- 2 x Coupling Nuts
- 2 x Rubber Washers / Gaskets
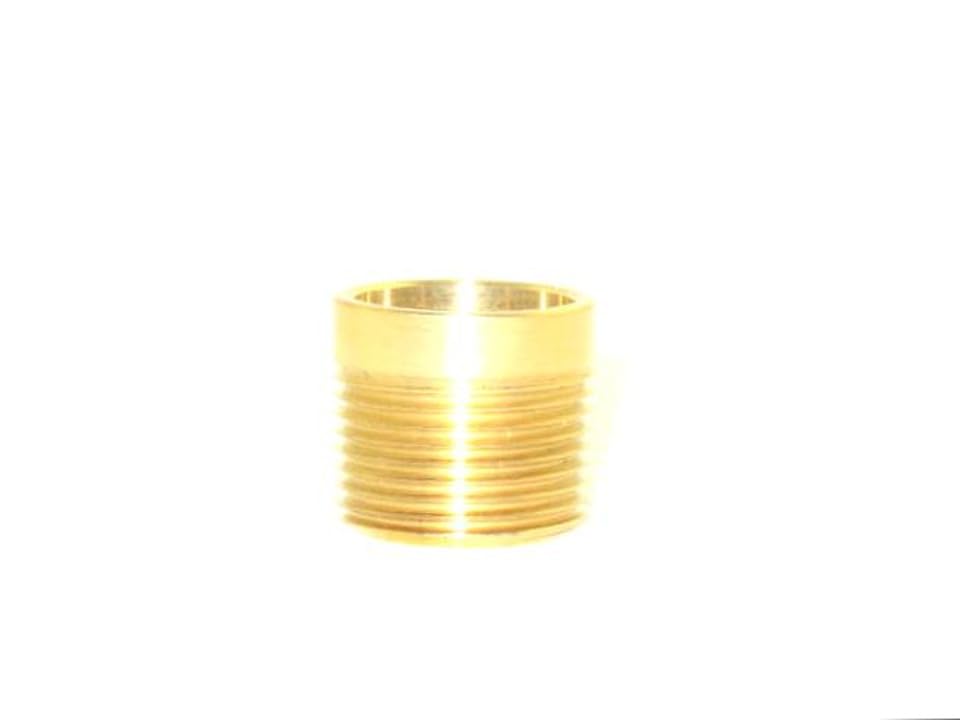
This image displays the complete Sloan 3308607 H-535 Flushometer Coupling Kit, which includes the 3/4 inch coupling, nuts, and washers. It is designed for connecting flushometer valves.
4. Setup u Installazzjoni
Follow these steps to properly install the flushometer coupling kit:
- Itfi l-Provvista tal-Ilma: Locate the main water shut-off valve for the fixture or the building and turn it off completely. Flush the toilet to relieve any remaining water pressure.
- Remove Old Coupling (if applicable): If replacing an existing coupling, use a wrench to carefully loosen and remove the old coupling nuts and the coupling itself. Be prepared for residual water to drain.
- Punti ta' Konnessjoni Nadif: Thoroughly clean the threads on both the flushometer valve and the supply pipe. Remove any old sealant, debris, or corrosion to ensure a proper seal.
- Install New Washers: Place one rubber washer into each coupling nut. Ensure they are seated correctly.
- Position Coupling: Place the new 3/4 inch flushometer coupling between the flushometer valve and the supply pipe.
- Attach Coupling Nuts: Thread the coupling nuts onto the flushometer valve and the supply pipe, hand-tightening them first.
- Issikka l-Konnessjonijiet: Using a wrench, carefully tighten both coupling nuts. Do not overtighten. The goal is a snug, leak-free connection.
- Irrestawra l-Provvista tal-Ilma: Erġa' ixgħel il-provvista prinċipali tal-ilma bil-mod.
- Iċċekkja għal Tnixxijiet: Inspect all connections for any signs of water leakage. If leaks are present, gently tighten the nuts further until the leak stops. If a leak persists, turn off the water, disassemble, inspect washers for damage, and reassemble.
5. Operazzjoni
Once installed, the flushometer coupling kit functions passively to provide a secure and sealed connection between the flushometer valve and the water supply. Proper installation ensures the flushometer operates as intended without leaks.
6. Manutenzjoni
The flushometer coupling kit requires minimal maintenance. Periodically inspect the coupling and connections for any signs of wear, corrosion, or leaks. If any issues are observed, turn off the water supply and replace the affected components as necessary. Avoid using harsh chemical cleaners on the coupling, as this can degrade the material.
7 Issolvi l-problemi
- Leak at Connection:
- Ensure coupling nuts are sufficiently tightened (do not overtighten).
- Verify that the rubber washers are correctly seated and not damaged. Replace if necessary.
- Check for any debris on the sealing surfaces that might prevent a proper seal.
- Difficulty Tightening Nuts:
- Ensure threads are clean and free of cross-threading.
- Verify the coupling and nuts are correctly aligned.
8. Speċifikazzjonijiet
| Attribut | Valur |
|---|---|
| Numru tal-Parti | NY-3308607 |
| Numru tal-Mudell tal-Oġġett | NY-3308607 |
| UPC | 776851195034 |
| Brand | Ġeneriċi |
| Manifattur | WorChess |
| ASIN | B0FR4V6F2L |
9. Garanzija u Appoġġ
This product is covered by the manufacturer's standard warranty. For specific warranty details, please refer to the documentation provided with your purchase or contact the retailer. For technical support or inquiries, please reach out to the manufacturer or your point of purchase.


