
1. Introduzzjoni
This manual provides detailed instructions for the installation, operation, and maintenance of your KEPEAK 10-inch Mirror Dash Cam. Please read this manual thoroughly before using the product to ensure proper function and safety. Keep this manual for future reference.
2. Prodott Aktarview
Kontenut tal-Pakkett
- 10-inch Mirror Dash Cam (Front Camera Integrated)
- 1080P ta 'wara View Kamera
- Kejbil tal-Kamera ta' wara (18ft)
- Ċarġer tal-Karozza
- Mounting Straps/Rubber Clips
- 32GB Karta tal-Memorja
- Manwal għall-Utent
Karatteristiċi Ewlenin
- Sistema ta' Kamera Doppja: 4K Ultra HD front camera and IP68 waterproof 1080P rear camera.
- Skrin tattili IPS ta' 10 pulzieri: Jipprovdi qasam wiesa' ta' view and intuitive control.
- Medda Dinamika Wiesgħa (WDR): Enhances video clarity in varying light conditions, especially at night.
- Smart Parking Assistance: Wirja awtomatika ta' wara view with parking assist lines when reversing.
- Reġistrazzjoni Loop: Jikteb awtomatikament fuq l-eqdem files meta l-karta tal-memorja tkun mimlija.
- G-Sensor: Detects collisions and locks video footage biex jipprevjenu kitba fuq.
- Modalità ta' Sorveljanza tal-Parkeġġ: Records events when an impact is detected while parked (requires built-in battery power).
- Lenti b'Angolu Wiesa' ta' 170°: Jaqbad firxa wiesgħa view tat-triq.
- Appoġġ għall-Kard tal-Memorja: Includes a 32GB card, supports up to 64GB.

Image: The KEPEAK 10-inch Mirror Dash Cam with its front camera, rear camera, 32GB memory card, car charger, and mounting straps.
3. Gwida għall-Installazzjoni
Follow these steps to properly install your dash cam system.
3.1 Immuntar tal-Mera Dash Cam
- Secure the mirror dash cam to your vehicle's original rearview mirror using the provided rubber clips/straps. Ensure it is firmly attached and does not obstruct your view.
- Adjust the angle of the front camera lens to capture the desired view tat-triq 'il quddiem.
3.2 Installazzjoni tal-Kamera ta 'wara
- Mount the rear camera at the back of your vehicle, typically above the license plate or on the rear window. Ensure it has a clear view and is securely fastened.
- Route the 18ft rear camera cable from the rear camera to the main mirror dash cam unit. It is recommended to route the cable along the vehicle's headliner and trim for a neat installation.
- Qabbad il-kejbil tal-kamera ta' wara mal-port magħżul fuq il-mera tad-dash cam.
3.3 Konnessjoni tal-Enerġija
- Daħħal il-kard tal-memorja ta' 32GB provduta fl-islott tal-kard tal-memorja tad-dash cam.
- Qabbad il-ċarġer tal-karozza mal-port tad-dħul tal-enerġija tad-dash cam.
- Ipplaggja l-ċarġer tal-karozza fis-sokit tal-enerġija ta' 12V tal-vettura tiegħek (sokit tal-lajter tas-sigaretti).
- Start your vehicle. The dash cam should power on automatically and begin recording.

Image: Visual guide for power wiring methods, including securing the dashcam, routing wires along the headliner, opening the A-pillar side panel, and plugging in the car charger.
4. Istruzzjonijiet tat-Tħaddim
The KEPEAK Mirror Dash Cam features a user-friendly touch screen interface.
4.1 Funzjonijiet Bażiċi
- Power On/Off: The device automatically powers on/off with your vehicle's ignition. You can also manually power it on/off by pressing and holding the power button.
- Reġistrazzjoni: Recording starts automatically when the device powers on. A red dot or similar indicator on the screen confirms recording is active.
- Qlib Views: Slide your finger left or right across the touch screen to switch between front camera view, kamera ta 'wara view, or a split-screen display.
- Aġġustament tal-Angoli: Slide your finger up or down on the screen to adjust the vertical viewing angle of the displayed camera.

Image: The 10-inch IPS touch screen displaying a vibrant interface, highlighting its responsive touch functionality.
4.2 Karatteristiċi Avvanzati
- Għajnuna għall-Parkeġġ: When your vehicle is in reverse gear, the dash cam automatically displays the full-screen rear view with dynamic parking assist lines. You can manually adjust the display range (up/down) for optimal visibility.
- Reġistrazzjoni Loop: The dash cam continuously records. When the memory card is full, it automatically overwrites the oldest unlocked files.
- G-Sensor (Sejbien ta' Ħabtiet): In the event of a sudden impact or collision, the built-in G-Sensor automatically detects the event and locks the current video file, u jipprevjeni li jiġi miktub fuqu minn reġistrazzjoni f'linja.
- Modalità ta' Sorveljanza tal-Parkeġġ: When the engine is off, the dash cam uses its internal battery to enter standby monitoring. If an impact is detected, it will automatically turn on and record the event. A fully charged internal battery can provide up to 2 weeks of standby monitoring. For continuous 24/7 monitoring, hardwiring the dash cam to your car's battery is required (hardwire kit sold separately).

Image: The dash cam screen showing a full-screen rear view with green, yellow, and red parking assist lines, indicating safe reversing.

Image: An illustration depicting cars in a parking lot, with a lock icon indicating the G-Sensor's auto-lock function for collision events.
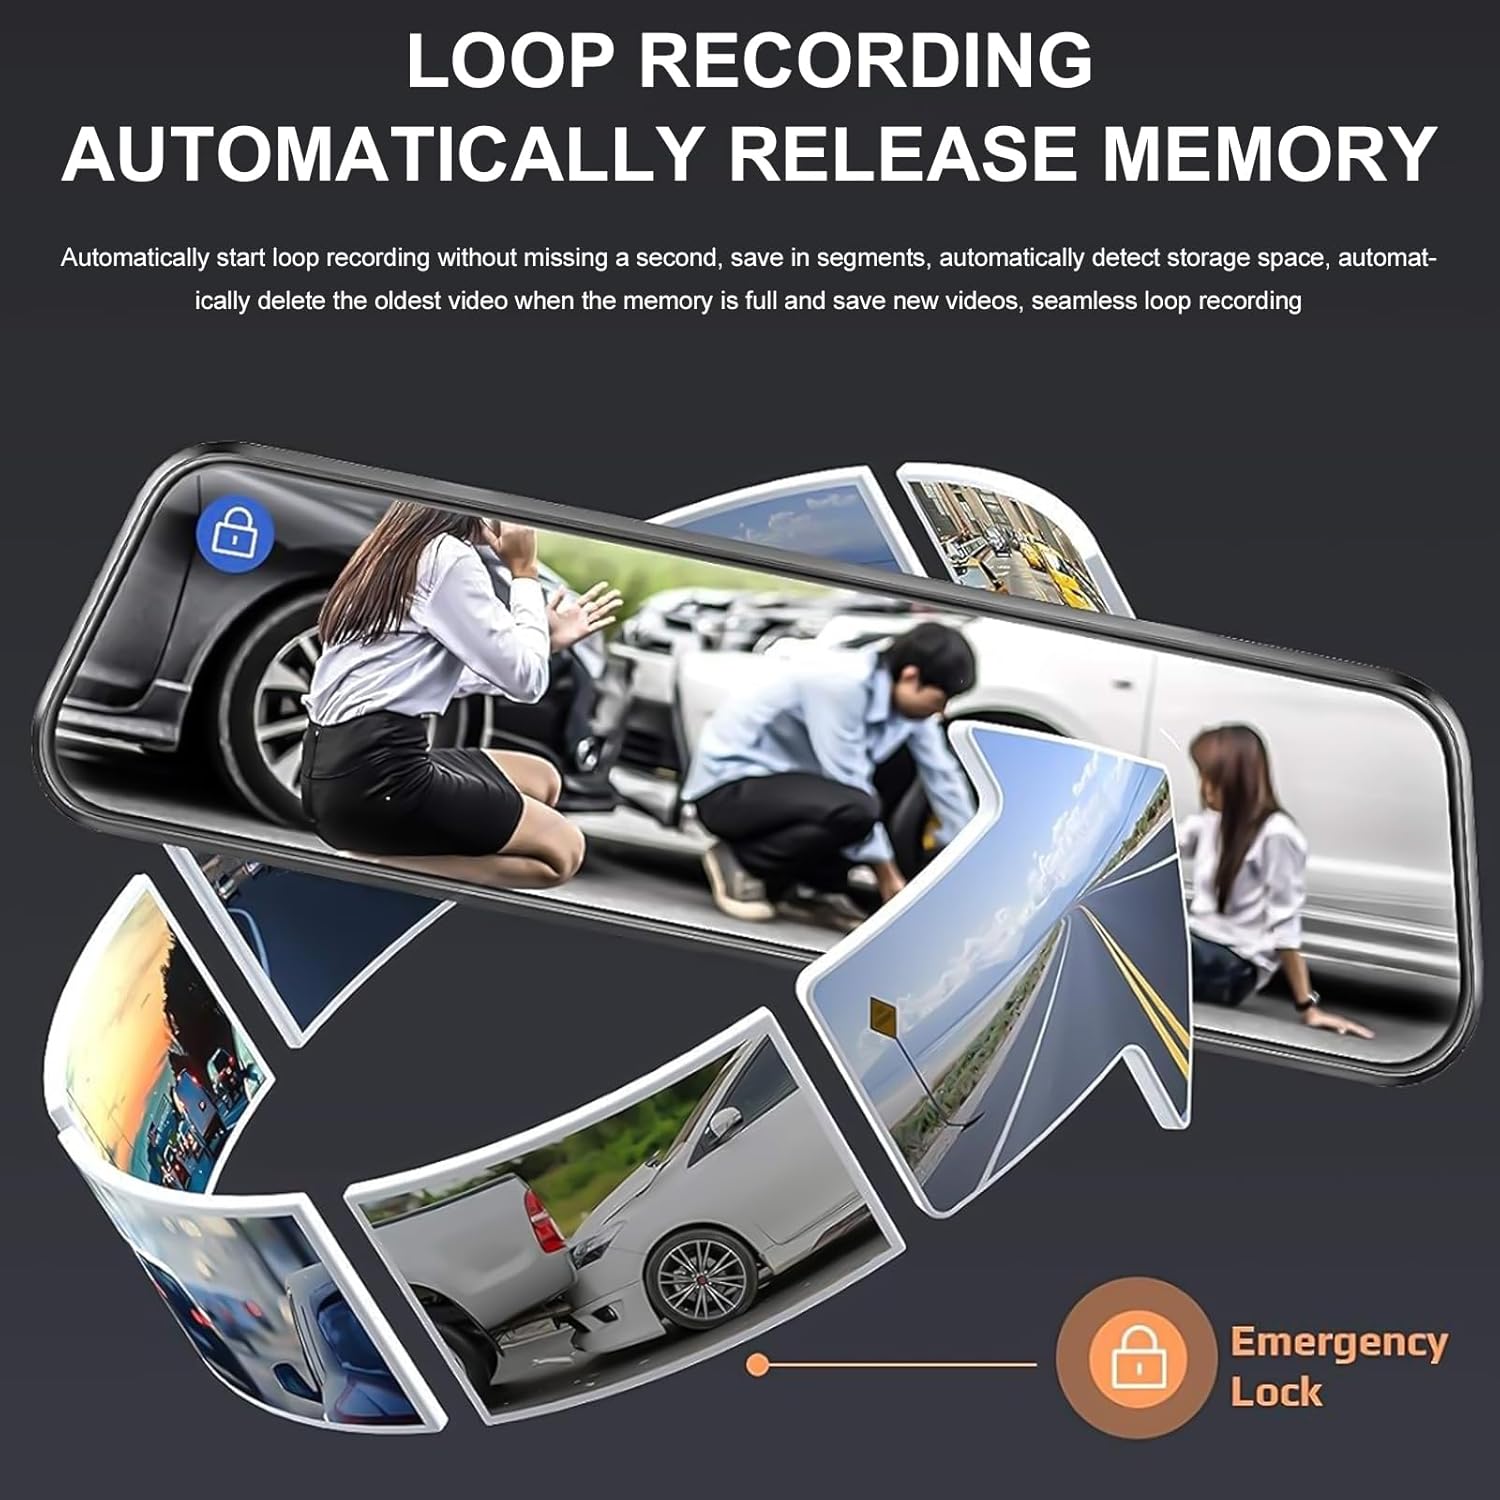
Image: A circular flow diagram illustrating loop recording, where new video segments replace older ones, with an emergency lock icon for protected footage.

Image: A car parked at night with a '24 HOUR' clock icon, symbolizing the 24-hour parking monitoring feature for vehicle protection.
5. Settings and Functions
Access the menu by tapping the screen. Here you can adjust various settings:
- Riżoluzzjoni tal-vidjo: Select desired resolution for front and rear cameras (e.g., 4K/1080P).
- Tul tar-Reġistrazzjoni Loop: Set the length of video segments (e.g., 1, 3, 5 minutes).
- Sensittività tas-Sensor G: Adjust the sensitivity of the collision detection.
- Monitoraġġ tal-Parkeġġ: Enable or disable parking surveillance mode.
- Espożizzjoni: Adjust video brightness.
- Data/Ħin: Issettja d-data u l-ħin korretti għal timest preċiżamps fuq reġistrazzjonijiet.
- Screen Saver: Set the screen to turn off after a period of inactivity to avoid distraction.
- Lingwa: Agħżel il-lingwa preferuta tiegħek.
6. Manutenzjoni
- Tindif: Uża drapp artab u niexef biex tnaddaf l-iskrin u l-lentijiet tad-dash cam. Evita prodotti tat-tindif jew solventi li joborxu.
- Kard tal-memorja: Regularly format the memory card (at least once a month) to ensure optimal performance and prevent data corruption. Back up any important footage before formatting. Replace the memory card if it shows signs of degradation or errors.
- Temperatura: Evita li tesponi d-dash cam għal temperaturi estremi għal perjodi twal, għax dan jista' jaffettwa l-ħajja tal-batterija u l-prestazzjoni tal-apparat.
7 Issolvi l-problemi
If you encounter issues with your dash cam, refer to the following common solutions:
| Problema | Soluzzjoni Possibbli |
|---|---|
| Id-dash cam ma tixgħelx. | Check if the car charger is properly connected to both the dash cam and the vehicle's 12V outlet. Ensure the vehicle's ignition is on. Test the charger in another port or with another device if possible. |
| Ir-reġistrazzjoni tieqaf jew tiffriża. | Format the memory card. Ensure the memory card is a high-speed Class 10 or U3 card. Replace the memory card if issues persist. Check power connection stability. |
| Kwalità fqira tal-vidjo. | Clean the camera lenses. Ensure the protective film has been removed from the lenses. Check video resolution settings. Adjust WDR settings if applicable. |
| Il-kamera ta' wara ma turiex. | Check the connection of the rear camera cable to both the rear camera and the main unit. Ensure the cable is not damaged. |
| Parking assist lines not appearing. | Ensure the rear camera is properly connected and the vehicle is in reverse gear. Check settings for parking assistance. |
| Parking surveillance not working. | Ensure the parking surveillance mode is enabled in settings. Check the dash cam's internal battery charge level. For 24/7 monitoring, hardwiring is required. |
8. Speċifikazzjonijiet
- Ditta: KEPEAK
- Mudell: B0FHJS1HZS
- Daqs tal-iskrin: 10 Pulzier
- Riżoluzzjoni tal-Kamera ta' quddiem: 4K Ultra HD
- Riżoluzzjoni tal-Kamera ta' wara: 1080P Full HD
- Qasam ta View: 170 Grad
- Karatteristiċi Speċjali: G-Sensor, Night Vision (WDR), Touch Screen, Loop Recording, Parking Assistance, Parking Surveillance
- Teknoloġija tal-Konnettività: USB
- Appoġġ għall-Kard tal-Memorja: Sa 64GB (32GB inklużi)
- Dimensjonijiet tal-Prodott: 8 x 5 x 4 pulzieri
- Piż tal-oġġett: 1.7 liri
- Kulur: Iswed
- Tip ta' Servizz ta' Vettura: Karozza, Trakk
9. Garanzija u Appoġġ
KEPEAK is committed to providing reliable products and customer satisfaction. If you encounter any issues with your mirror dash cam, our customer support team is available to provide fast and effective assistance within 24 hours.
Please contact us through the retailer's platform or refer to the contact information provided with your purchase for support.